
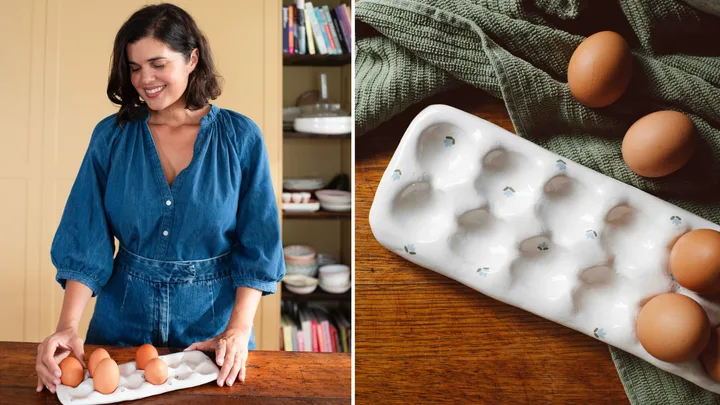
A clutch of eggs sitting on a kitchen bench is an invitation to start cooking, if you ask me. Especially if you’re lucky enough to have a few backyard chooks to keep you supplied!
While eggs in a bowl look attractive, they can get a bit knocked around. And supermarket egg cartons look more practical than pretty sitting on the counter. So, ta-da, here’s something better.
How to make an air-dry clay egg tray
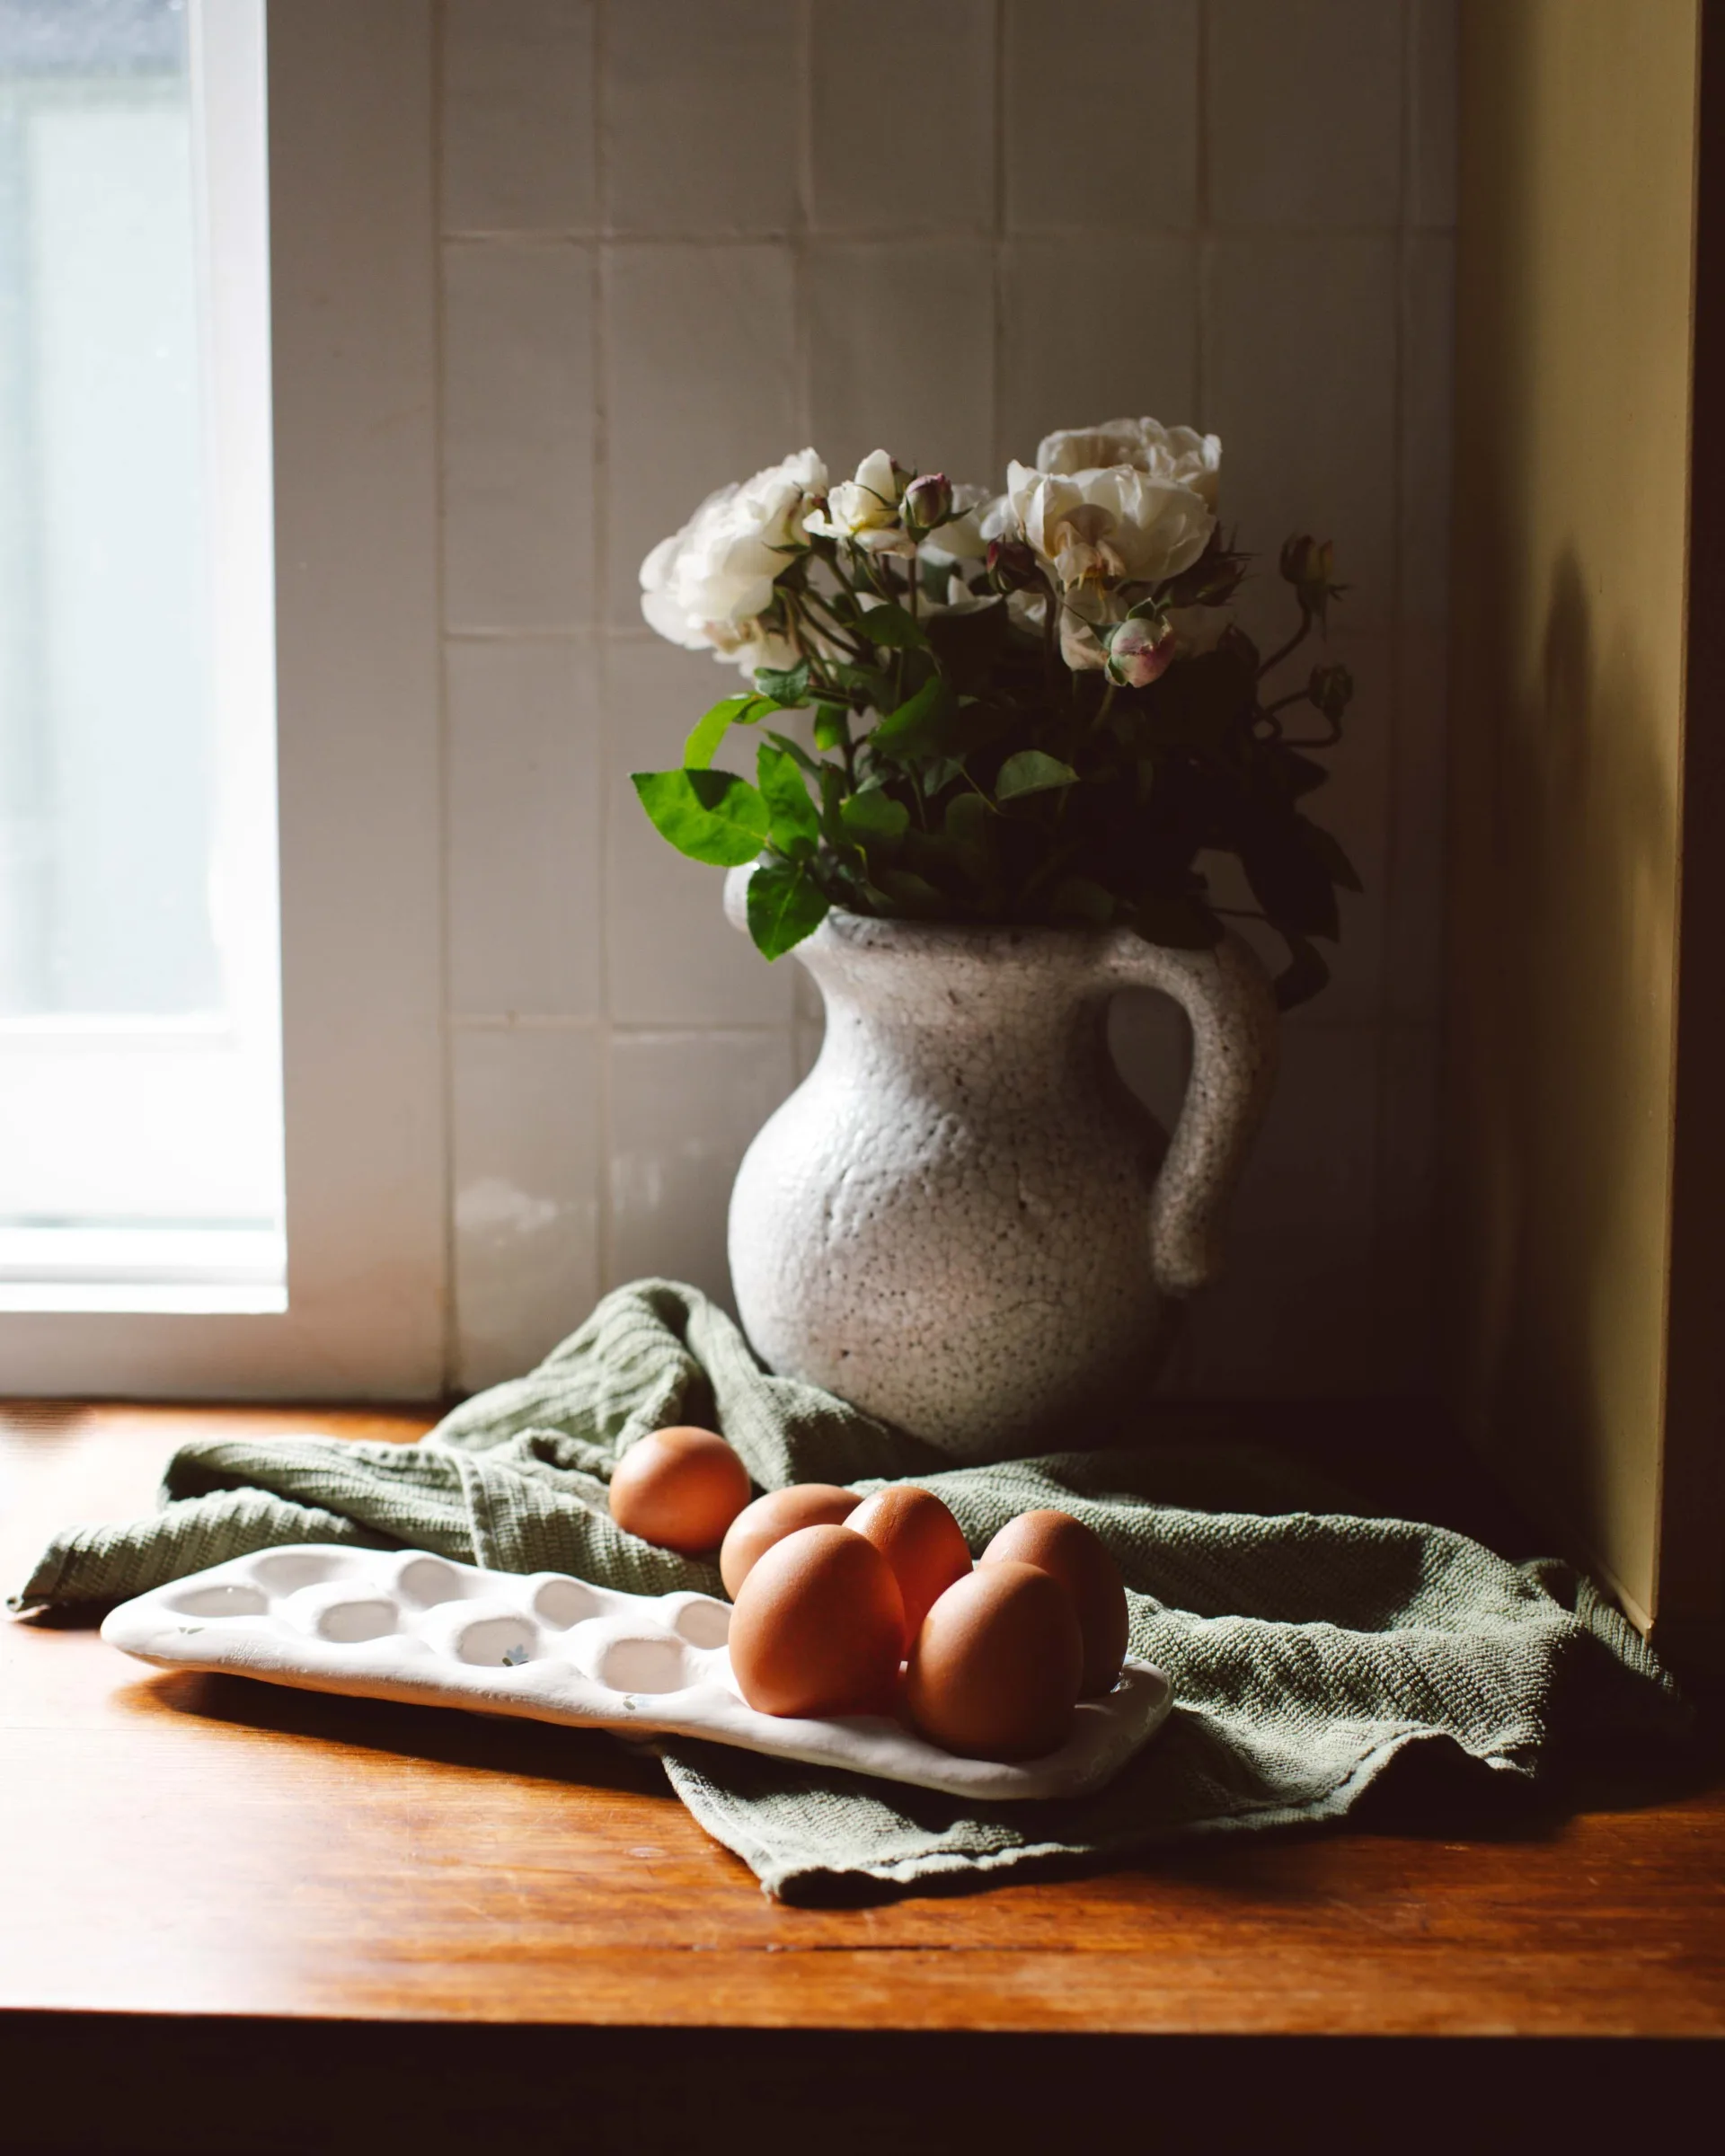
This egg holder is made with air-dry clay that’s painted and sealed. And you can add simple painted flowers, like I did, for a more country, cosy feel. The holder keeps eggs safe, snug and at room temperature – just what you need when you’re making a sponge cake or pavlova. (Room temperature egg whites whip up fluffier, right?)
While it’s a good idea to store eggs in the fridge if you’re not using them straight away, this egg tray is a great halfway stop before they get to the stove. And if a dozen eggs seem a bit much, you can make a smaller holder to suit your eggy appetite. Just roll out your clay to cover half a cardboard carton, and you can enjoy six of the best. As a safety note, make sure you complete this project in a well-ventilated area.

Project tips
- Don’t roll the clay too thin. Aim for about 5–8 mm thickness so the tray is sturdy and doesn’t crack.
- Keep your fingers slightly damp to smooth any surface cracks as you go.
- Use non-toxic products for painting and sealing, as the tray will be used around food.
- As air-dry clay remains porous, the tray may absorb moisture and degrade if you pop it in the fridge, even when it’s sealed. It’s best to keep it on the bench.
Gather your supplies
- 12-egg cardboard egg carton
- Air-dry clay (I used DAS air-dry clay)
- Craft knife or clay tool
- Boiled egg (to help with shaping)
- Non-toxic acrylic paint
- Food-safe resin or water-based polyurethane (try Just Resin WaterCote – Polyurethane or Cabot’s Benchtop Clear)
You’ll also need
- Rolling pin (or a smooth bottle or an acrylic roller)
- Scissors
- Small bowl of water
- Plastic wrap
- 220-grit sandpaper
- Paintbrush
- Synthetic brush (gold Taklon) or foam brush
Step 1
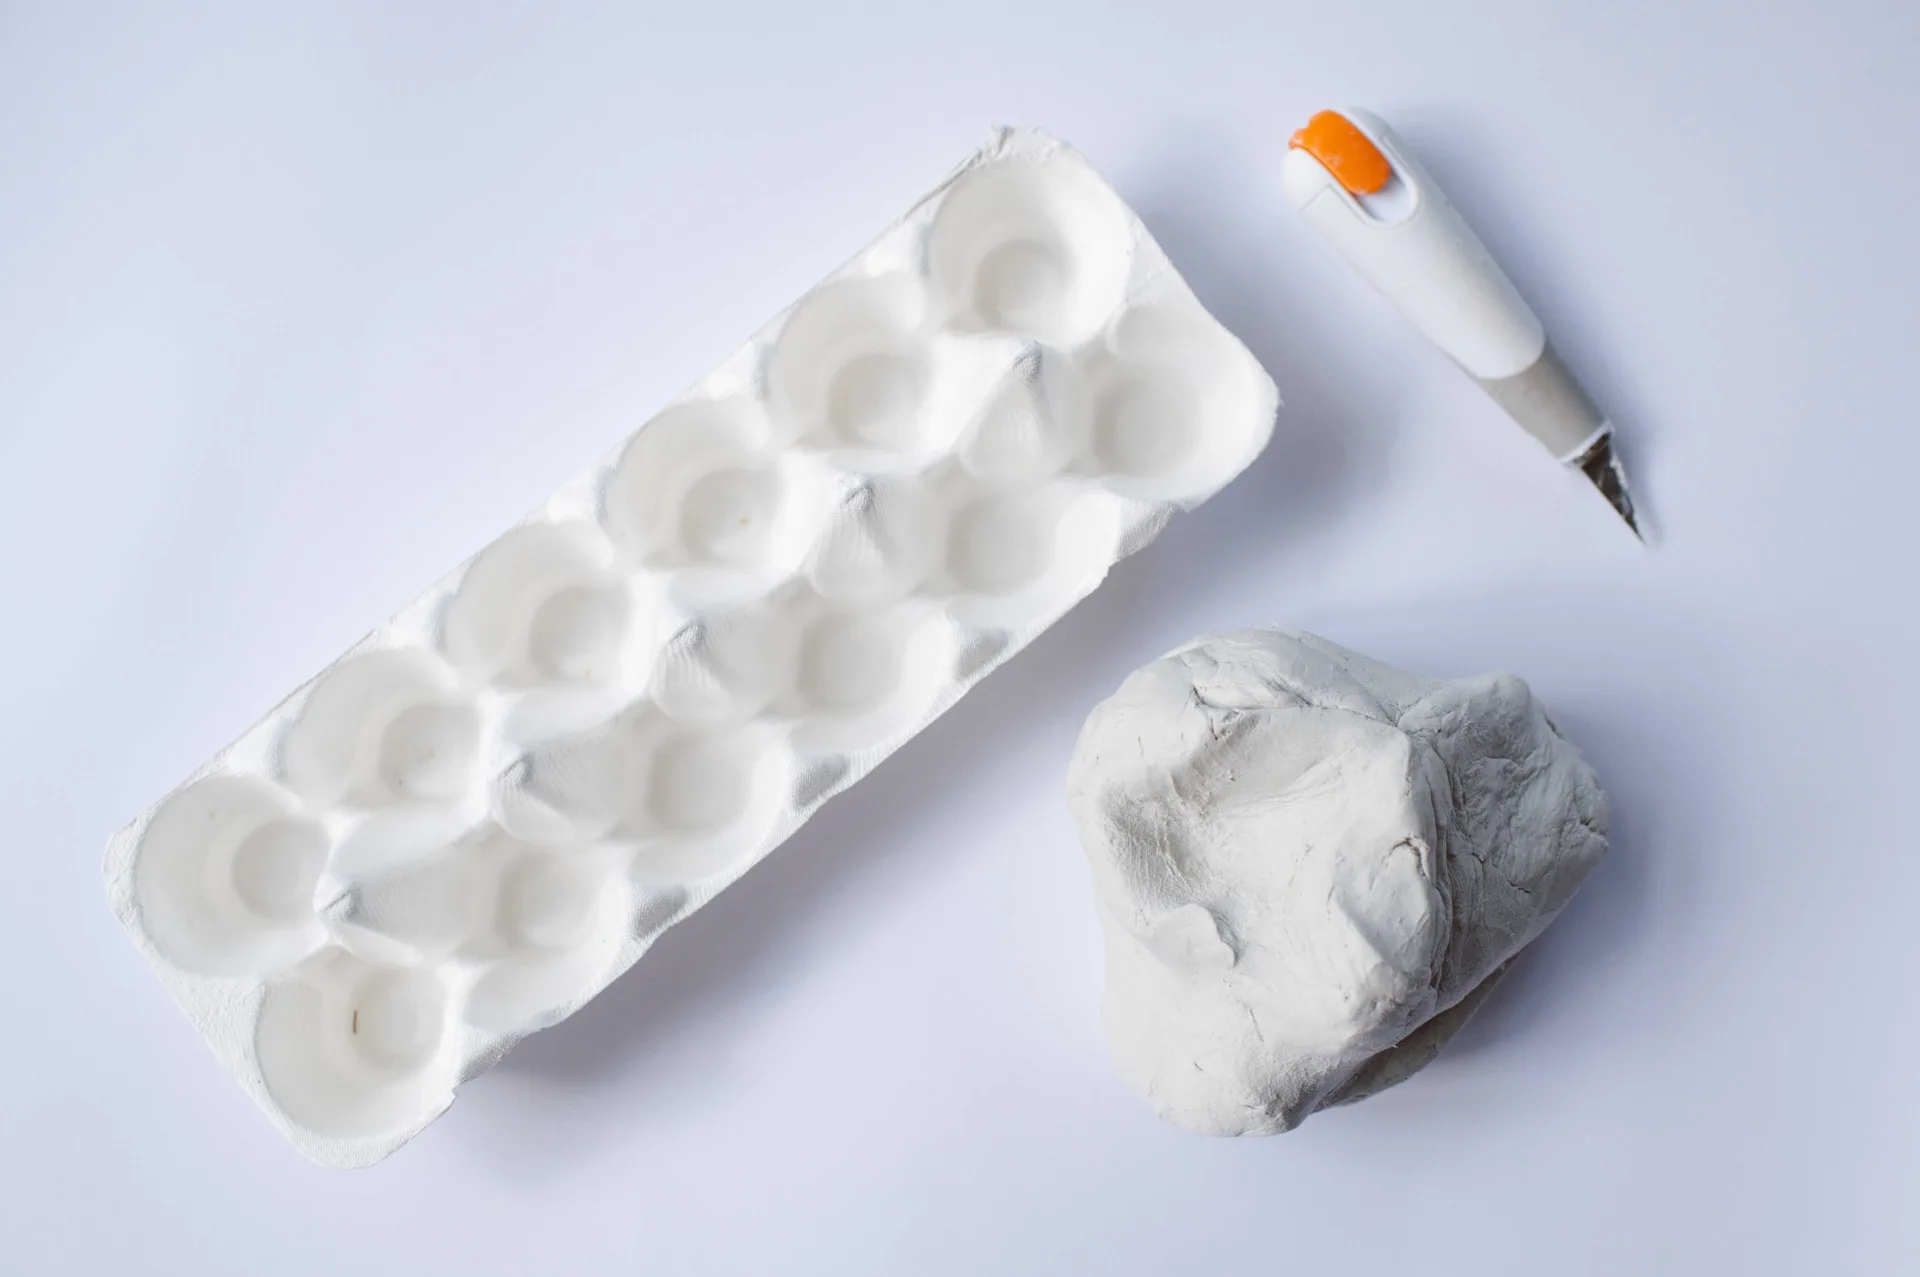
Open the cardboard egg carton and use scissors to cut off the lid section. You’ll use the bottom section as your mould.
Step 2
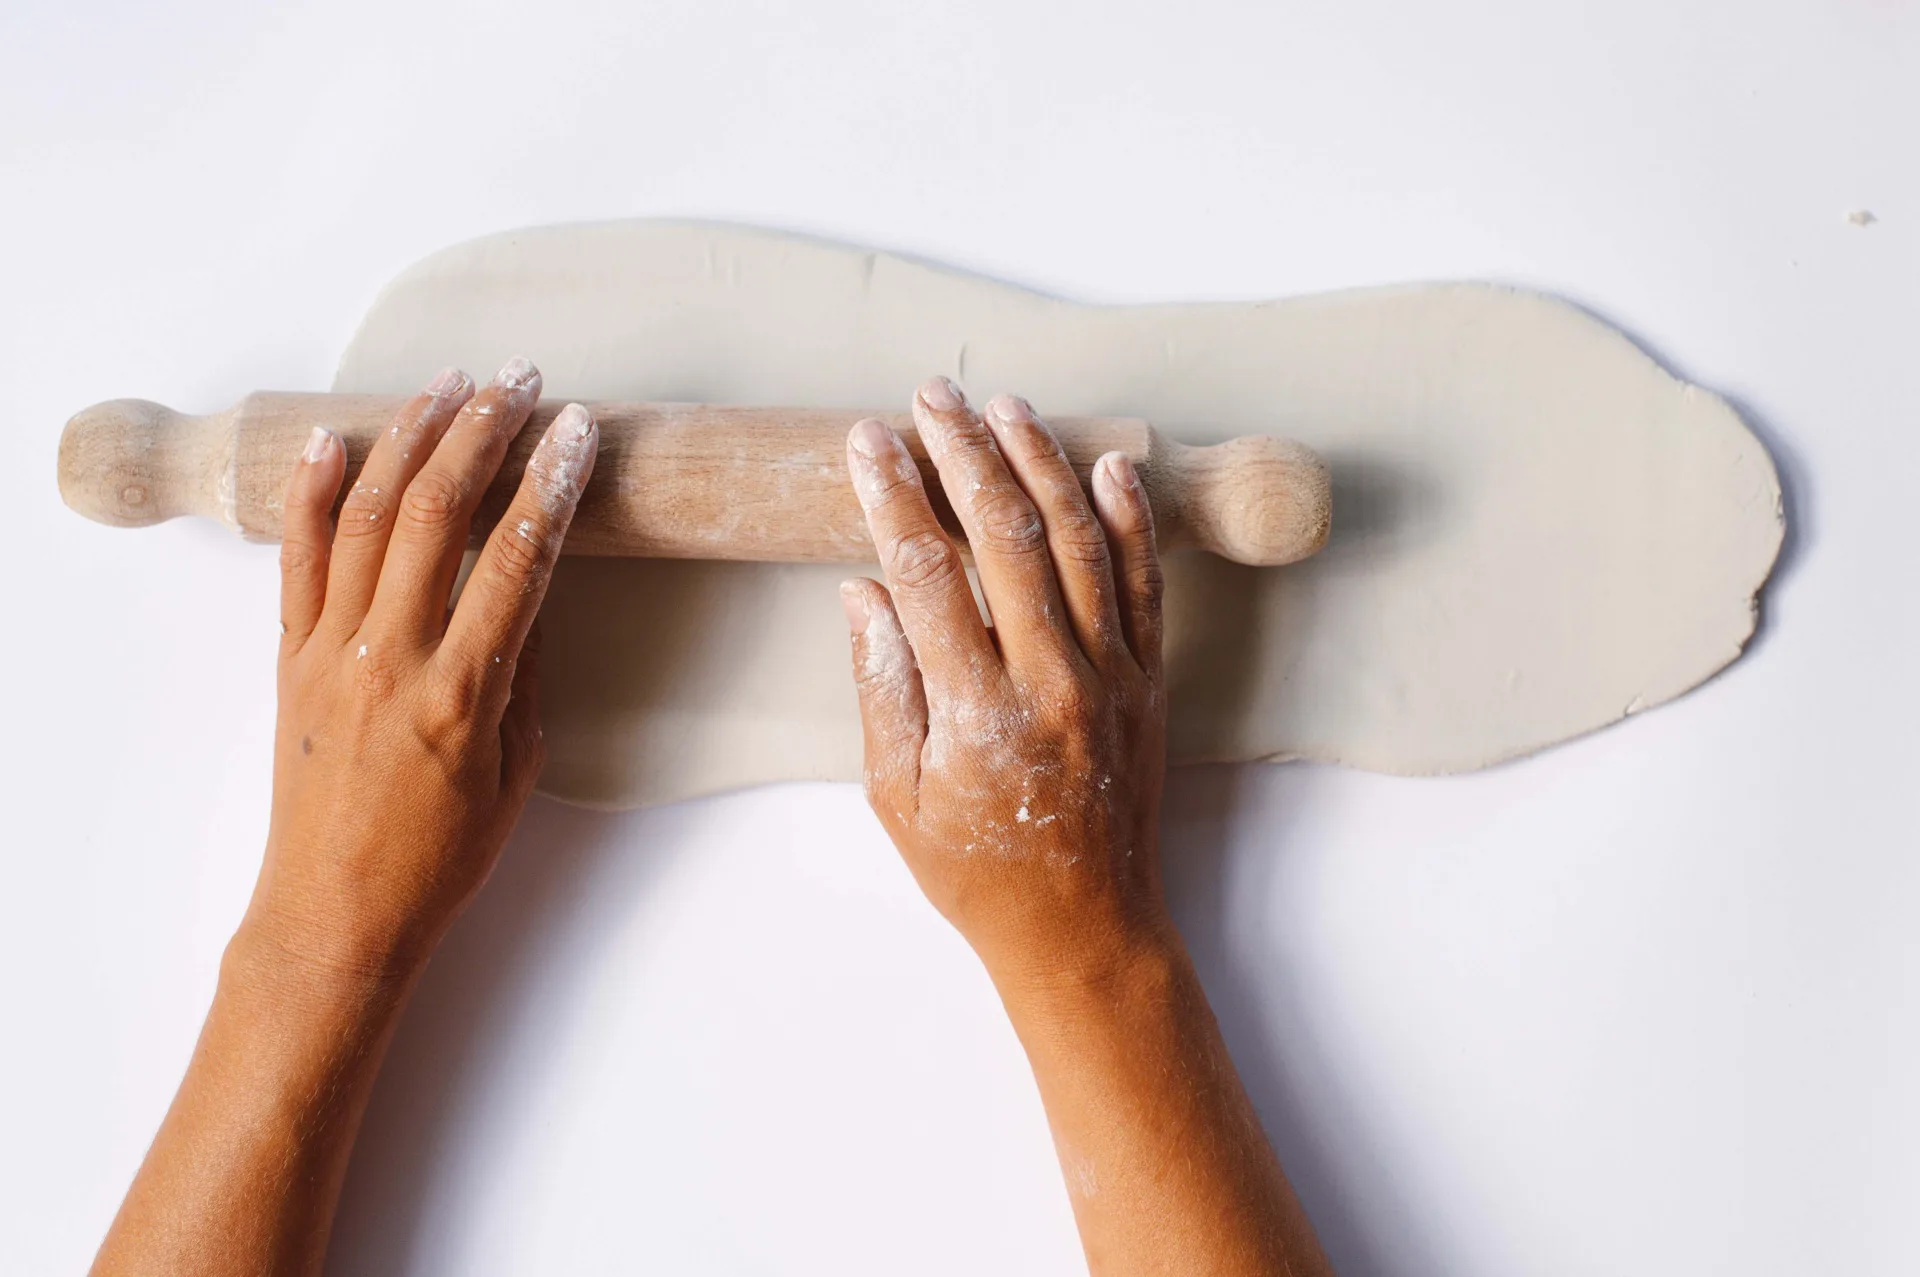
Roll out the air-dry clay on a clean surface until it is large enough to cover the egg carton base. You want it to be 5–8mm thick.
Step 3
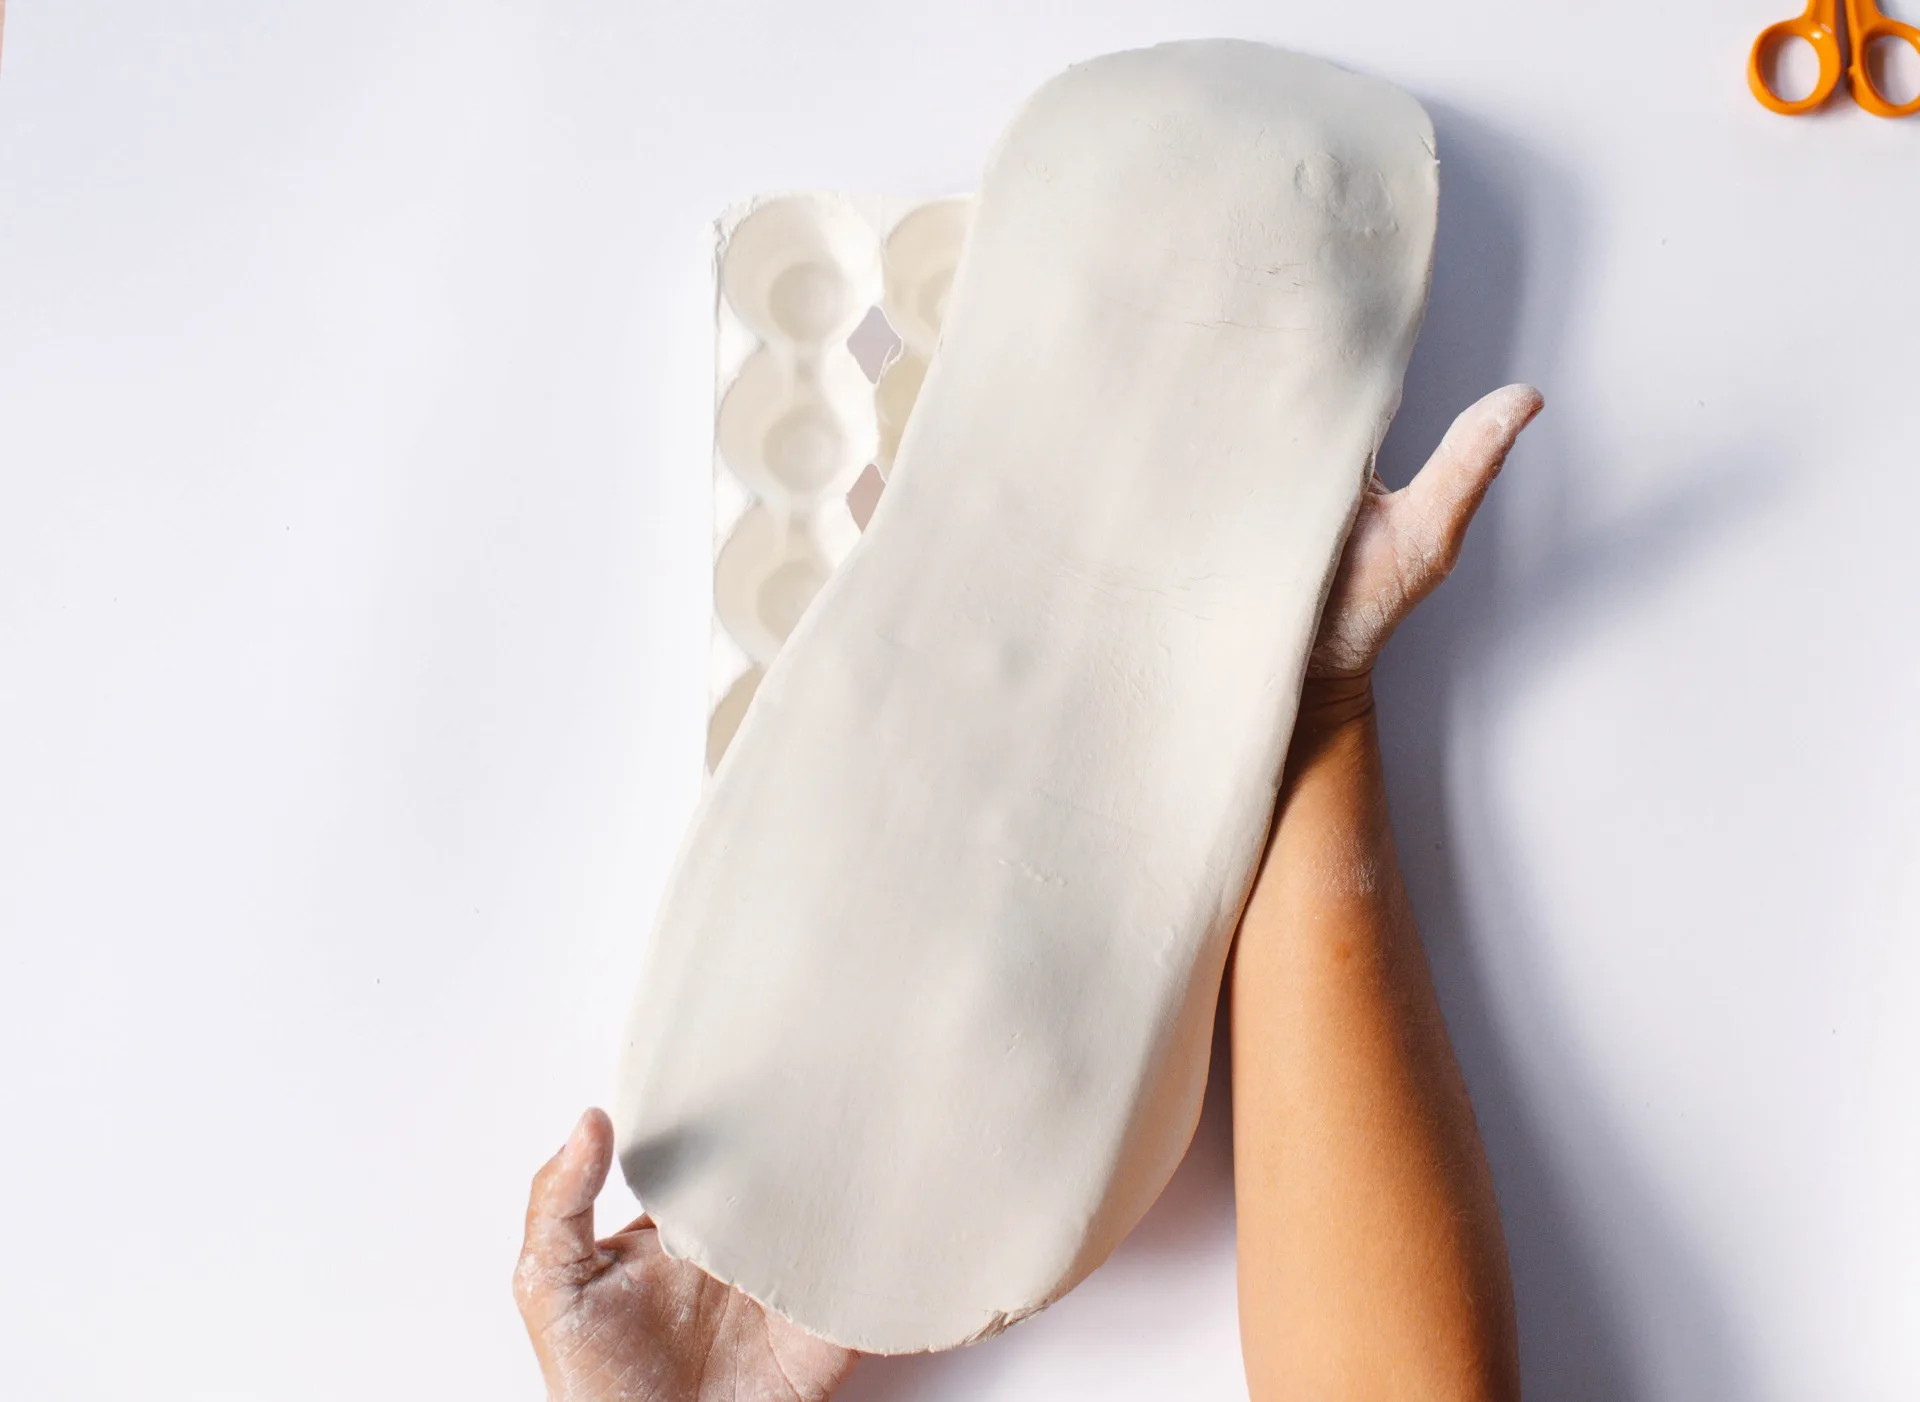
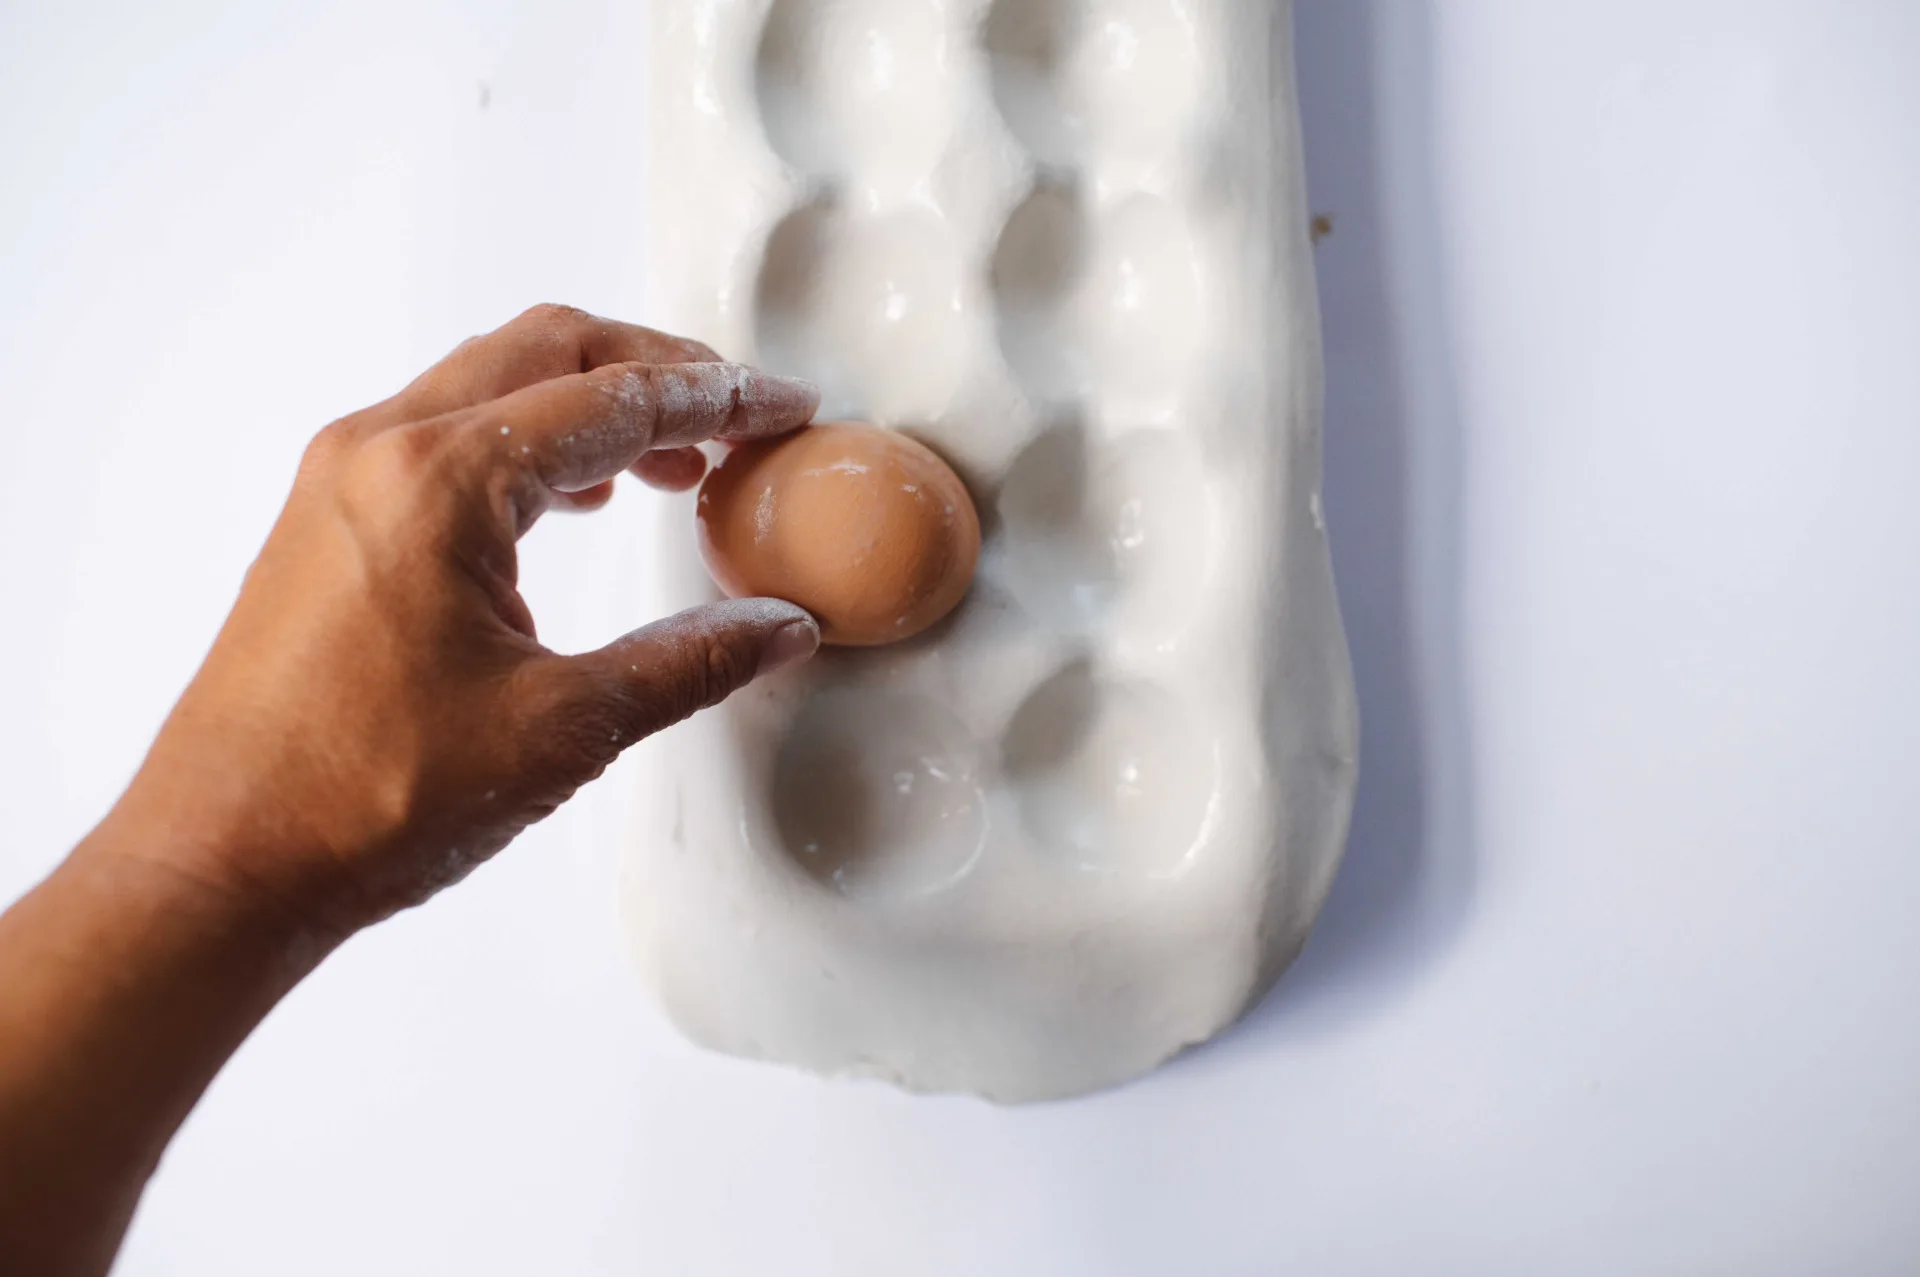
Gently press the clay over the carton, then use a boiled egg to shape it into each egg cup. Neaten the edges with a craft knife or clay tool.
Step 4
Smooth the clay with your fingers and a little water, making sure it sits neatly around each dip.
Step 5
Leave the clay to dry completely. This might take a while as it is a large volume of clay. I recommend leaving it for 24–48 hours. Cover it with plastic wrap so the clay dries more slowly, reducing the chance of cracking.
Step 6
Once dry, remove it from the egg carton and lightly sand any rough edges with fine sandpaper until smooth.
Step 7
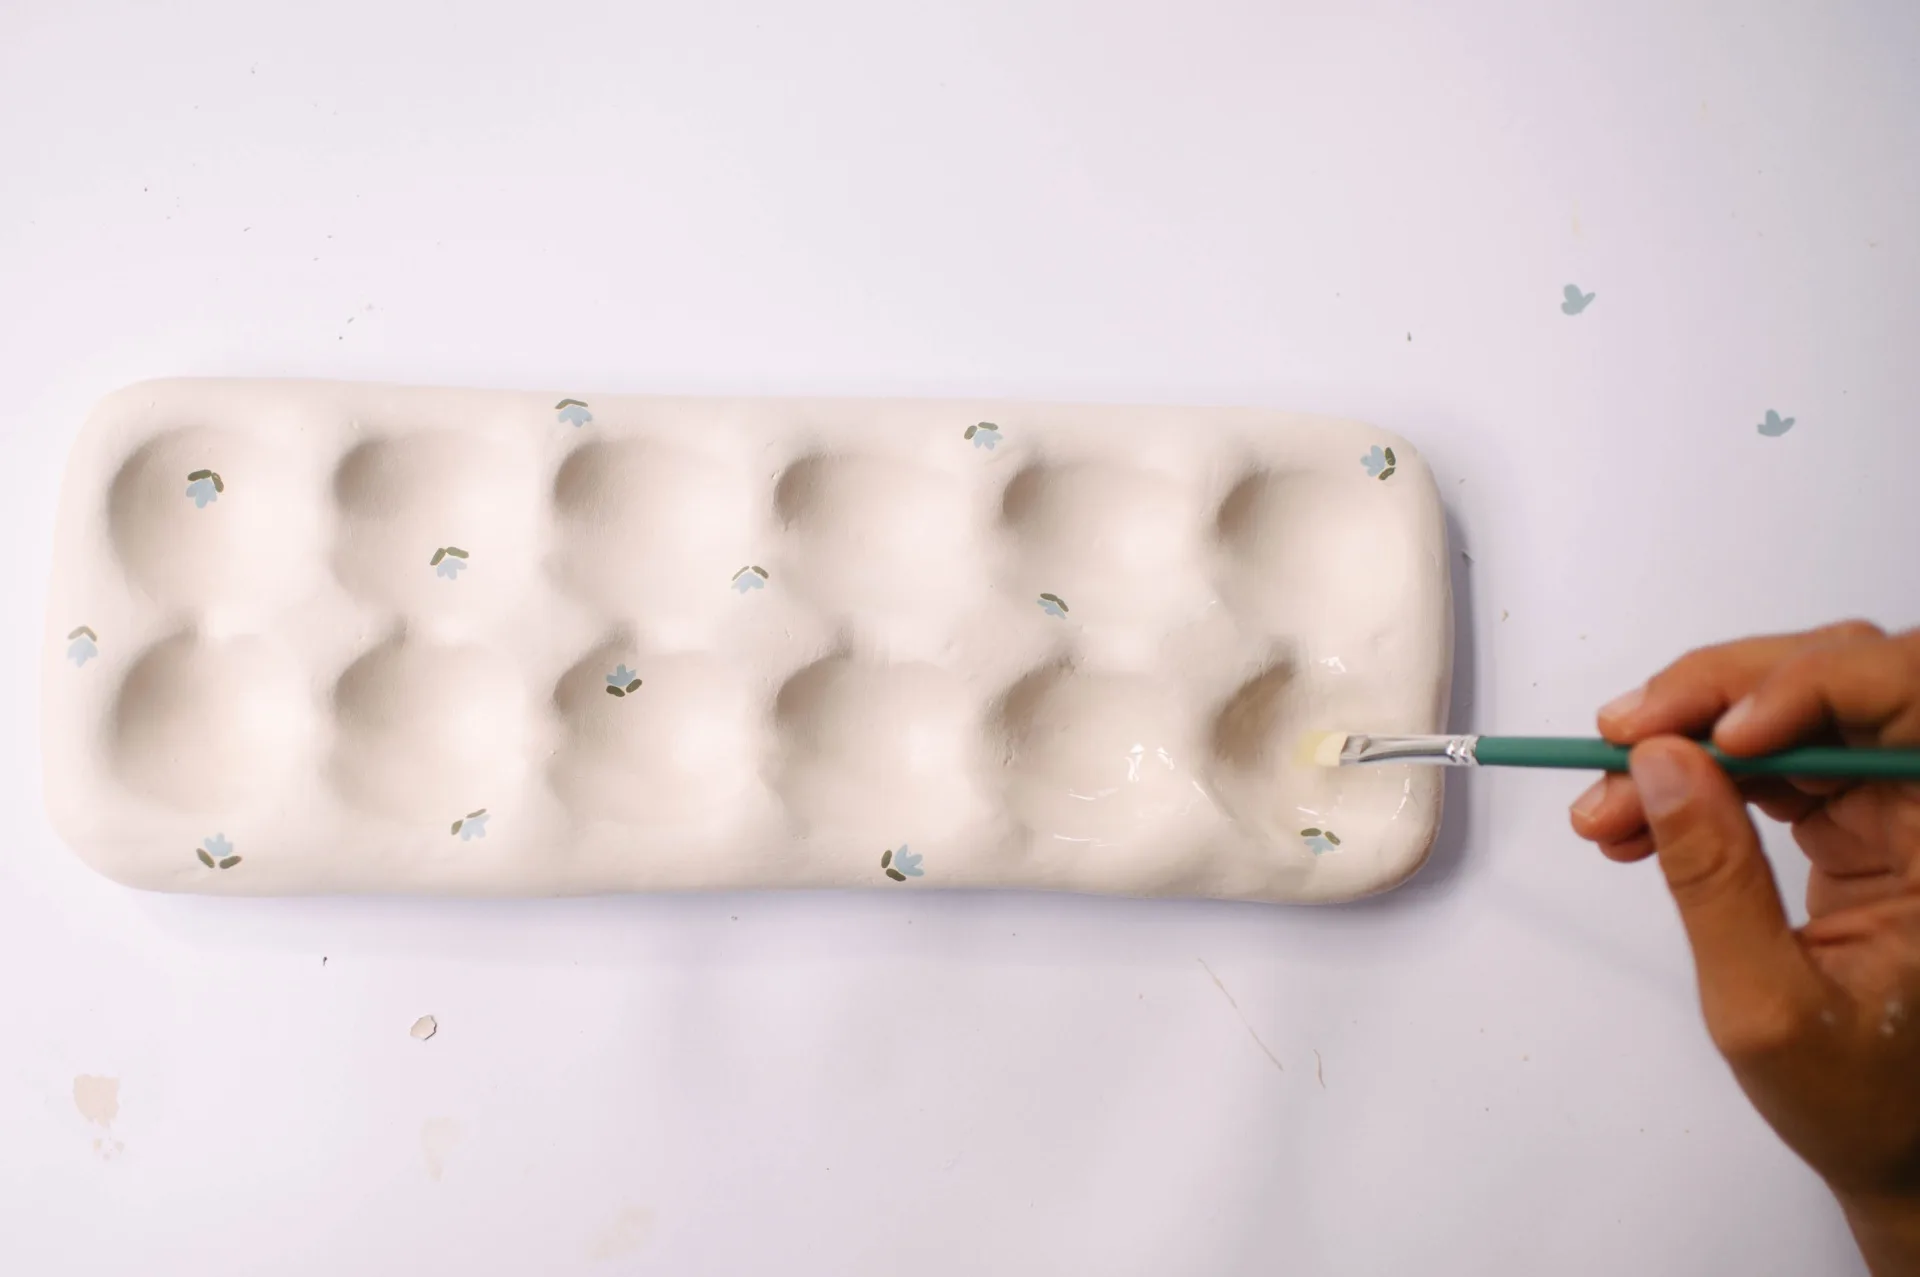
Paint the tray with two to three thin coats of acrylic paint, leaving each to dry before applying the next one. Add a few floral motifs, if you like, after the final coat. Leave to fully dry.
Step 8
Brush on two coats of resin or water-based polyurethane, allowing it to dry between coats. Apply it all over the tray. (If using resin, apply with a gold Taklon brush or foam brush.) When the finish is fully dry, your egg tray is ready to use.




Related stories

Native ad body.
Native ad body.

Native ad body.