
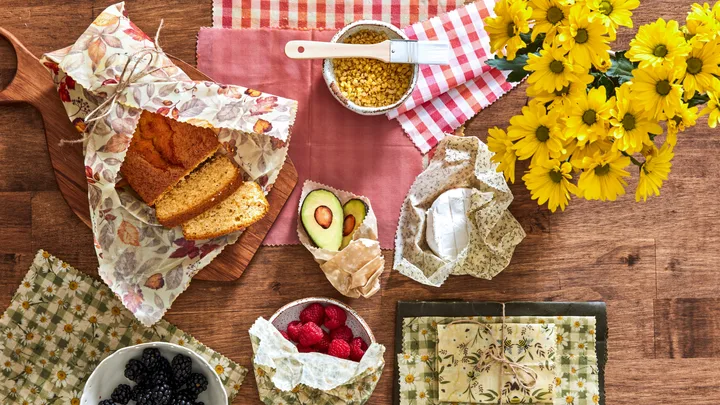
When you have extra offcuts of fabric lying around in the craft room (like I do!), beeswax wraps are the perfect way to give them a second life.
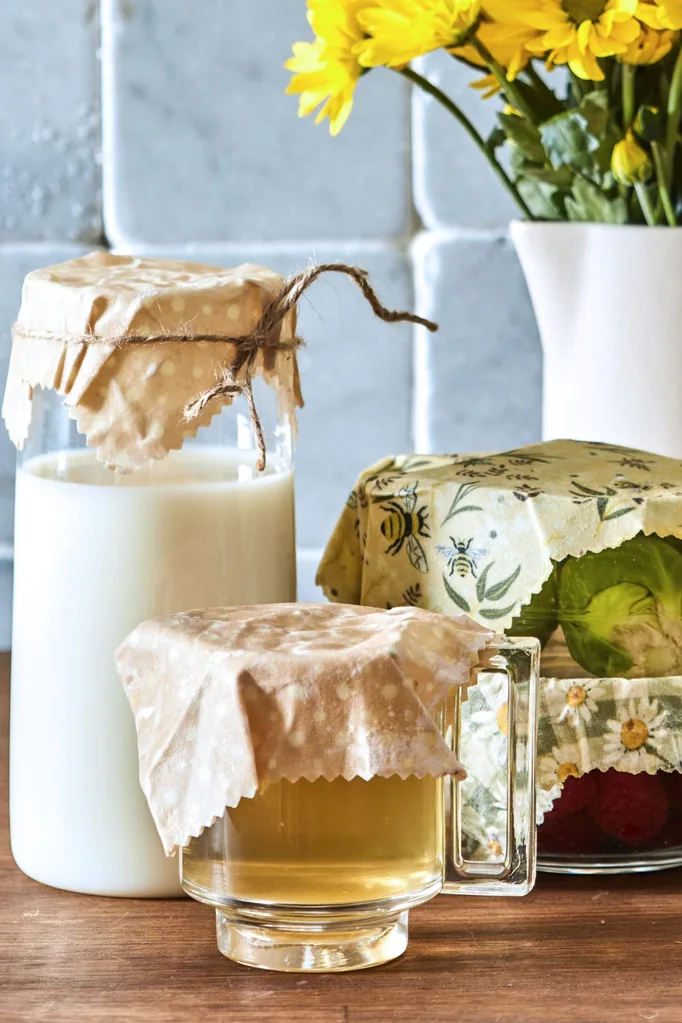
They can then be used to cover jars and wrap odds and ends of food, pack sandwiches in kids’ lunchboxes or create gift packs that friends and family will love. Any old cotton fabric will do.
Step-by-step guide for making beeswax wraps
Gather your supplies
- 100 per cent cotton fabric, washed
- Pinking shears
- Beeswax pellets or grated beeswax
- Baking tray lined with parchment paper
- Paintbrush for spreading wax
- Oven or double boiler
Step 1
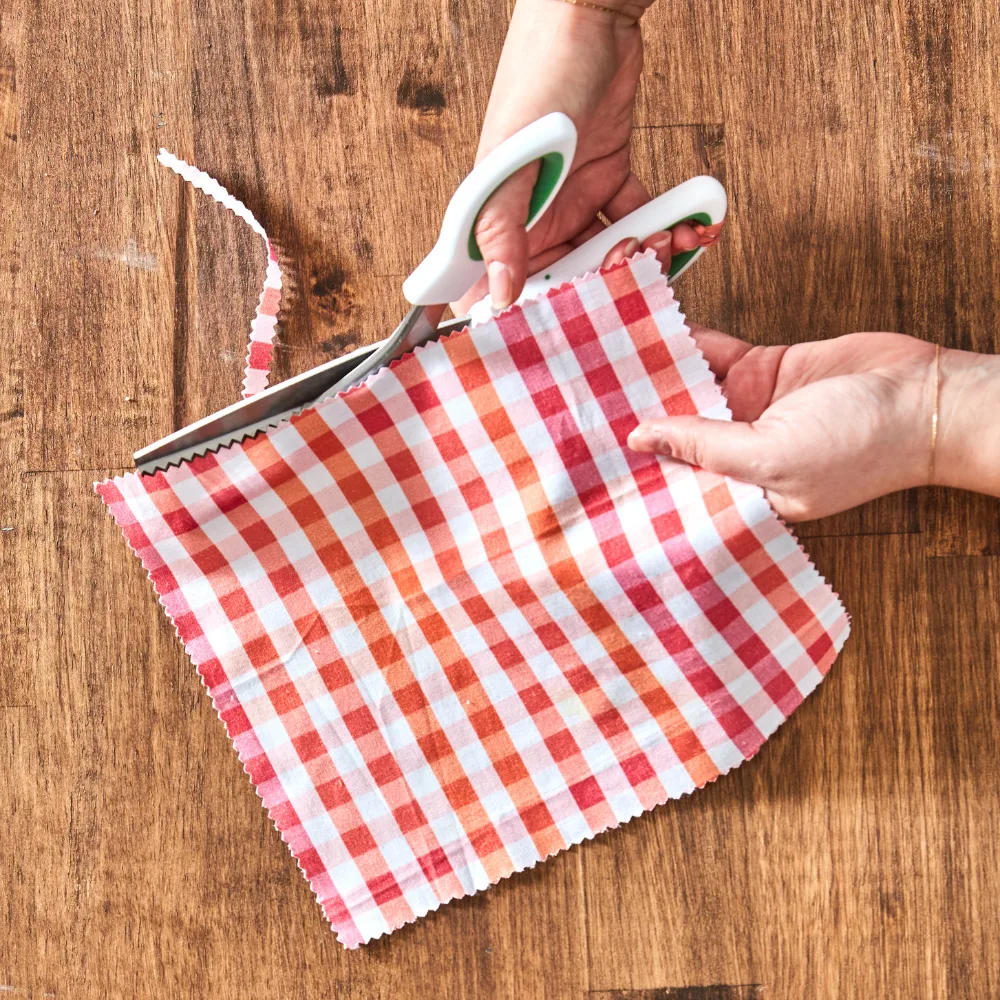
Cut clean cotton fabric into desired sizes. Cut fabric with pinking shears to prevent fabric from fraying.
Step 2
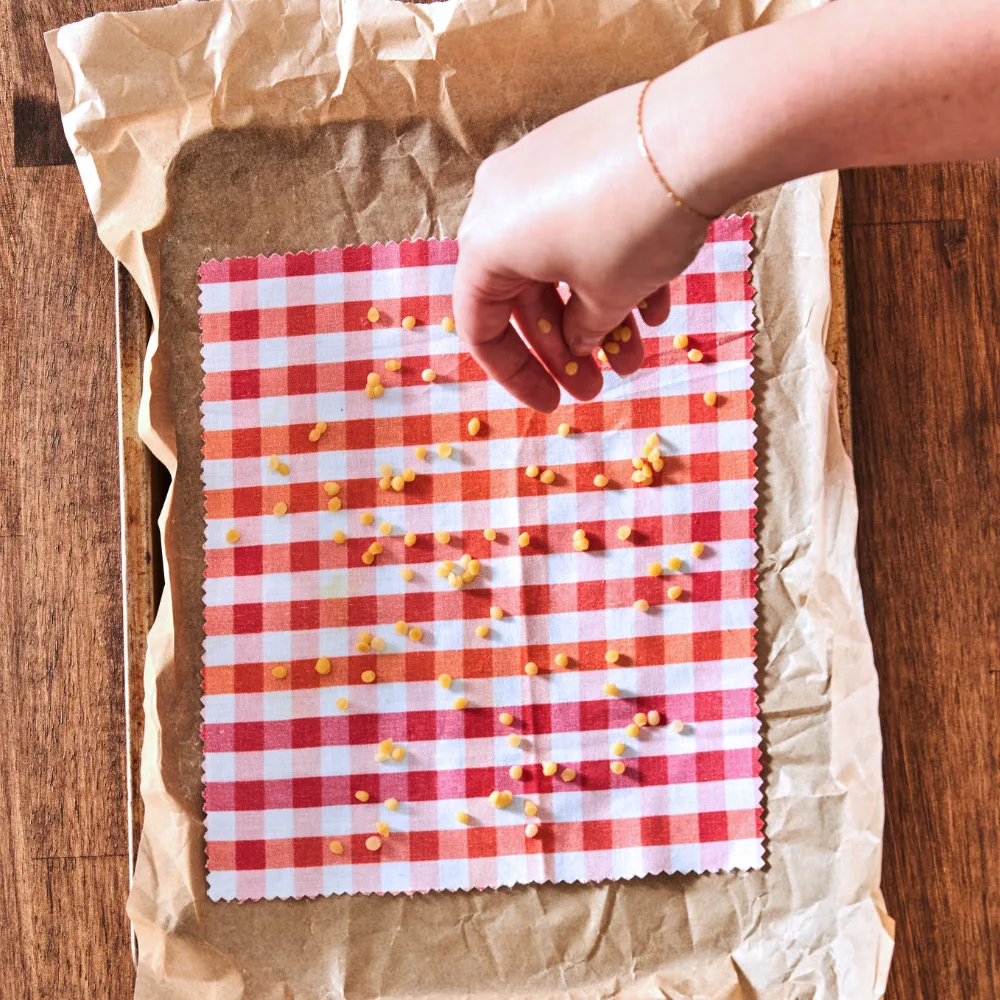
Preheat the oven to 150–180°C (300–350°F). Place the fabric on a lined baking tray and sprinkle the beeswax pellets over the fabric evenly. Use less wax to avoid stiffness; you can always add more if needed.
Step 3
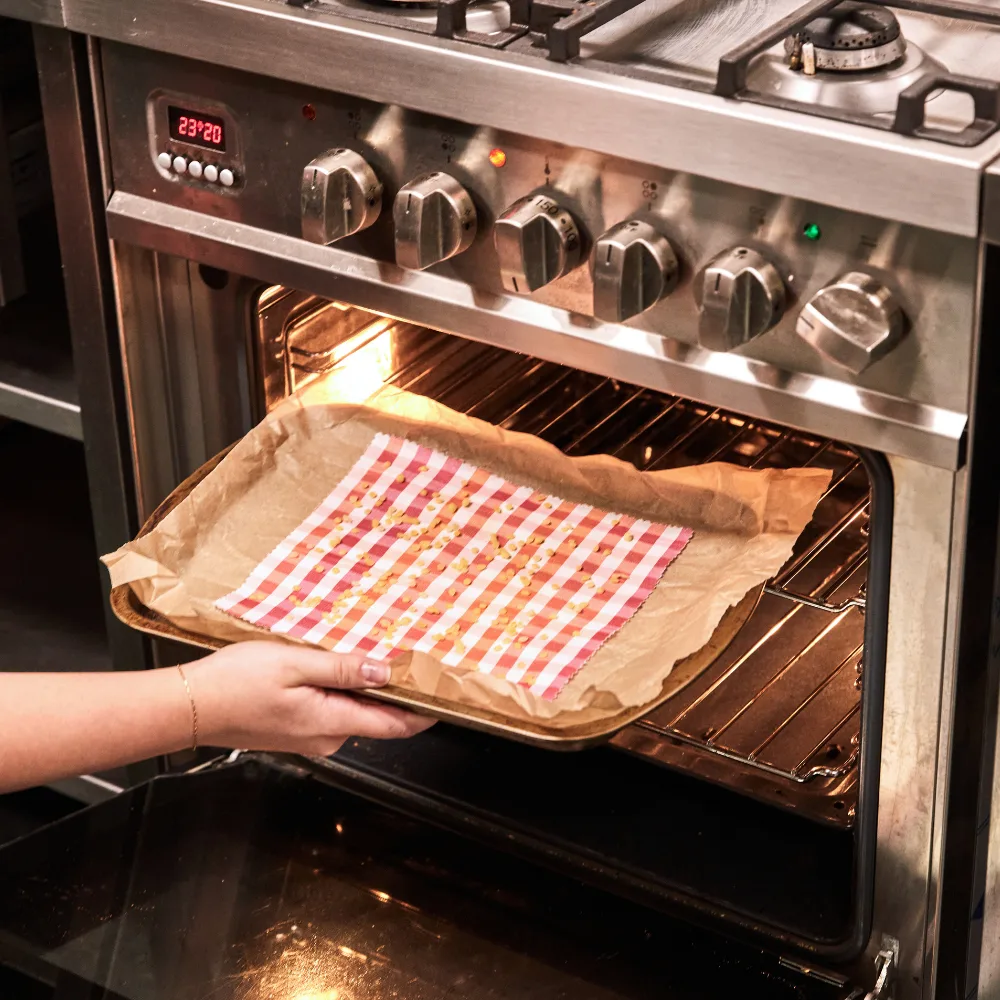
Place the wraps in the oven for 1–5 minutes until the wax melts and soaks into the fabric.
Step 4
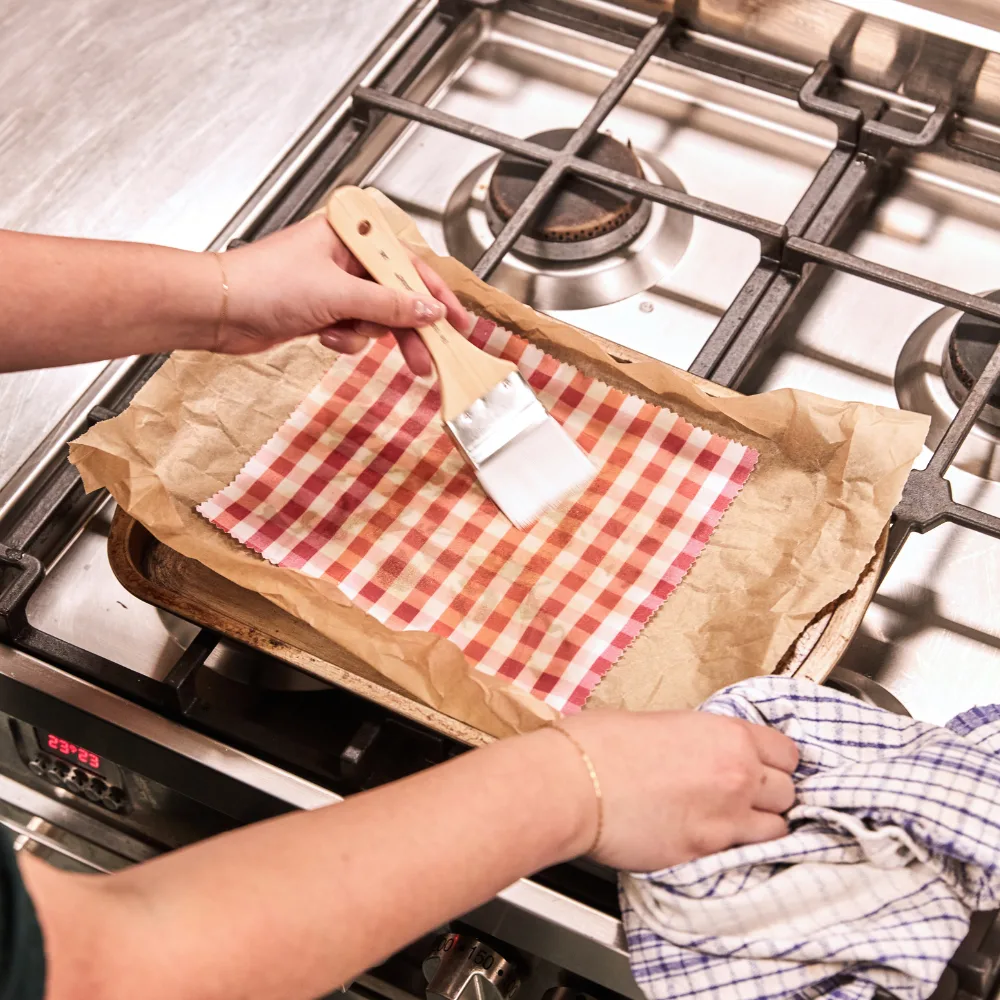
Using a paintbrush, spread the wax across the fabric evenly, ensuring it covers all the edges.
Step 5
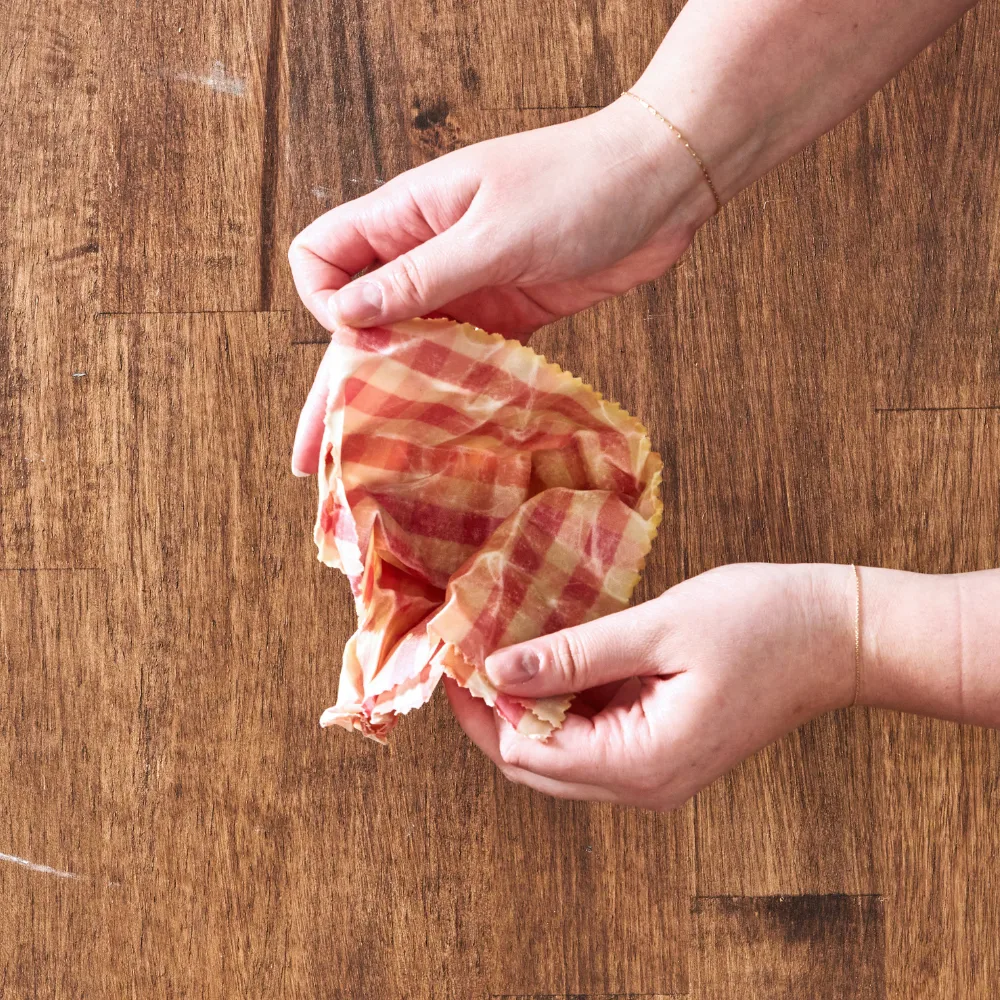
Dry the fabric by hanging or laying it flat. Once the wax has hardened, scrunch it in your hands to make it tacky, and it’s ready for use. If you want to go the extra mile, sew buttons, add ties, or make pouches for snack bags. Use wraps to cover bowls or wrap food.

Related stories

Native ad body.
Native ad body.
Native ad body.