

So, you’ve got a space in your house that is clean, functional and styled with the basics, and yet something’s missing.
The solution? Small changes that can make a big impact.
Look beyond the obvious floor, wall or tabletop decor. Here’s how simple decorative elements will make your space feel more considered — without overspending.


Add intrigue to an archway or door
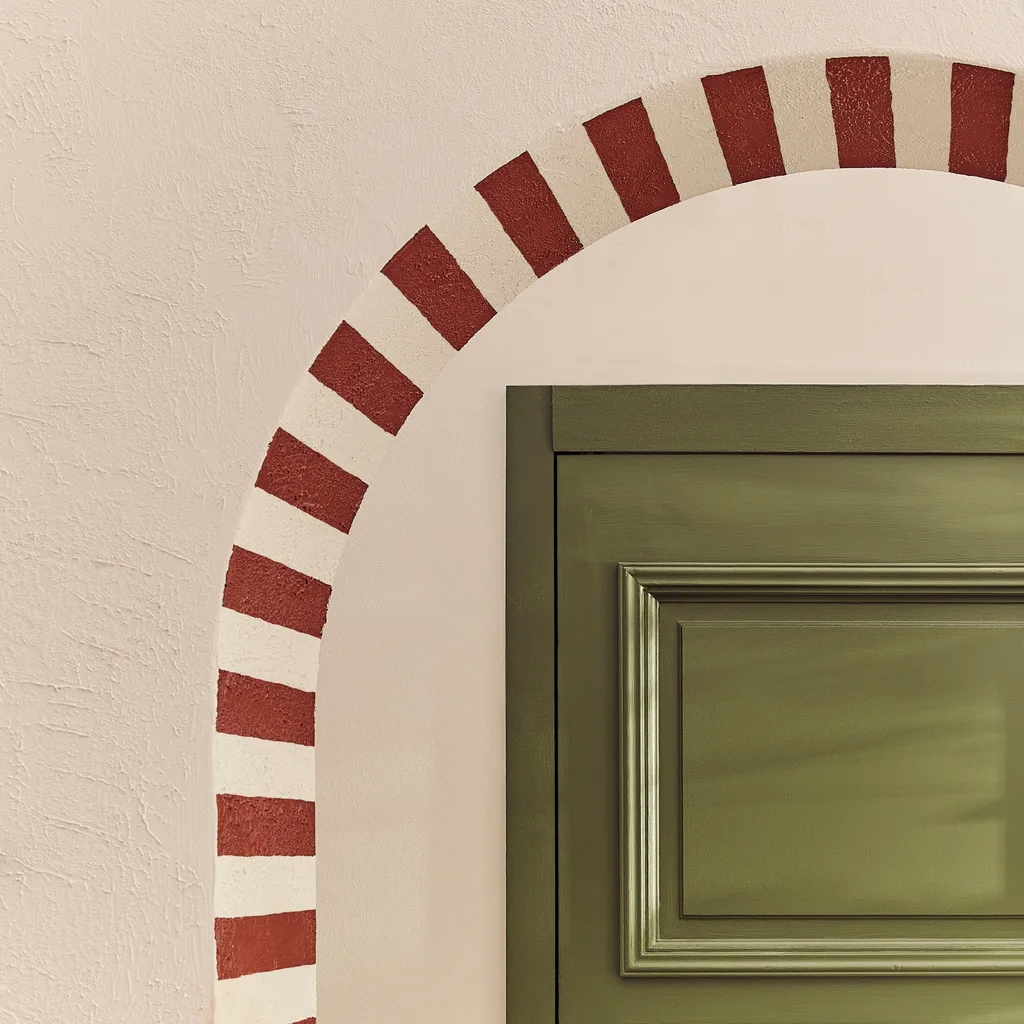
Use paint to add visual interest. Here, we painted the door and skirting board in a contrasting colour to the walls.
Remember to apply painter’s tape to protect your walls before you paint the timber trims.
Stripe the archway in a hue that echoes the floor. Follow these steps:
- Choose a painter’s tape as wide as the stripes you’d like (we used 5cm wide tape).
- Once you’re done, remove alternating strips.
- Firmly press down on the tape edges to avoid paint bleed.
- Carefully paint stripes, avoiding excess paint on the walls.
- Once the paint is dry, carefully pull off the remaining tape.
Put a skirt on your console
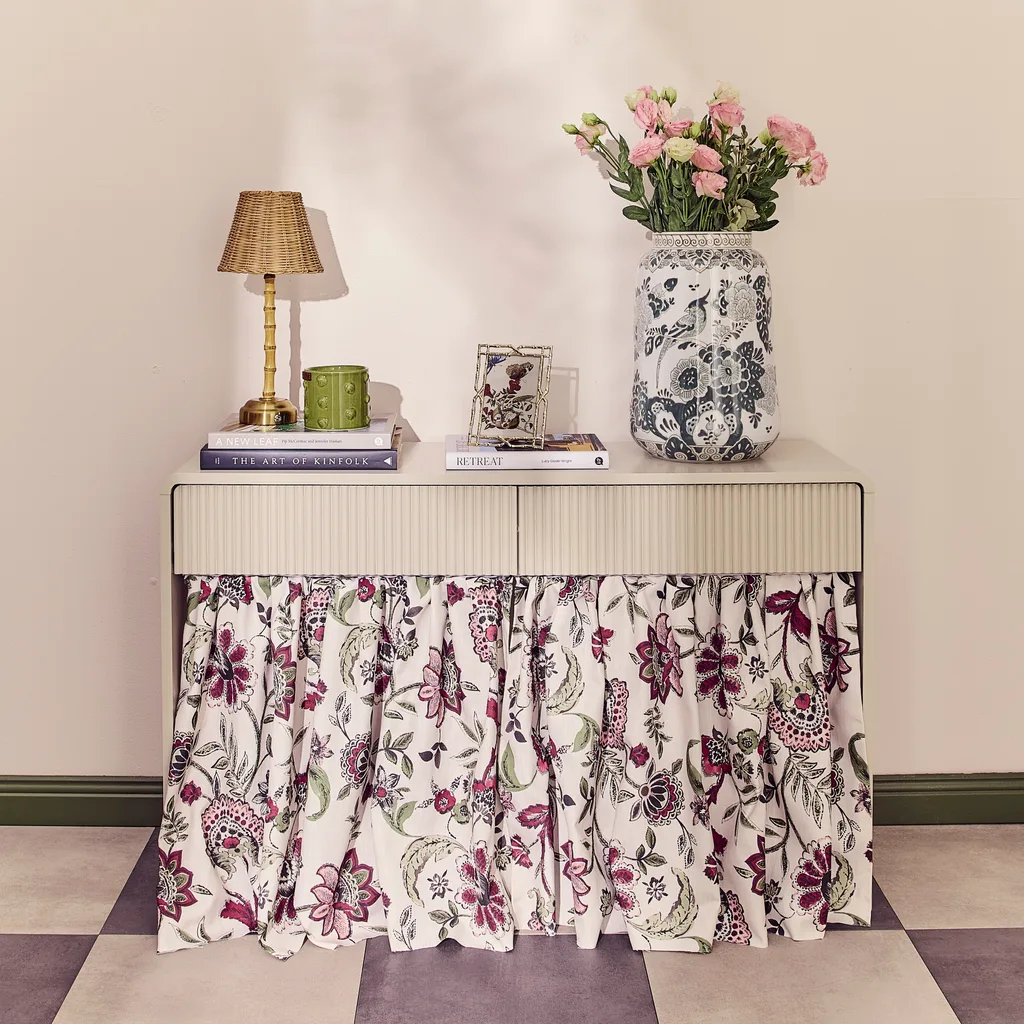
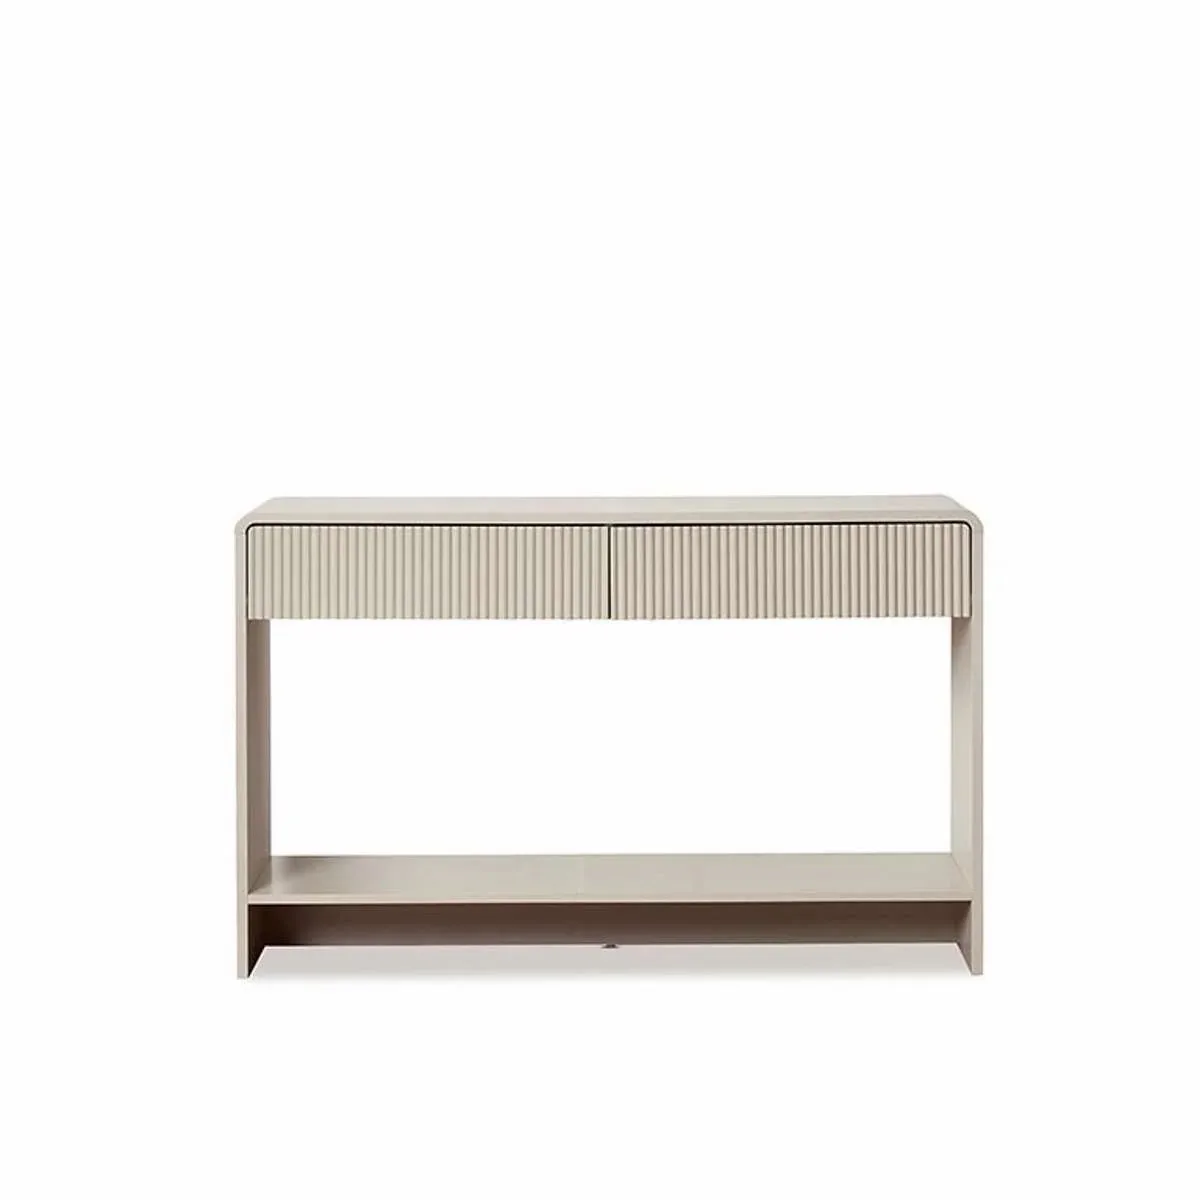
Make a console skirt to conceal shoe storage and bring in pattern and colour.
Follow these steps:
- Cut fabric a little wider than the console and deep enough to fall to the floor.
- Pleat or gather one long side to fit the console; hem as needed.
- Attach one side of a hook-and-loop fastener (Velcro or similar) to the console’s underside, and the facing side of the fastener to the skirt’s top.
- Join the fasteners.
Now you can store away your shoes without them looking untidy!
Craft a new lightshade
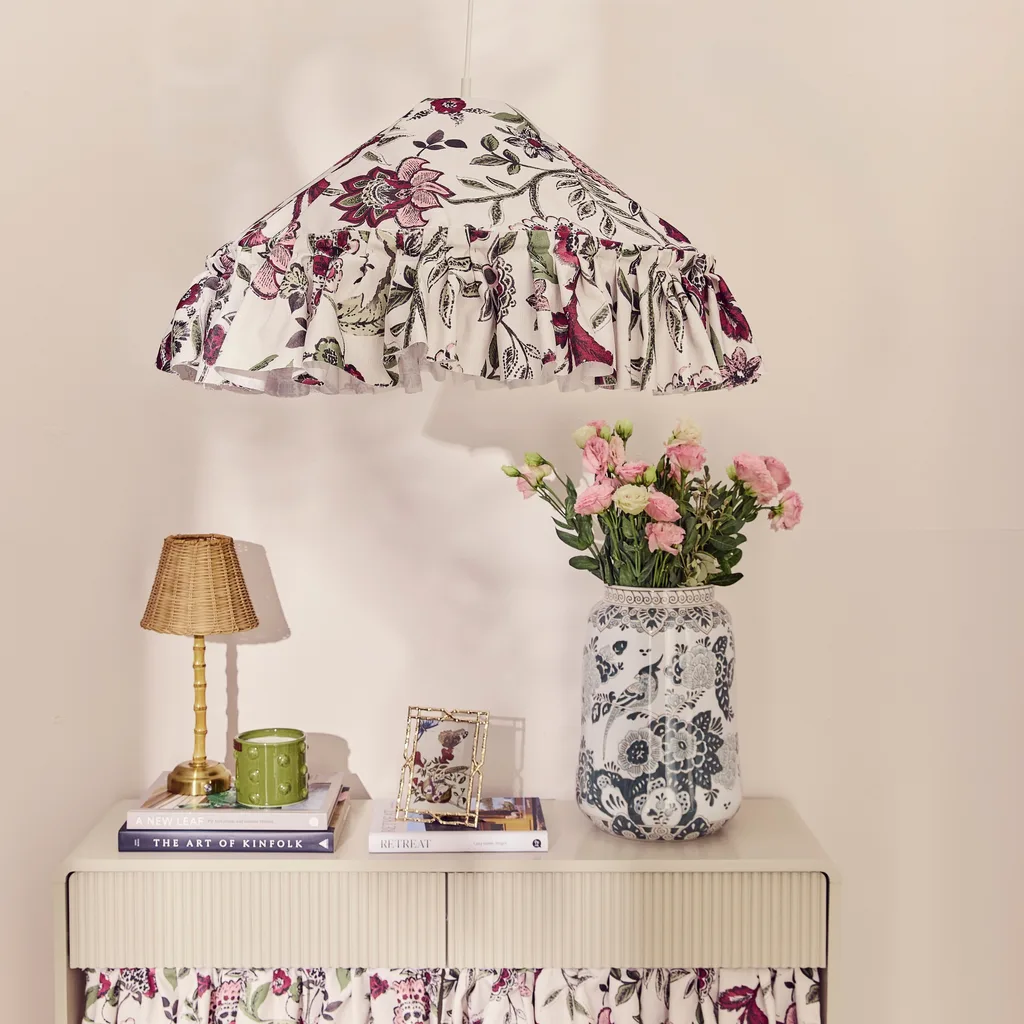
Make a new fabric cover for a lightshade to add some colour.
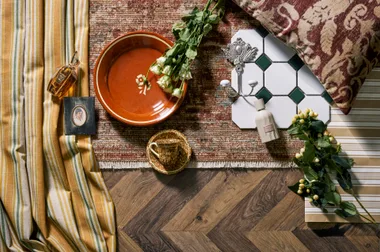
To keep the space looking cohesive, we used the same Odilia fabric as the console skirt to construct a new cover for the budget pendant lightshade. (You can use a different fabric, if you prefer.)
Follow these steps:
- First, measure your lightshade frame.
- Cut out a circle of fabric to cover the cone frame of your lightshade and a smaller circle for the centre, where the light cord comes through.
- Stitch or glue to the lightshade frame.
- Cut out additional lengths of fabric, and stitch or stick around the edge of the shade, ruching the fabric as you go, to make a soft ruffle.
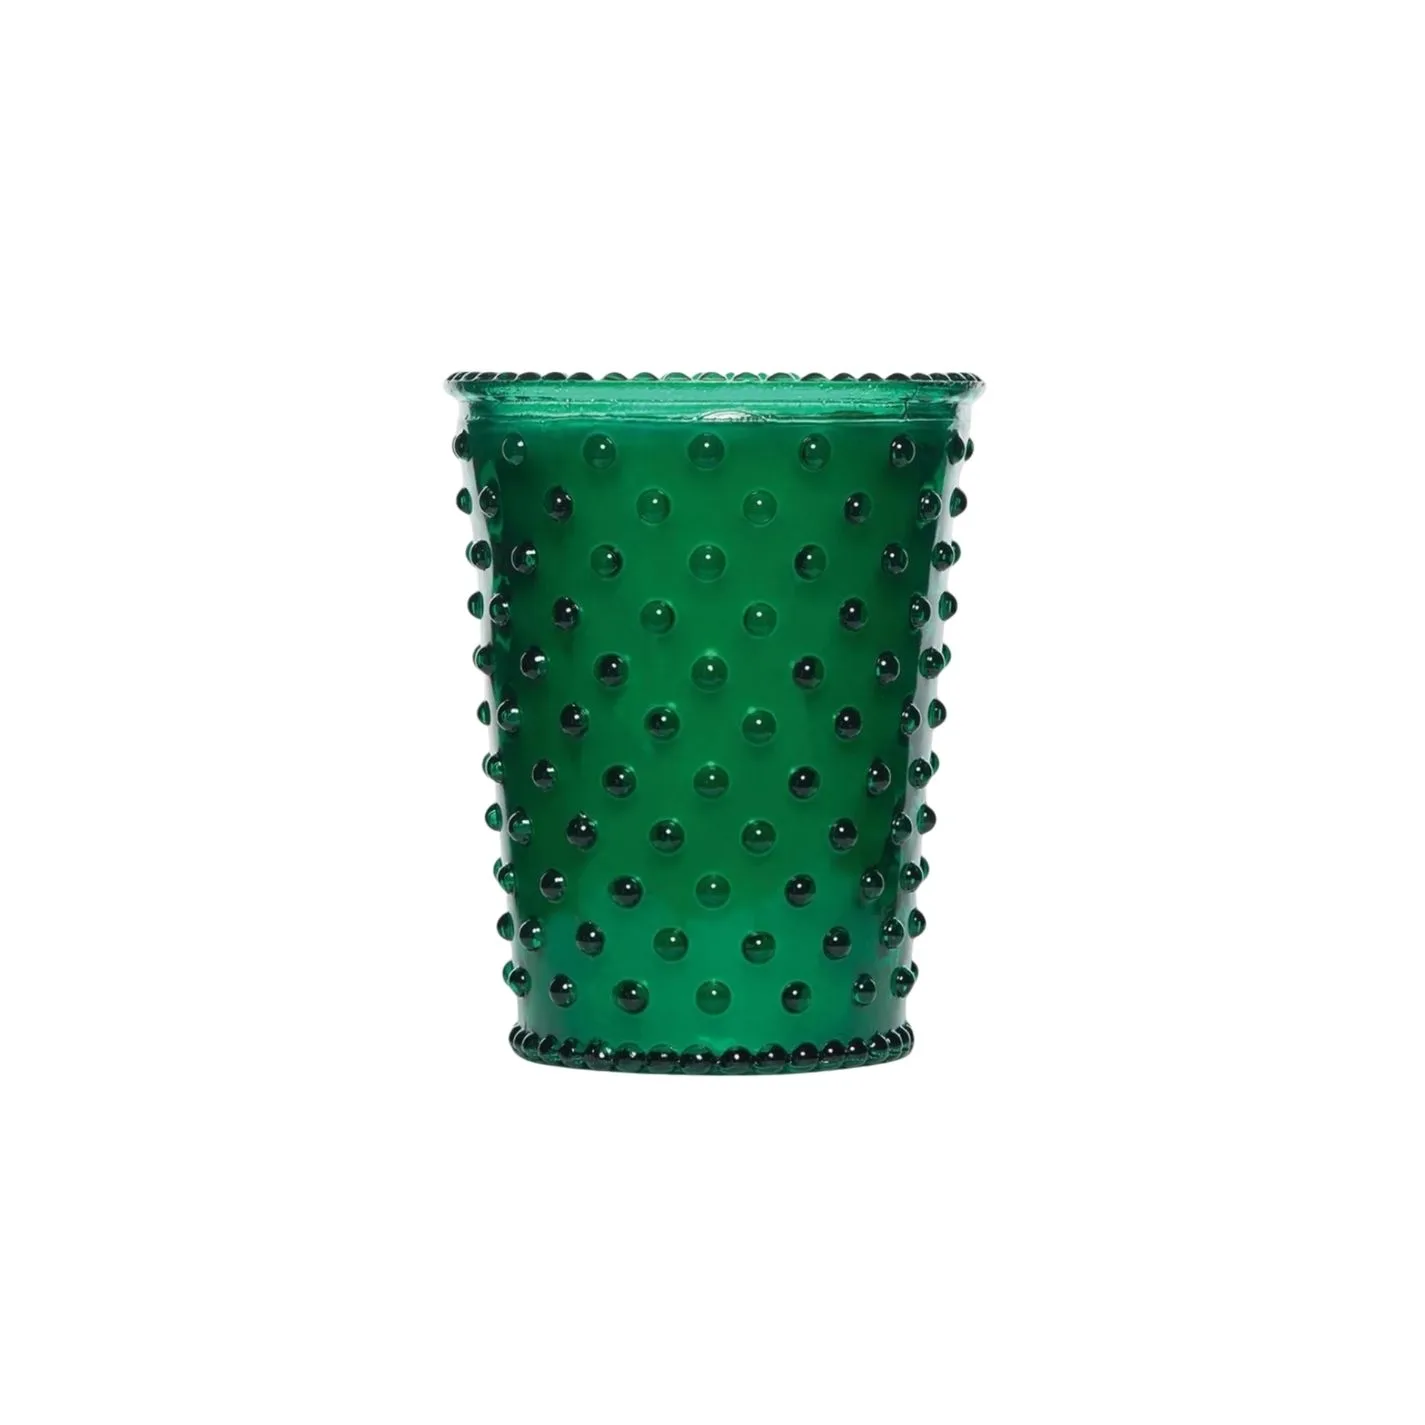
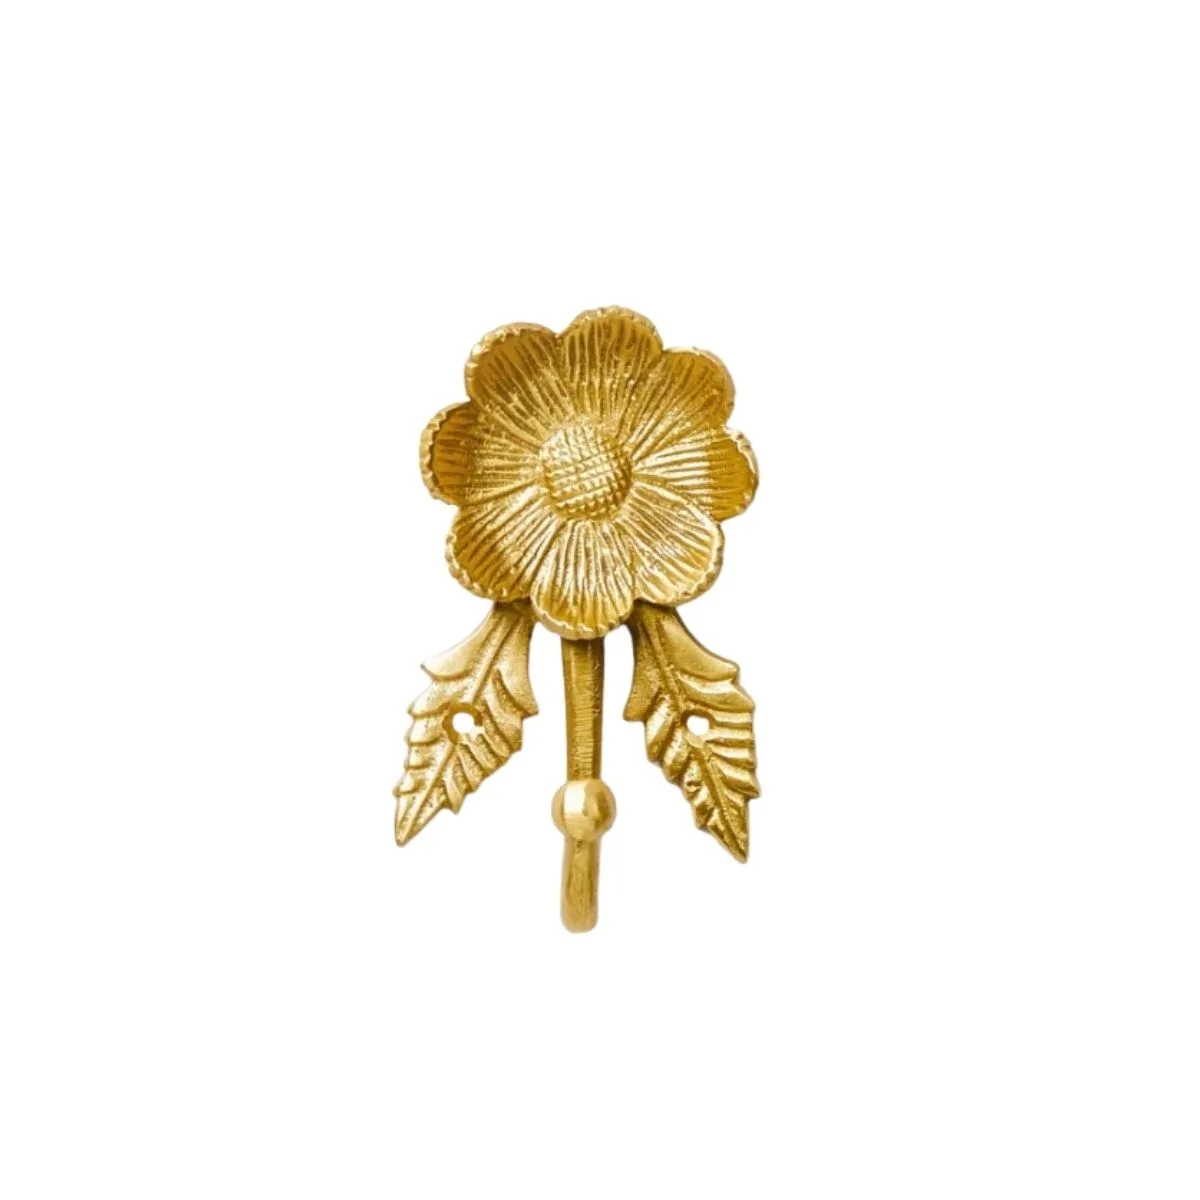

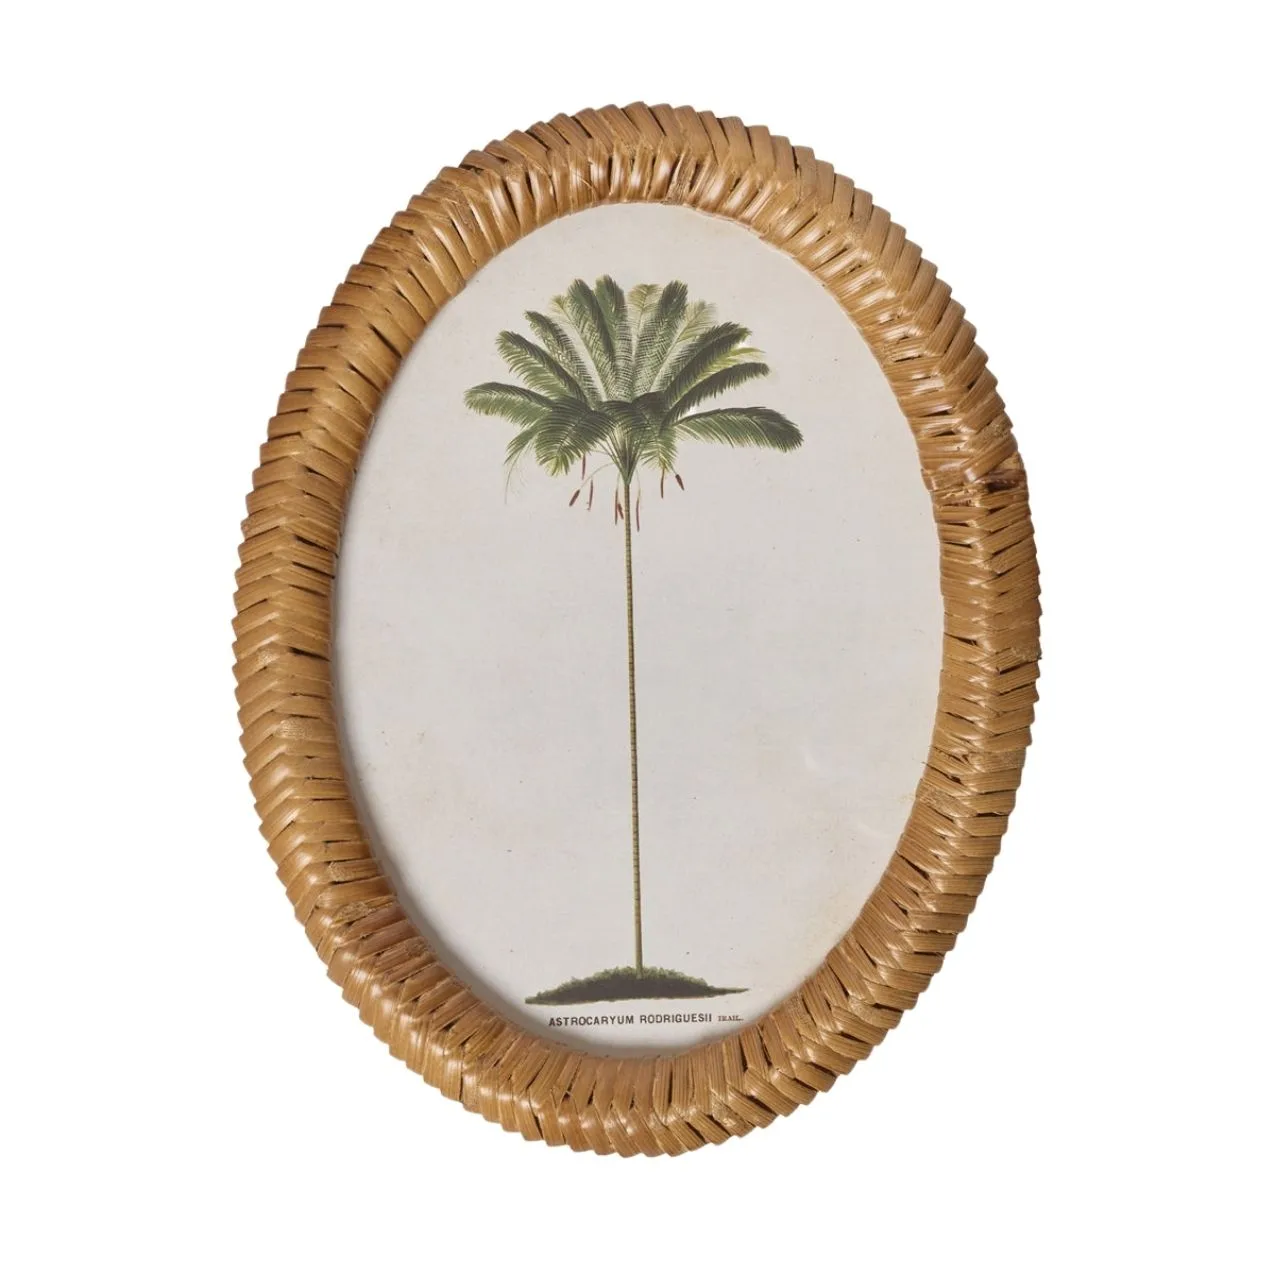
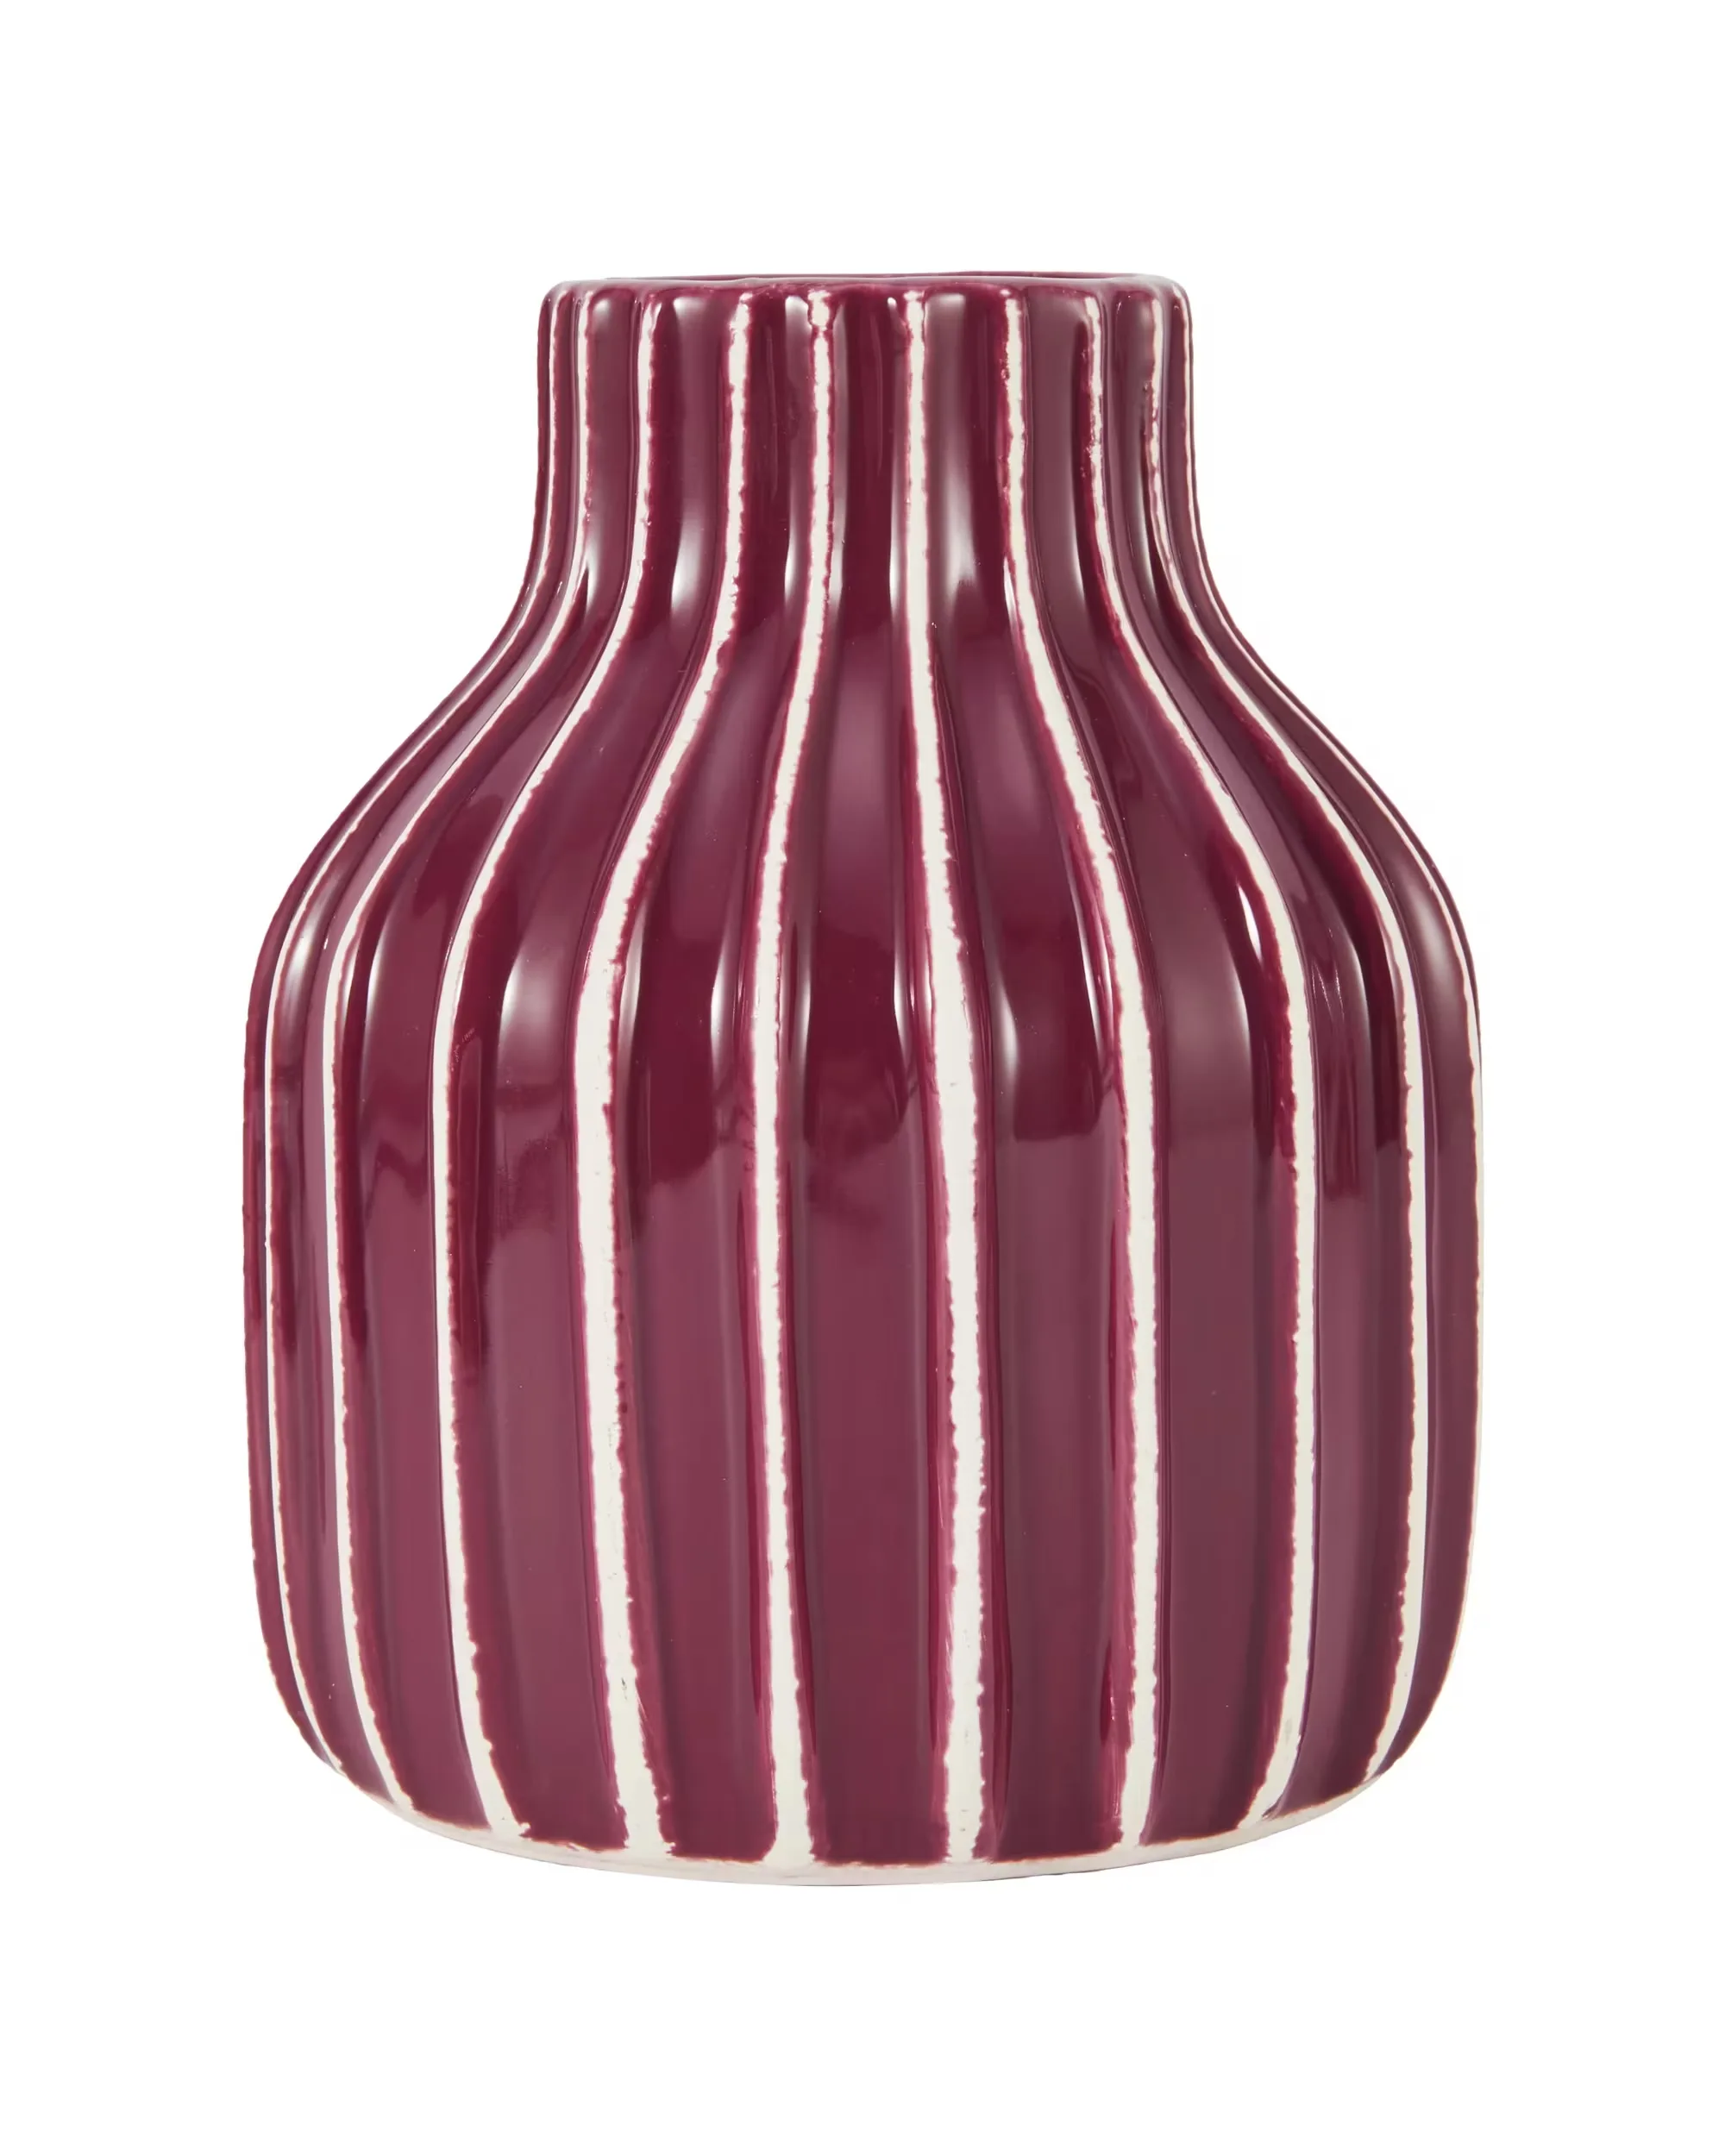
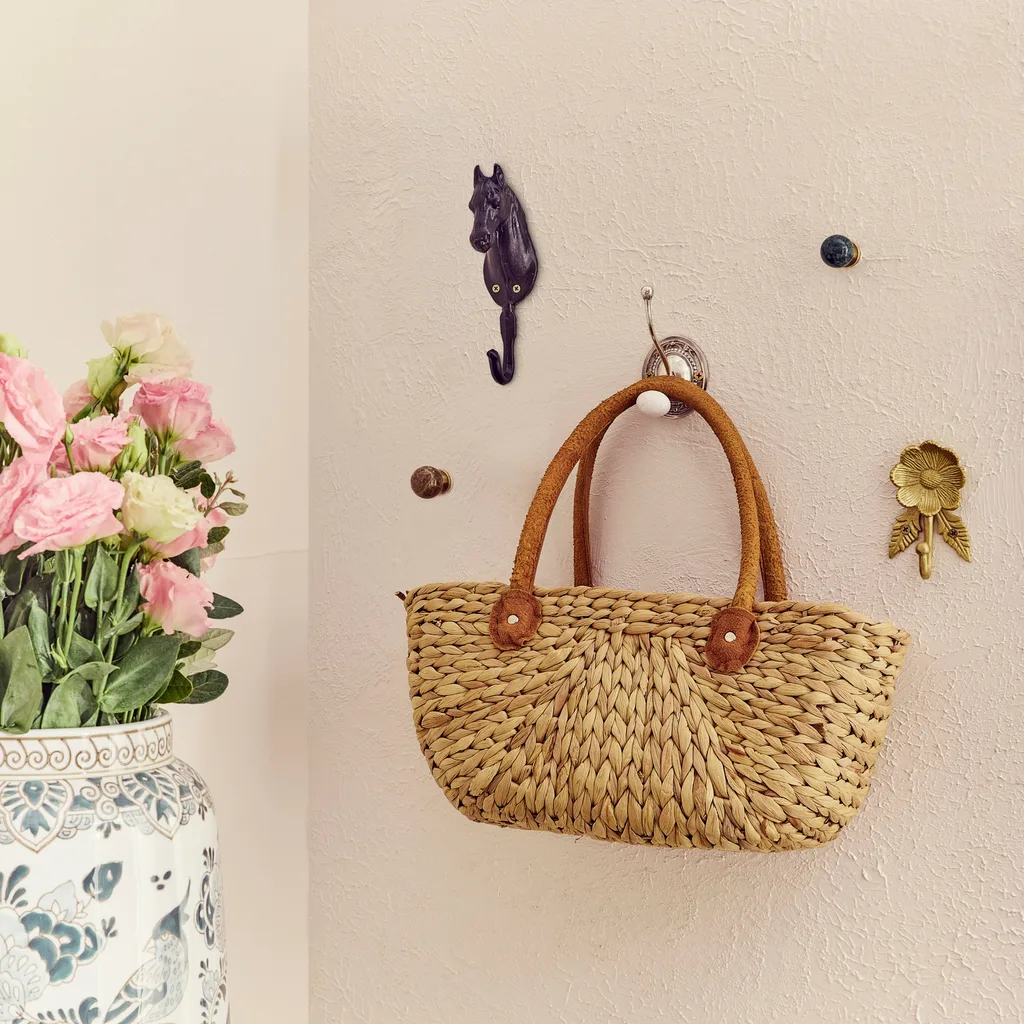
Turn function into art
Add fun, quirky wall hooks to an empty wall space to turn the practical into something decorative.
Pick a variety of hooks that suit your style and are pretty to look at whether they’re in use or not.
Arrange your wall hooks on the floor first in your preferred pattern – straight, diagonal or random – before marking and attaching them to the wall.
Remember to leave enough room between them so you can hang your belongings!
Pop up a picture ledge
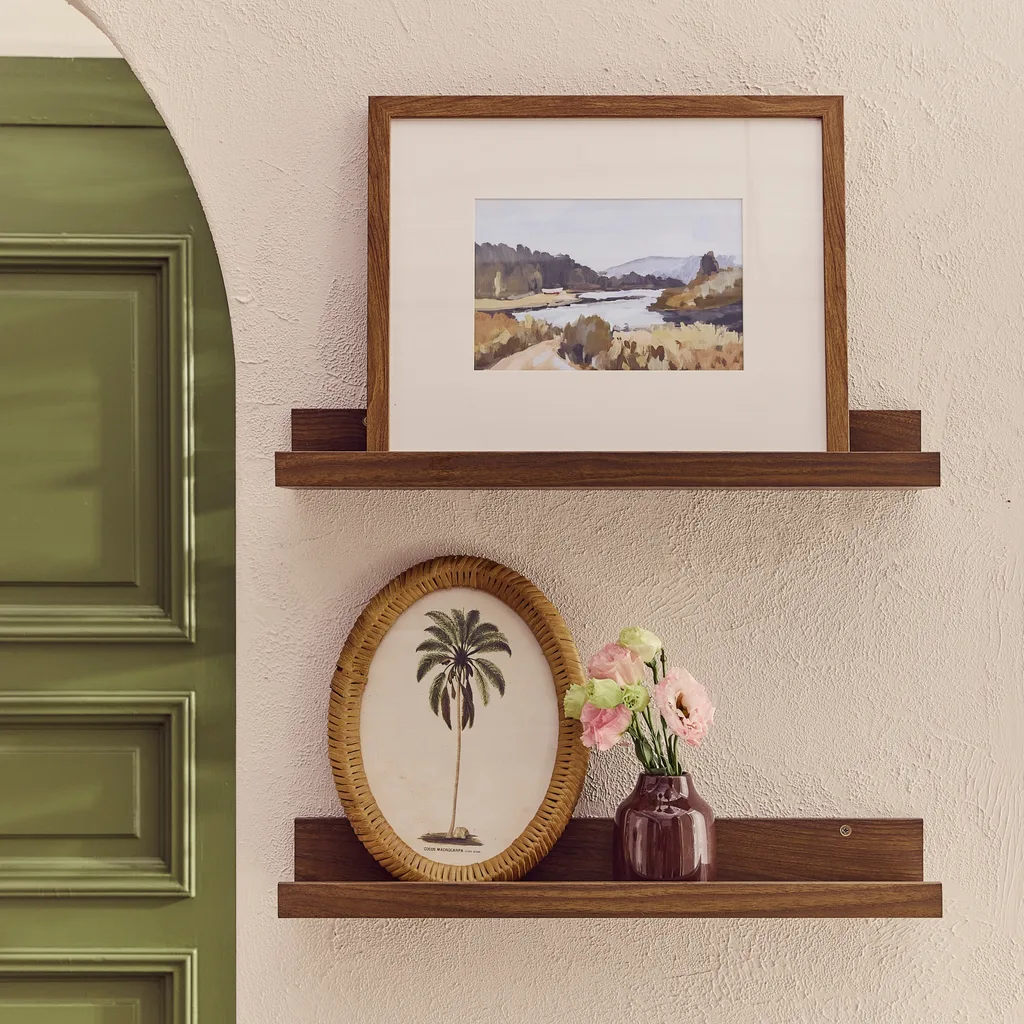
Install picture ledges so you have somewhere for a changing display of artworks, flowers and collectables.
Use ready-made picture ledges (also sold as a ‘photo shelf’ or ‘display shelf’). These ones from IKEA already have drill holes, so it’s as simple as marking with a pencil where you want them on the wall.
Use a spirit level to make sure the marks are straight before you drill in screws to attach the ledge to the wall.