
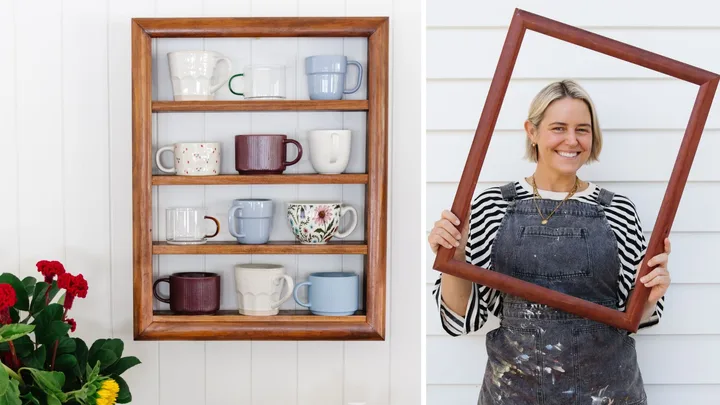
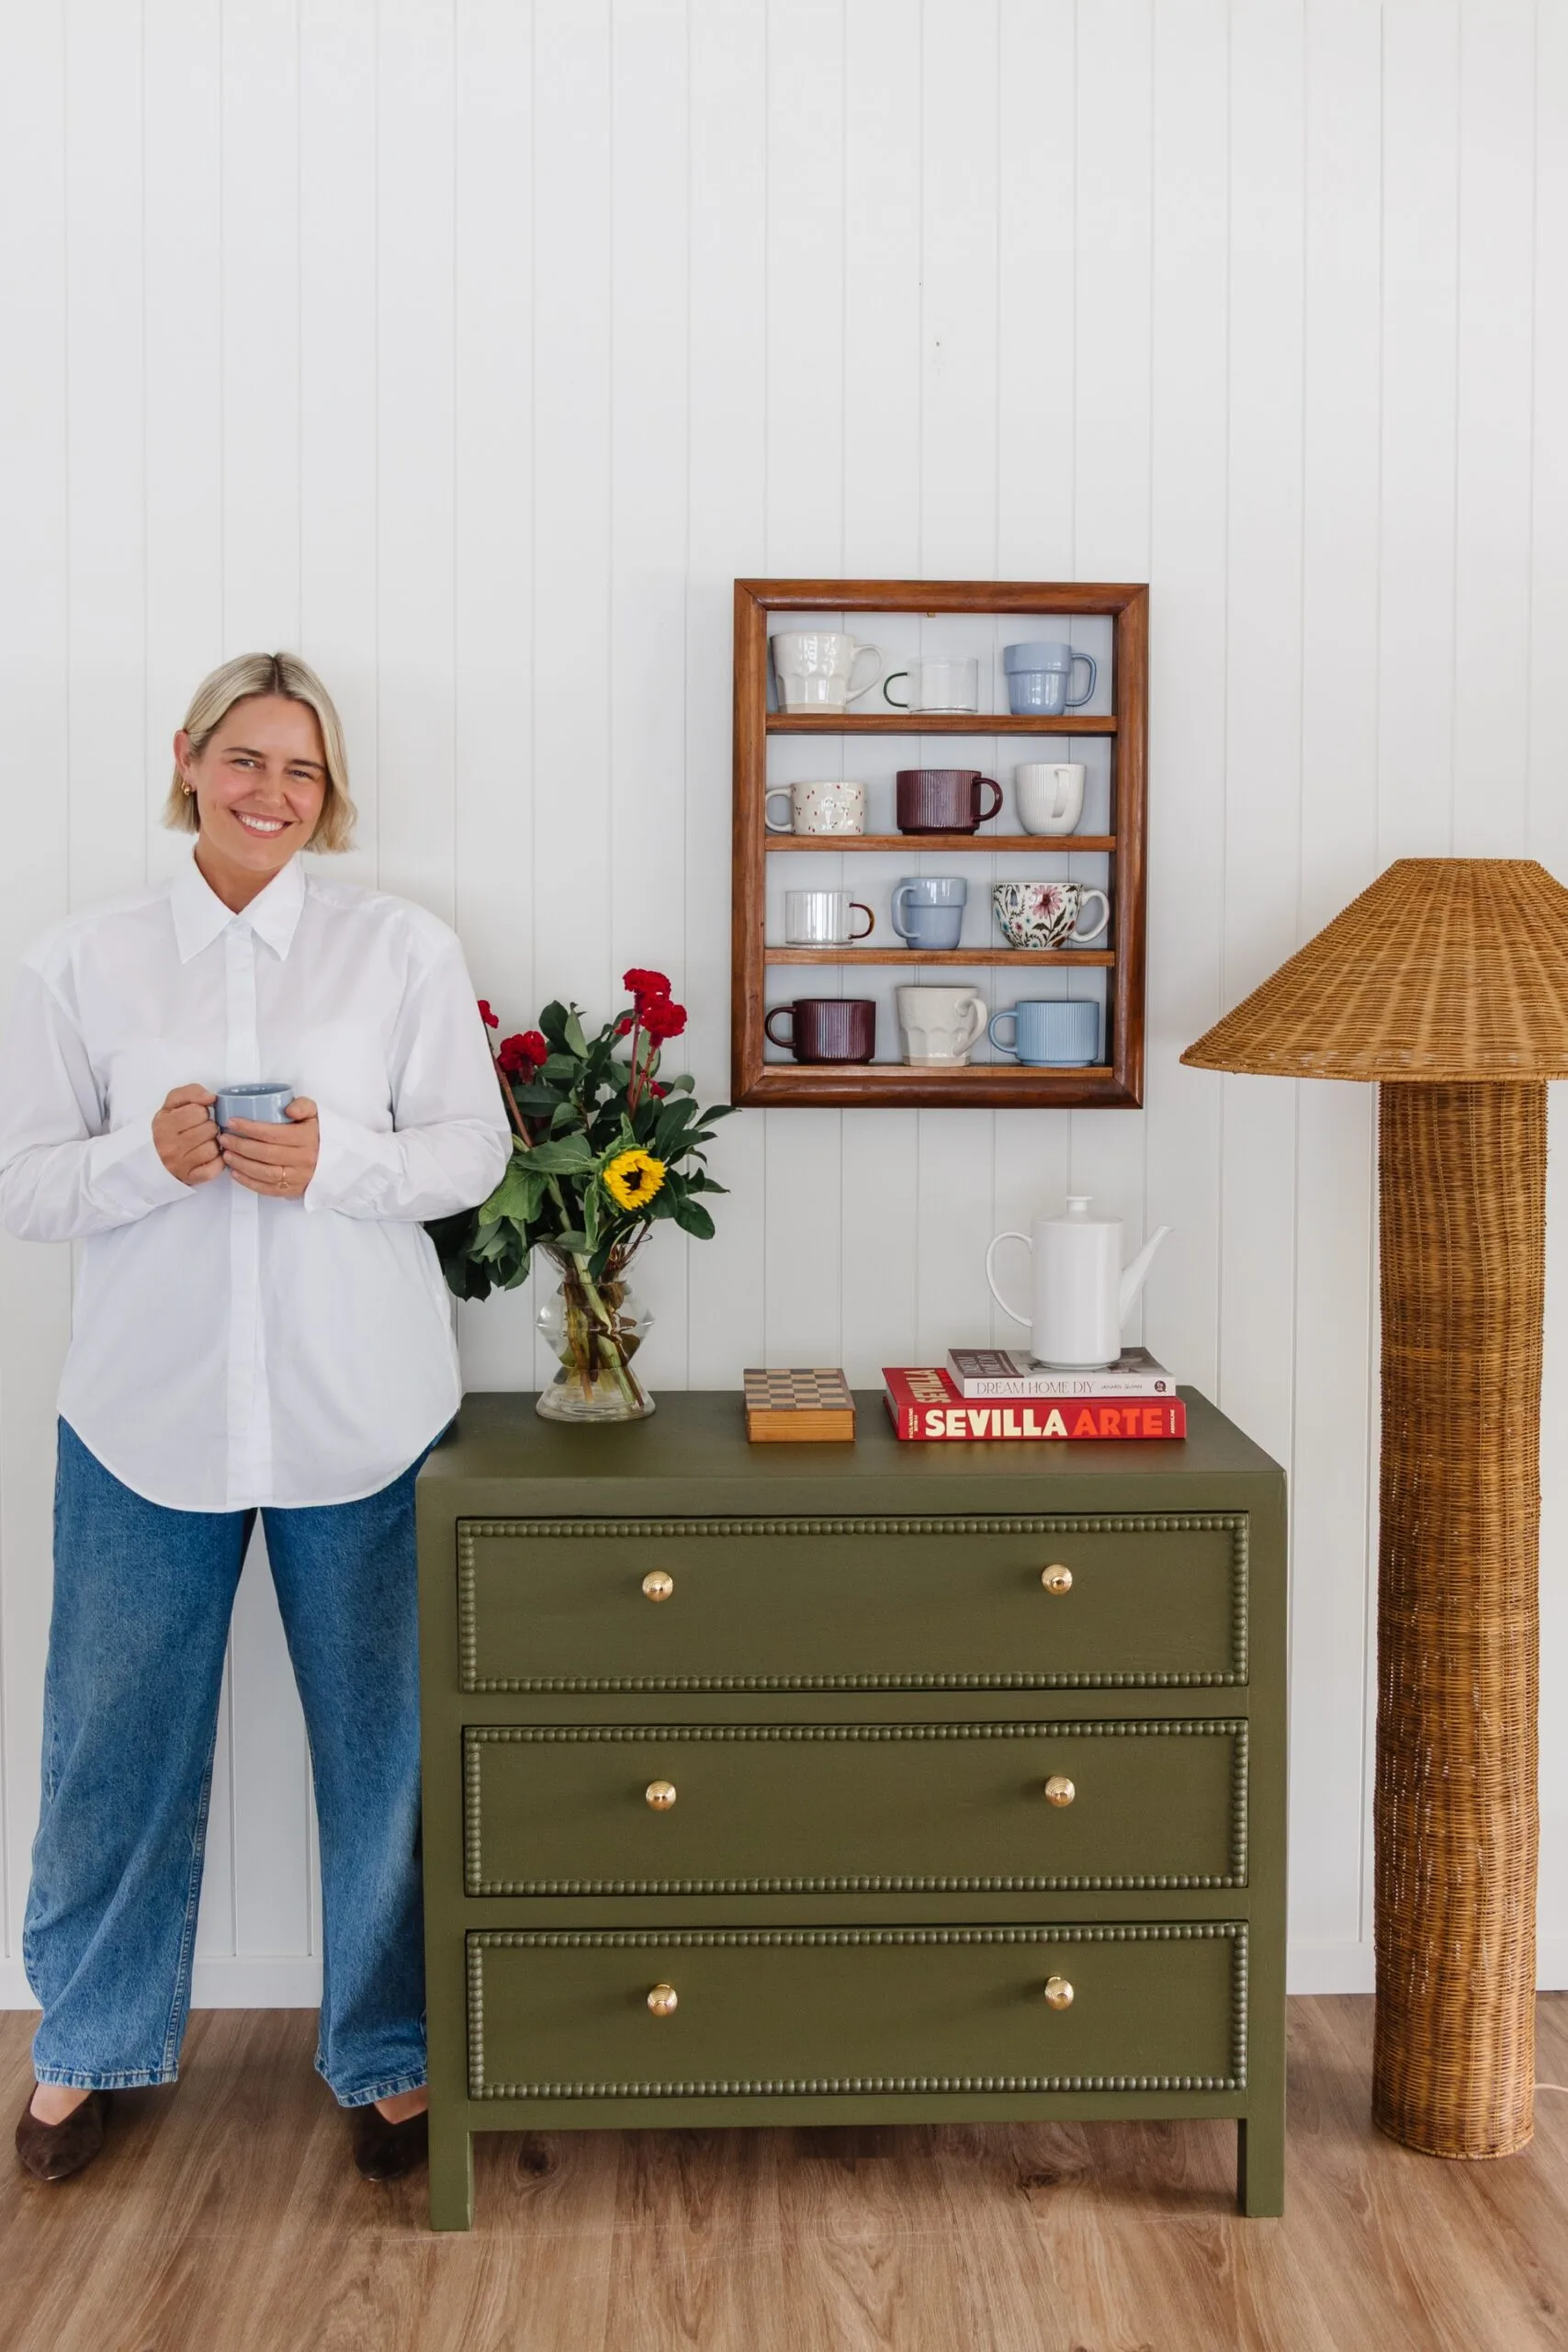
Jaharn Quinn, author of Dream Home DIY, loves hunting down interesting mugs in charity shops. This project helps those mugs shine.
“The frame is now equal parts storage and statement piece. It’s one of those upcycling projects that sits right in the sweet spot between function and personality, where something overlooked becomes something you reach for every day,” she says.
How to make a shelf from a picture frame
Gather your supplies
- Picture frame
- Sander
- 80-grit sandpaper
- Timber stain in your preferred colour
- Clear varnish
- 89mm x 19mm 2.4m DAR premium pine
- 89mm x 19mm 1.8m DAR premium pine
- Jigsaw
- Clamps
- Wood glue
- Brad nail gun
- Brad nails
- Wall hook and nail (min 10kg weight allowance)
You’ll also need
- Drop sheet
- Microfibre cloth
- Latex gloves
- Measuring tape
- Pencil
- Spirit level
- Hammer
Safety notes
When using power tools, wear safety glasses, a mask and earmuffs, and tie your hair back, if needed.
Step 1
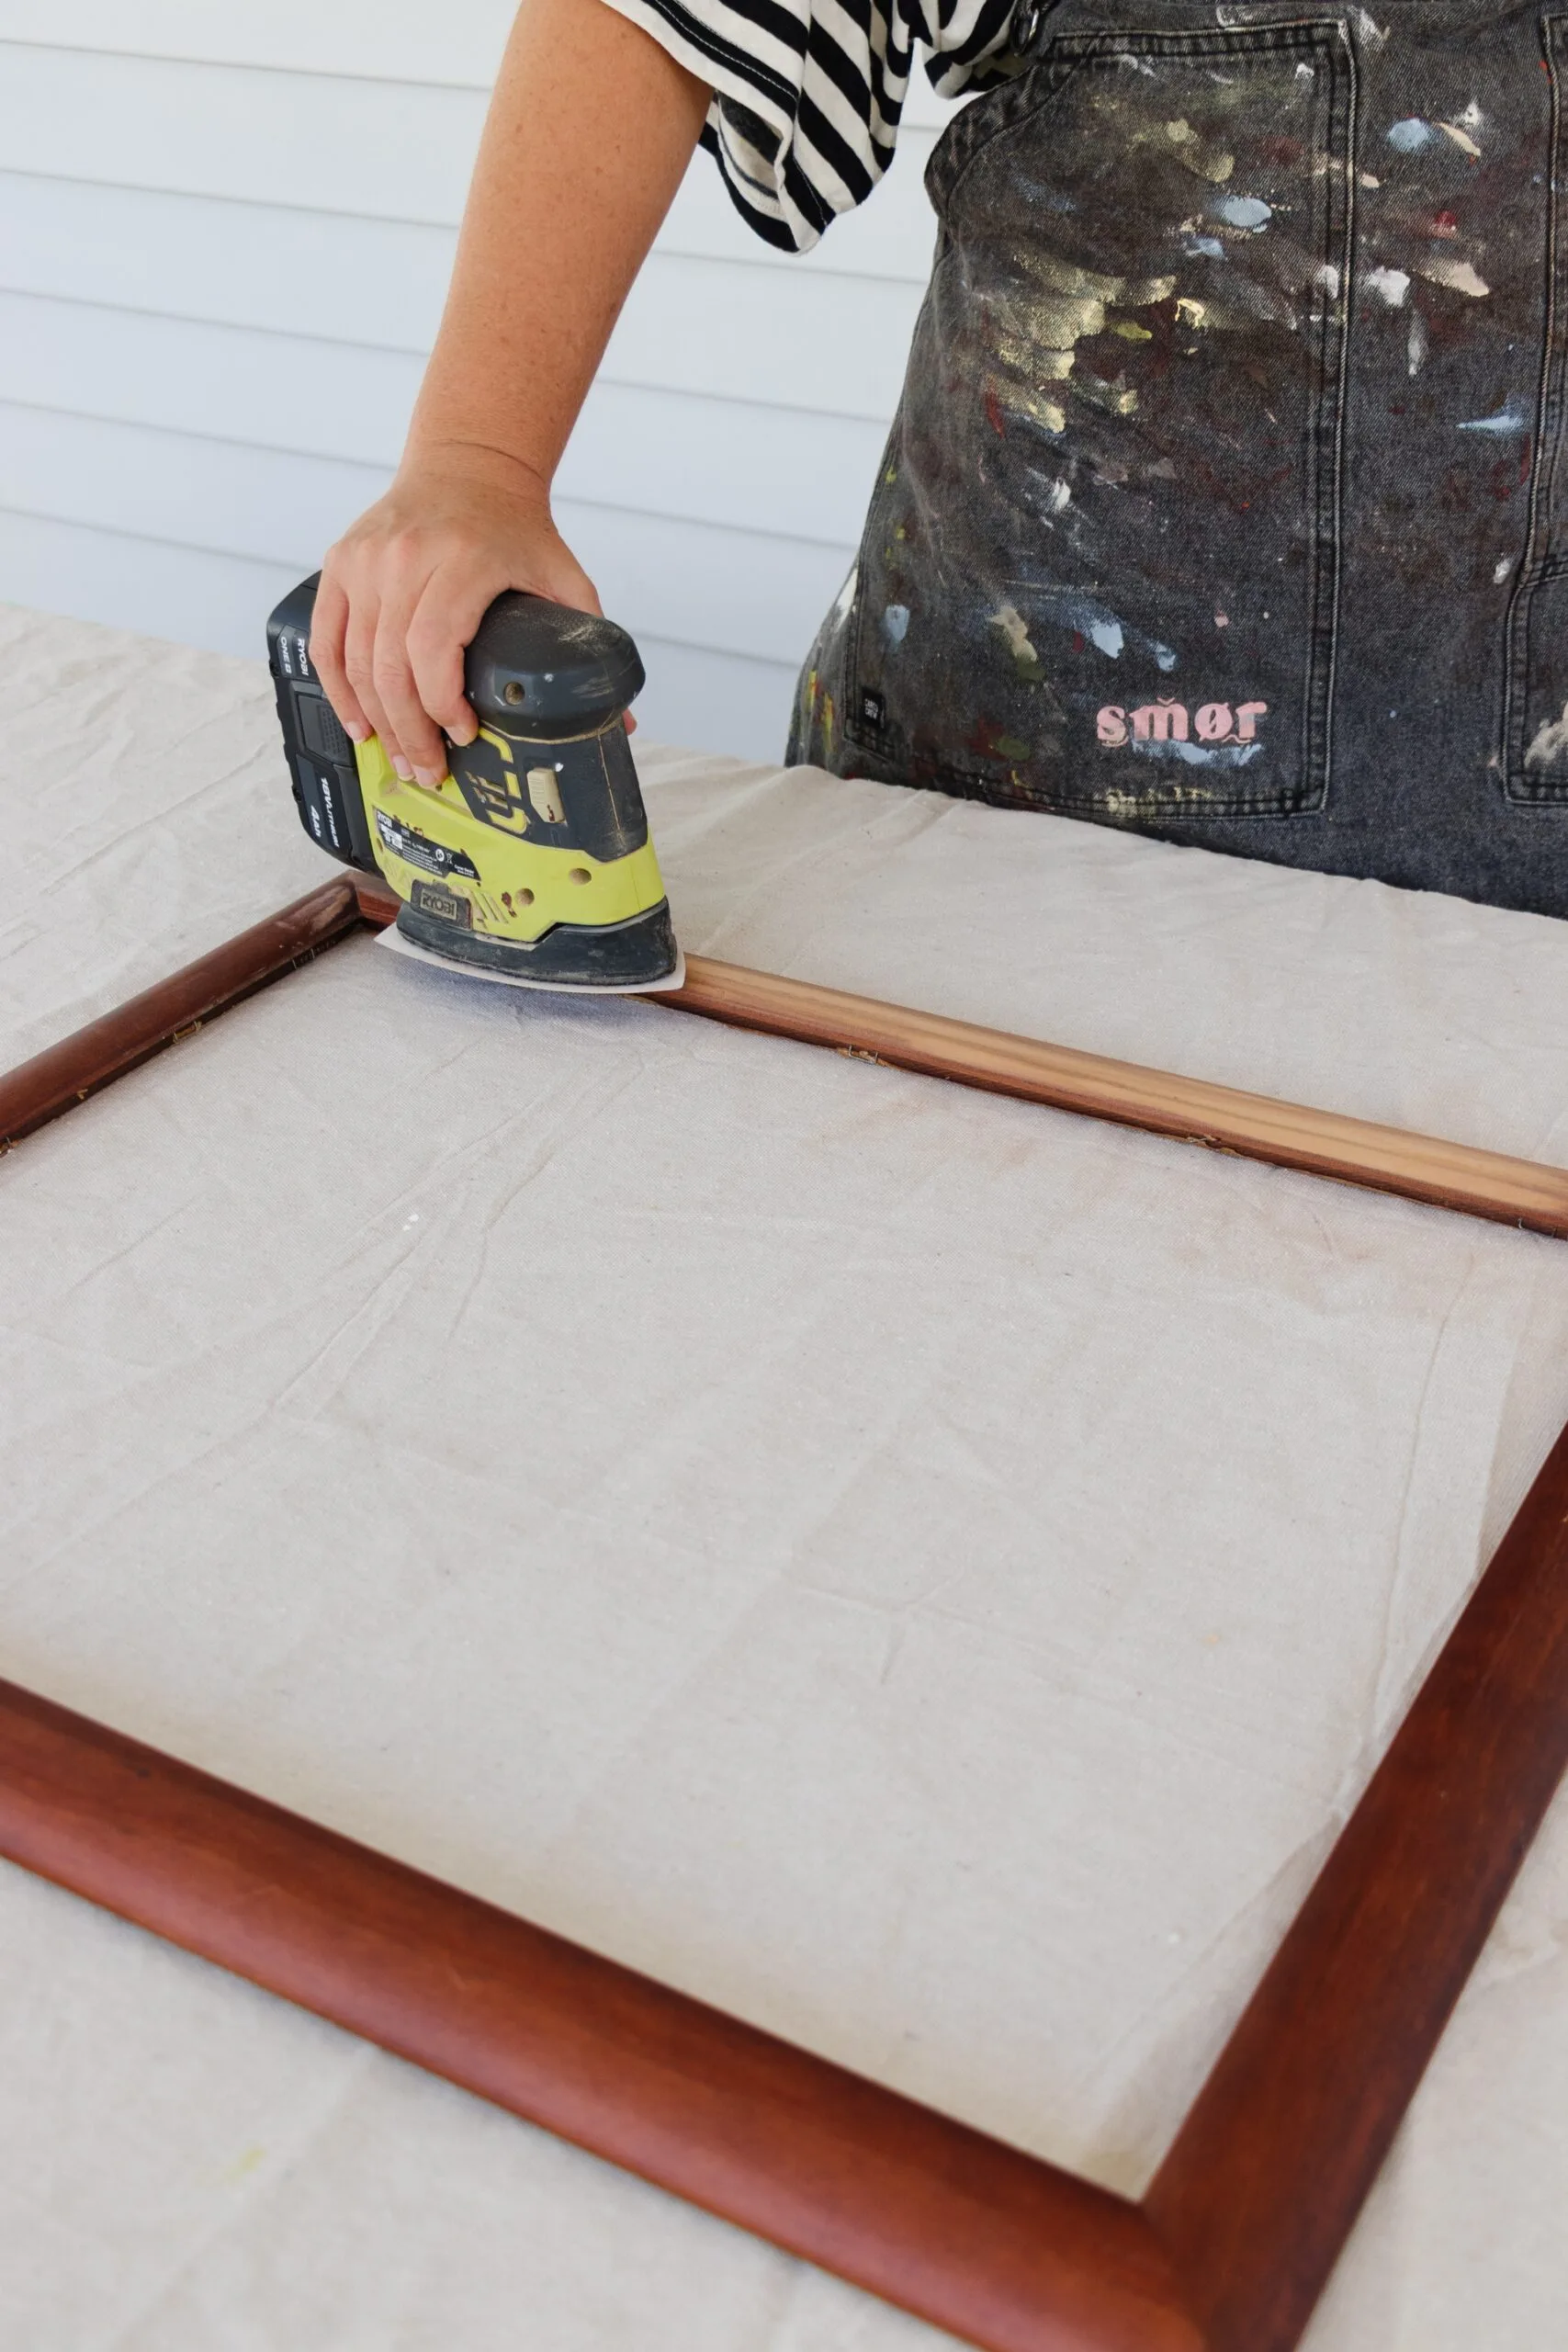
Using a sander, remove the existing stain from the front and back of the picture frame.
Step 2
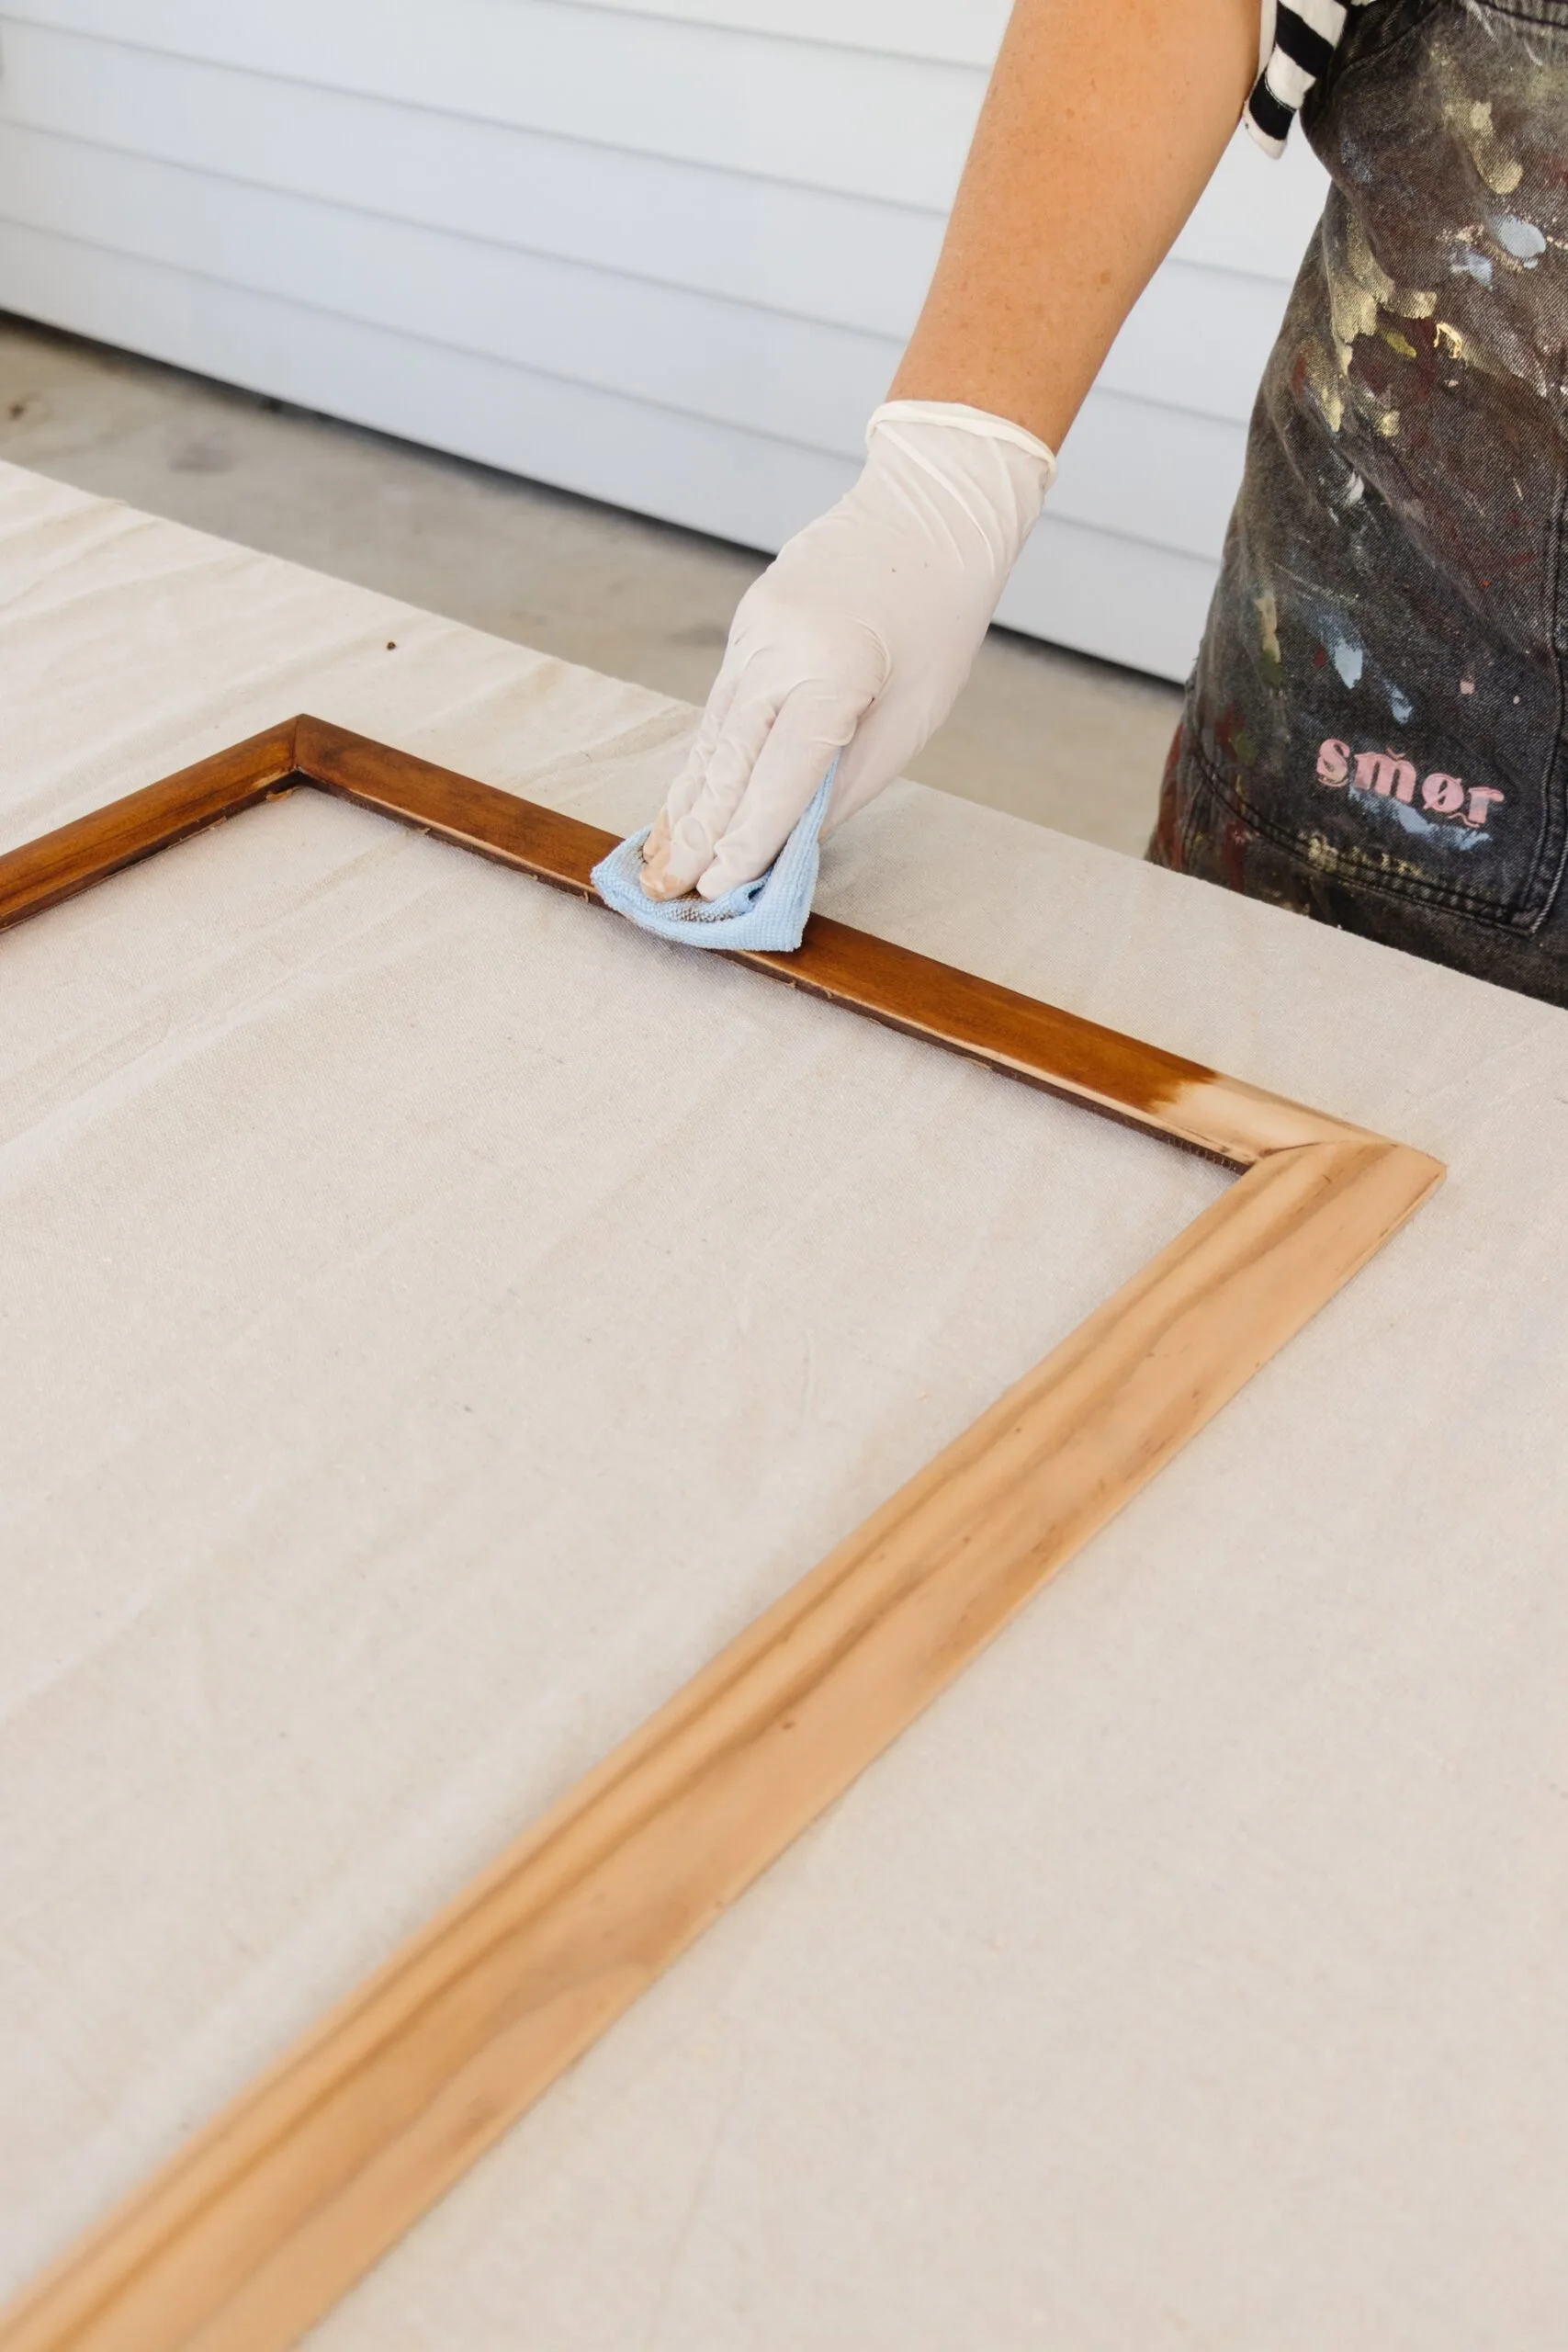
Apply two coats of timber stain to the picture frame (wear latex gloves). Wait for the first coat to dry before applying the second coat. Set aside to dry.
Step 3
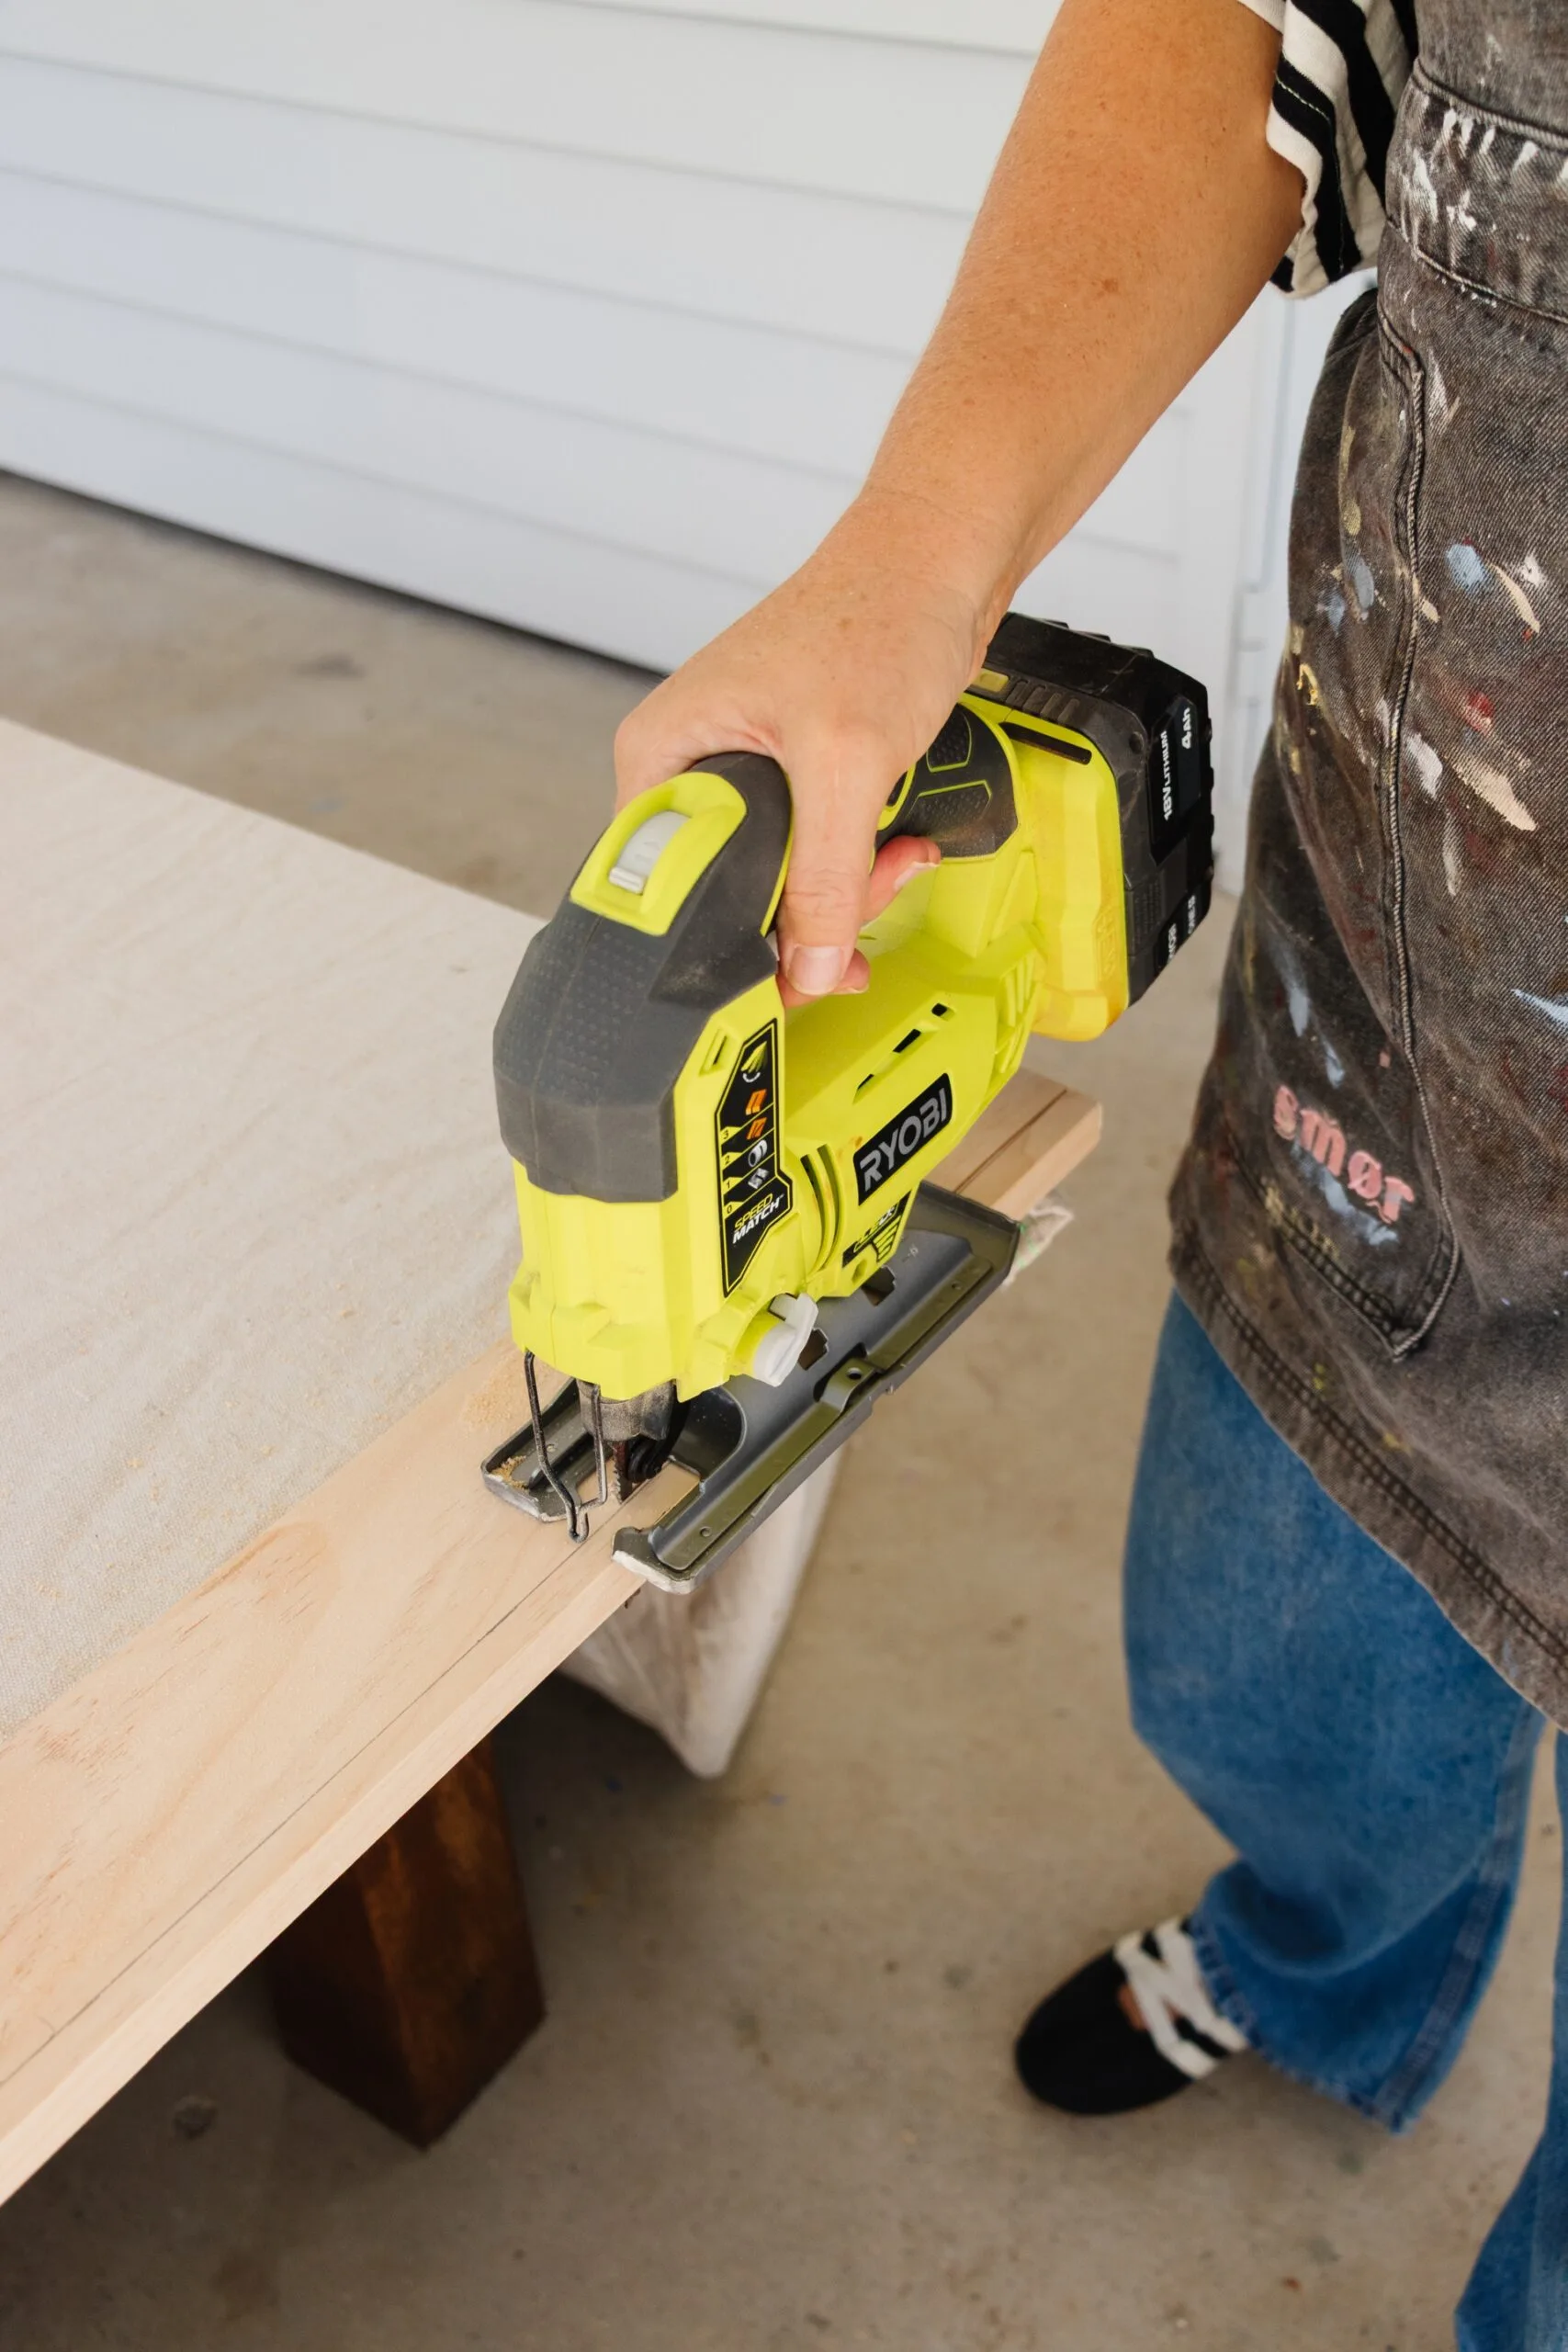
For the shelf pieces, measure the width across the inside of the frame. Measure and mark that width on the wood to make four shelves. Secure the wood to a flat surface with clamps, then use a jigsaw to cut the four pieces of wood. Place the frame right-side down. Place the wood pieces into the frame, making sure they are evenly spaced.
Step 4
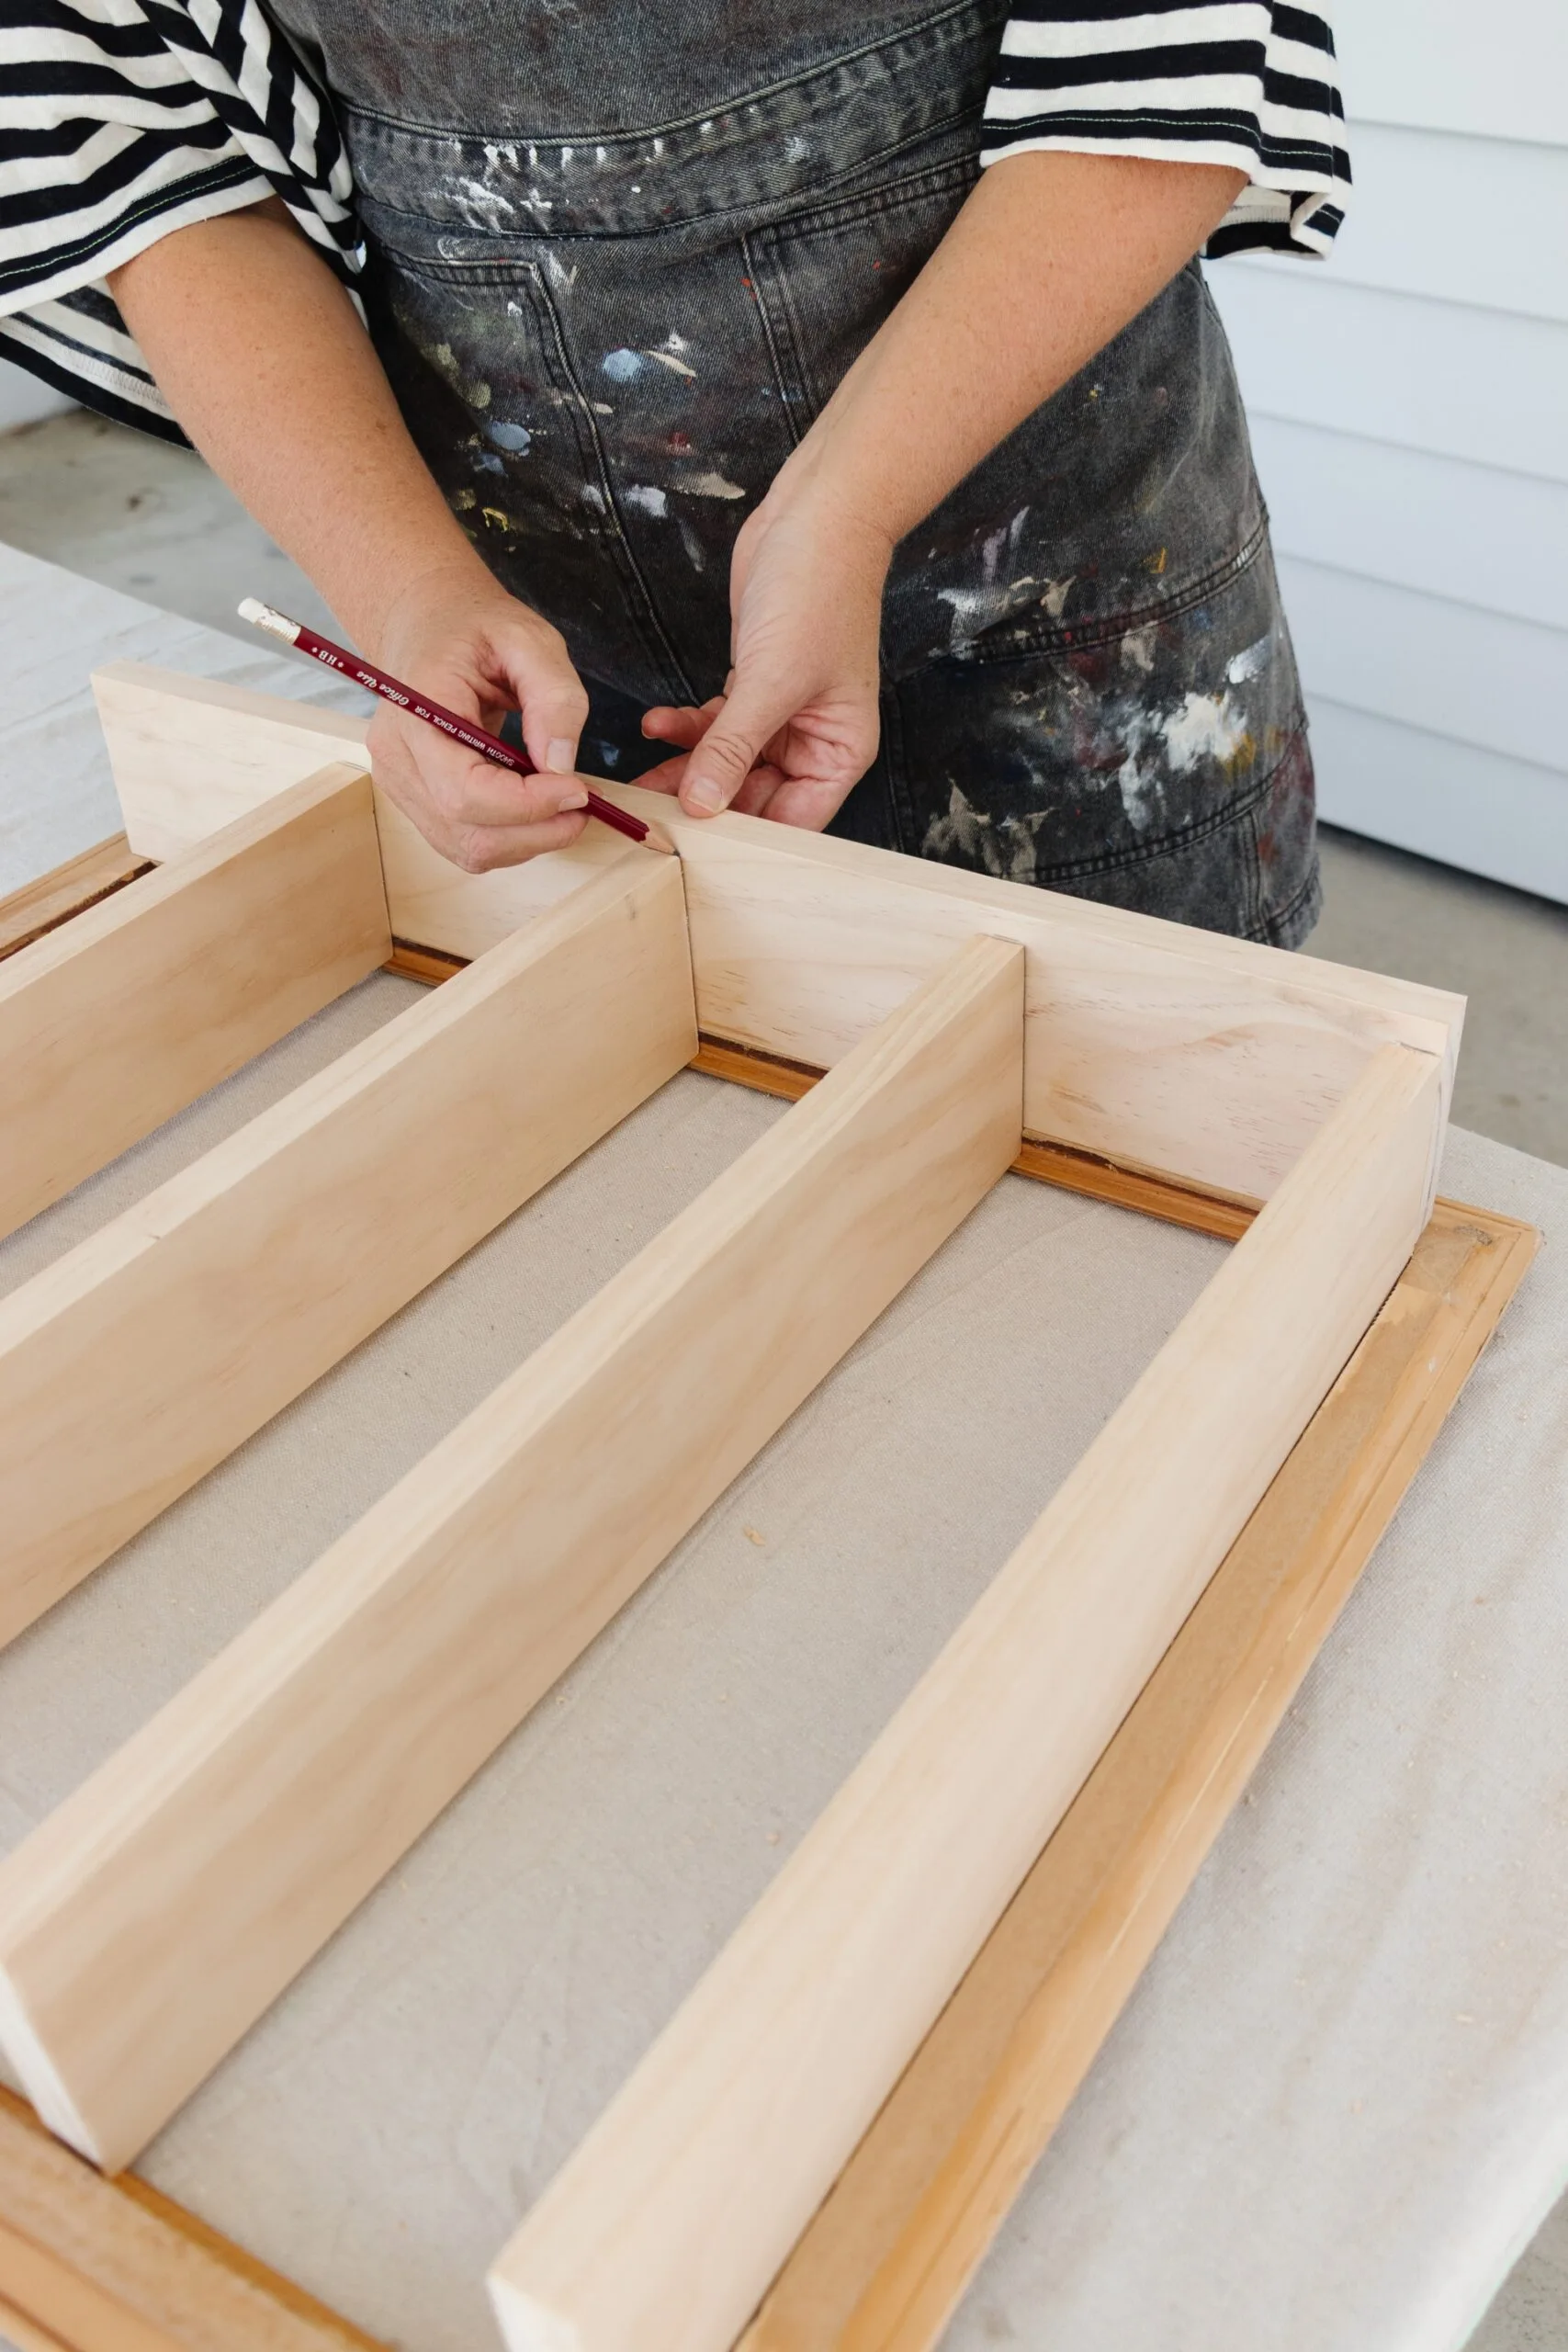
Assemble the shelves into the frame. Next, measure the length for the two side pieces. Measure from the bottom of the bottom shelf piece to the middle of the frame’s top (the point at half its width). This is so the back structure doesn’t peek out at the top of the frame. Measure, mark and cut two pieces of wood for the sides with a jigsaw. Now, measure the length for the top piece, so that it fits neatly between the two side pieces. Measure, mark and cut the top piece.
Step 5
At the moment, your top and side pieces will sit wider from the wall than the shelf pieces (as the shelf pieces are set inside the frame). To even this up, you need to make the top and sides slightly narrower. Mark, then cut along the length of the top and side pieces with a jigsaw, so the shelves and wood pieces will sit flush to the wall.
Step 6
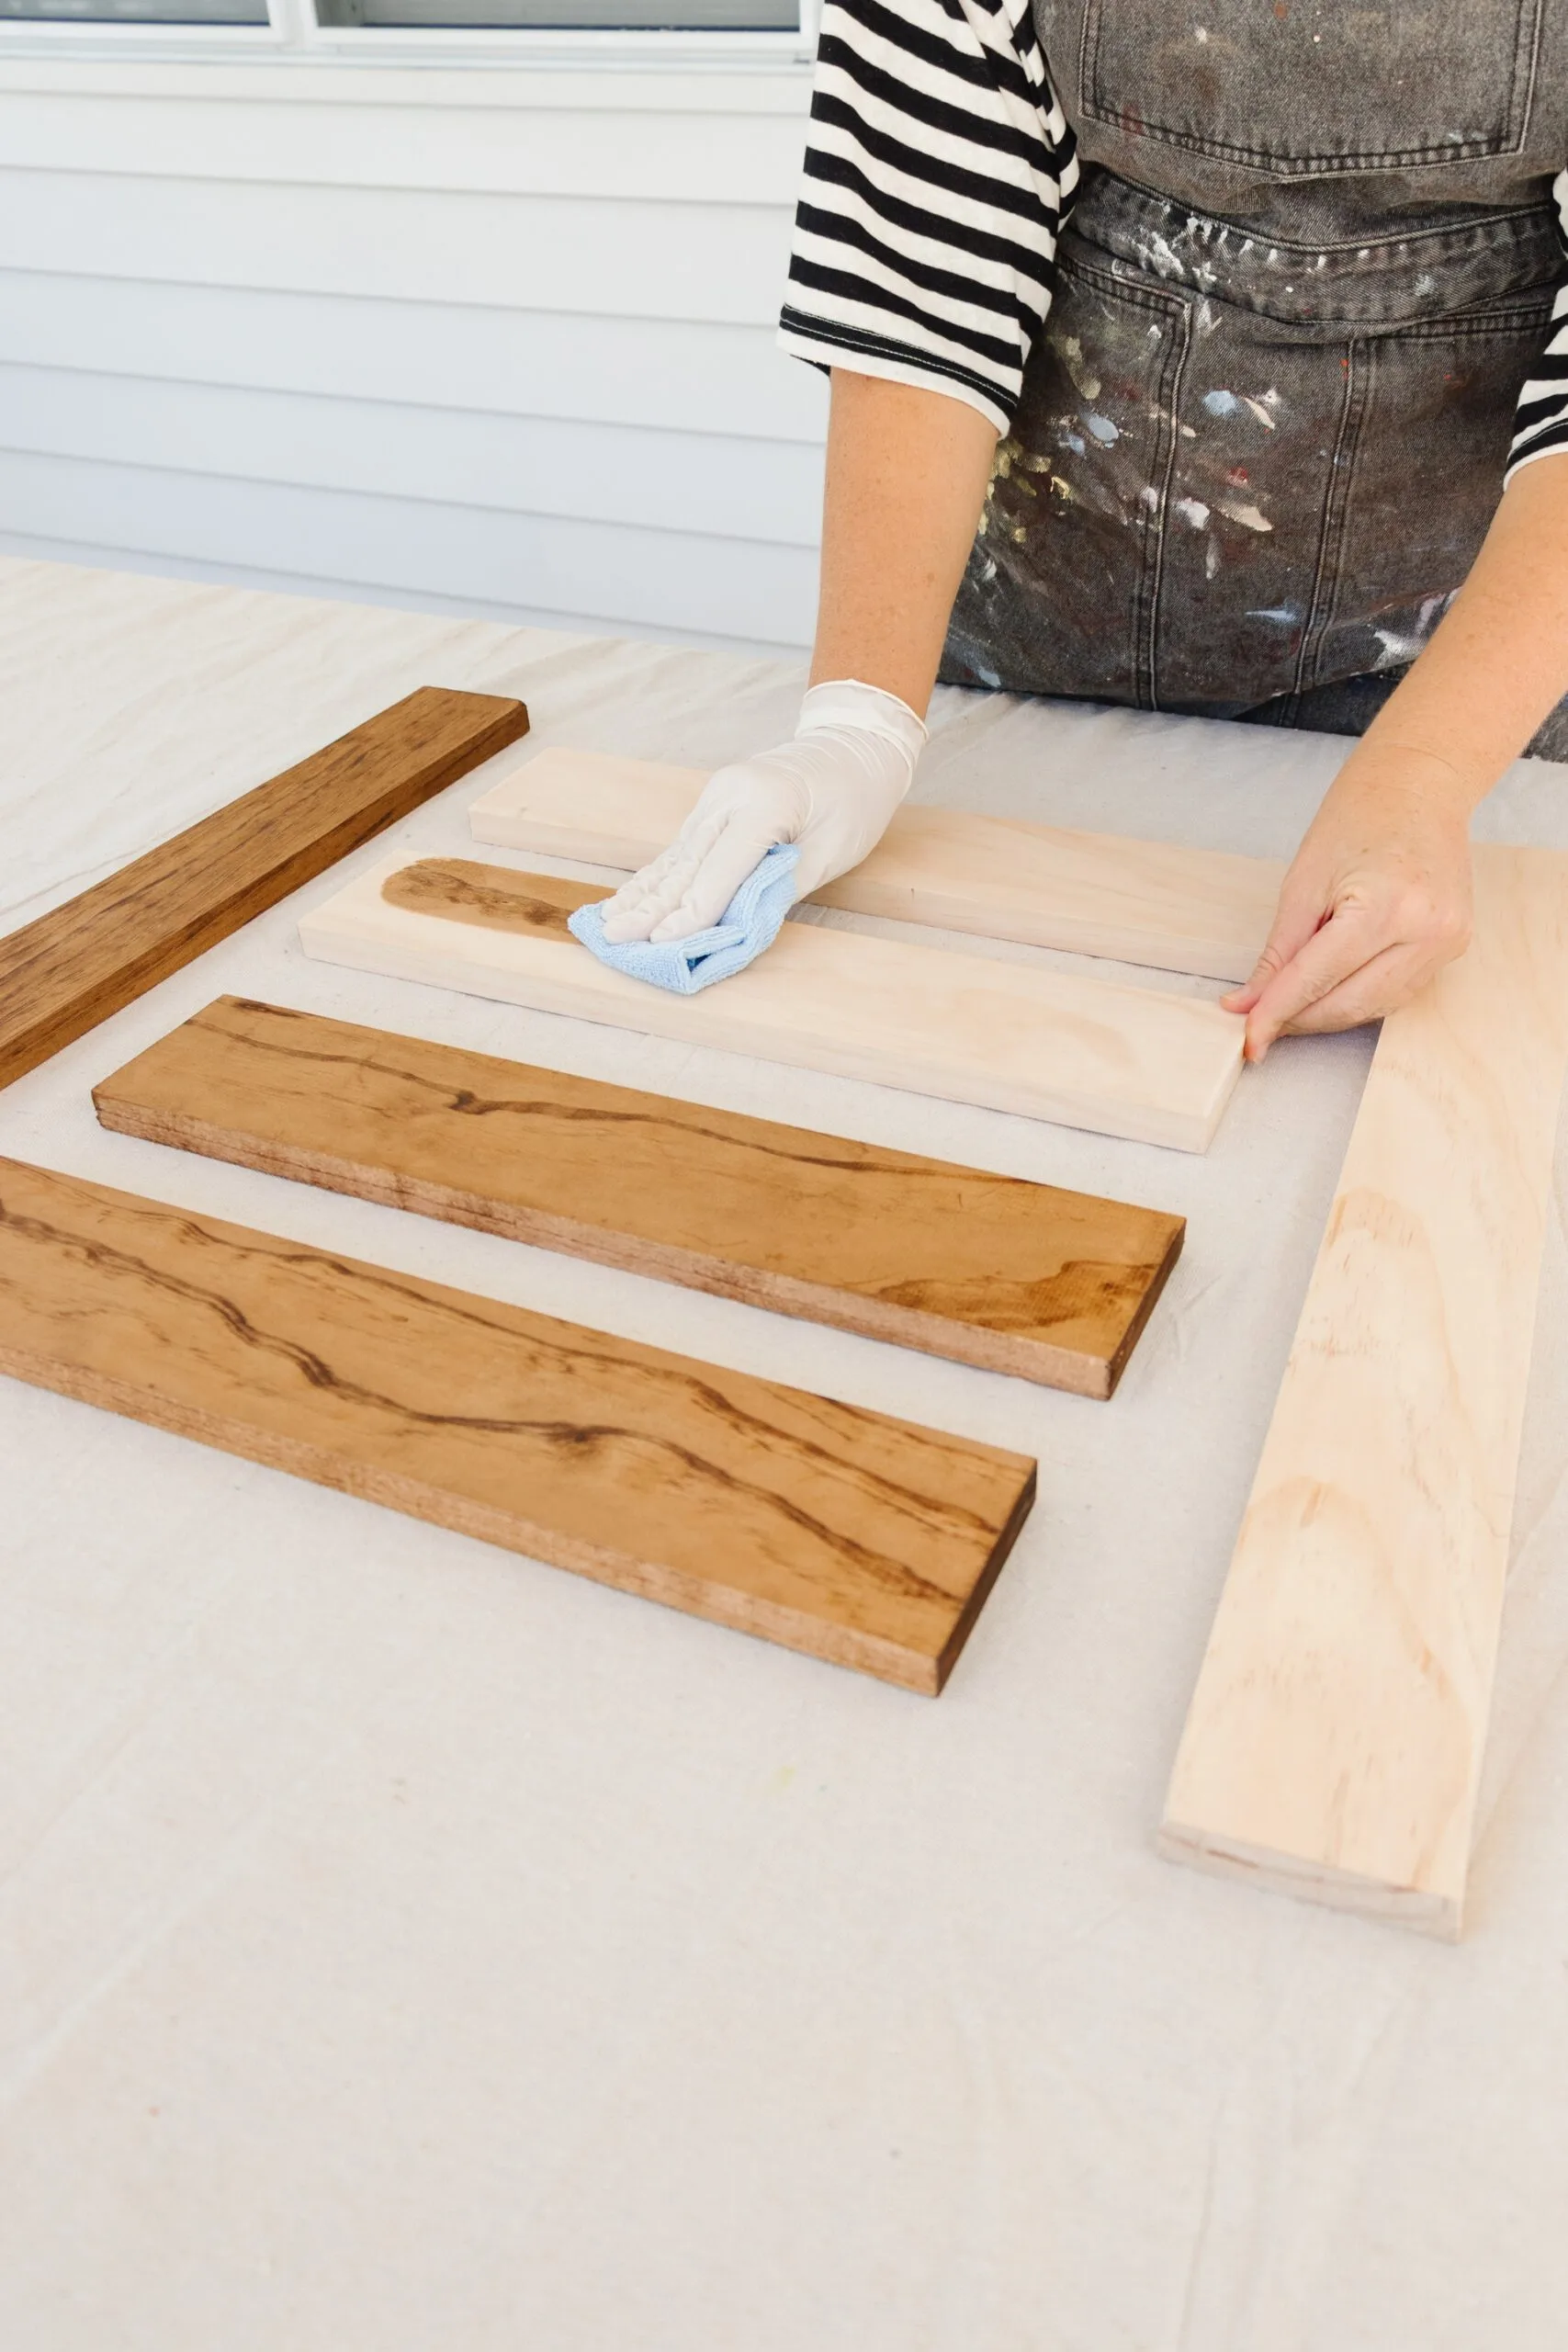
Lightly sand the shelves and wood pieces, cleaning away any dust with a microfibre cloth. Apply two coats of timber stain to all the wood pieces, waiting for the first coat to dry before applying the second. Set aside to dry.
Step 7
Apply wood glue inside at the bottom of the frame. Place the bottom shelf piece in place. Repeat for the other three shelf pieces, applying wood glue inside the frame for extra strength. Make sure the shelves are evenly spaced and level.
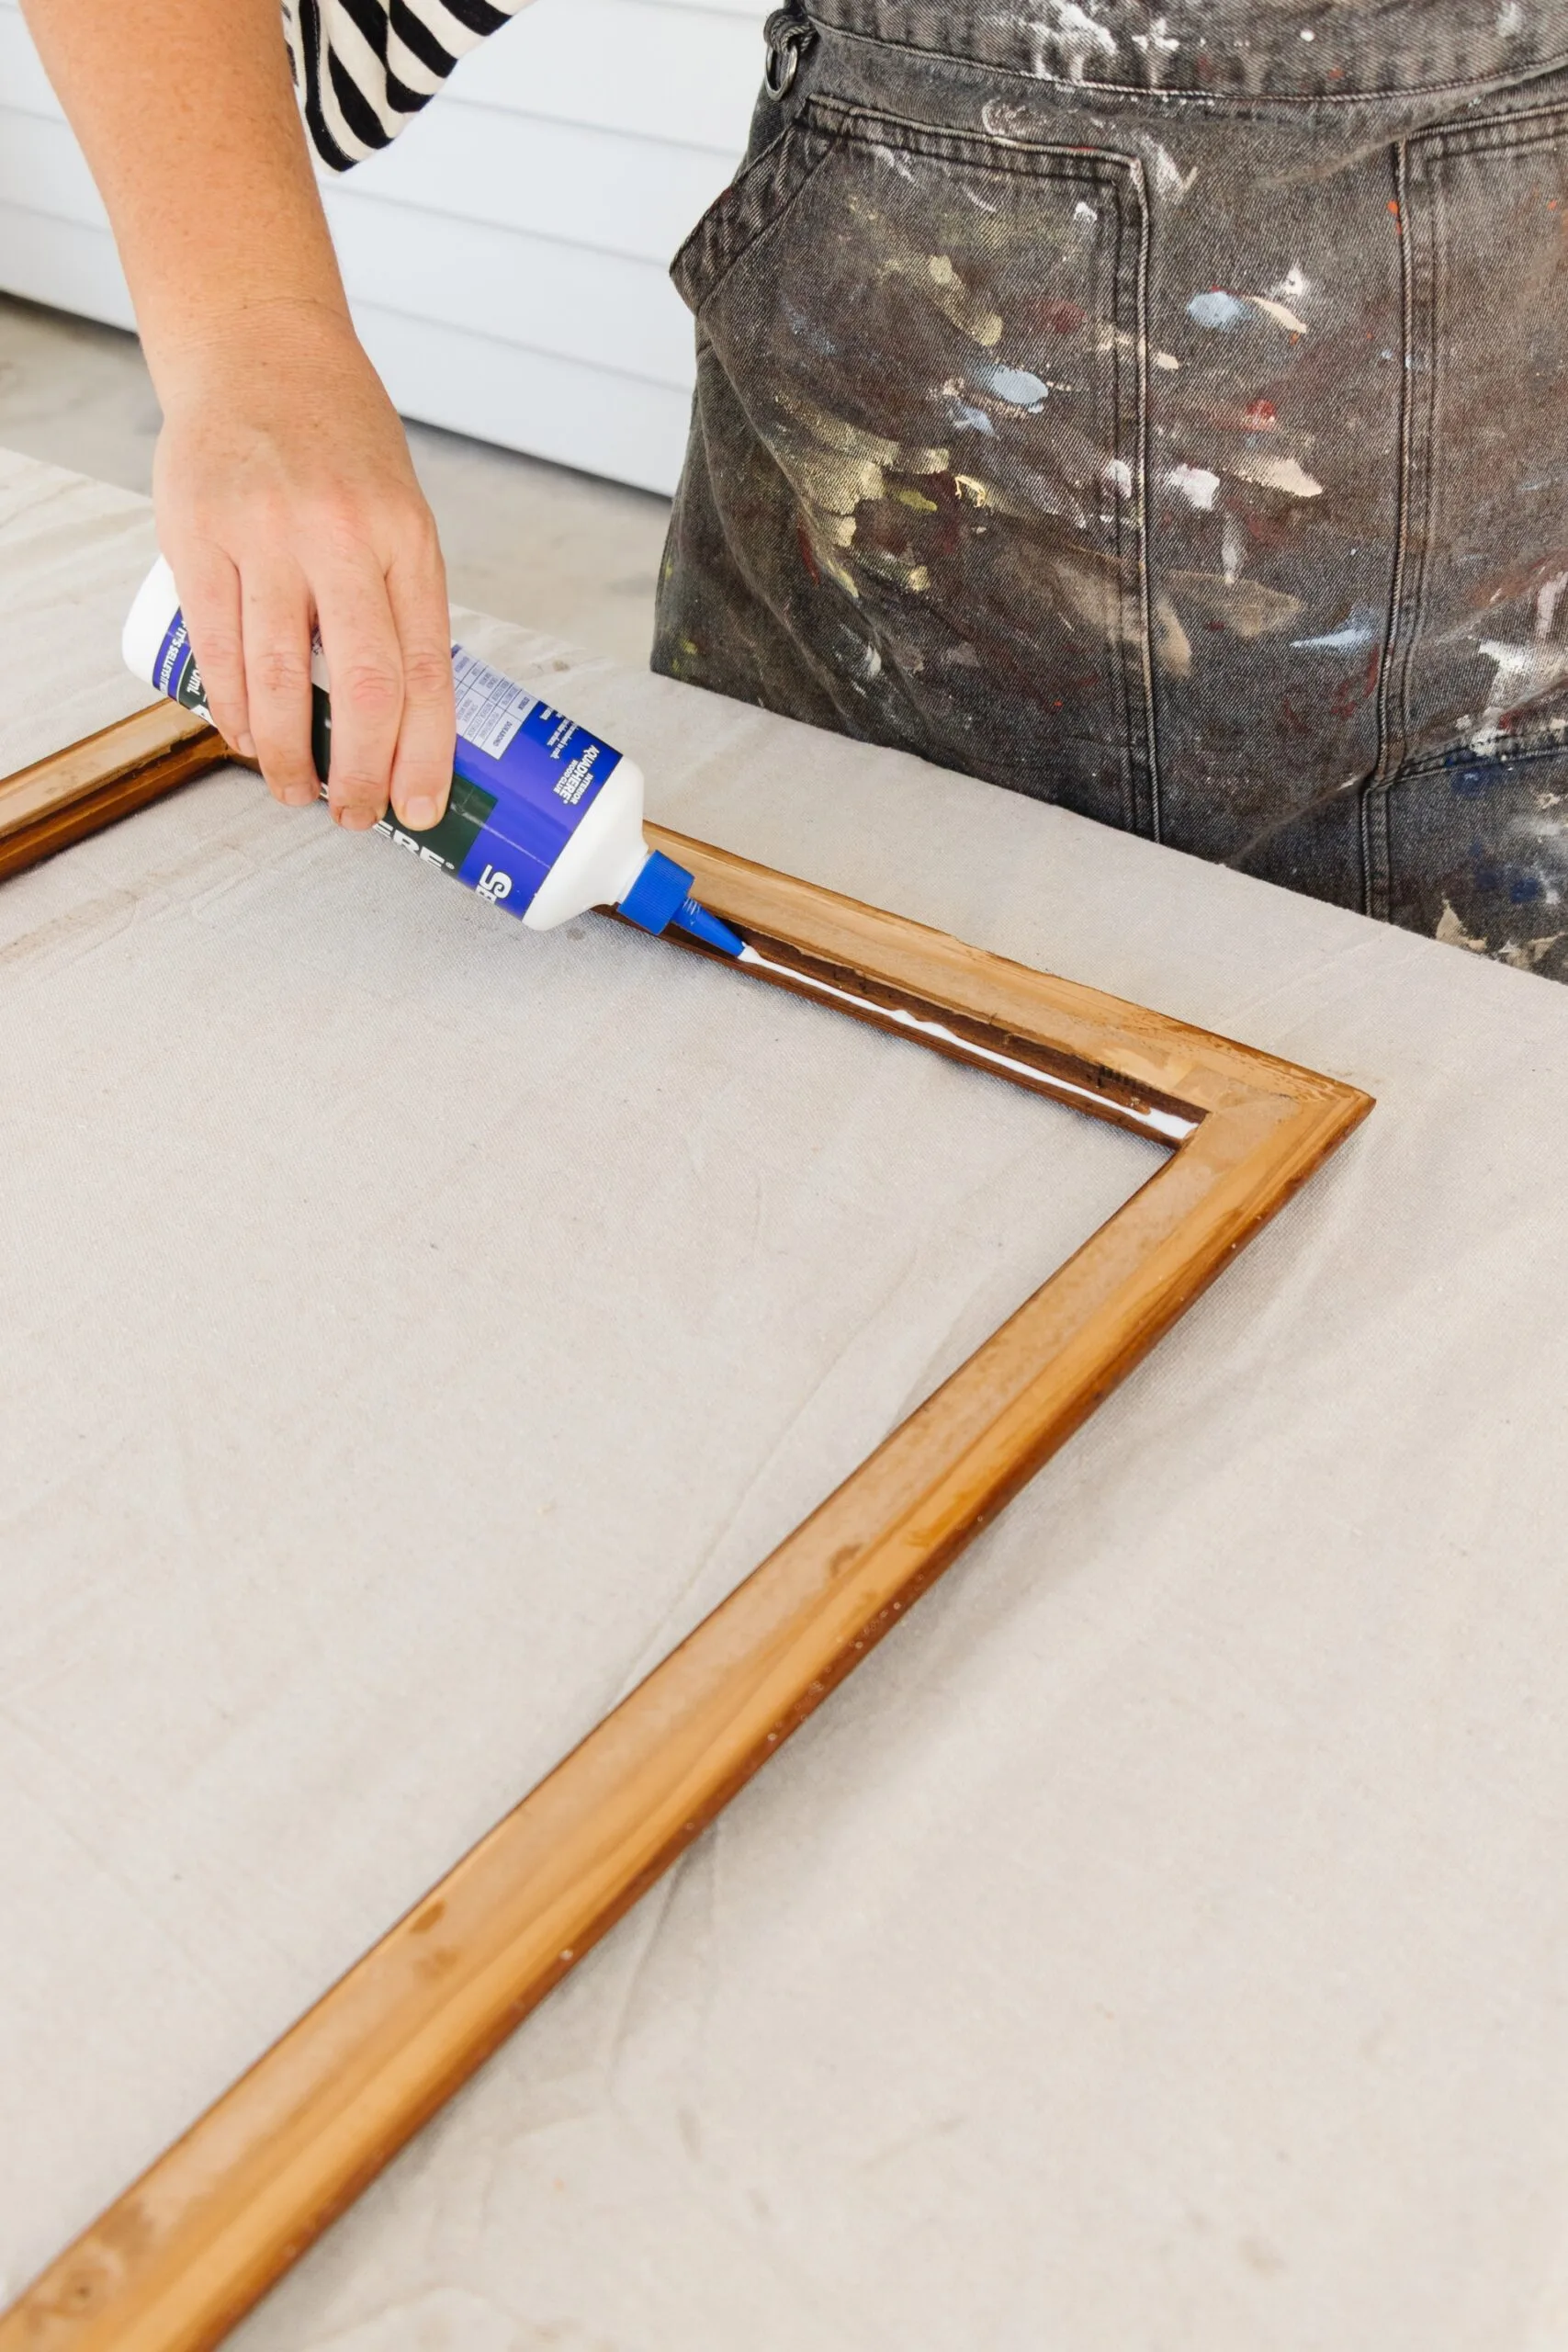
Step 8
Apply wood glue down one side of the frame. Place one of the side pieces of wood on top and use a brad nail gun to secure the shelves to the side. Repeat for the other side. Repeat for the top piece. Flip the display shelf over on a flat surface and set aside for 24 hours for the wood glue to dry.
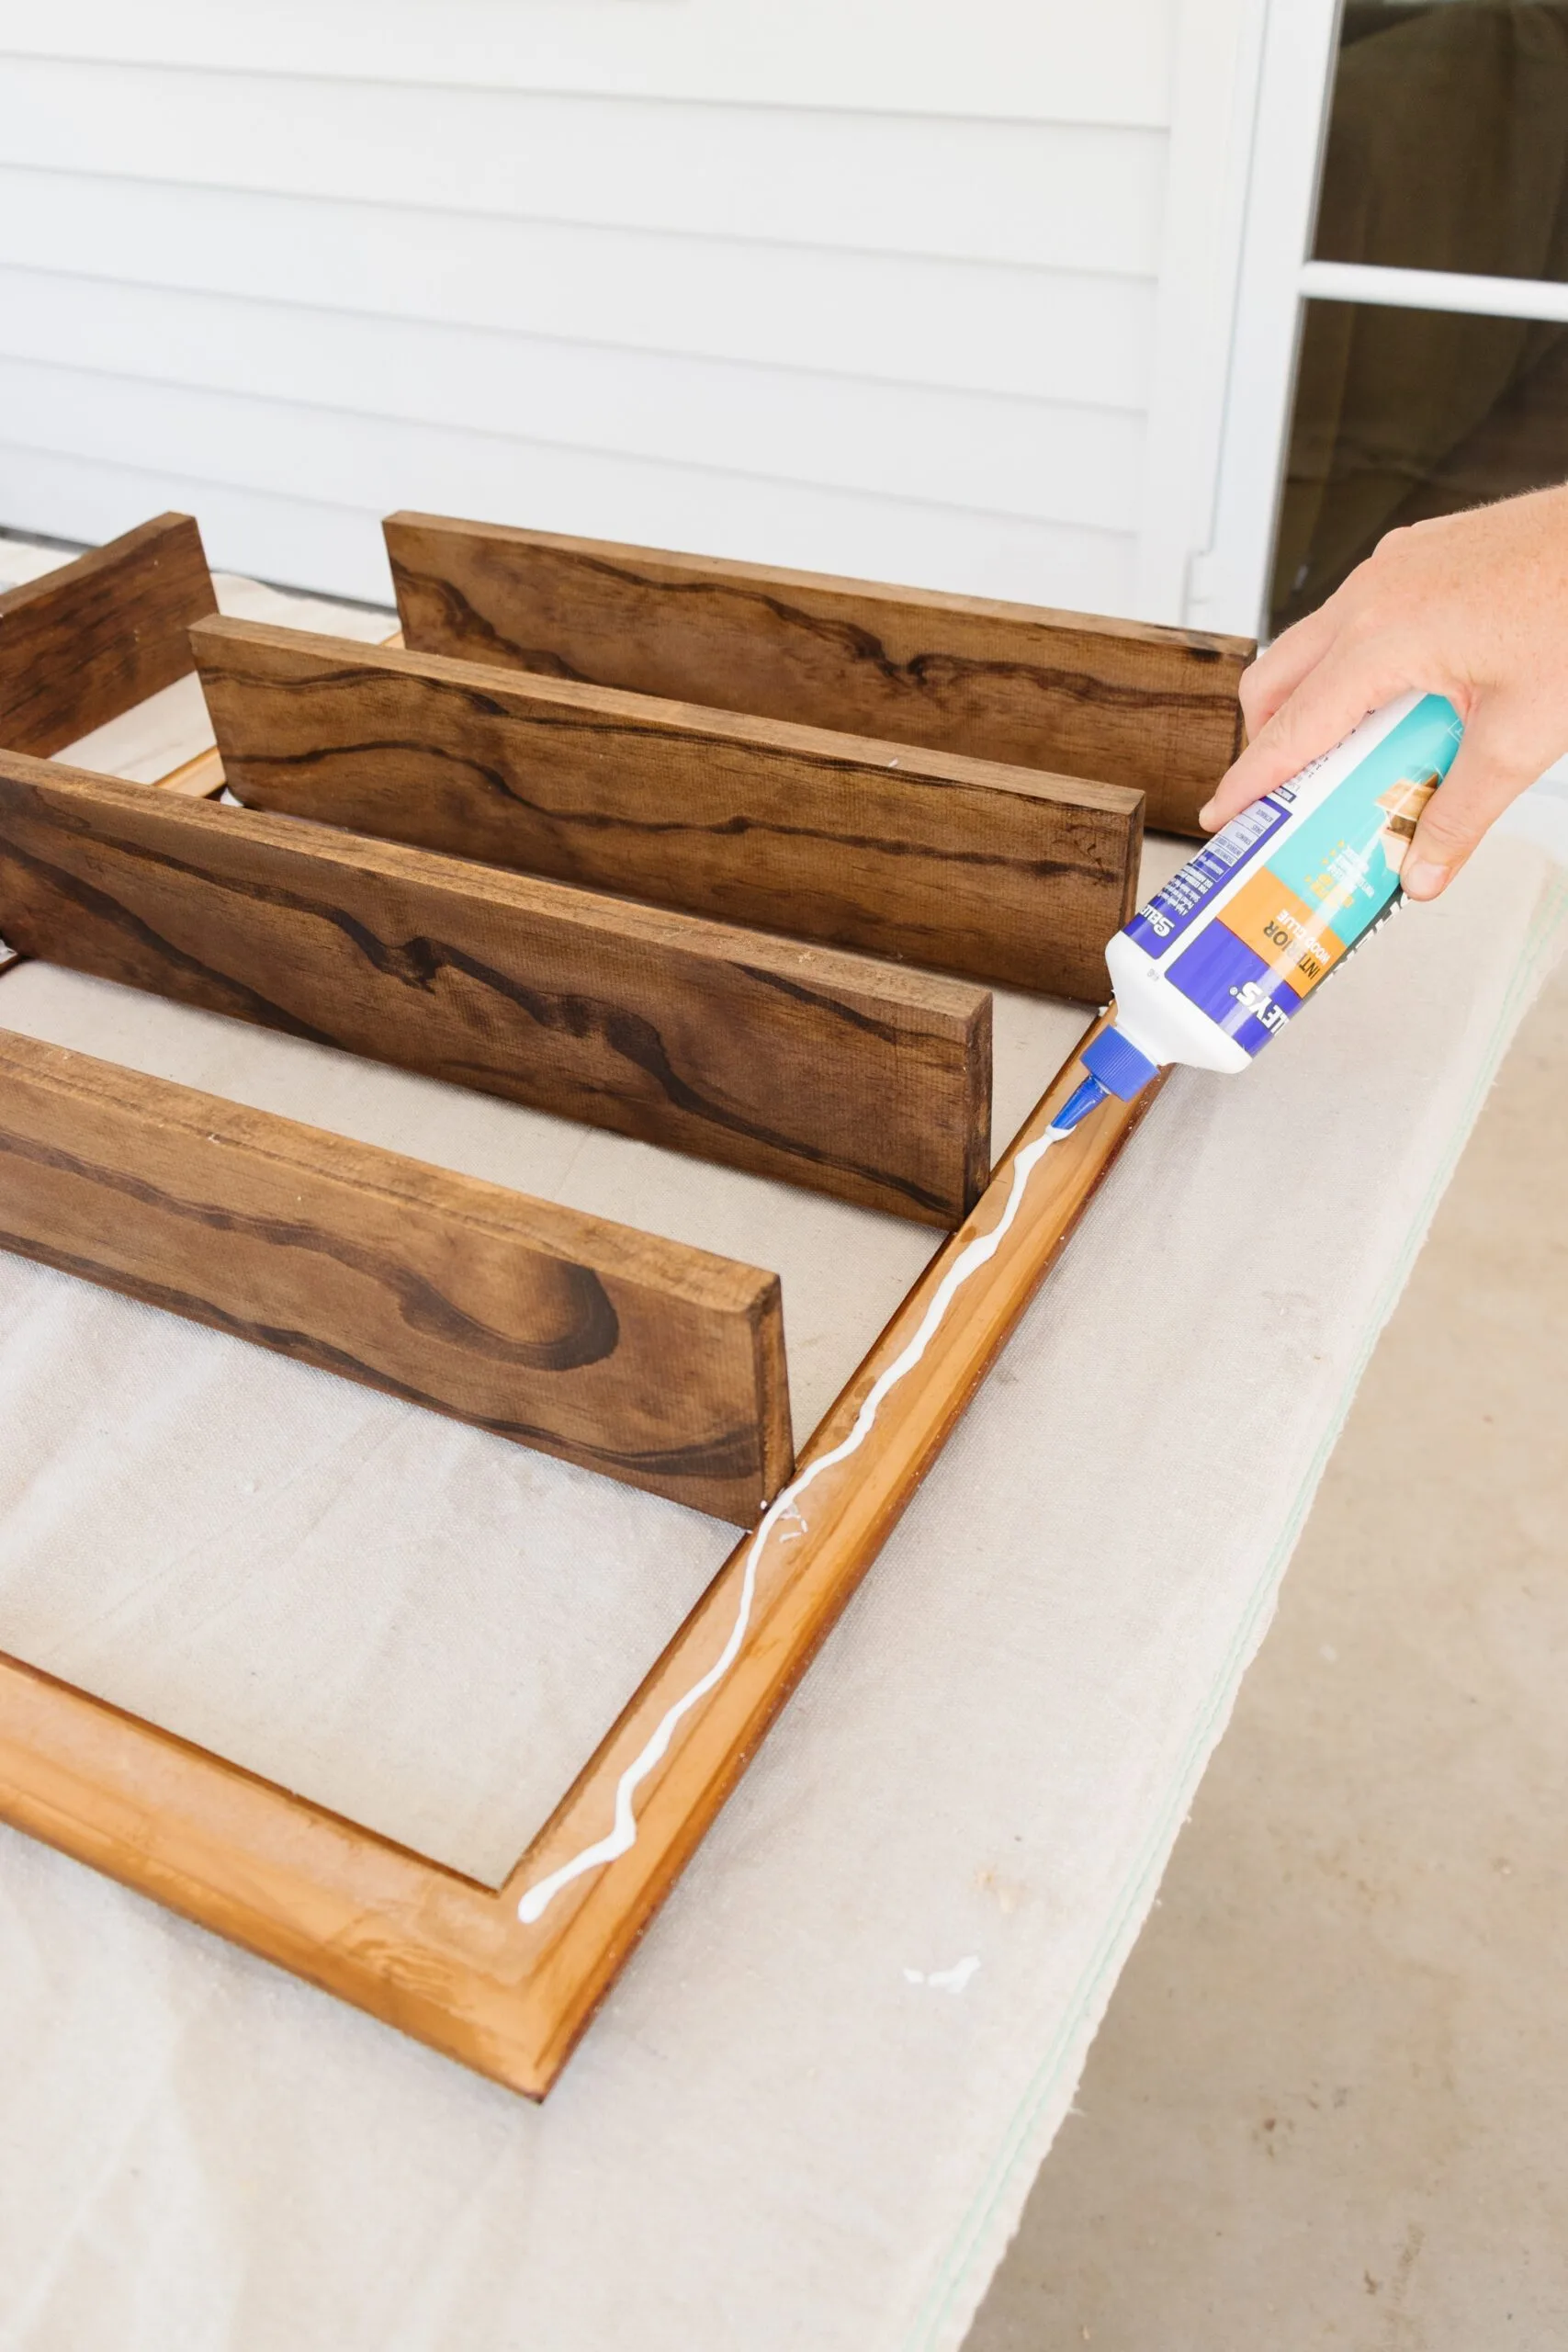
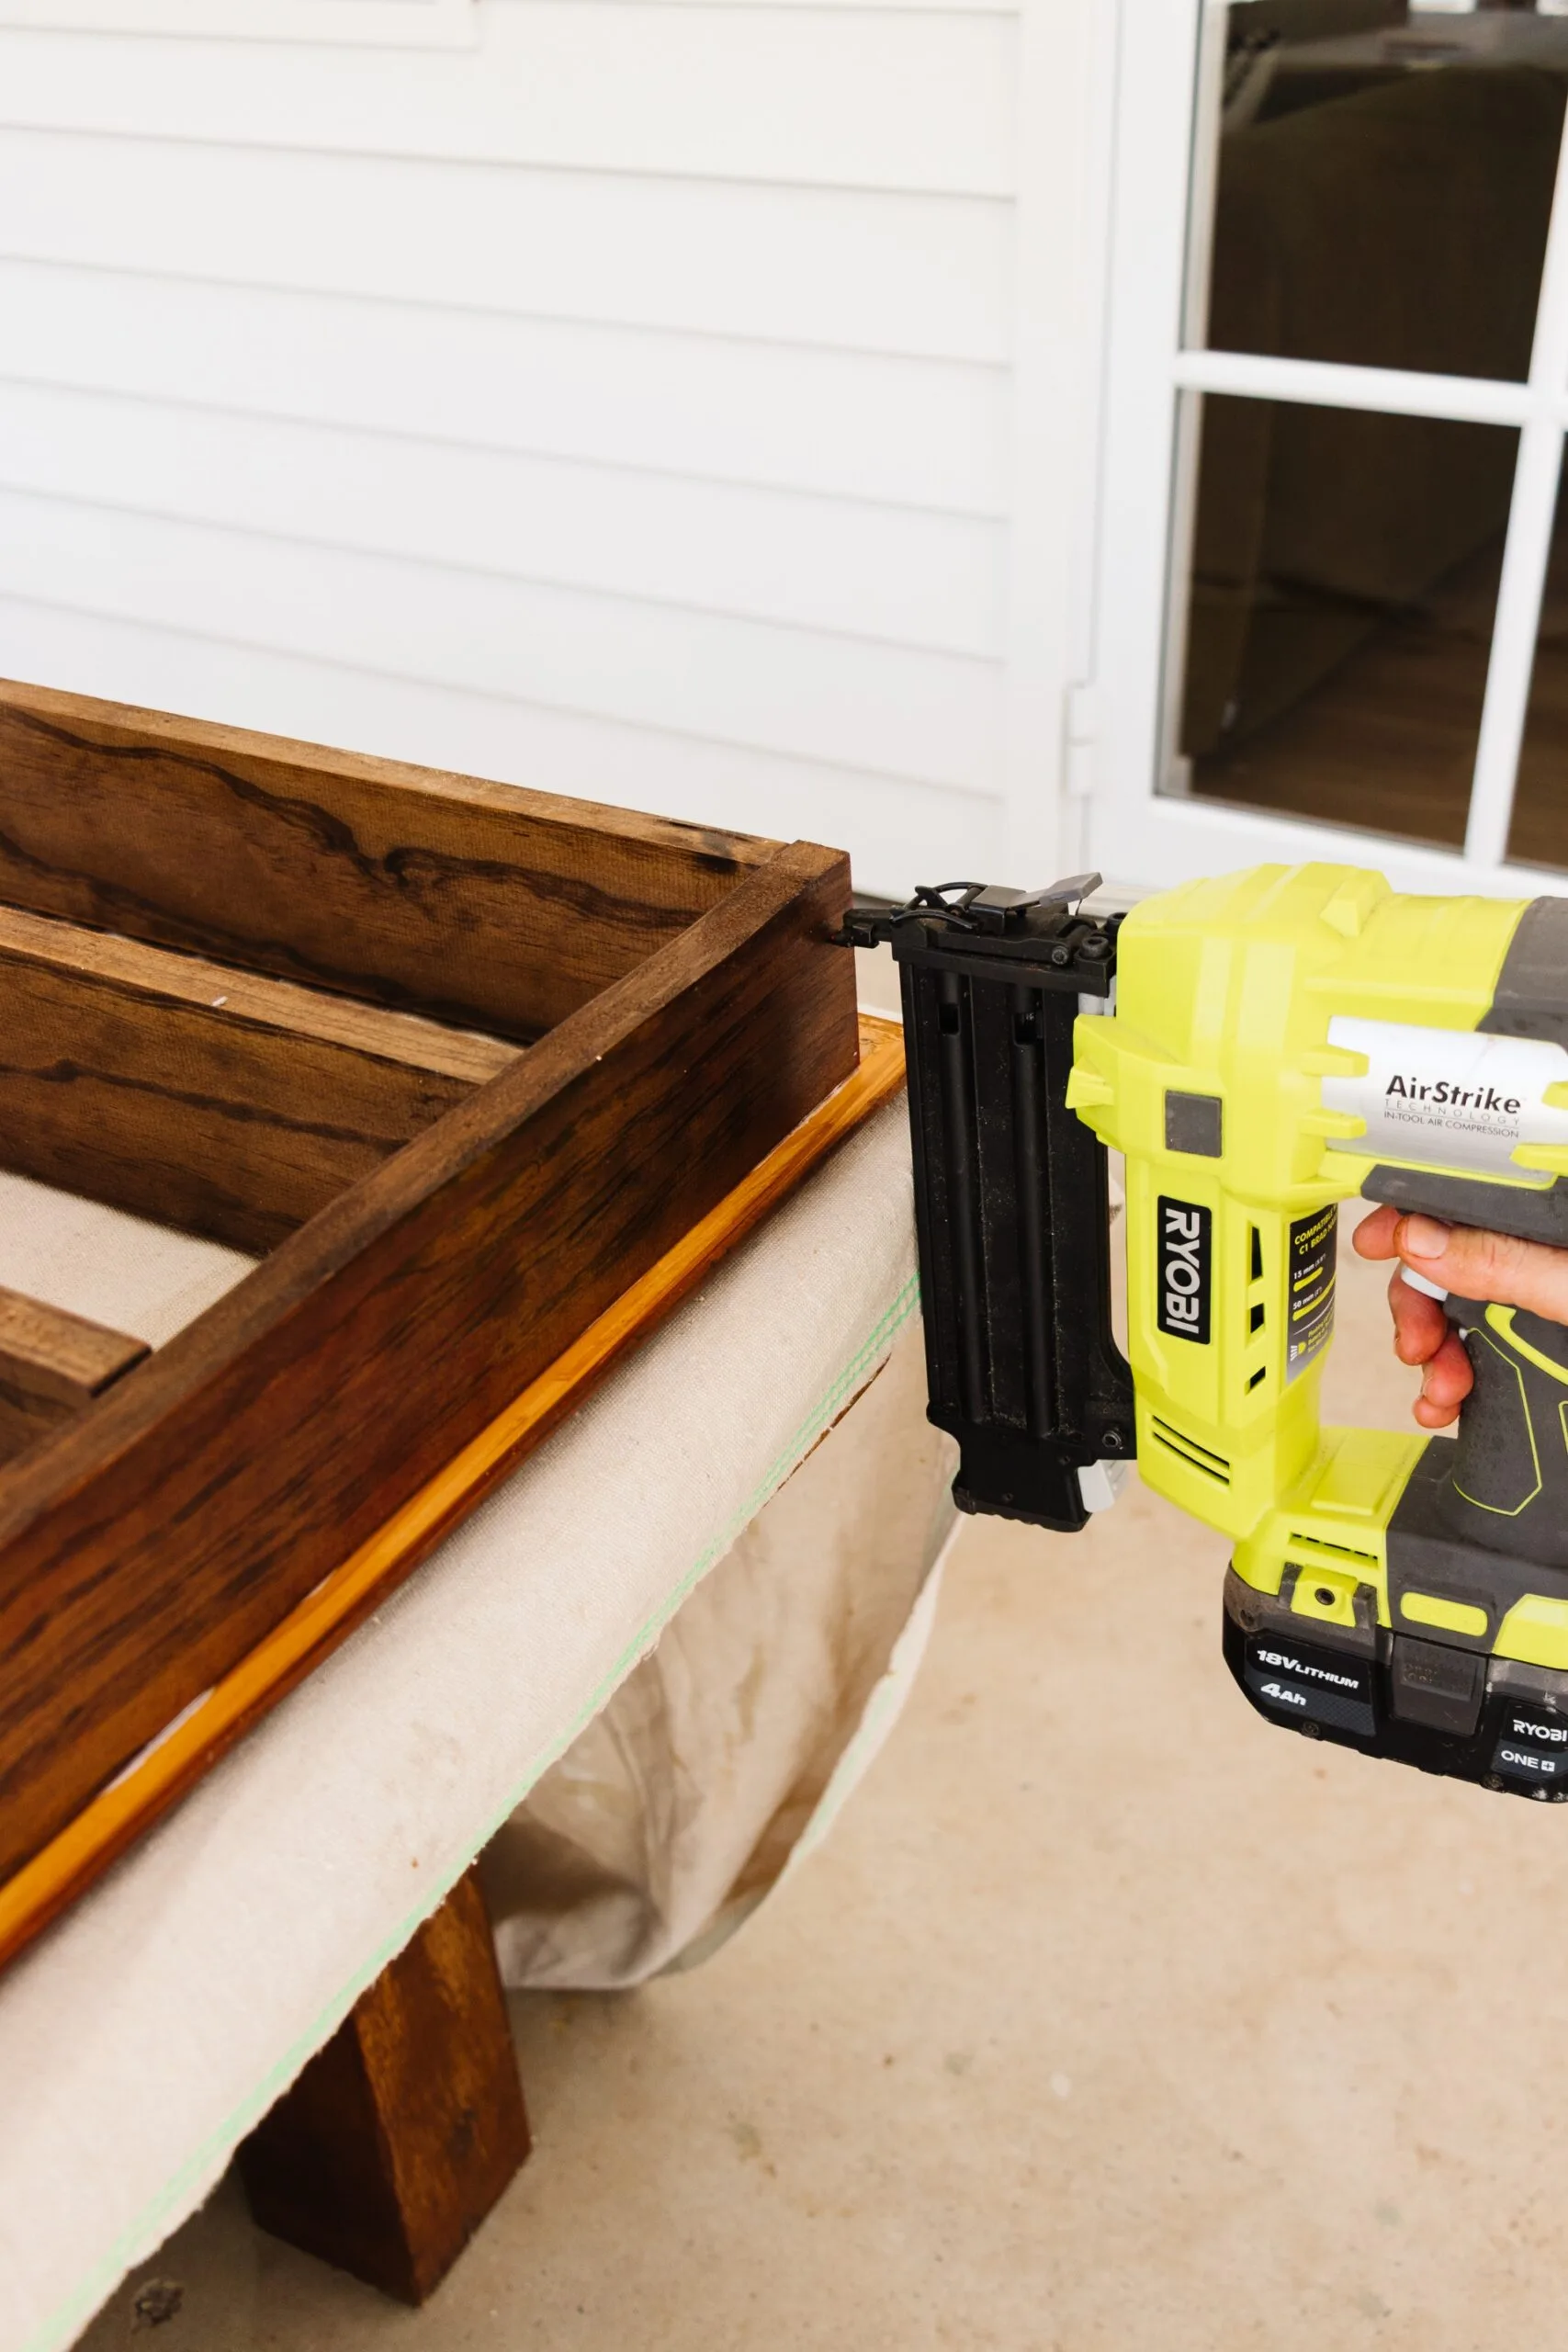
Step 9
Using a hammer, install a hook and nail into a wall stud. Place the top of the frame onto the hook. Place your favourite mugs onto the shelves.

Related stories

Native ad body.

Native ad body.


Native ad body.