

 (Project: Brooke Styles | Photography: Jessica Howard)
Upcycling is my mantra and I love breathing new life into old. There’s something so satisfying about giving forgotten or worn items a new life. It’s not just about saving money or reducing waste – it’s about celebrating creativity.
Instead of tossing out this old mirror frame, I gave it a second chance. And it’s ended up being one of the most-used DIYs for our home.
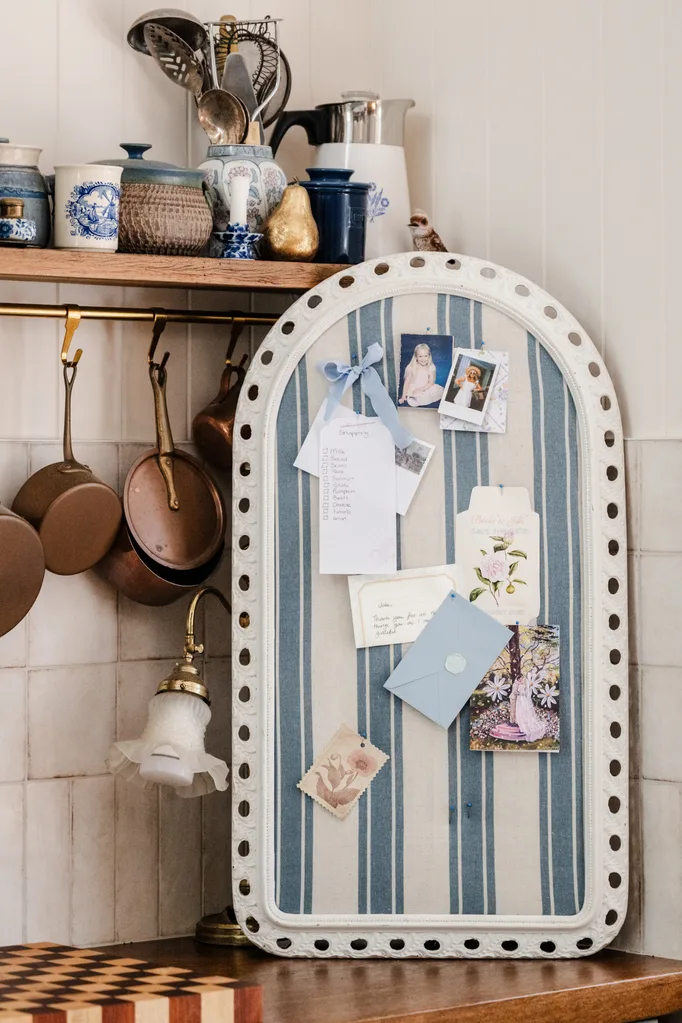
Creating this noticeboard was an absolute game changer for our kitchen. Honestly, I’m not sure how we ever managed without it.
By swapping out the tired mirror for a padded backing, that frame has become something both practical and charming. Now it’s our go-to spot for pinning reminders, recipes and all those bits of life that would otherwise clutter the counter.
I love how it adds softness and that lived-in feeling to the space while also being incredibly useful.
How to turn a thirfted frame into a notice board
Gather your supplies
- A thrifted decorative mirror frame or picture frame
- Cardboard (300 GSM or thicker – Brooke used a corrugated cardboard box)
- Polyester wadding (200 GSM)
- Patterned fabric
- Plastic head pins
You’ll also need
- Safety gloves, pen, utility knife, scissors, hot glue gun, hot glue sticks
Here’s how
Step 1
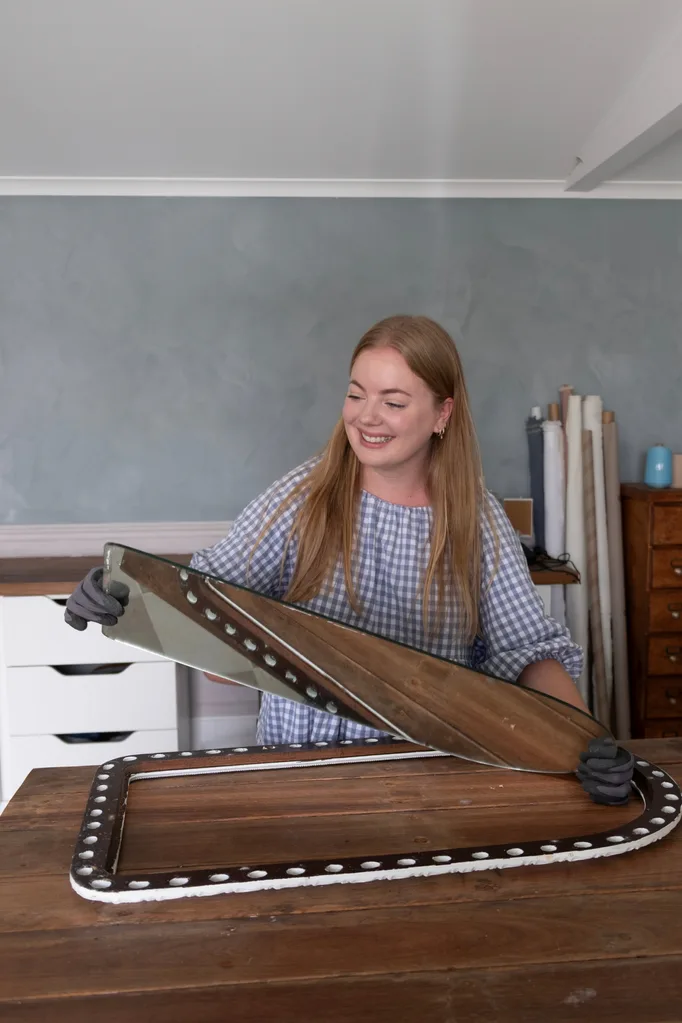
Put on your safety gloves and carefully remove the old mirror glass from the frame. Dispose of it safely or sit it aside to reuse in another project.
Step 2
Lay the empty frame on top of your cardboard and use a pen to trace the inside opening of the frame. This will be the backing of your noticeboard.
Step 3
Using a utility knife, carefully cut along the traced line. Test the cardboard piece in the frame to make sure it fits snugly.
Step 4
Using scissors, cut both the polyester wadding and your chosen fabric about 2cm larger than the cardboard on all sides. This extra is for folding and securing around the edges.
Step 5
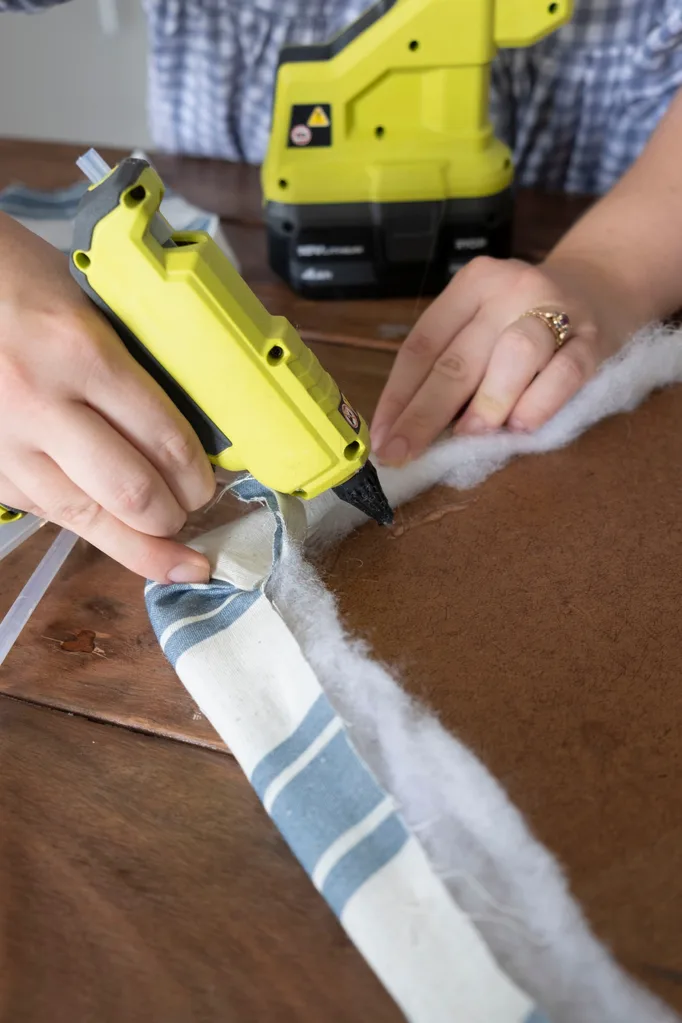
Lay your fabric right side down. Place the wadding on top and then position the cardboard piece over that. Fold the fabric and wadding around the edges of the cardboard and secure everything on the back with hot glue.


Step 6
Place the padded board into your frame. Secure it either by applying hot glue around the edges or by folding down the original frame tabs to hold it in place.
Step 7
Hang your new noticeboard in your kitchen or communal space and use plastic-head pins to hold reminders, recipes and all your everyday notes.

