
 Photography and styling: Geneva Vanderzeil
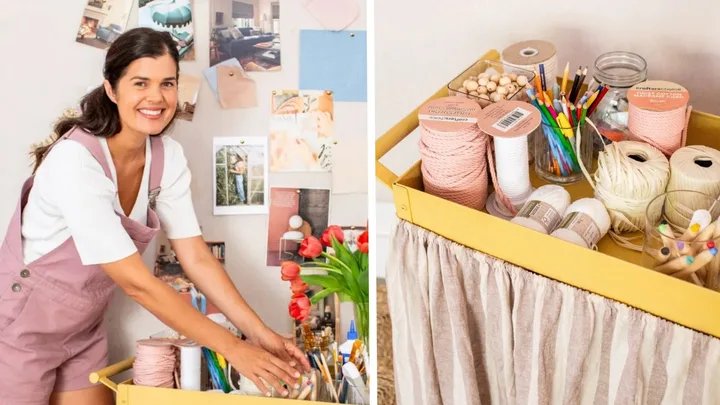
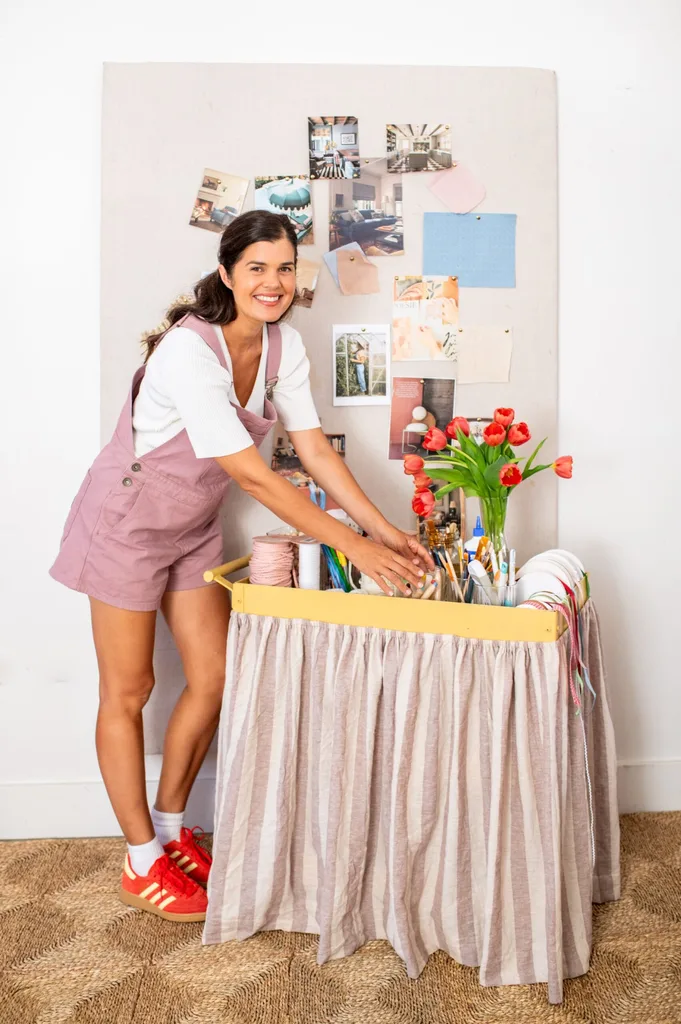
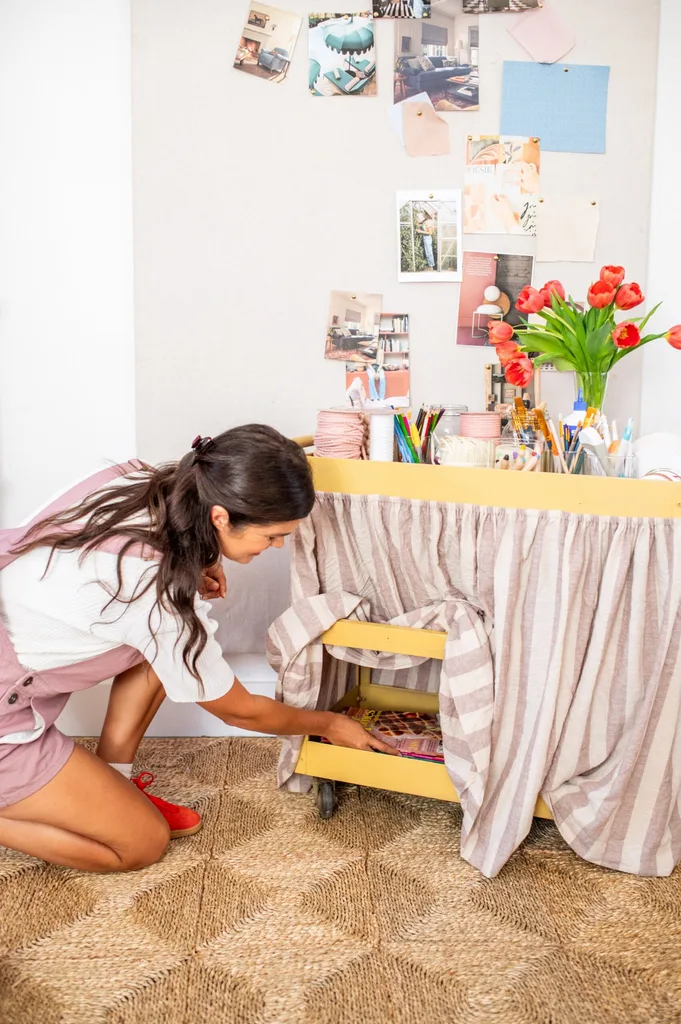
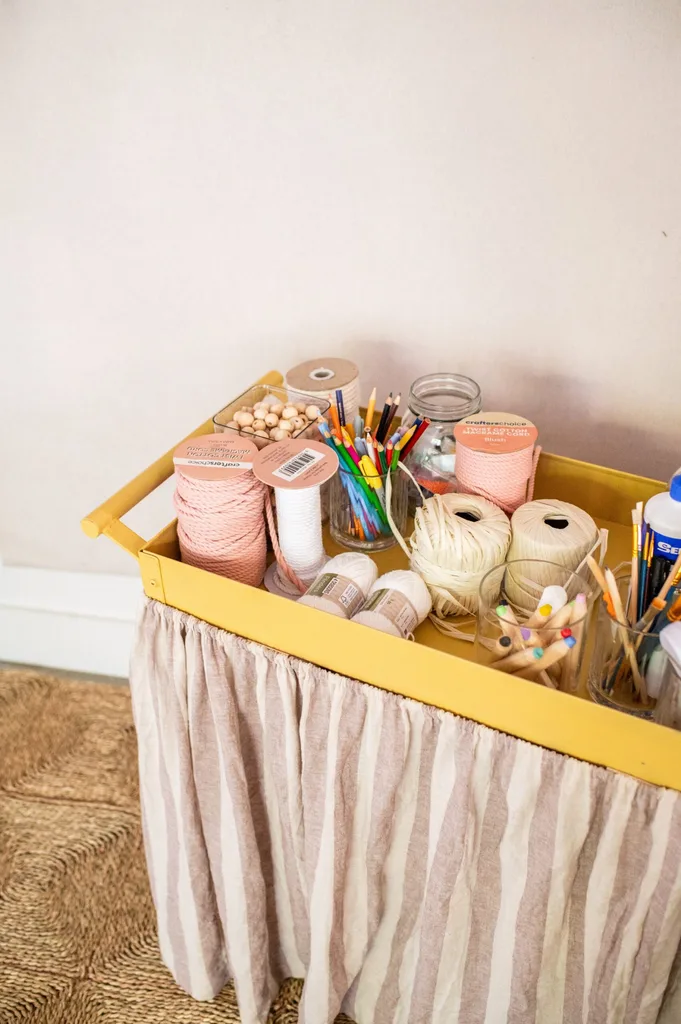
Feel like craft supplies are taking over your small home? Geneva Vanderzeil’s DIY craft trolley storage hack is the solution you need! Here, Geneva gives craft supplies a tidy home by making over an old trolley. The gathered skirt keeps gear neatly hidden but still within reach.
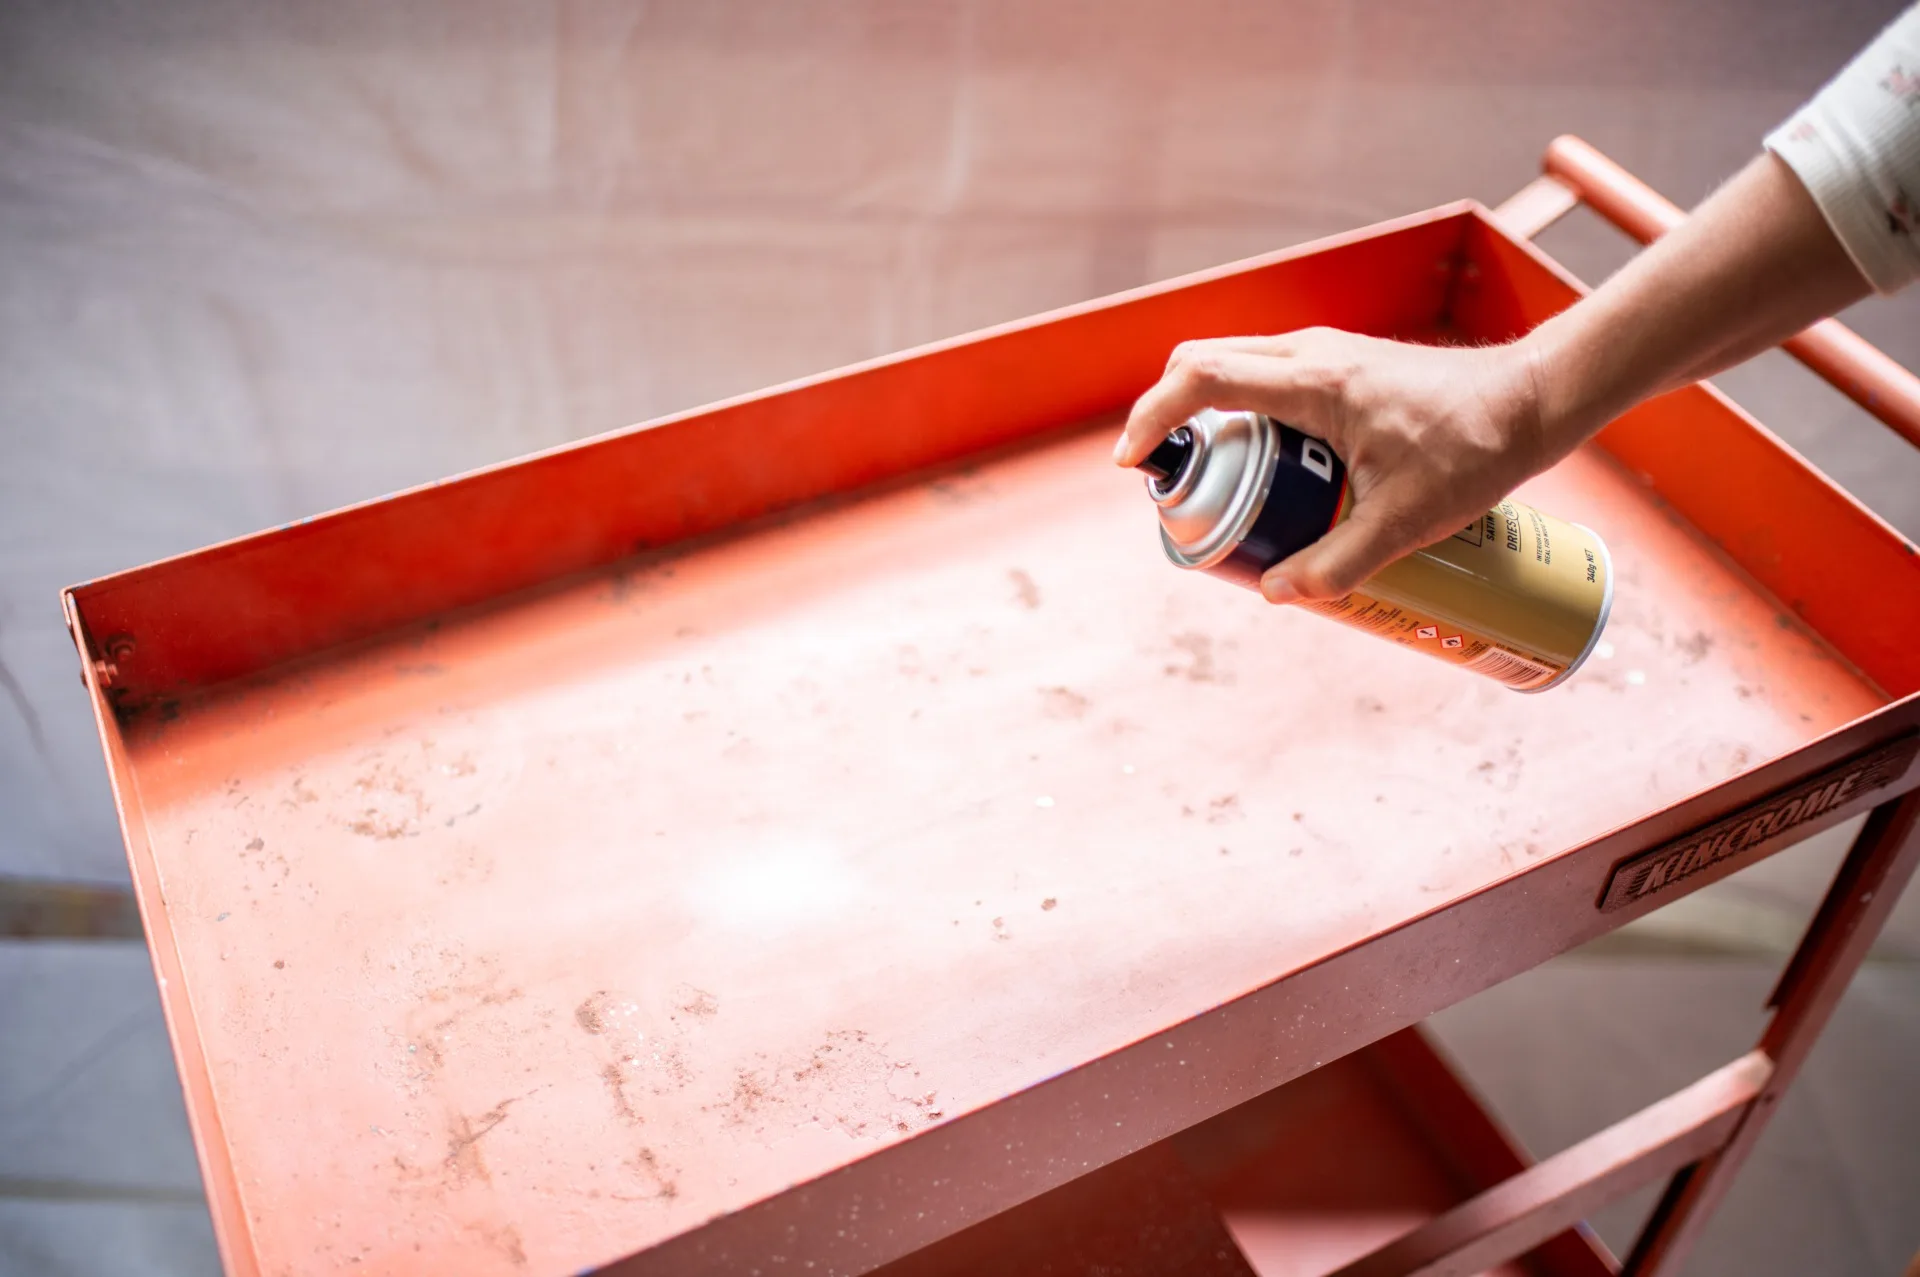
For the trolley, use a spray paint suitable for metal, such as Dulux Spray or White Knight Squirts.
How to make a craft storage trolley
Gather your supplies
- Preloved trolley
- Sandpaper
- Painter’s tape
- Spray paint
- Cotton or canvas fabric, about 70cm x 220cm, or according to your trolley dimensions
- Matching sewing thread
- Elastic
You’ll also need
- Drop sheet or cardboard (to protect the floor)
- Microfibre cloth
- Pins or sewing clips
- Scissors
- Measuring tape
- Sewing machine
Safety notes
Work in a well-ventilated area when spray painting and wear a mask to avoid fumes
Here’s how
- Step 1
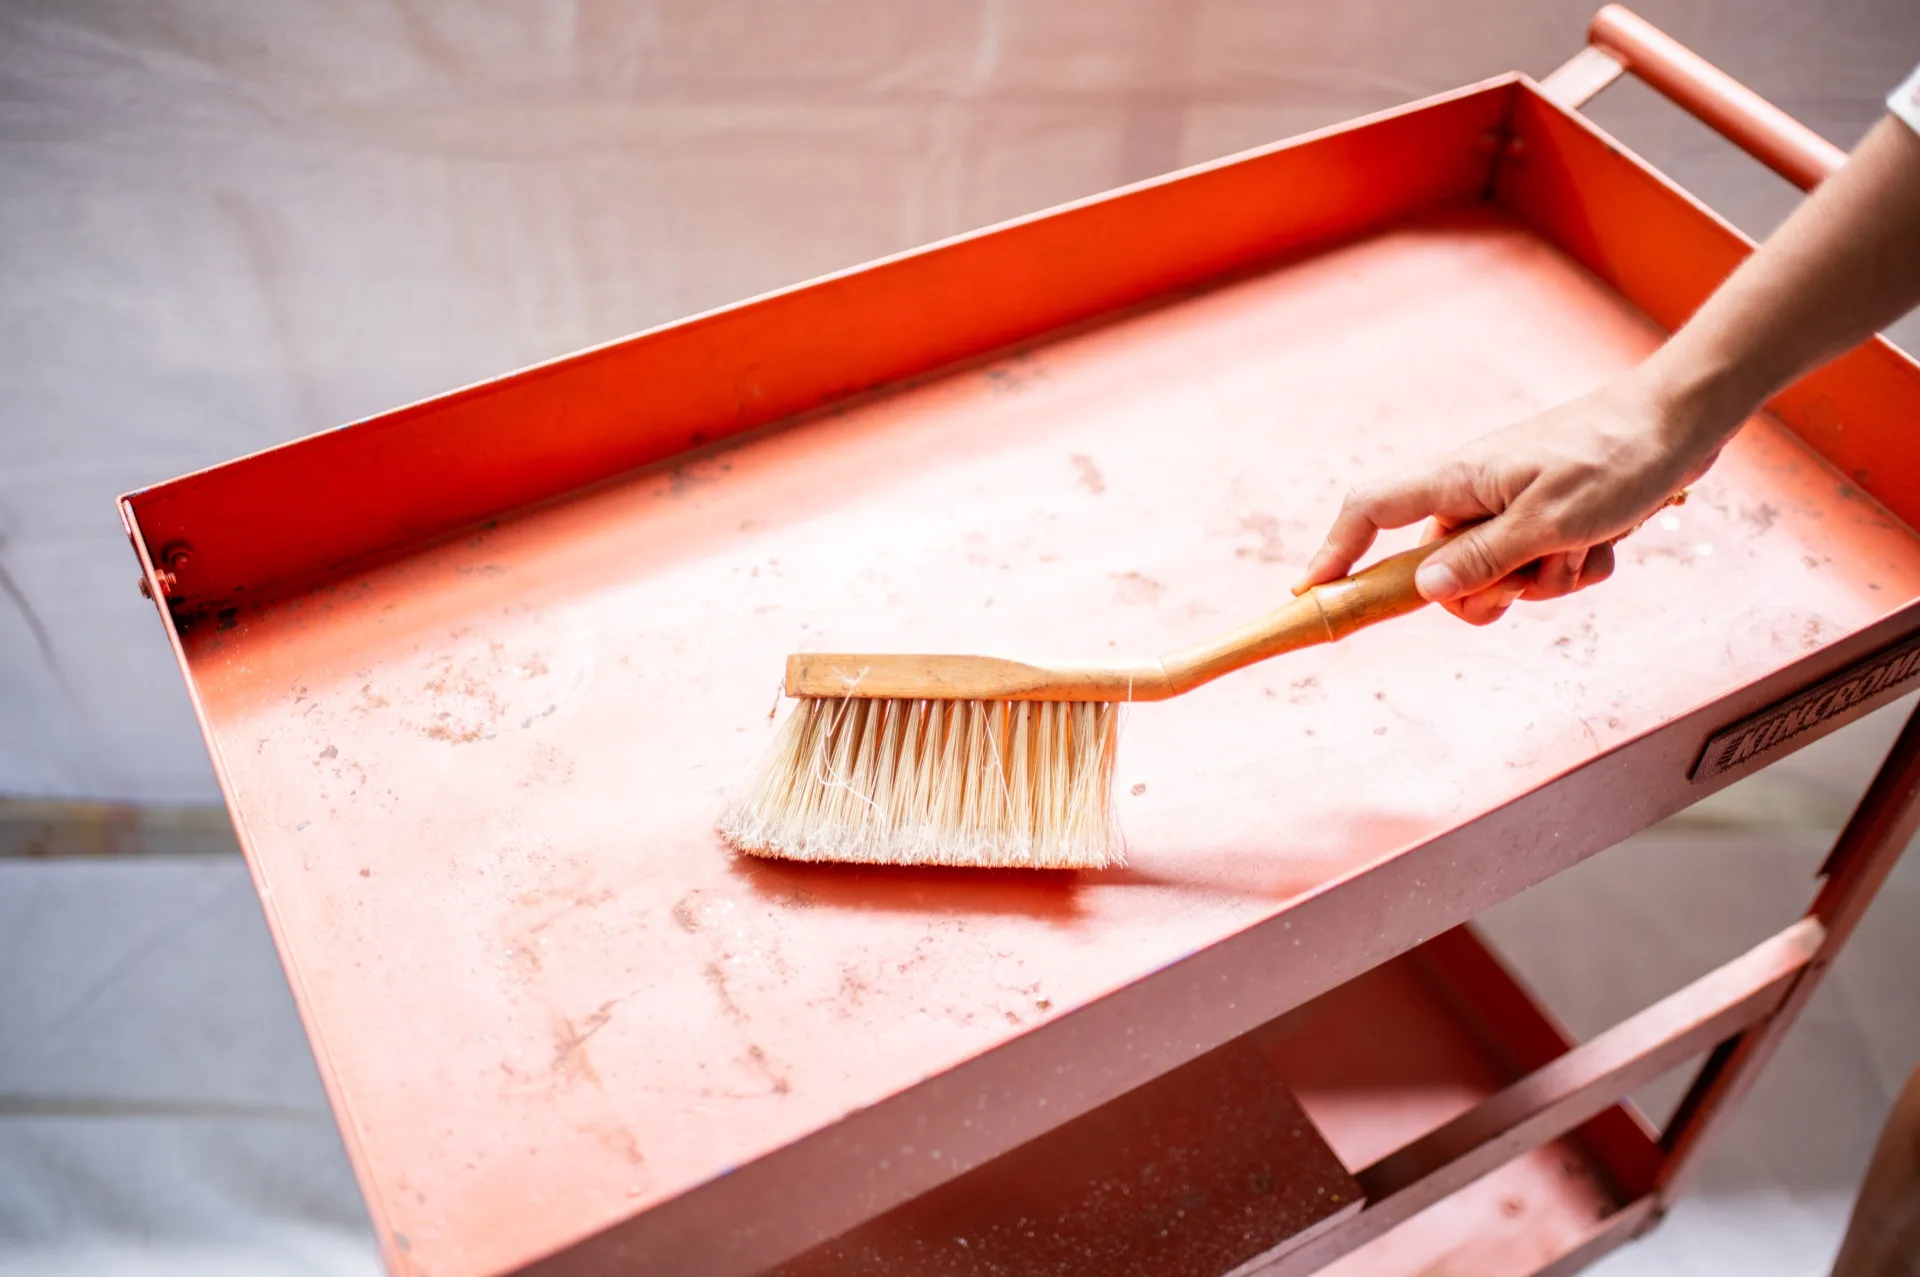
Clean the trolley thoroughly to remove dust, grease and any flaky paint. Wipe it over with some soapy water and let it dry. Lightly sand the surface to help the paint adhere. Wipe away any dust with a microfibre cloth.
- Step 2
Protect your work area with a drop sheet and use painter’s tape to cover any parts of the trolley you do not want painted.
- Step 3
Wearing a mask, spray the trolley with two to three light, even coats of spray paint, allowing each coat to dry before applying the next.
- Step 4
Measure around the trolley’s outside edge and its height where the skirt will sit. Cut fabric so it’s twice the length of the outside edge plus 3cm for the seam allowance, and the required height plus 1.5cm for the bottom hem and 1.5cm for the top elastic casing (allow a little more if your elastic is wider than 12mm).
- Step 5
To create a casing for the elastic, fold, pin, then sew a 1.5cm hem along the top edge of the fabric (or more for wider elastic). Pin and sew a 1.5cm hem at the bottom of the skirt. Pin and sew a 1.5cm side seam to just below the elastic casing.

- Step 6
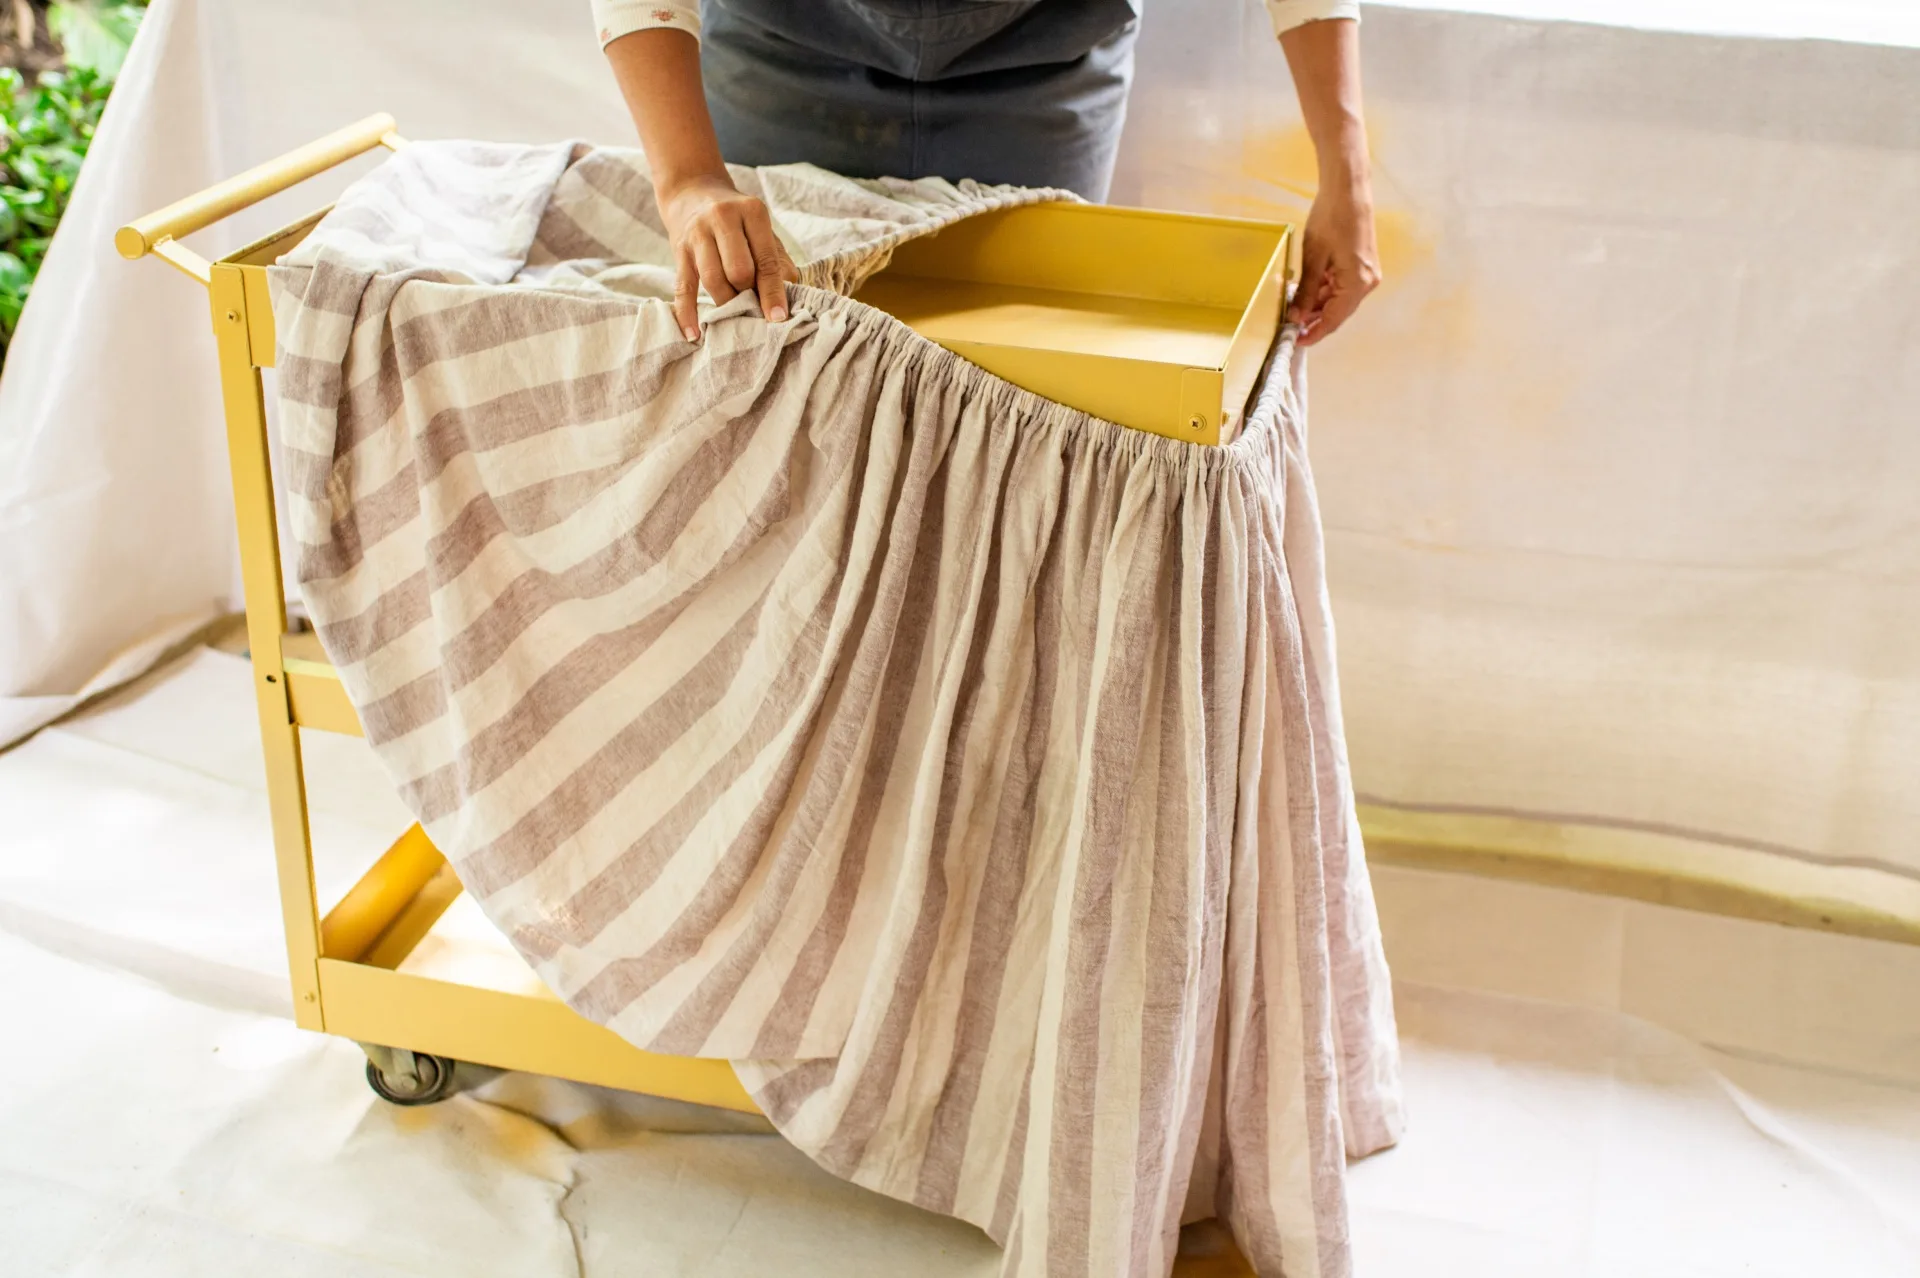
Wrap the elastic around the trolley and cut to an appropriate length. Attach a safety pin to one end of the elastic, then thread it through the casing. Knot the ends together, then stitch any remaining seam opening closed. Adjust the gathers as needed.
- Step 7
Position the skirt on the trolley so that it sits neatly around the frame. Fill the trolley with your supplies and you’re all set to get crafting!
Geneva’s tips
- Apply several light coats of spray paint rather than one heavy coat to prevent drips.
- Choose a durable, washable fabric so you can clean the skirt if needed.