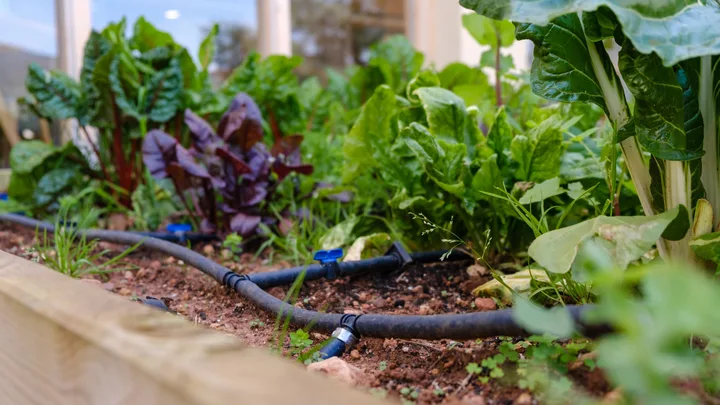
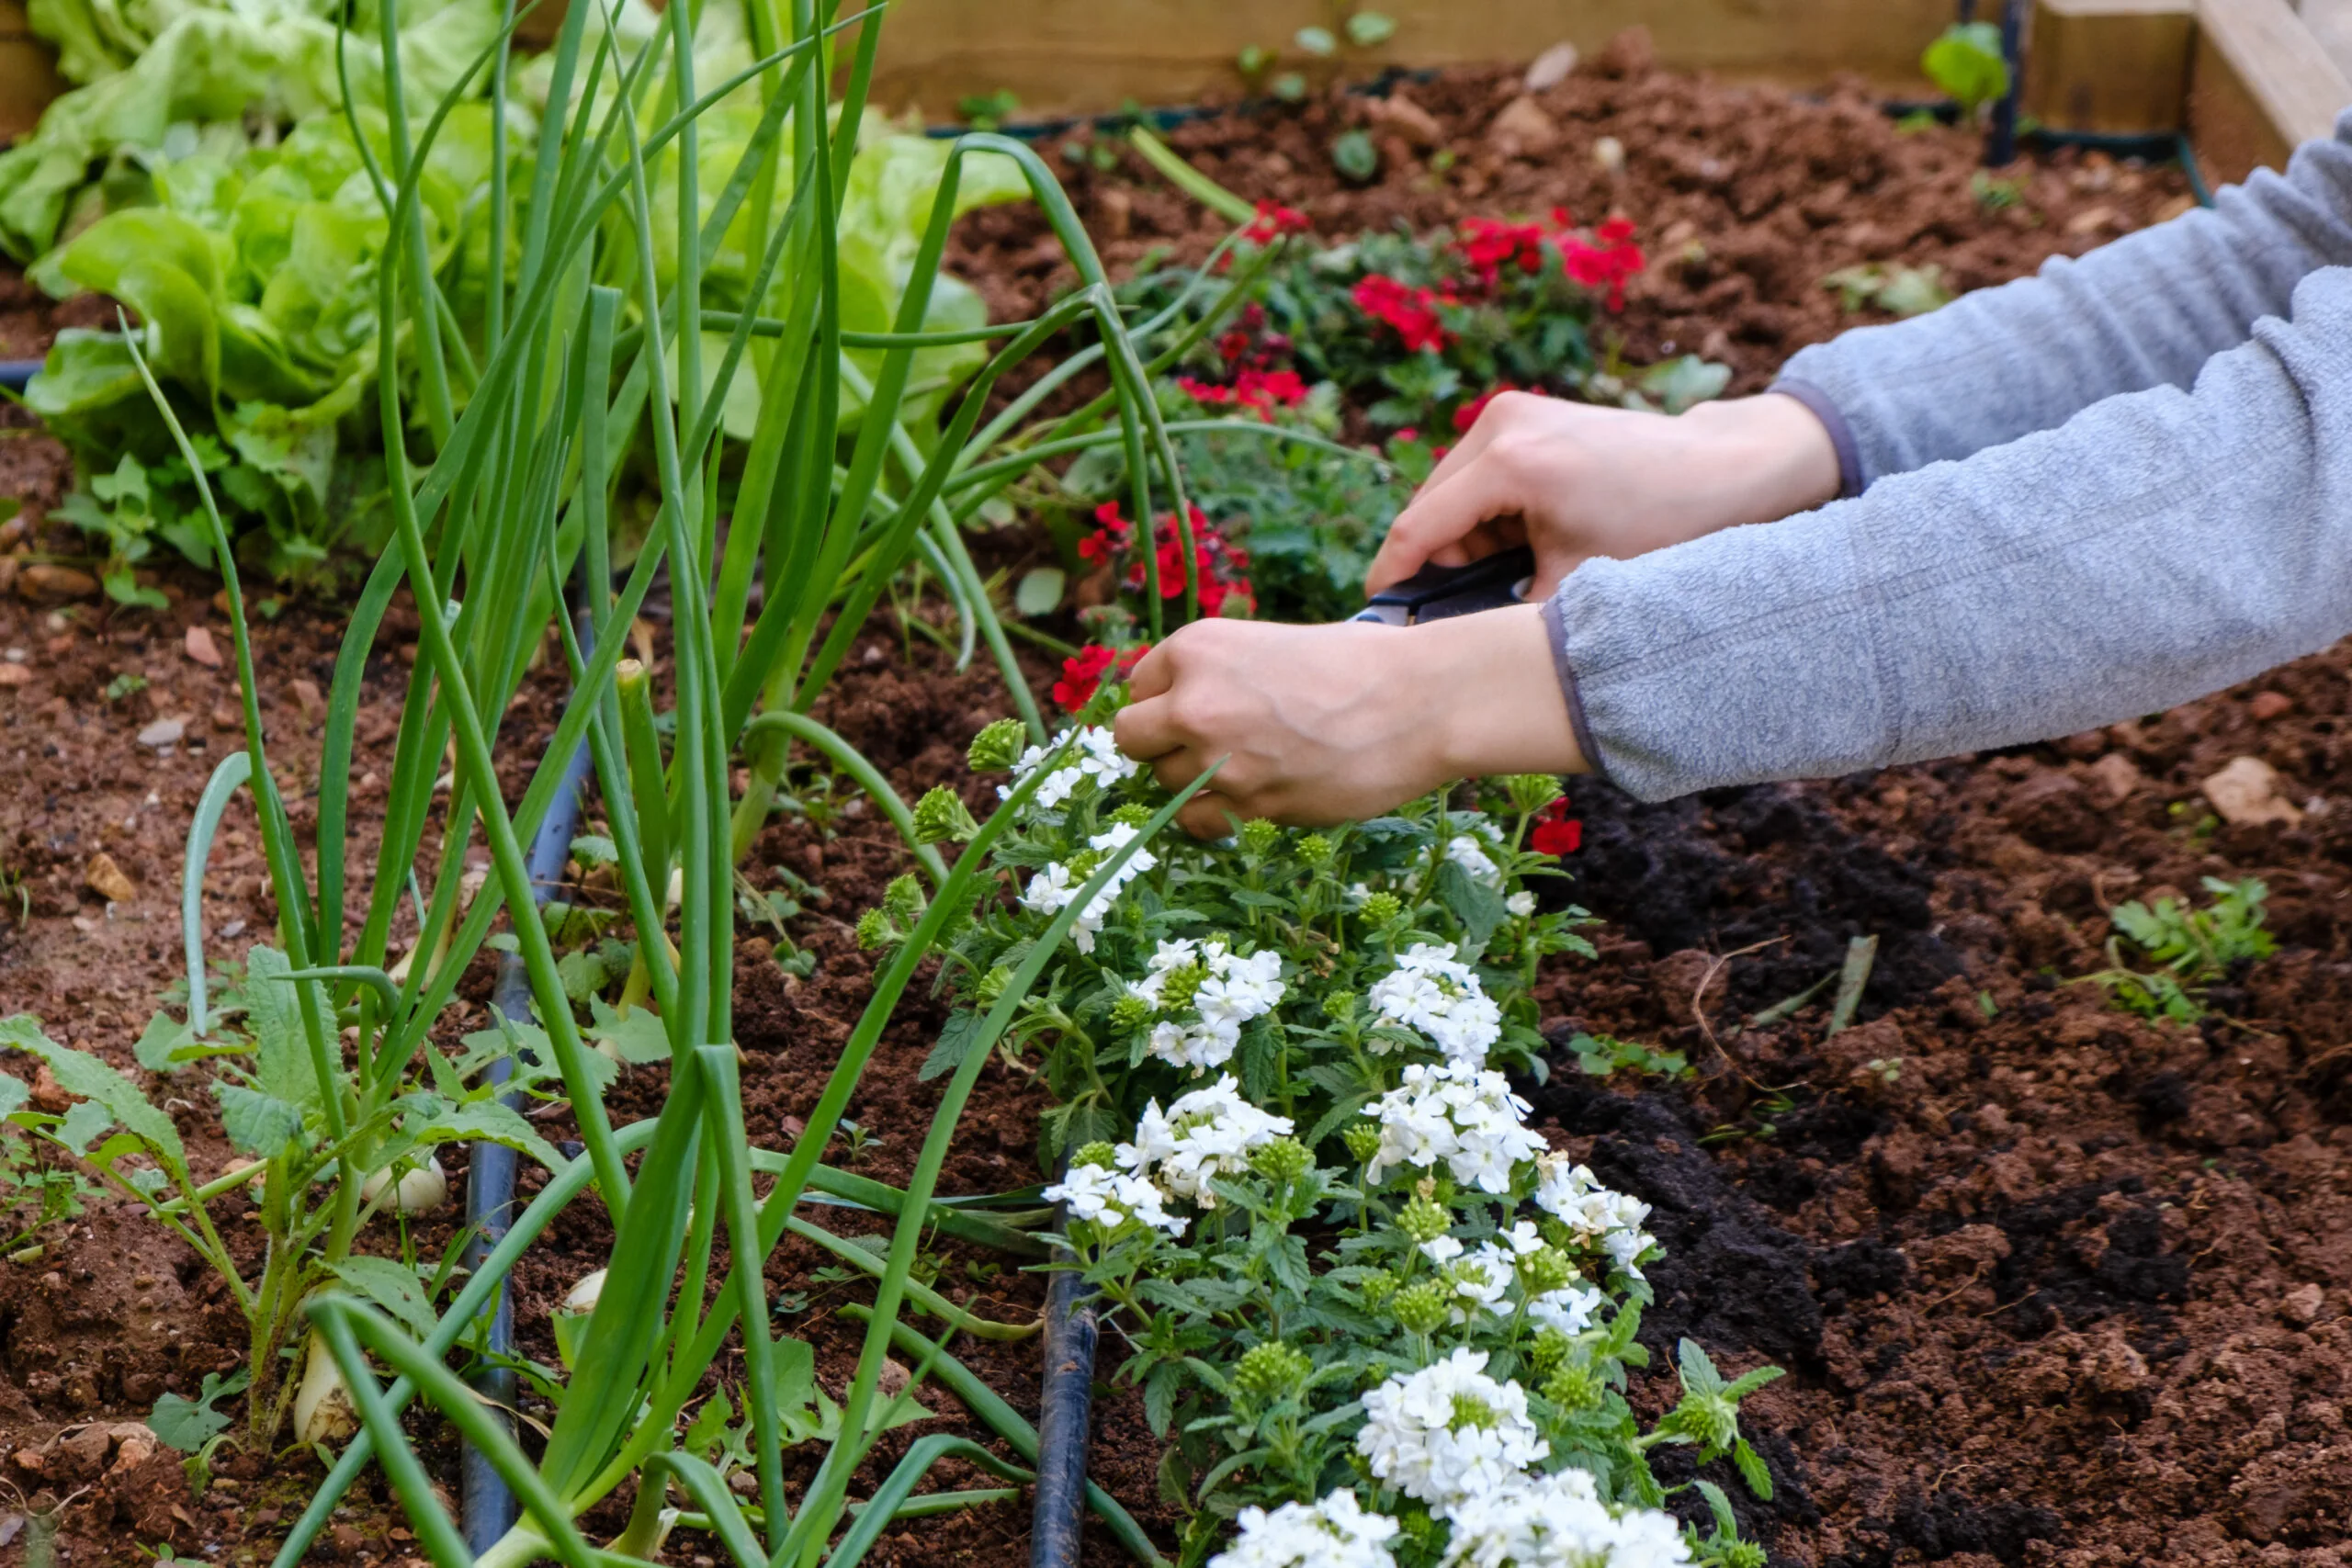
Irrigation is a garden feature that may seem out of reach for home gardeners. But it’s actually quite simple to install, and both your plants and water bill will reap the benefits. Not only will you increase your water efficiency, your plants will also love the consistent watering schedule.
Advertisement
Read on for the best irrigation tips from a landscape architect, and how to install an irrigation system yourself.
(Credit: Adobe Stock)
Aussie gardens thrive with irrigation
Adding in irrigation means you never have to worry about watering your plants yourself. And, according to Zach Barnett from Boronia Landscapes, there are great impacts on the garden as well. A watering system bound by a schedule means your plants can be hydrated at optimal times. “Early morning or evening watering means there’s less water evaporation from the hot sun. You’ll get the right hydration for your plants without using excess water to do it.”
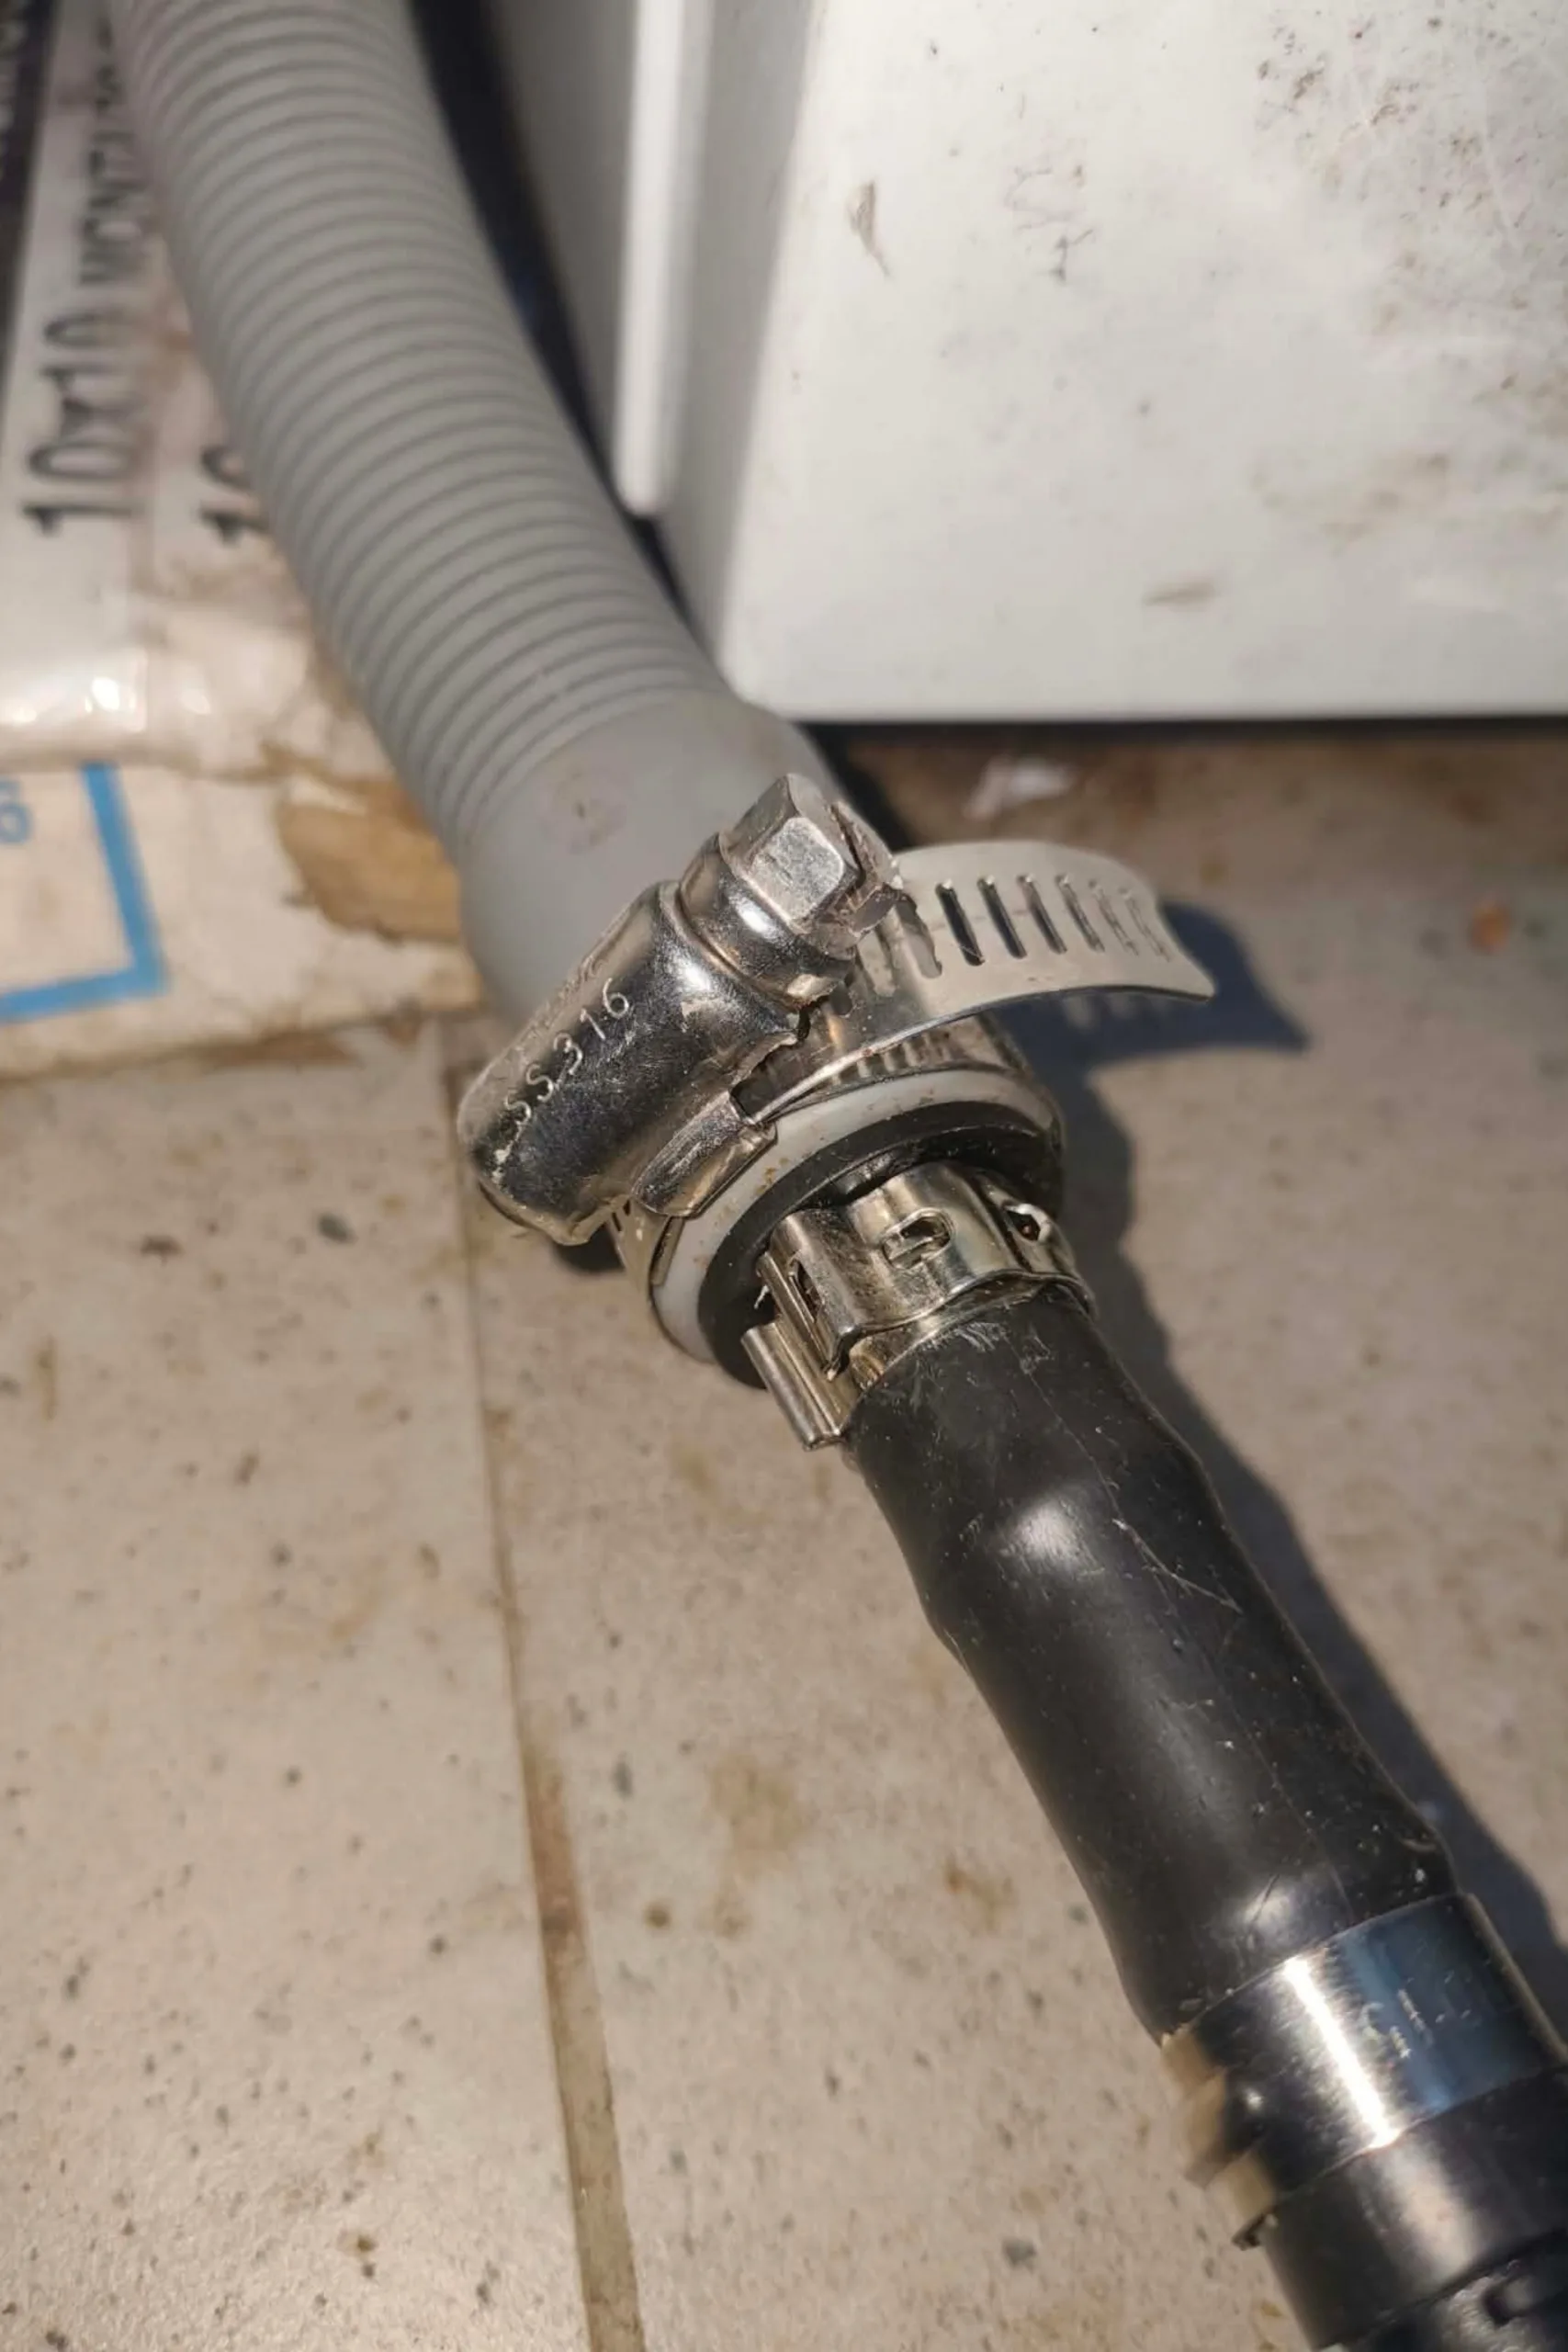
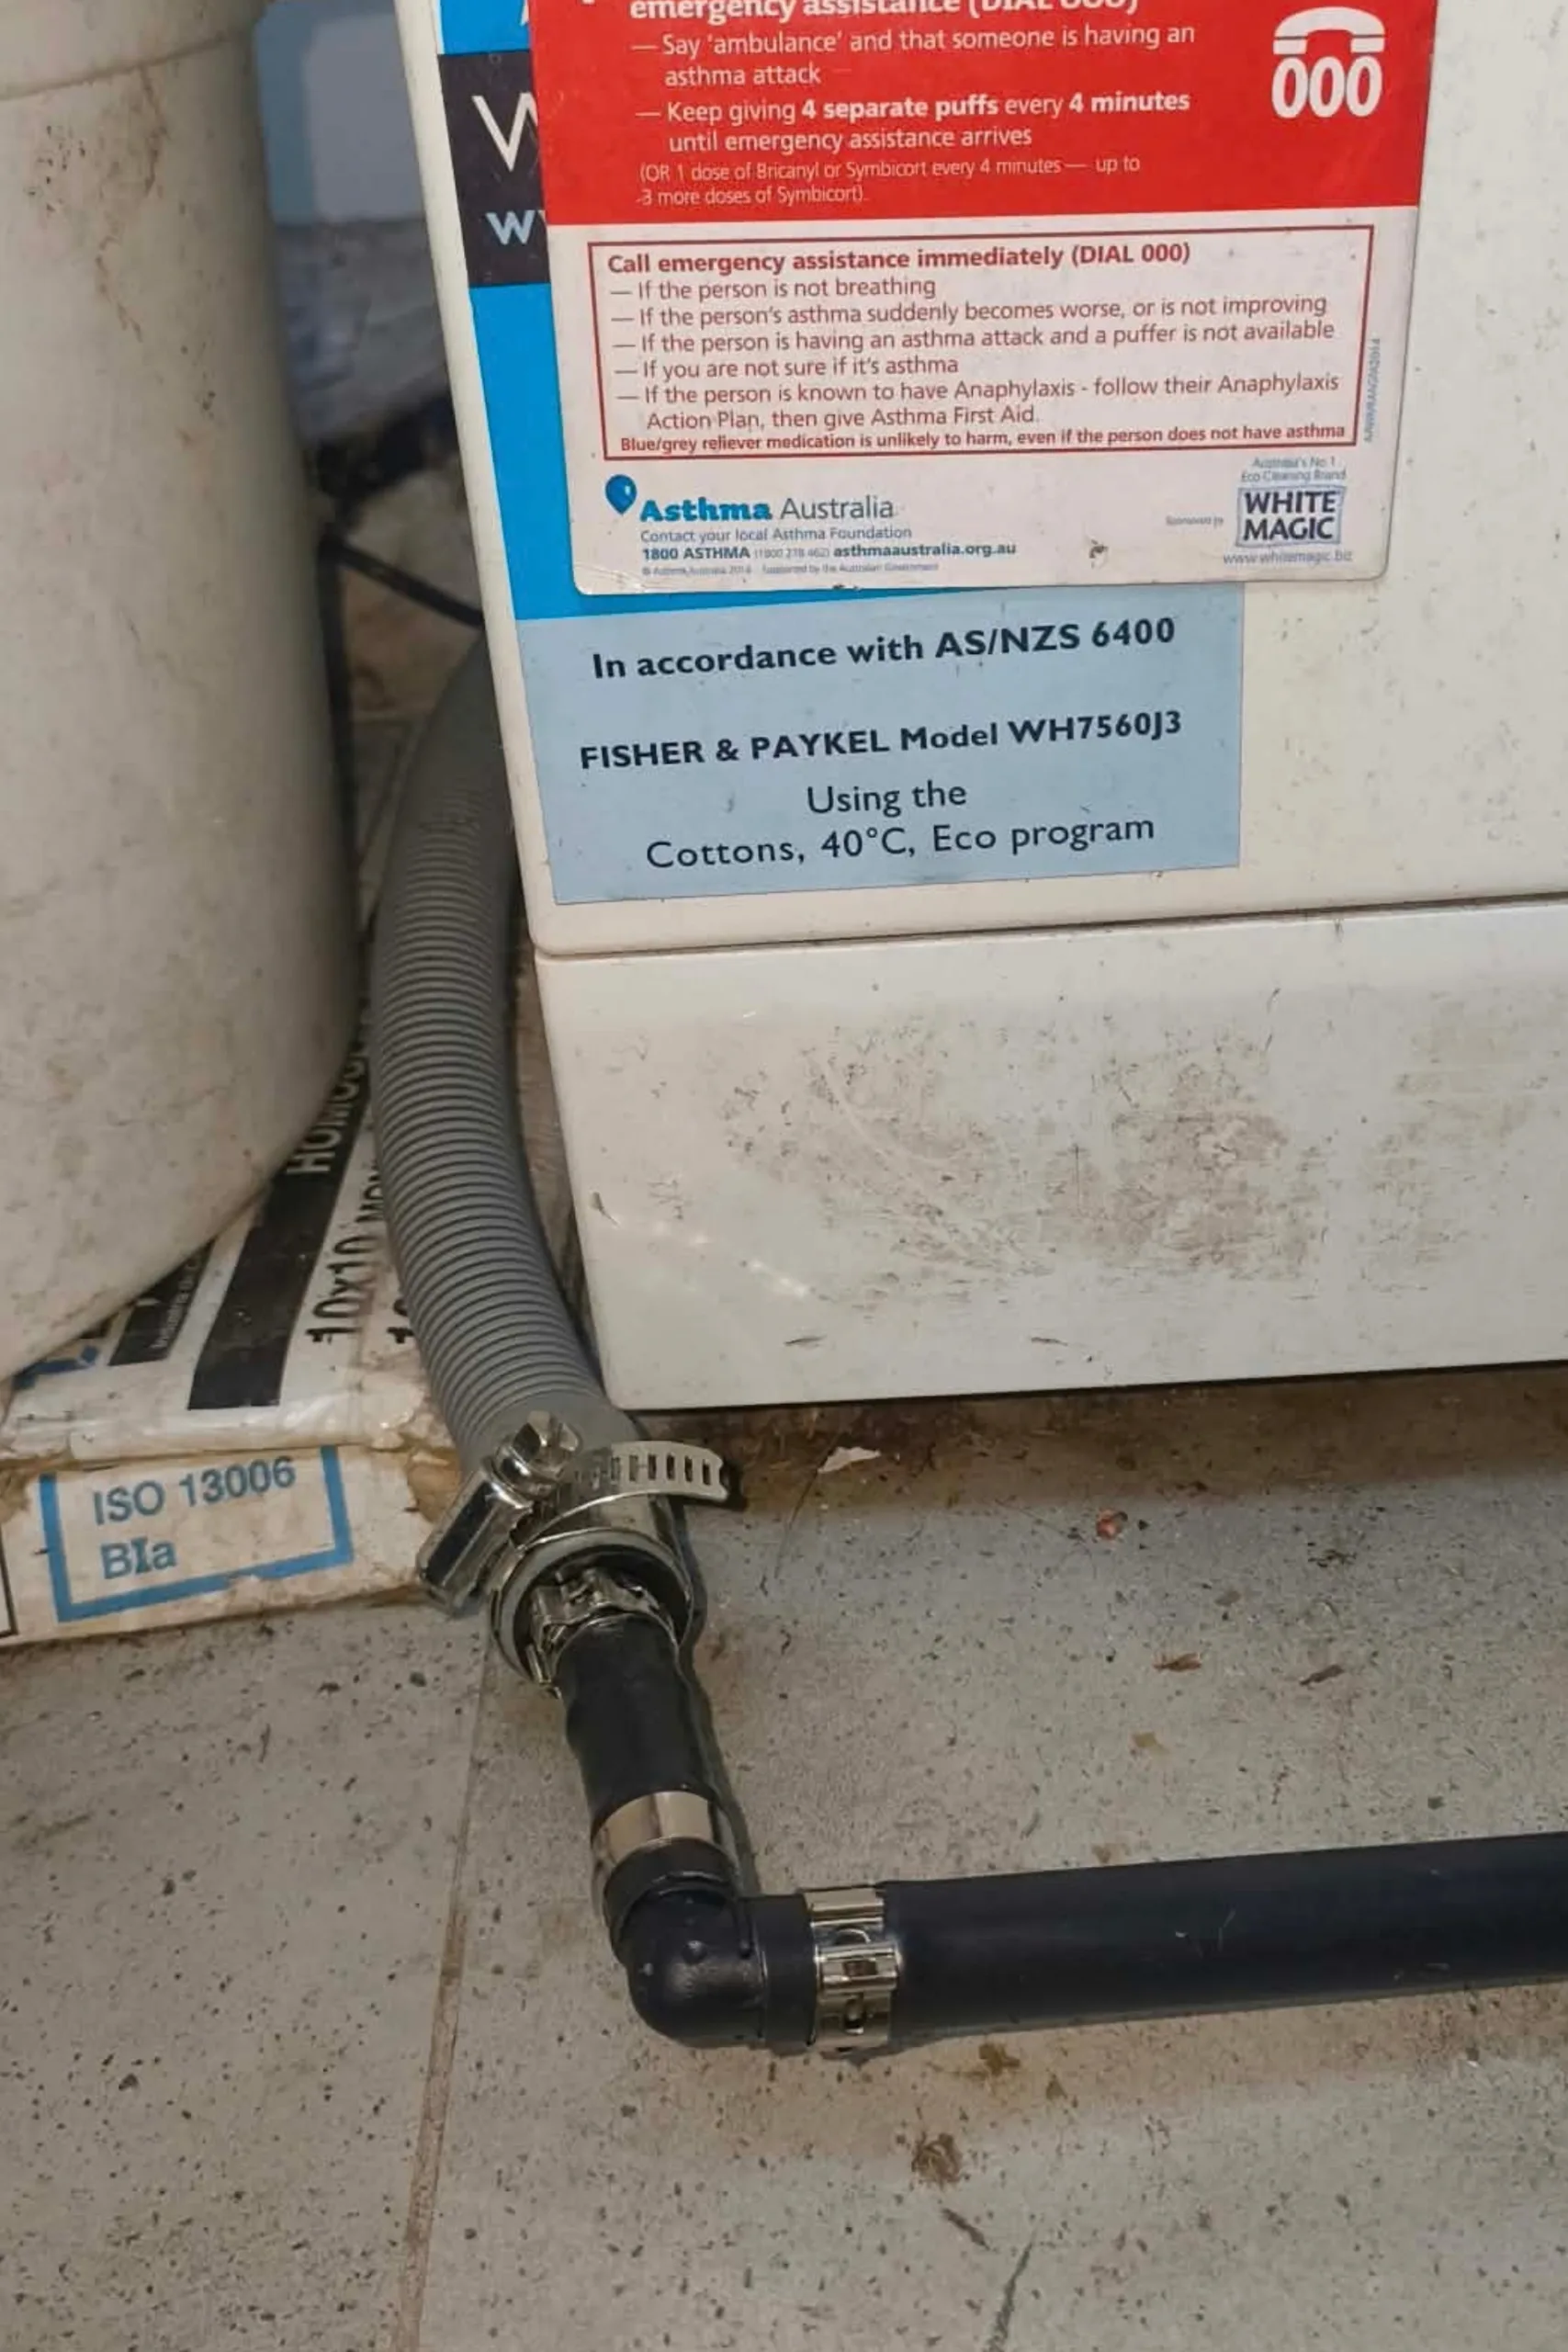
This means a lower water bill in the end as well! Zach also highlights how important irrigation becomes in heatwave and drought seasons: “Drip irrigation means water restrictions can easily be abided by, without your plants suffering from a stricter watering schedule.” Recently, Zach helped a client link up their washing machine to their irrigation, allowing for the household’s grey water to feed the plants.
Advertisement
Planning out your irrigation system
Irrigation needs to be planned out in your garden. Grab a pencil and draw up your garden perimeter and any garden beds or areas you’d like to include in your system. This will need to be drawn to scale, so you can work out how many metres of tubing you’ll need. Or, you can try an irrigation kit, which has all the materials you need to get the job done.
Steps to building an irrigation system
With your site plan in hand, it’s off to your local nursery and hardware store to gather your supplies. You’ll need poly pipe, flexi tube, elbow clamps, locking clamps and reducers to connect up to your hose.
Step 1: Roll out poly pipe for drip system
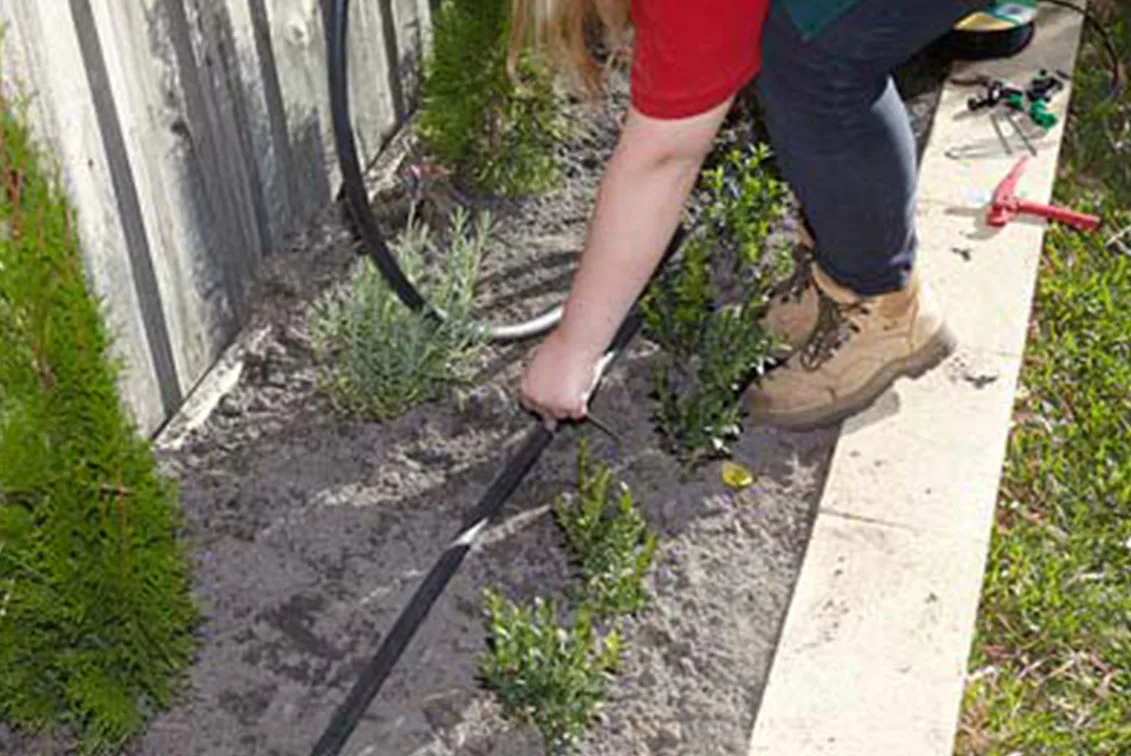
First, roll out poly pipe and measure and cut. It is easier to roll the pipe out on the lawn, where easier to work with. Lay the pipe in the garden and pin it in place.
Advertisement
Step 3: Punch holes
Use your hole puncher to individually punch a hole in the pipe, directly behind each plant. Make sure the hole is on the side facing toward the plant.
Step 4: Cut flexi tube to size
Cut the flexi tube to size. Measure each piece to the right length by holding one end to the pipe and the other to the plant. Cut a piece of flexi tube for each hole that you’ve made in the pipe.
Step 5: Attach adapters and drippers to the flexi tube
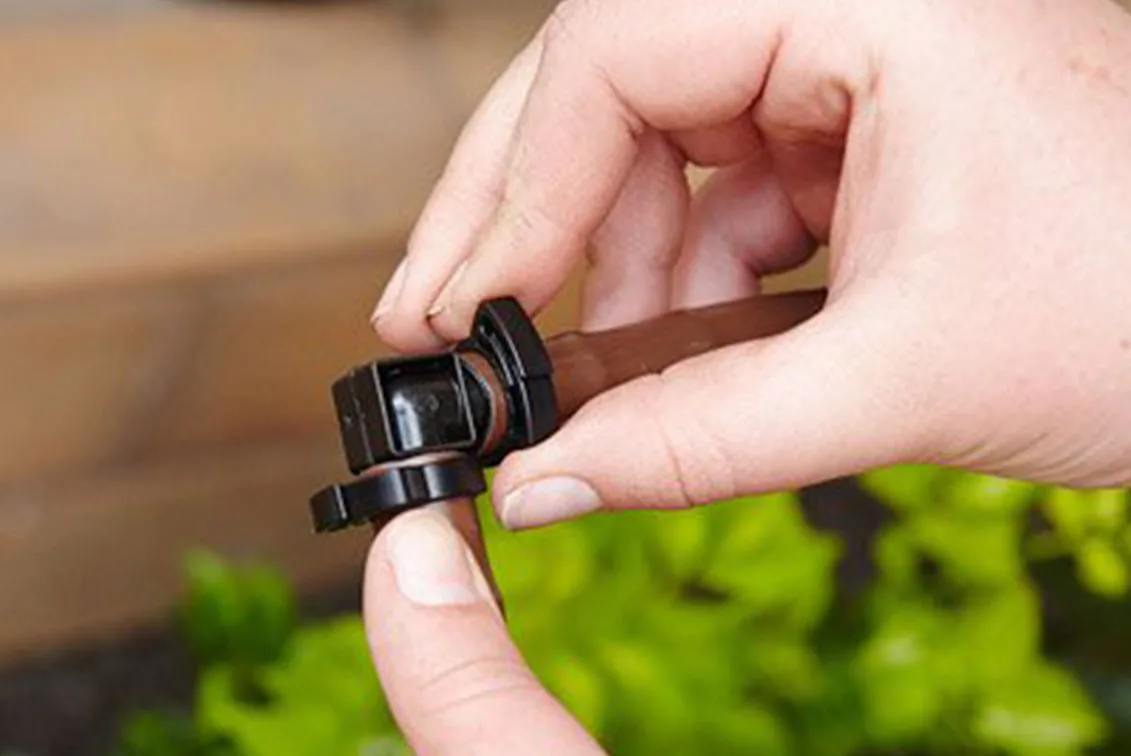
Attach double-end adapters by placing one end into the flexi tube and the other into the pipe. Then attach the drippers on the other end of the flexi tube. Make sure the holes in the pipe are coming out the side. Place the dripper next to the base of the plant.
Step 6: Install a drip line
Drip lines are perfect along hedges. They are easy to install because they already have perforated holes along the piping. There is nothing extra to attach. Measure lengths and cut to size. Pin down the pipe of the drip line in your garden.
To attach drip lines to each other, you’ll need a 13ml elbow and 13ml locking clamps. Dip the ends of the drip line pipe in hot water to make them more flexible and pliable so you can get the fittings in easily. Run the remaining drip line around hedges. At the end of your drip line, install an end cap. Push it into the line and use a hammer to push it in securely.
Step 7: Join the drip line to the dripper system
To attach a drip line system to the dripper system, you need a 19–13ml reducer and 19–13ml lock and clamp. Attach the 13ml pipe to the 13ml end and the 19ml pipe to the 19ml end.
Step 8: Attach the whole system to a garden tap
Connect the complete irrigation system to your garden tap. You will need a 19ml snap on connector. Finally, test the system and make sure everything is in good working order.
Advertisement
Connecting irrigation to your washing machine
If you’d like to take your water-efficiency a step further, you can connect your irrigation system to your washing machine. This uses the grey water (or leftover water after washing your clothes) to water your plants. To make sure the plants stay healthy with grey water, you cannot use bleach when washing, and only put in natural detergents.
The irrigation set-up is the same until you hit Step 8, where instead of attaching to the garden tap, you’ll link to the washing machine exit pipe instead. Most washing machine pipes are 19ml in diameter, so you’ll need a 19ml – 13ml reducer that you can then connect straight to your drip line system.
Are Media Pty Limited collects your personal information through this site to process registrations, send out newsletters, communicate offers, discounts, competitions, or surveys, and to provide you with targeted advertising based on your online activities. Our Privacy Policy contains information on how you can access or correct your personal information, which entities we may disclose your personal information to (including overseas recipients), how to opt out of targeted advertising, and how to lodge a complaint.
Related
Advertisement
Advertisement
We collect and use data about how you use our sites to improve your experience, analyse site performance and provide you with relevant ads. To find out more or to opt-out of targeted ads, please see our Privacy Centre
We collect and use data about how you use our sites to improve... Learn More
We collect and use data about how you use our sites to improve your experience, analyse site performance and provide you with relevant ads. To find out more or to opt-out of targeted ads, please see our Privacy Centre