

 Brent Wilson
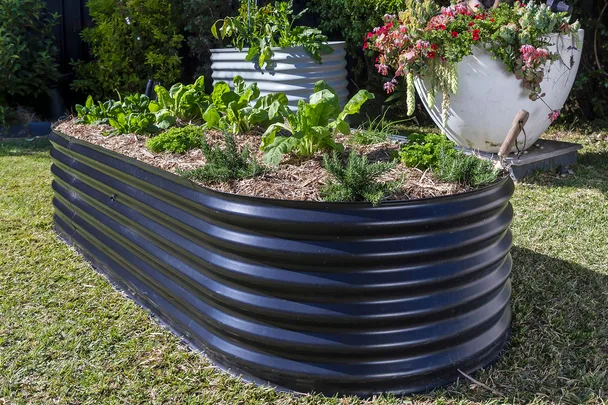
Traditional raised garden beds can be great, but they may require large amounts of soil to refill as their levels drop when the soil breaks down. Wicking beds are a fantastic alternative that look similar but require less watering and far less soil.
This is because a wicking garden bed is designed with a water reservoir at the bottom, which feeds the plants above. This helps you save time and water. Plus, wicking beds are usually super simple to put together. We’re going to go through the advantages of wicking beds and show you how to build your own, using the steps from landscape designer Charlie Albone.
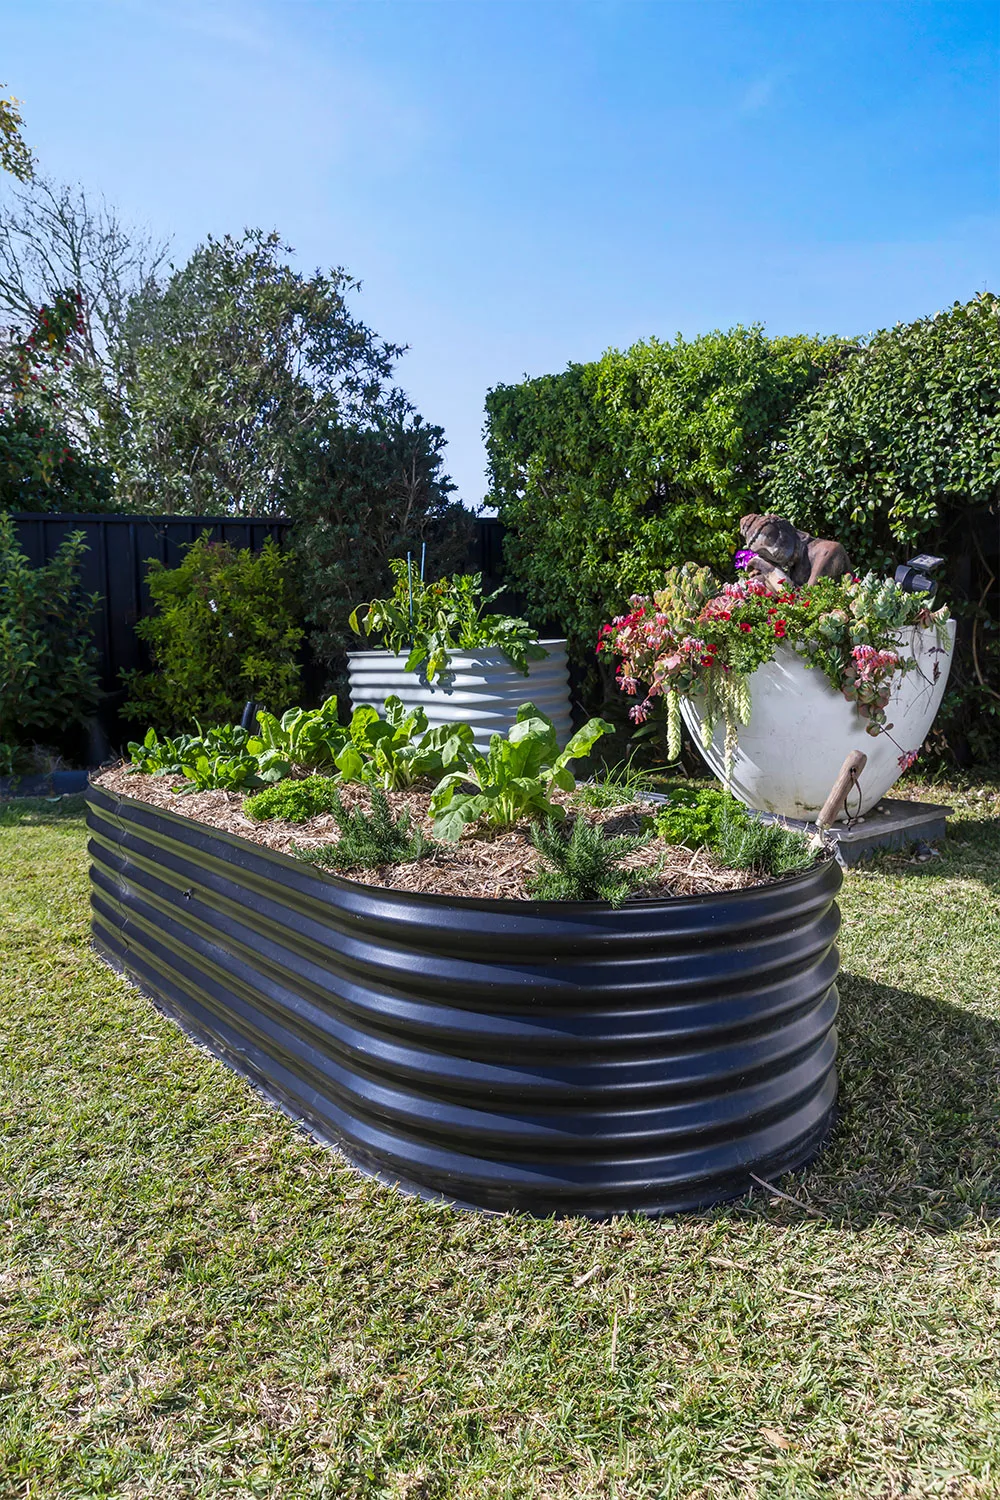
What is a wicking garden bed?
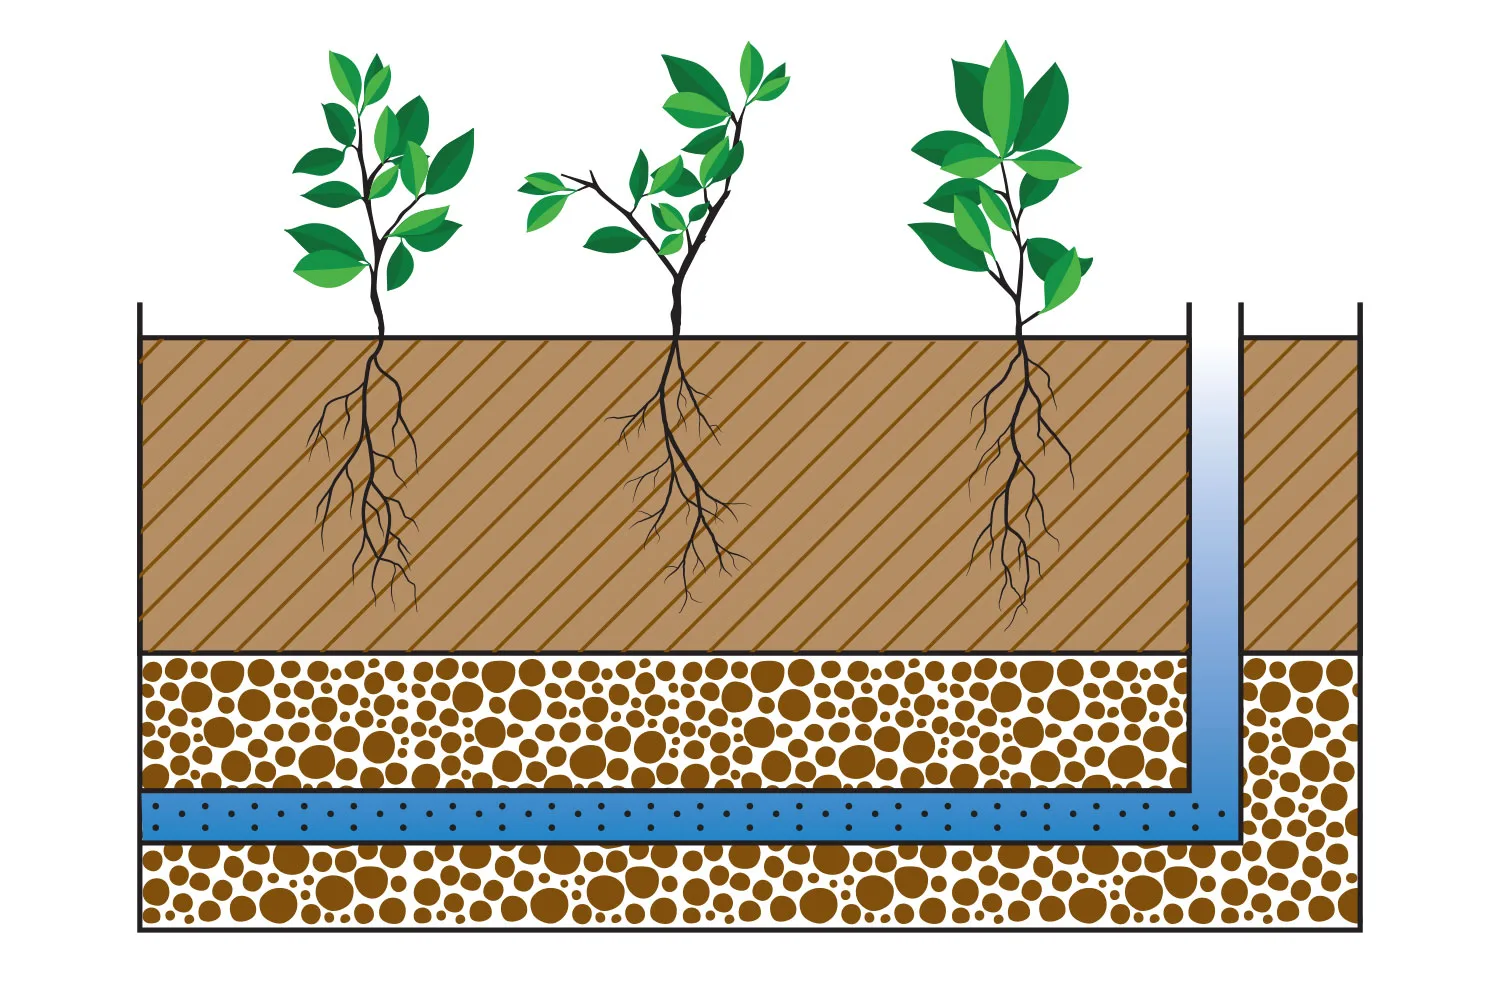
A wicking garden bed is a raised garden bed that waters the plants and soil from the bottom up. Using a pipe placed underneath the garden bed, with lots of holes in it, water is able to easily infiltrate the soil. The pipe goes up to the top of the garden bed, so you can top up the water as needed.
A wicking garden bed also usually includes different layers of materials to help filter the soil, such as gravel, mesh, mulch and a layer of sticks.
How does wicking work?
Wicking is the movement of water by ‘capillary action’, where water from a reservoir below the soil is drawn up and evenly distributed through the soil to the plants’ roots. Excess water goes through an overflow pipe, which ensures the soil doesn’t flood and doesn’t drown the roots.
Why are wicking beds useful?
Wicking garden beds are advantageous for three main reasons: less watering, healthier plants and reduced risk of disease. Because the plant is watered from the bottom up, the leaves, stems, and flowers don’t get wet. This means that there’s less likelihood of fungal disease and rot.
Take a look at the table below for more extensive advantages and disadvantages:
| Advantages | Disadvantages |
|---|---|
| – As water comes from below, there’s no surface water loss via evaporation. – Watering from above can cause fungal damage to foliage. – Roots that need the water get it, not the top bits. – A constant water supply means stronger, healthier roots – think of plump, tasty carrots and beetroot. – As the plant is always fully hydrated, leaves don’t get sunburnt during heat waves. | One disadvantage of a wicking garden bed is managing periods of excess water. This is where the overflow tap comes in handy, but if you let the overflow water drain into the ground, you’re wasting water. If you let the overflow water drain into a bucket and empty it immediately into other parts of your garden, you could attract mosquitoes. Setting up the wicking bed correctly in the first place is paramount to its success, so avoid making these common wicking garden bed mistakes. |
How to build a wicking bed
Follow along as Charlie Albone shows you how to make a wicking garden bed that will give you healthier, happier plants.
Gather your supplies
- Raised garden bed with base
- PVC pond liner
- Scoria
- Slotted agricultural pipe with end coupling and cap
- Overflow tap, male and female parts
- Silicone sealant
- Geotextile fabric
- Potting mix
- Vegie seedlings
- Sugar cane mulch
- Bulldog clips
- Electric drill
- 20mm hole drill bit
- Caulking gun
- Utility knife
How to make a wicking garden bed
Step 1
Position your raised garden bed in full sun and on a level surface.
Step 2
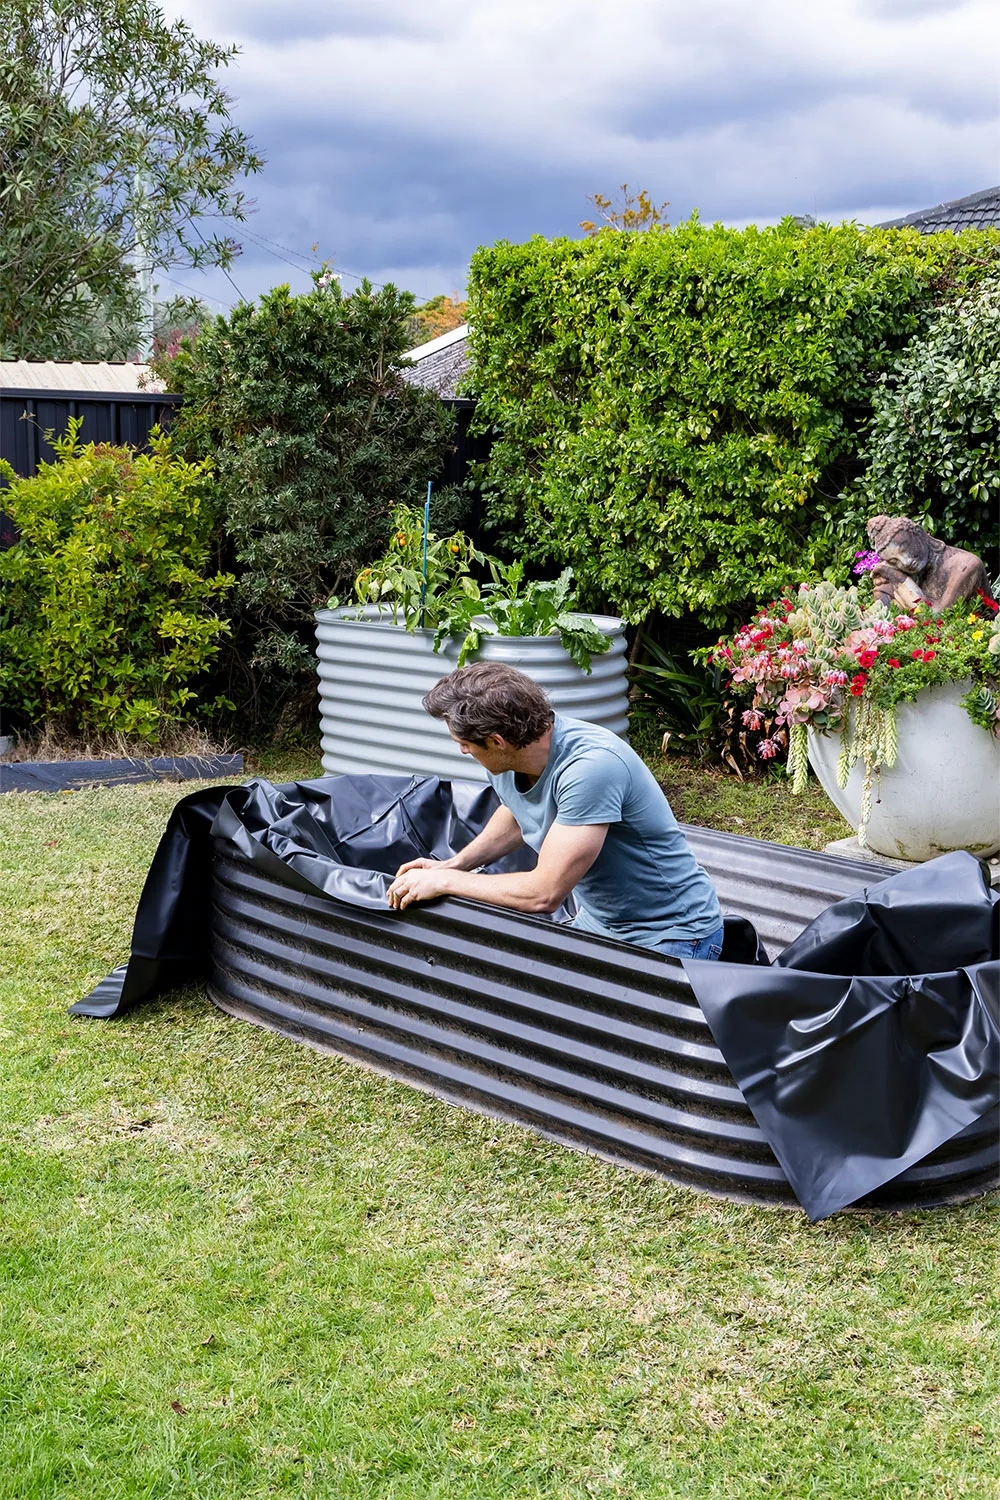
Line bed with pond liner, ensuring there are no holes or gaps along edges and corners. Hold in position with bulldog clips.
Step 3
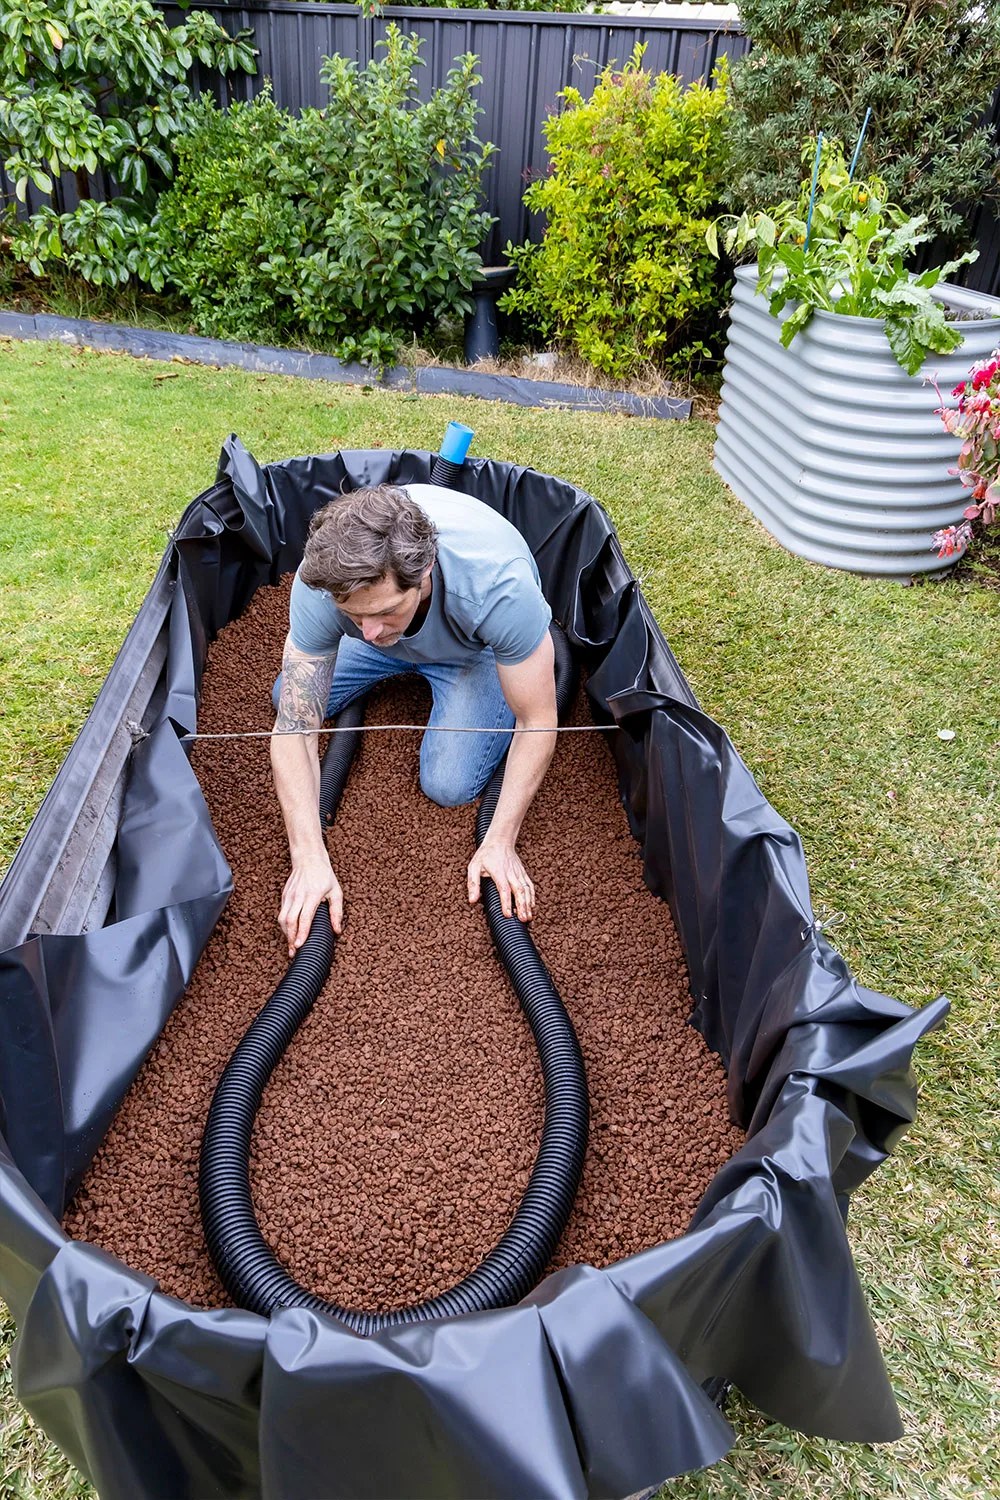
Add 25mm of scoria to the base of the bed.
Step 4
Coil agricultural (ag) pipe around the scoria bed, with the cap end sitting on the rim of the garden bed. Cover pipe with more scoria
Step 5
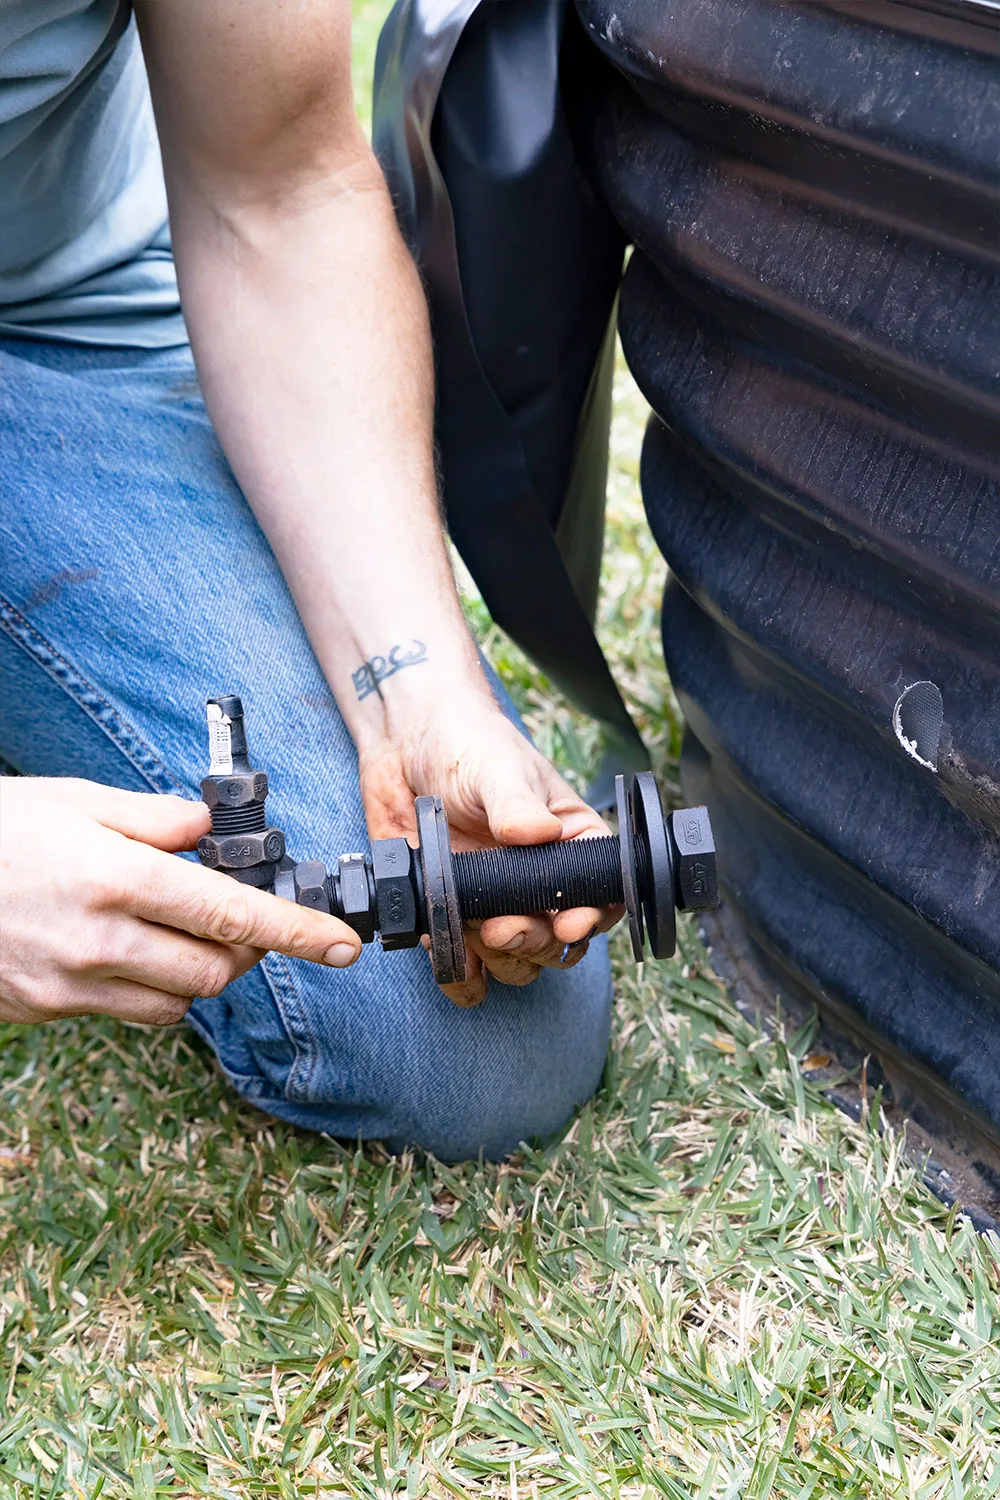
Drill a 20 mm hole into the side of the garden bed, just above the scoria.
Step 6
Install overflow tap parts in drilled hole and seal with silicone sealant.
Step 7
Trim PVC pond liner to just above the scoria.
Step 8
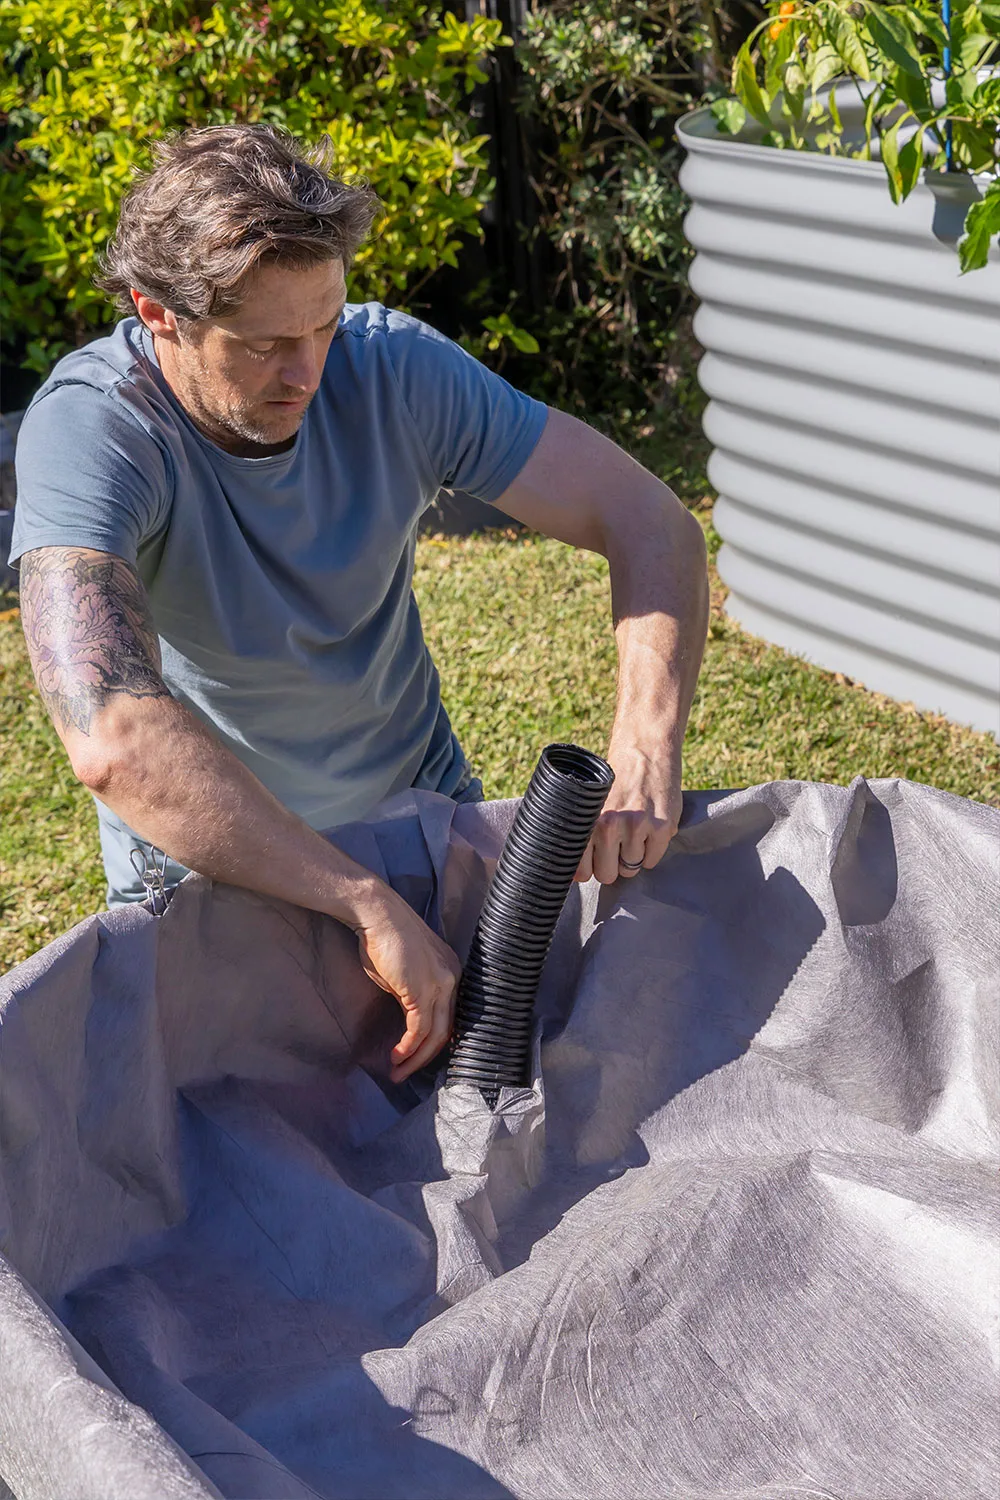
Cover scoria with geotextile fabric. Cut an opening for the ag pipe and trim fabric to fit.
Step 9
Fill garden bed with quality potting mix.
Step 10
Plant seedlings, cover mix with sugar cane mulch and water well.
Step 11
After a couple of weeks, when roots are established, fill the pipe with water. Put the cap on to prevent mosquitoes breeding.
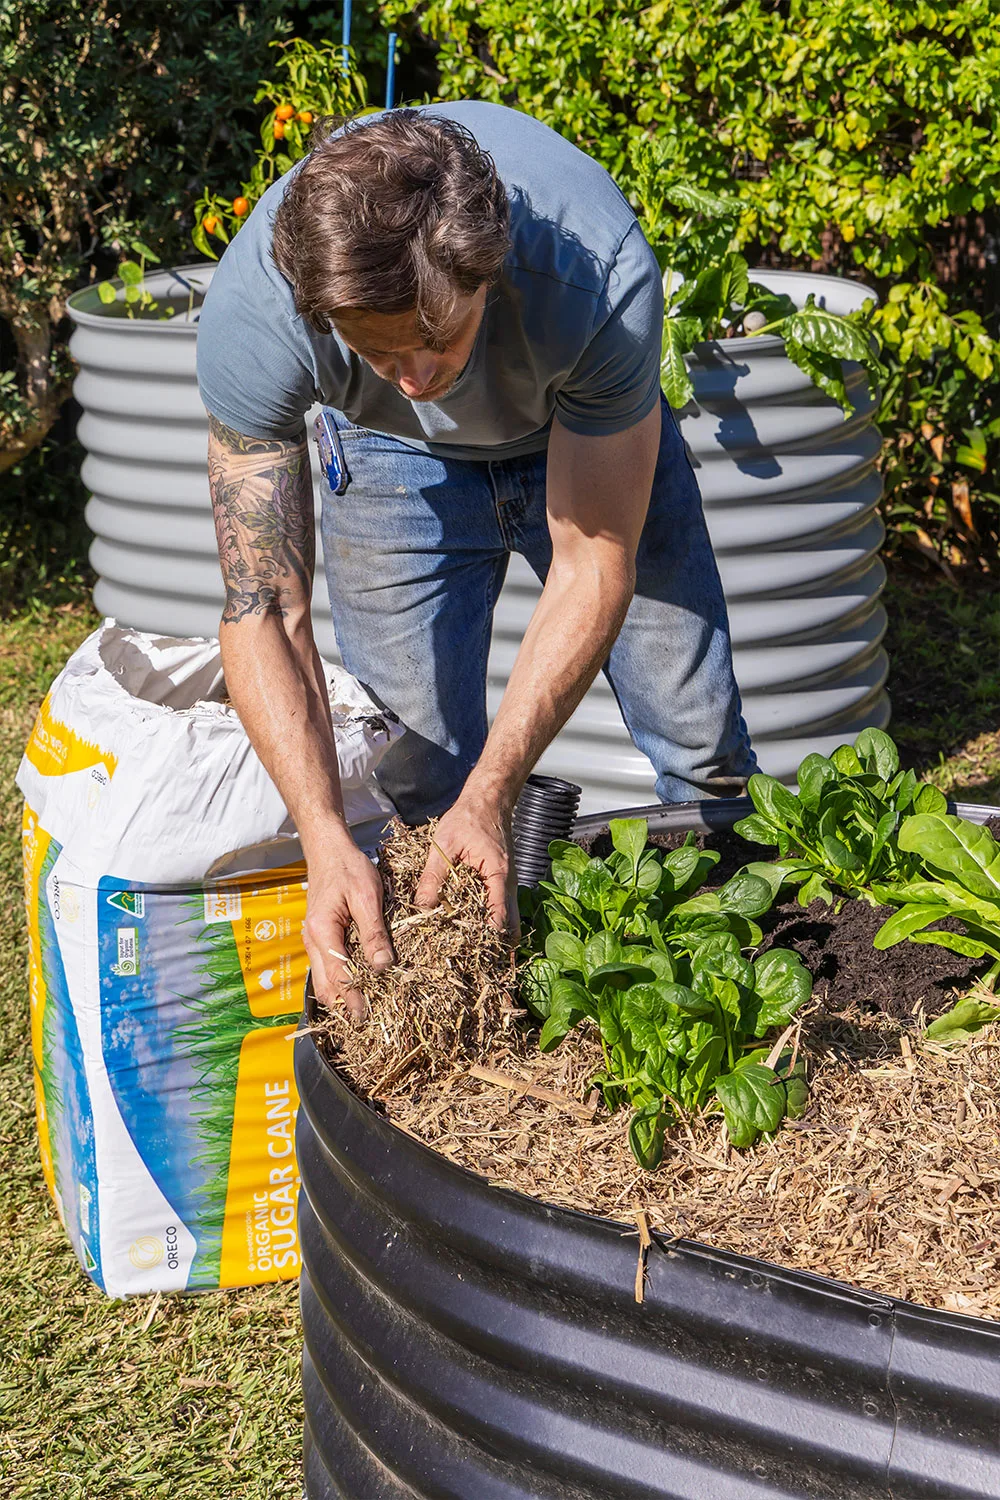
Line the base of a raised garden bed with a PVC pond liner, then fill with scoria or pebbles – not road base as there is too much fine material in it – into which you place an ag pipe, cover with geotextile fabric, then fill with quality potting mix. The ag pipe protrudes through the potting mix as that’s where you add the water for the underground reservoir.
As deep as you like, but the soil/potting mix should be about 30cm deep.
Only use quality potting mix. Soil needs microbial activity, such as worms, beetles, and beneficial organisms such as fungi and bacteria, to keep it aerated. Without this underground activity, the soil collapses, and nothing will grow there.
Potting mix needs to be replaced every couple of years as it breaks down and collapses too. You can toss old potting mix onto garden beds where it breaks down further.

