

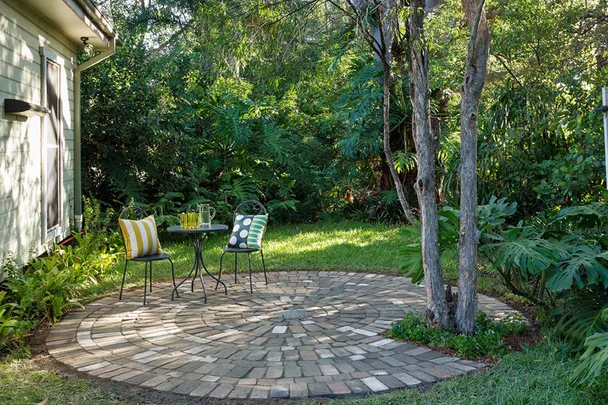
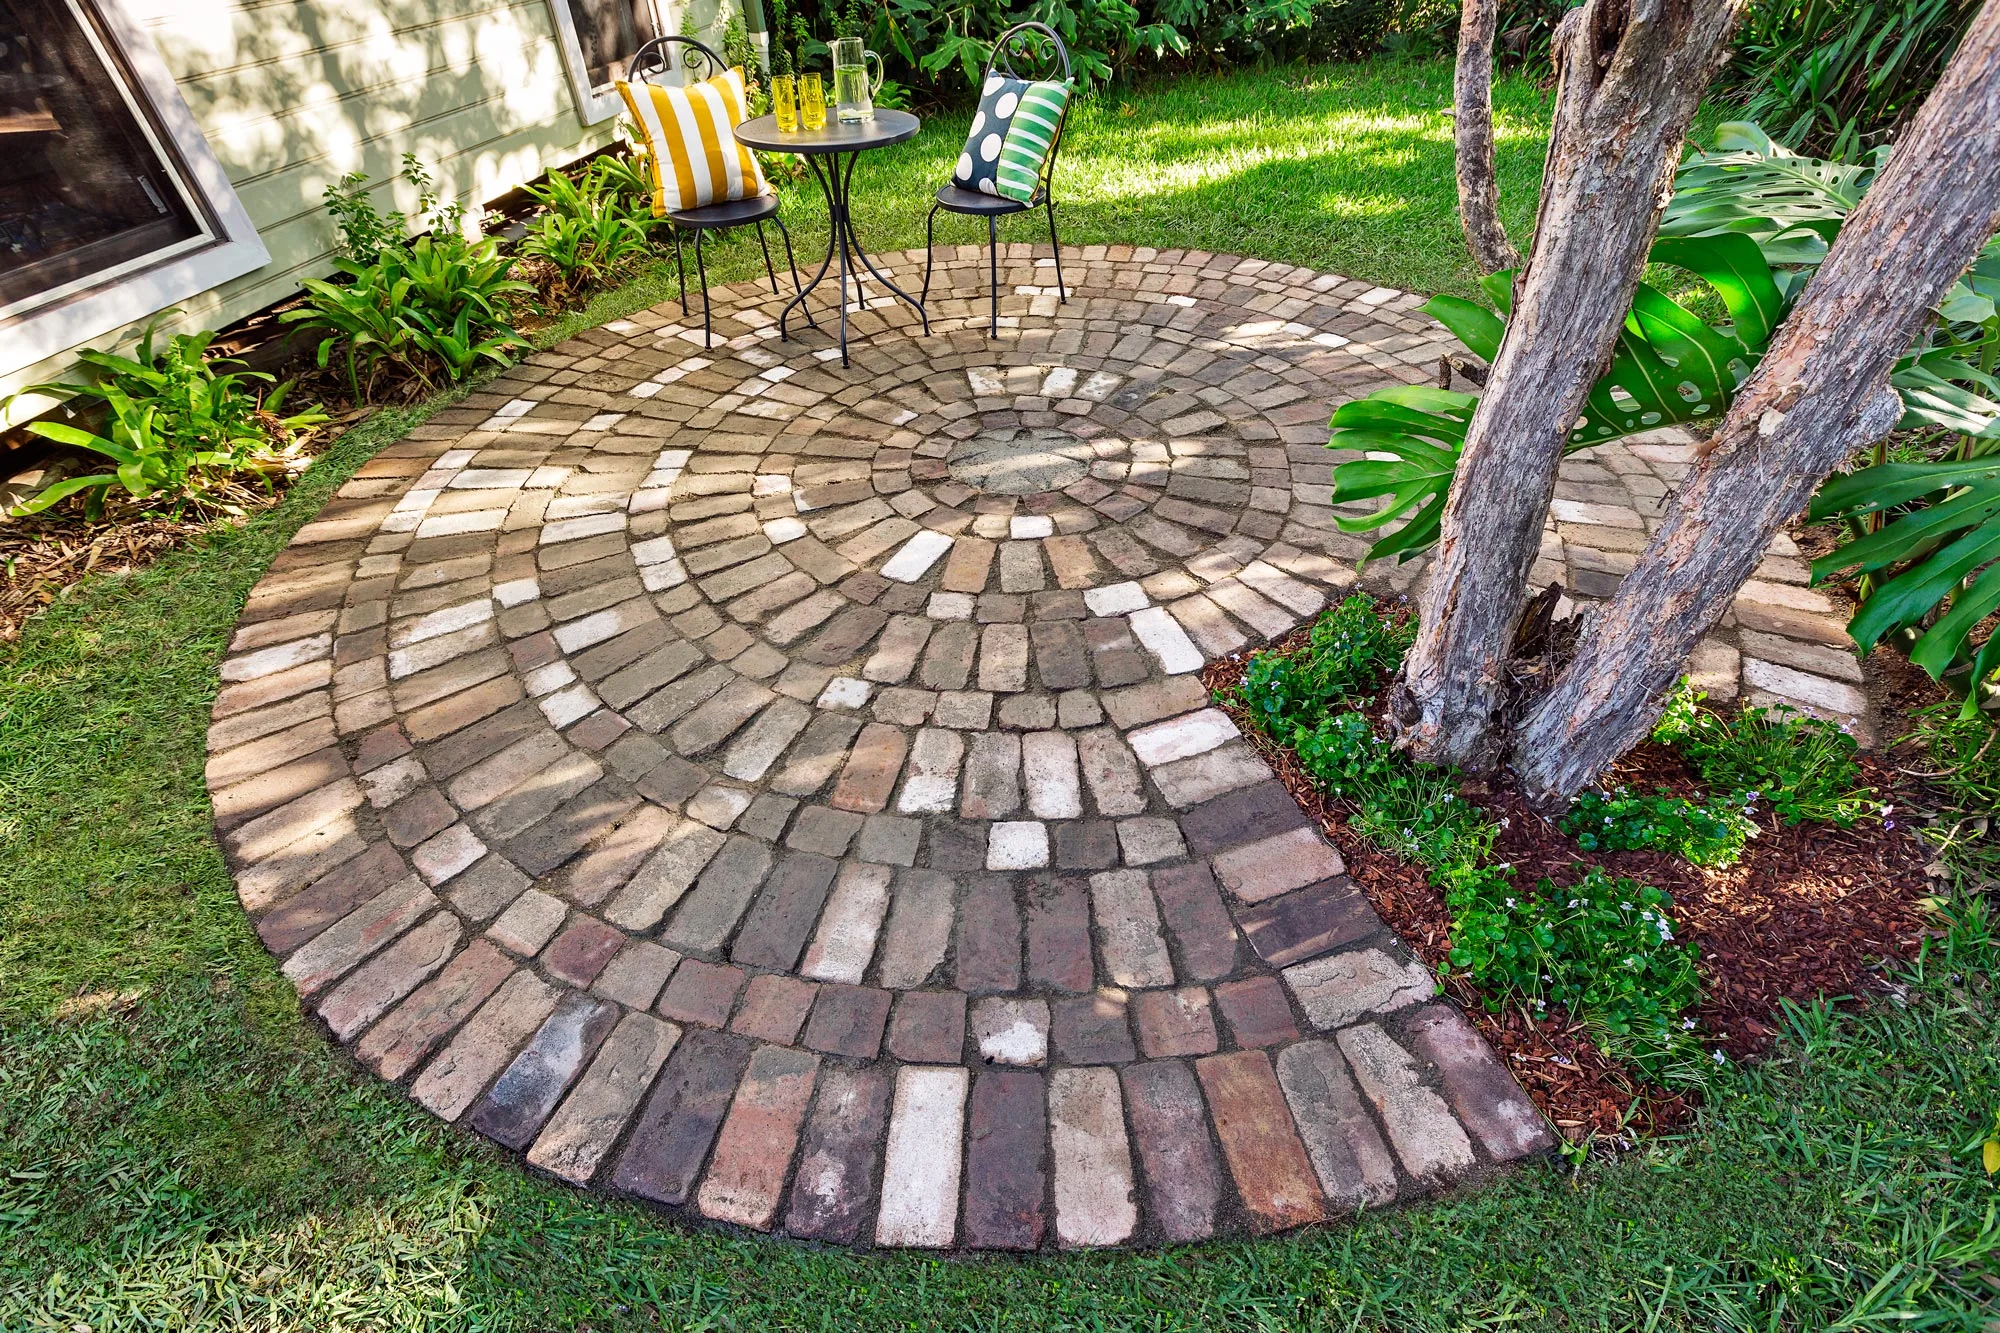
Where grass just won’t grow, it may be time to consider the alternatives, and one of the best is paving. Converting from a soft surface to hard has certain advantages – you can cut back on the entire time it takes for you to mow, feed and water your yard, for a start!
Worn-out lawn areas are usually the result of excessive wear, often due to becoming high-traffic routes through the garden. Paving not only improves appearance but also provides a safer, less slippery walking surface.
It’s a simple job you can do yourself with fairly basic equipment and a little know-how. So take a look at how easy it is to transform a barren patch into paved perfection.
Gather your supplies
- Wooden garden stake
- Road base
- River sand
- Long scaffold plank
- Recycled bricks
- Grey cement
You’ll also need
Stringline; set-out paint; plate compactor (hired); screed; spirit level; screed rails; spade; wheelbarrow; mallet; bolster; trowel; measuring tape; pebbles or decorative tiles (optional)
Here’s how
Step 1
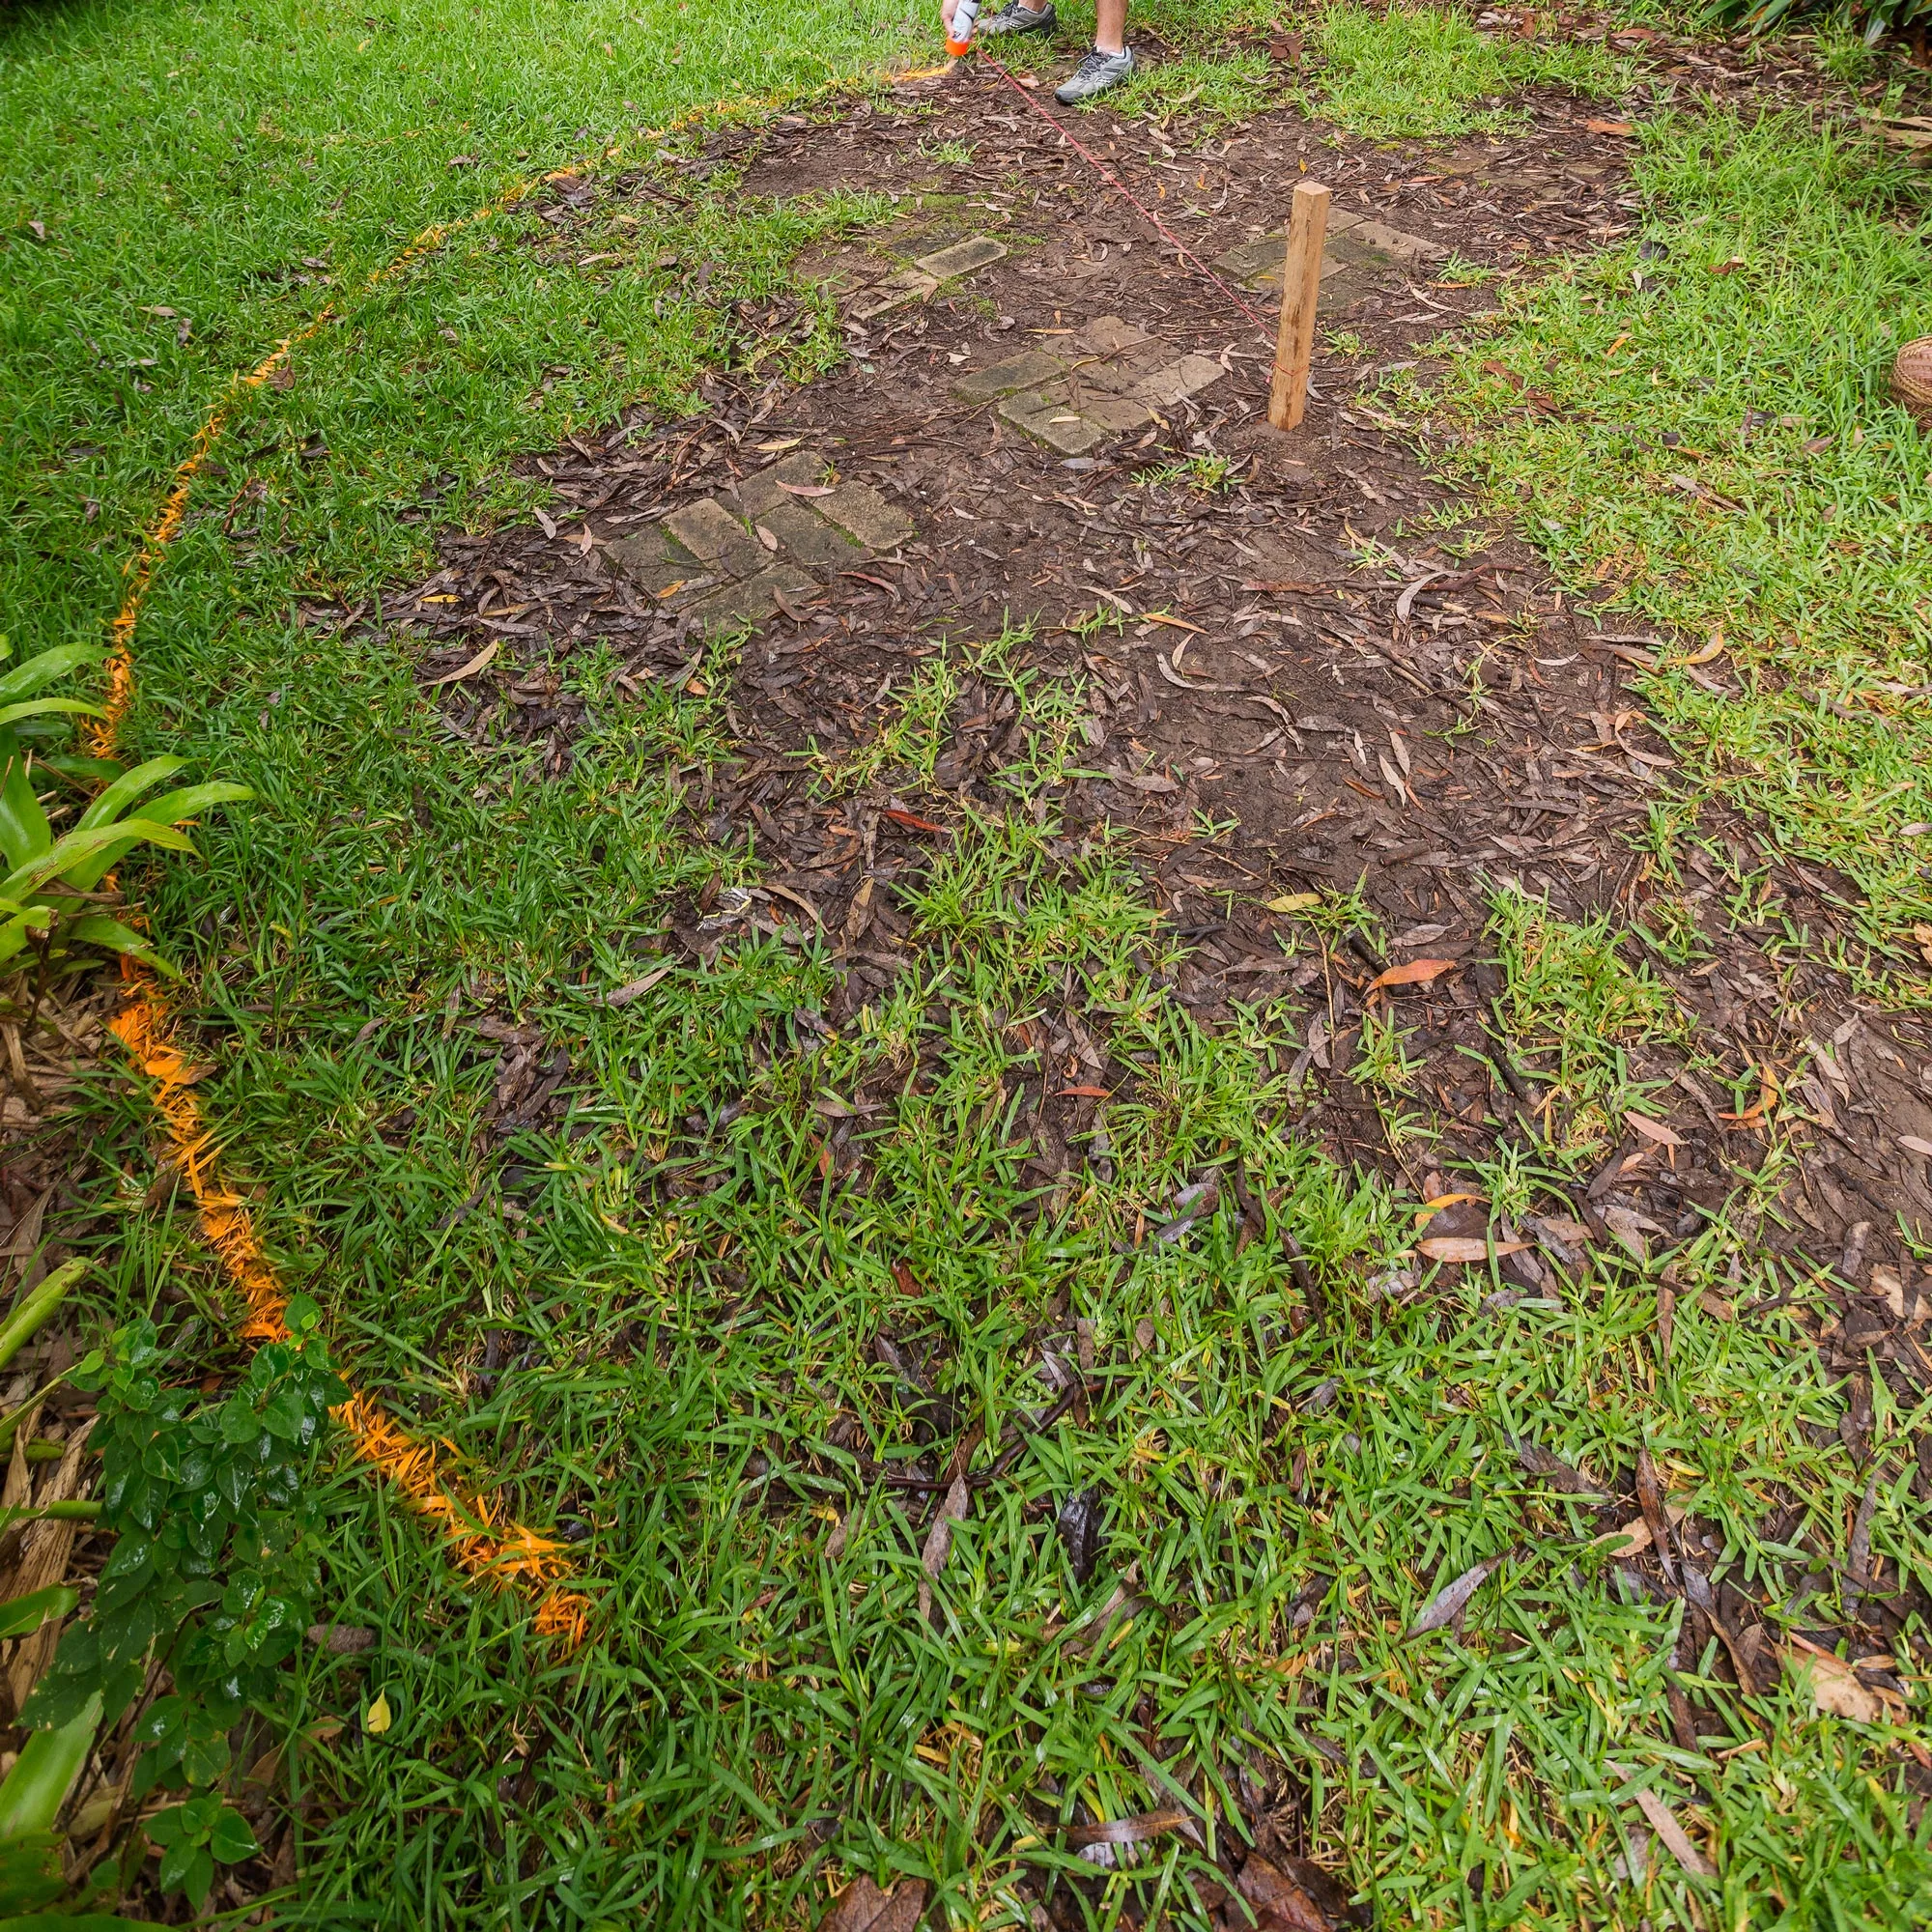
Place wooden garden stake in centre of your proposed circle and attach stringline (string should be half the width of the circle). Attach other end of stringline to set-out paint can and, keeping line tight, mark out circumference of your circle. Remove wooden stake.
Step 2
Remove soil within circle to a depth of 120mm, paying special attention to maintaining a smooth line around outer edge.
Step 3
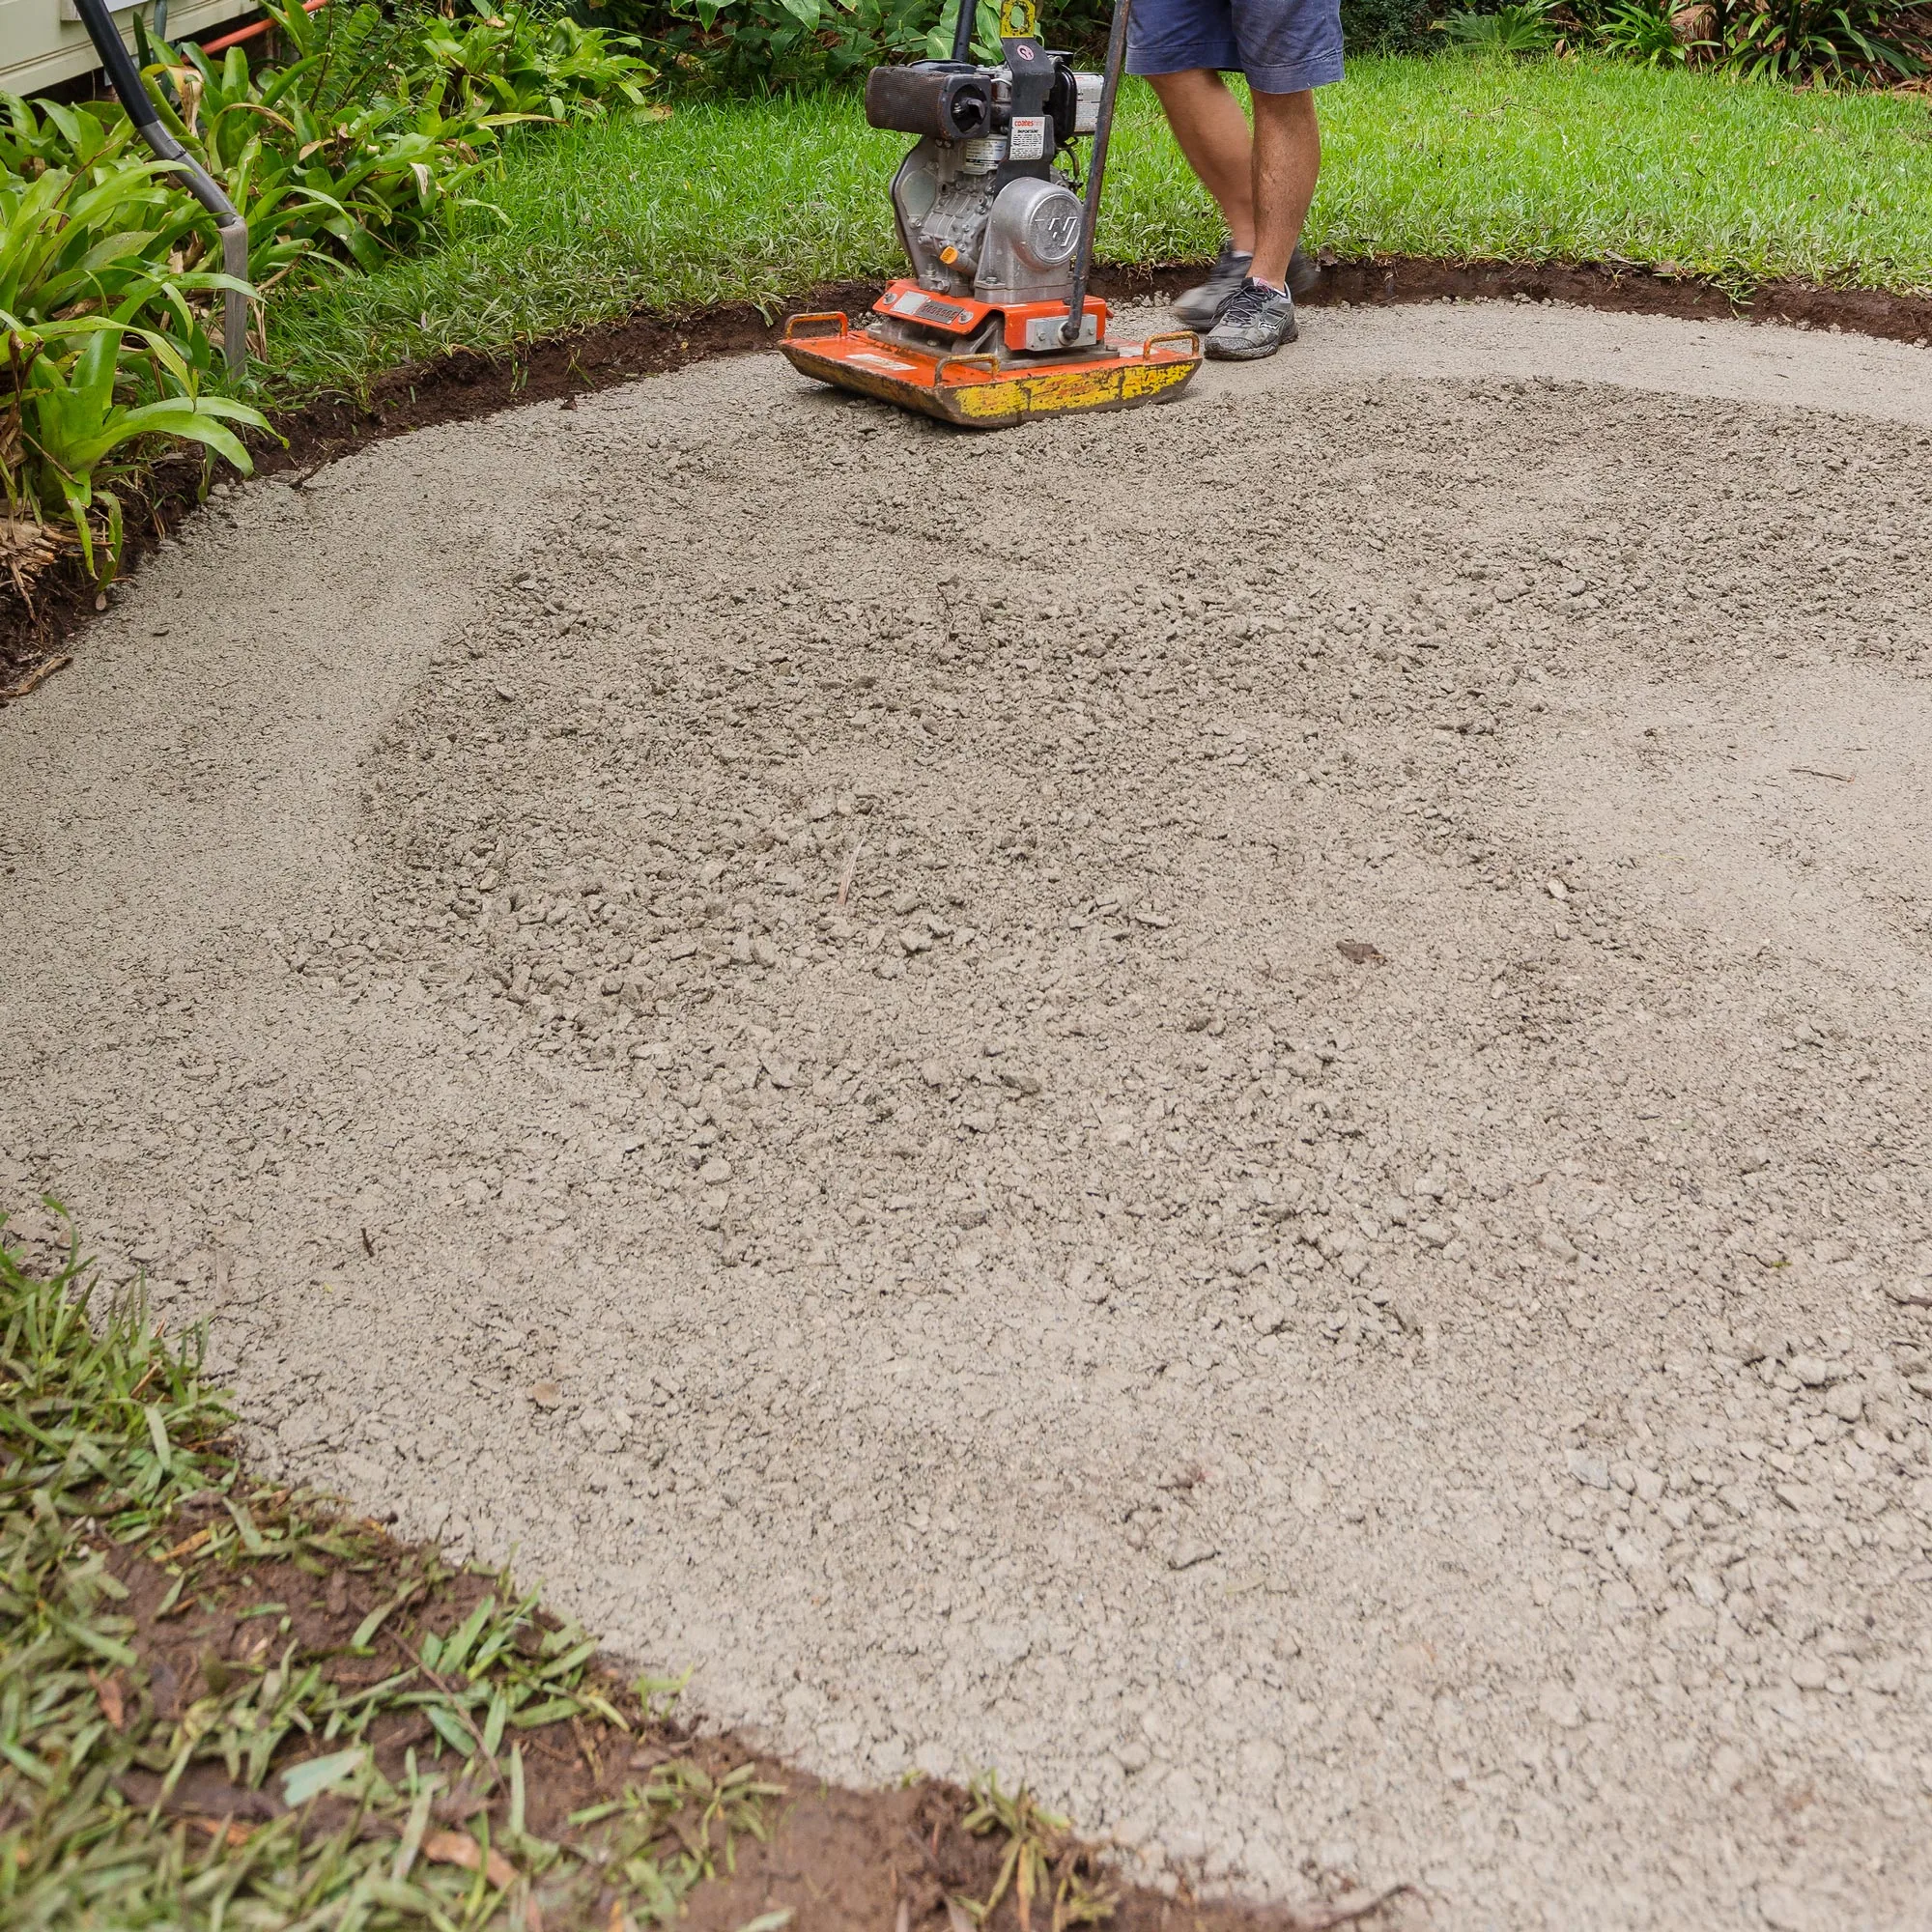
Once the area is excavated and level, add road base to a depth of about 50mm. Spread base using a rake to ensure even coverage, then compact with a plate compactor. Make several passes over the area to compact road base to about 30mm.
Step 4
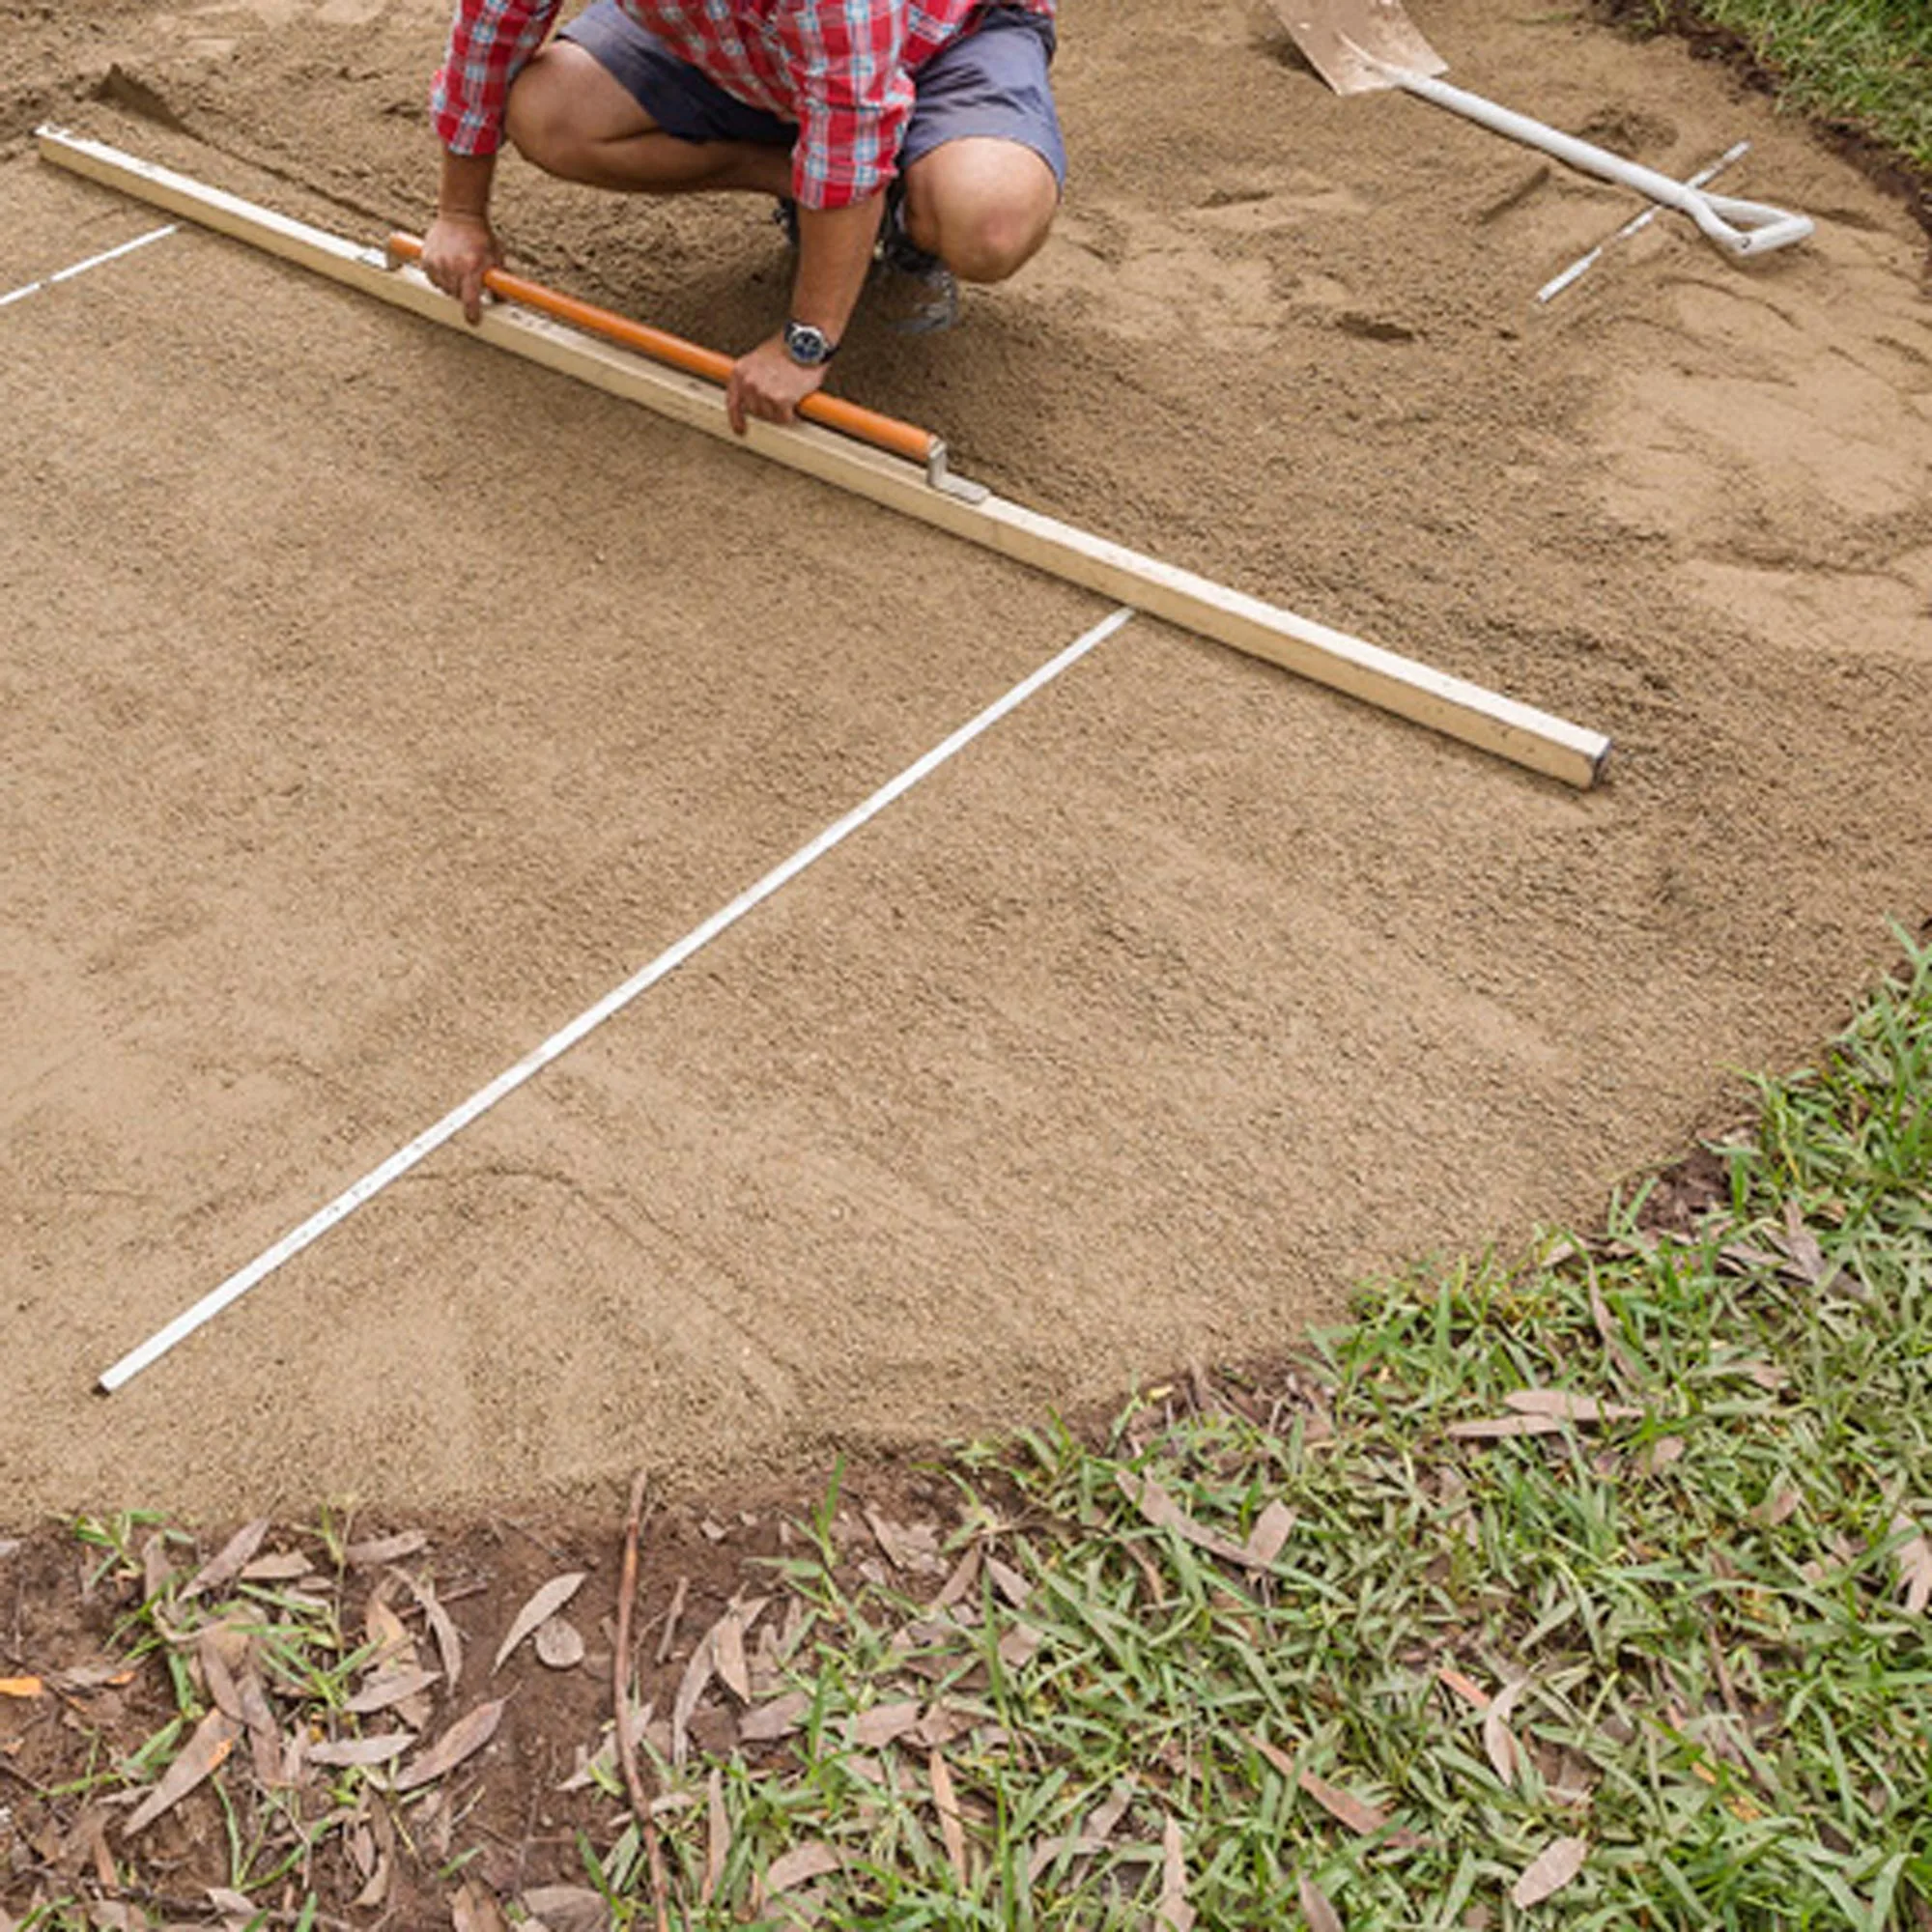
Spread river sand over compacted road base. Using a spirit level and screed, level sand to a depth of about 15mm. Screed rails assist with this process. Set rails into sand with their top sitting at required level, then slide screed across rails.
Step 5
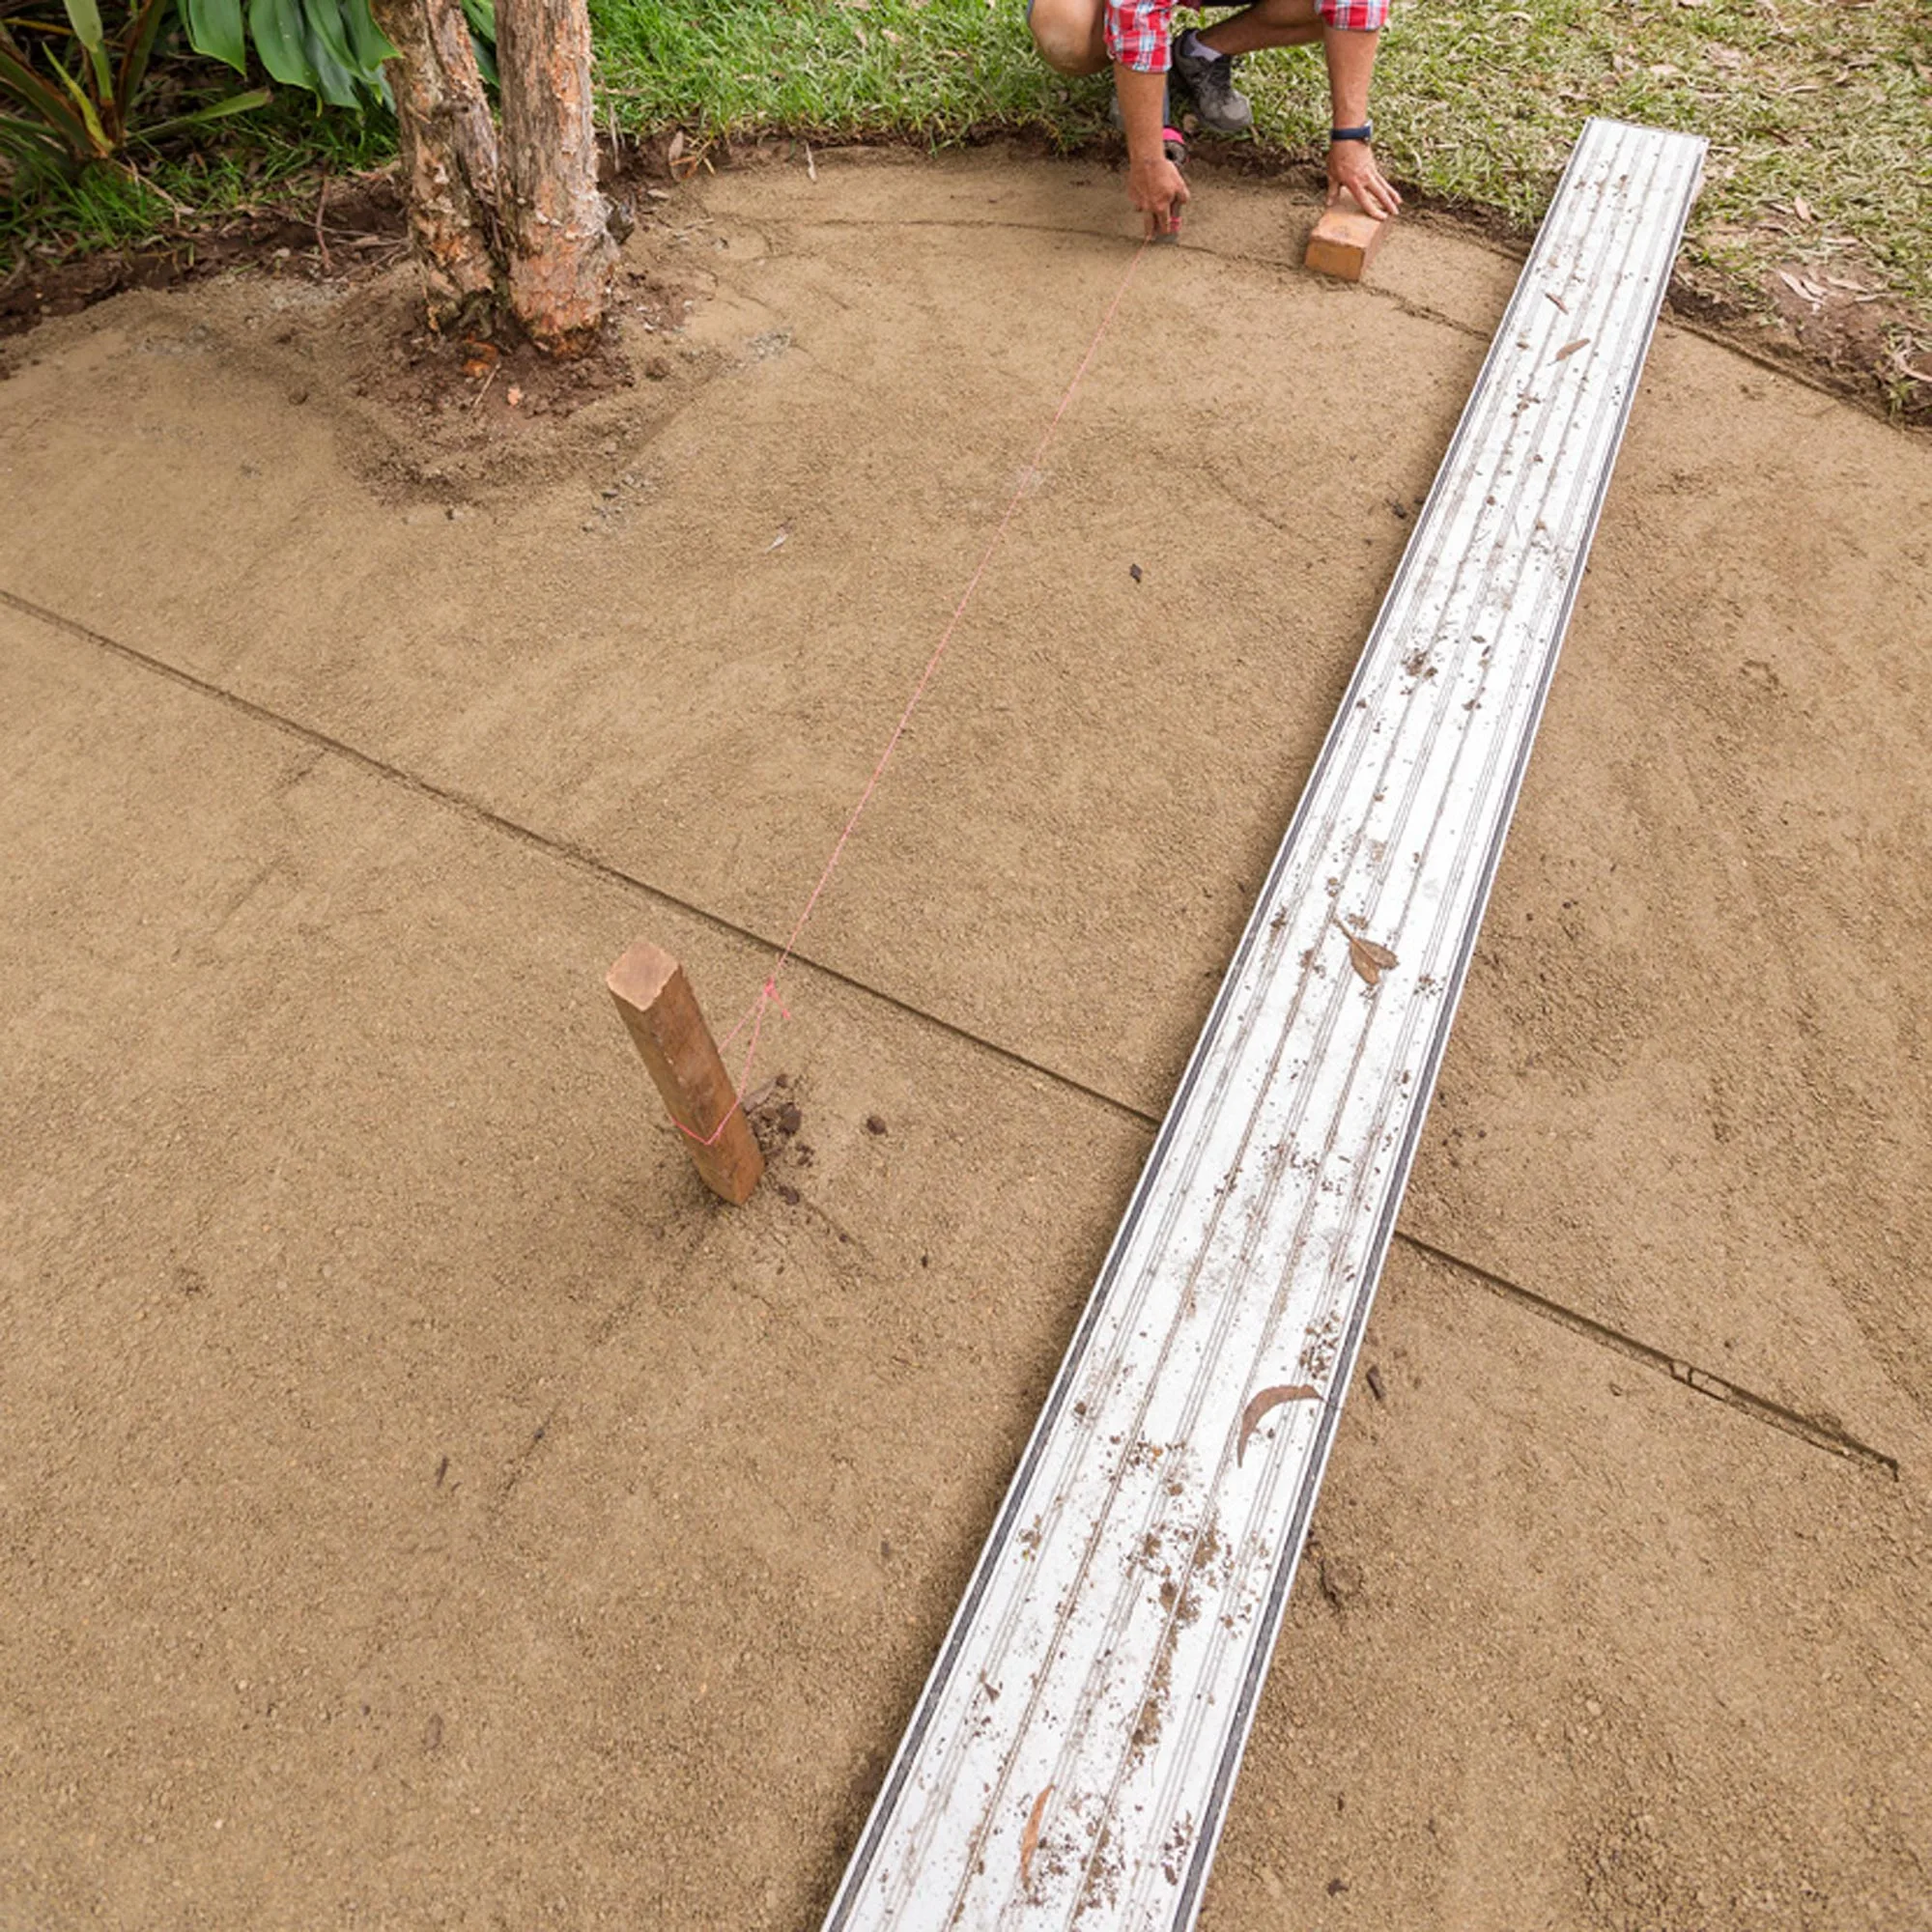
Position long scaffold plank across circle. This will distribute your weight and minimise any impressions on the sand’s surface. Measure from several angles in order to find the true centre of the circle and put a wooden garden stake at the centre. Attach 1 end of the stingline to the stake and the other end to the trowel. Using 1 recycled brick as a guide, mark a guide circle in sand.
Step 6
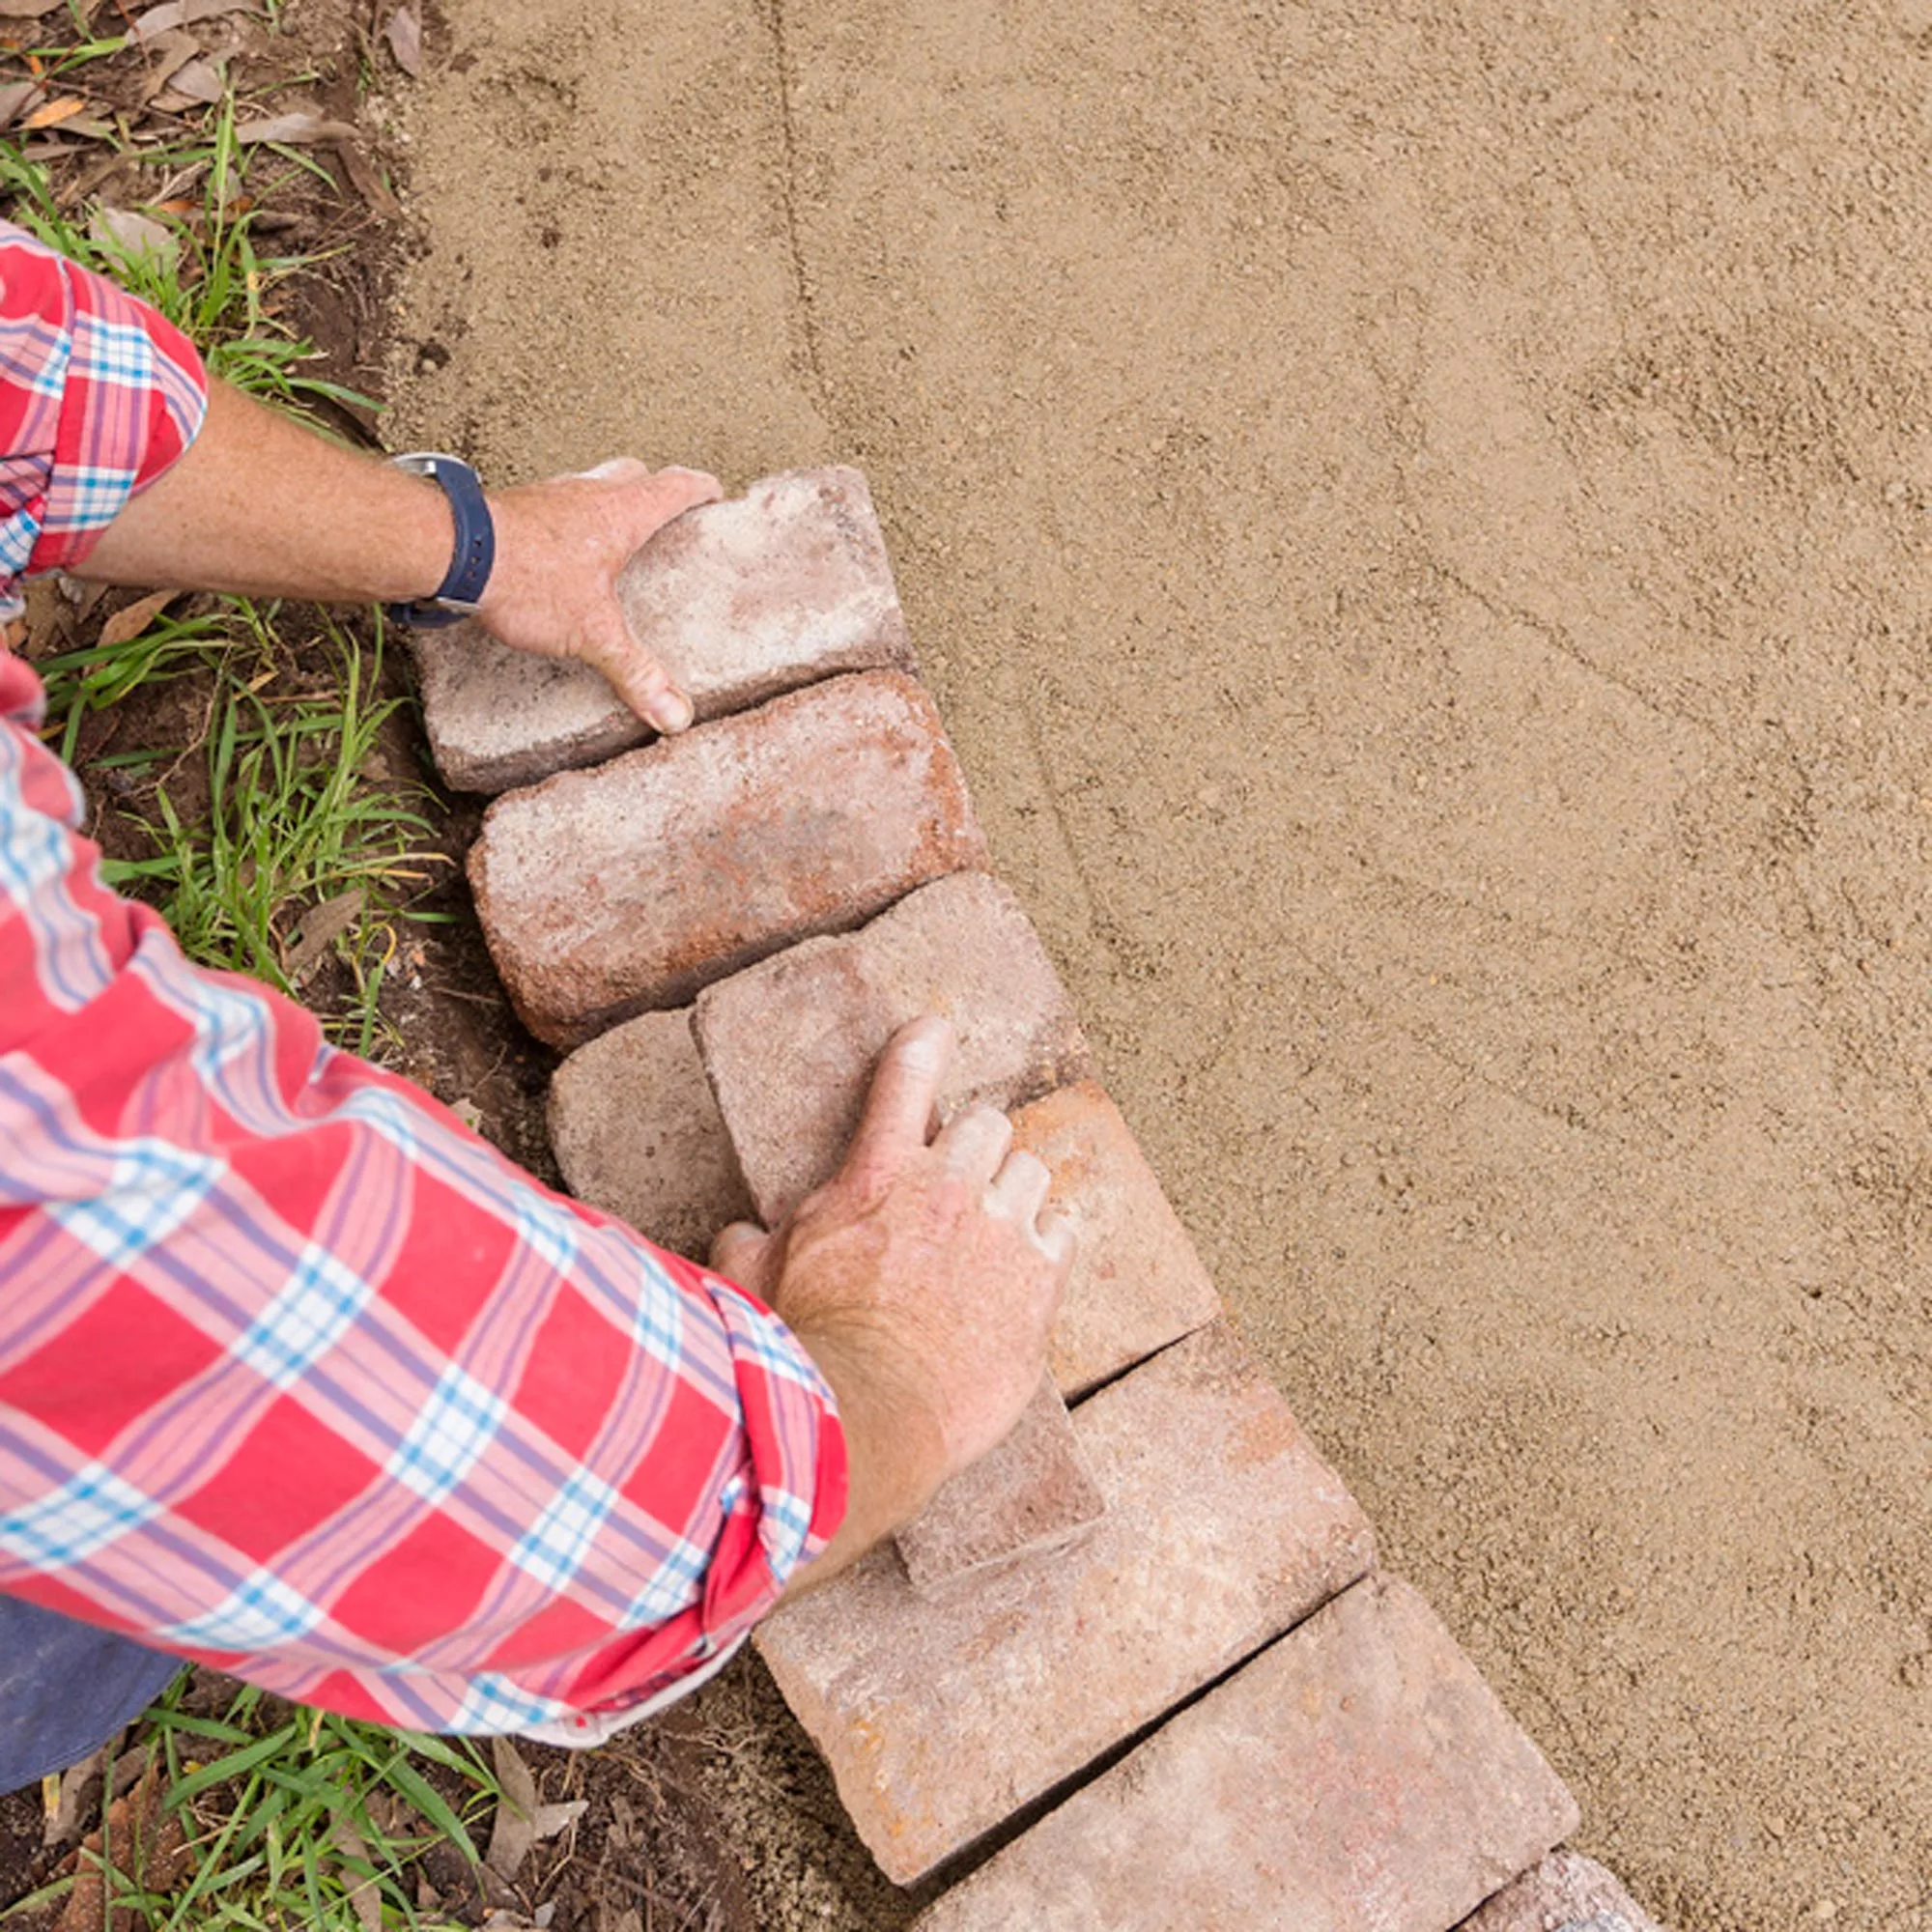
Starting at the outside edge and following the guide circle, lay the first course of bricks. This header course (most outer course) should run perpendicular to the centre, from outside facing inwards. Work around existing garden beds, if necessary.
Step 7
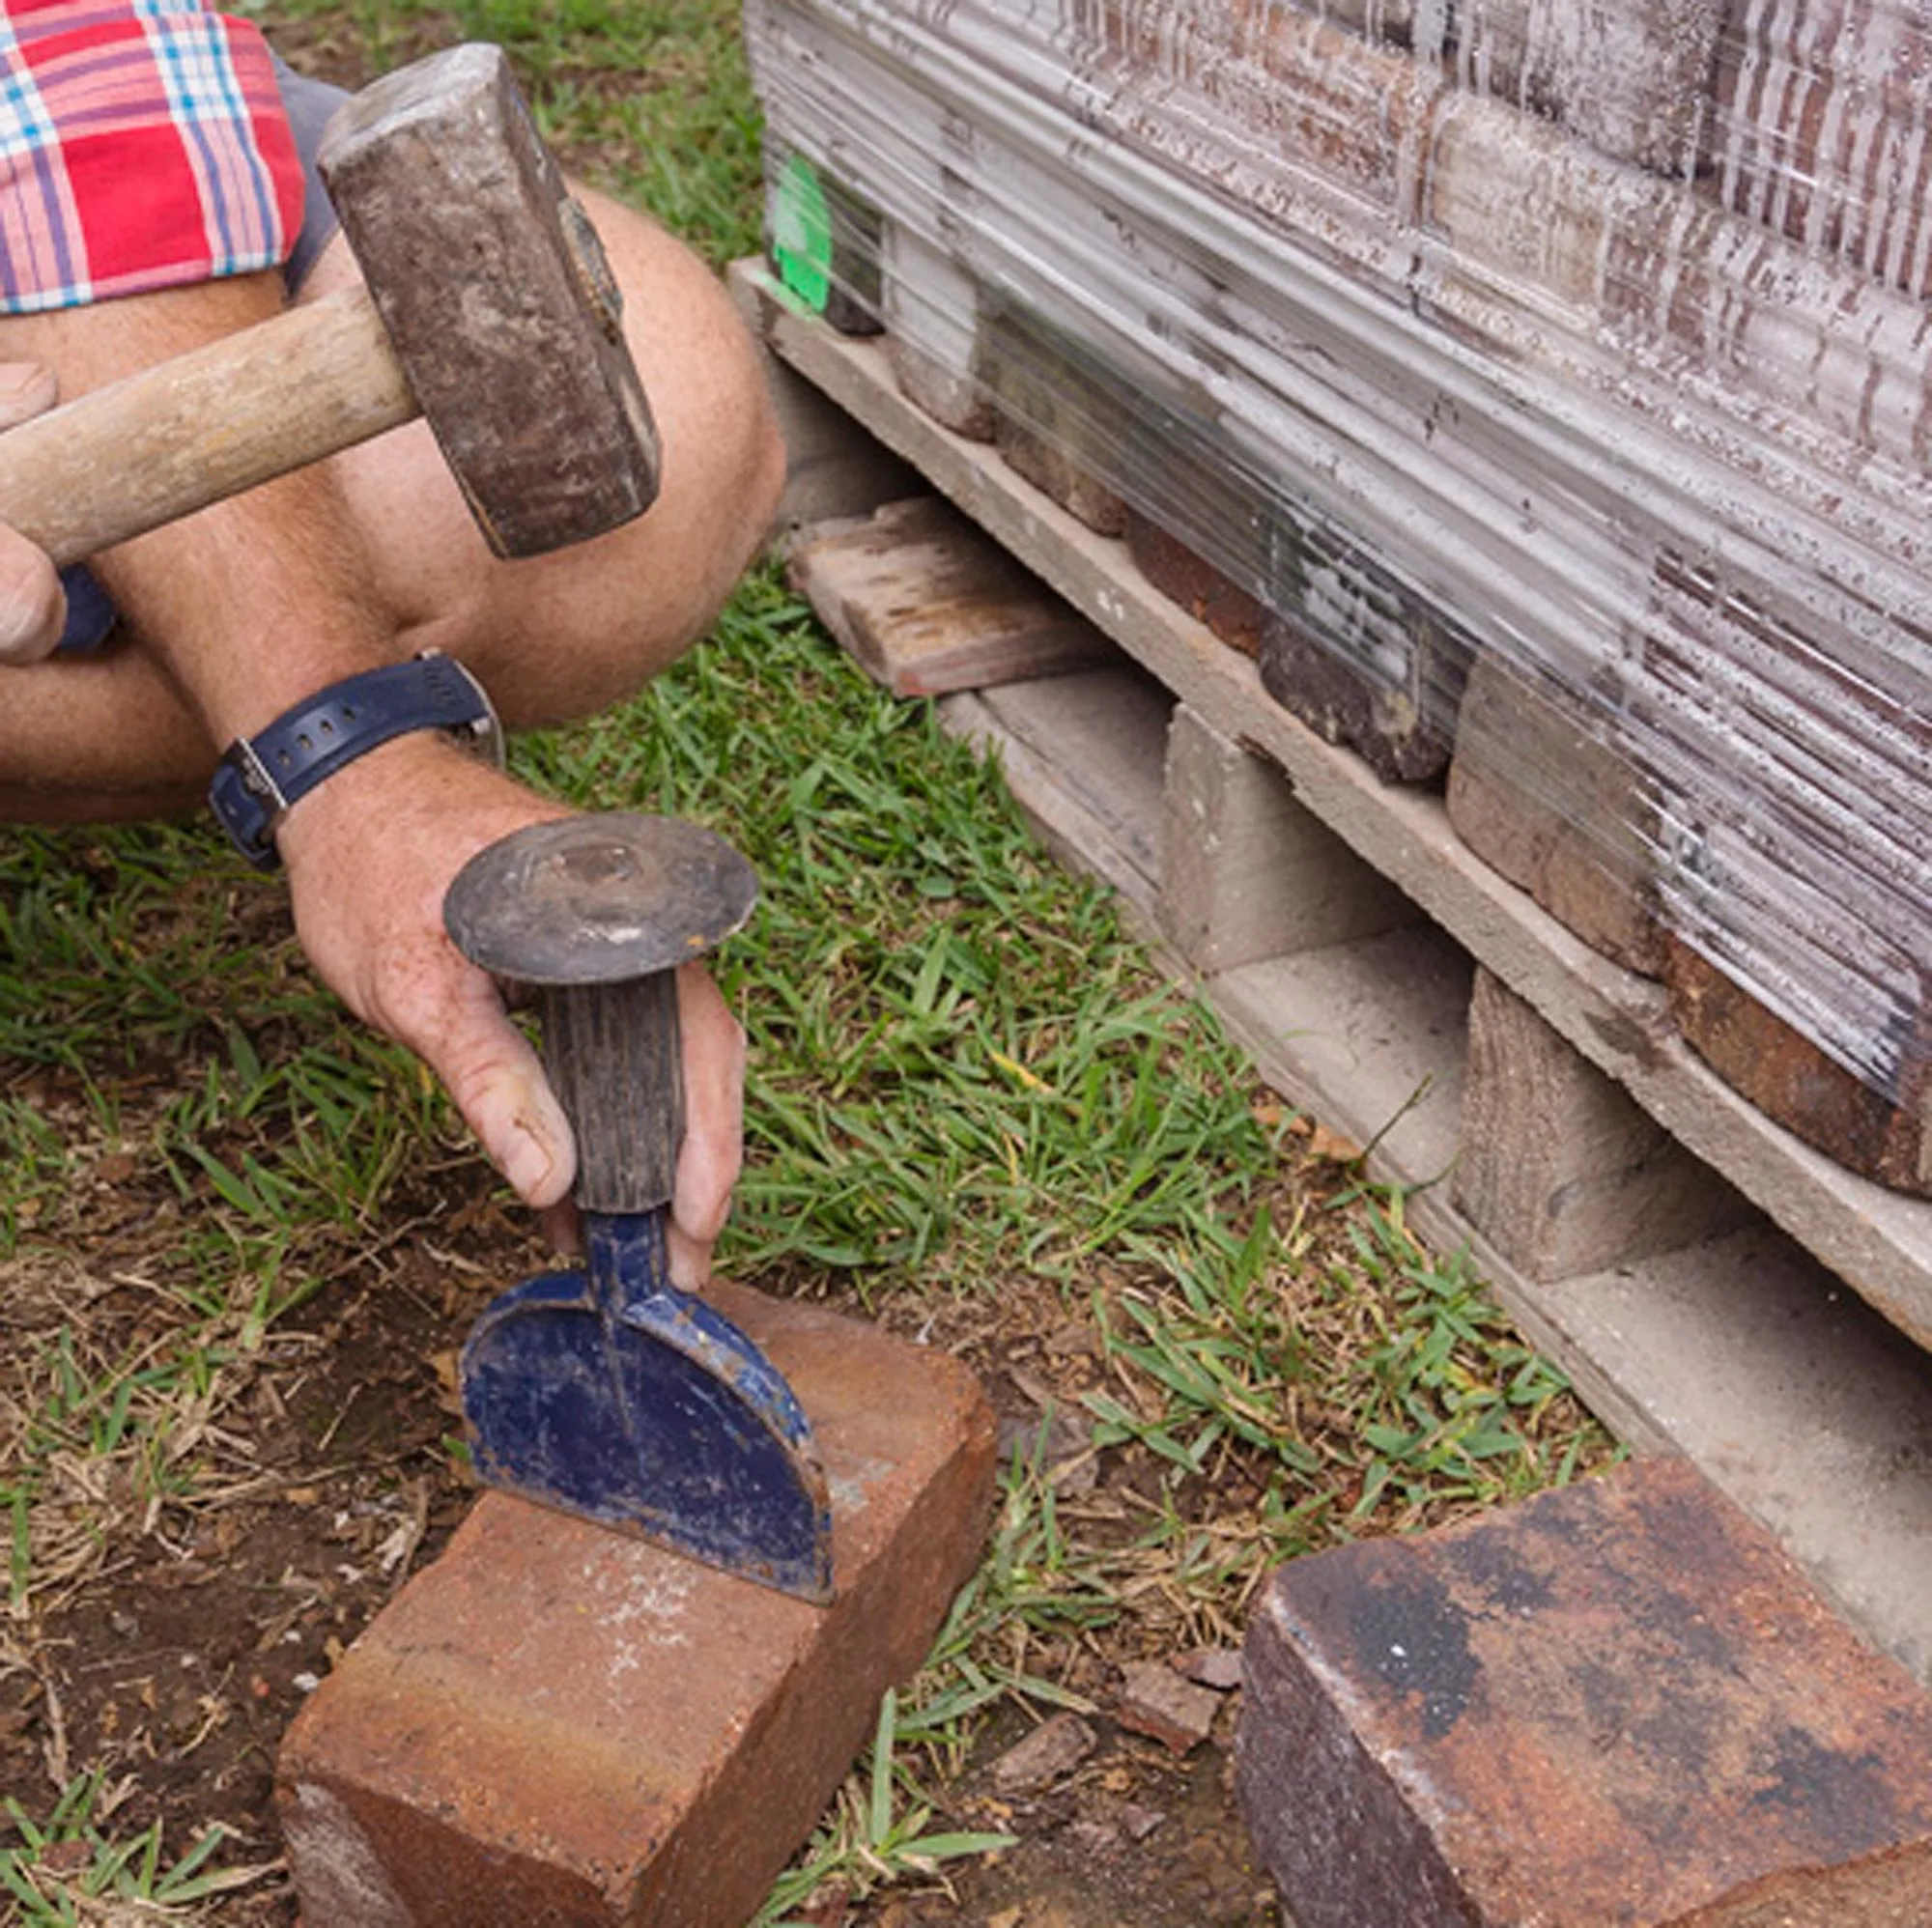
Split bricks in half by placing a bolster in the centre and tapping firmly with a mallet or hammer. Using half bricks, lay second course.
Step 8
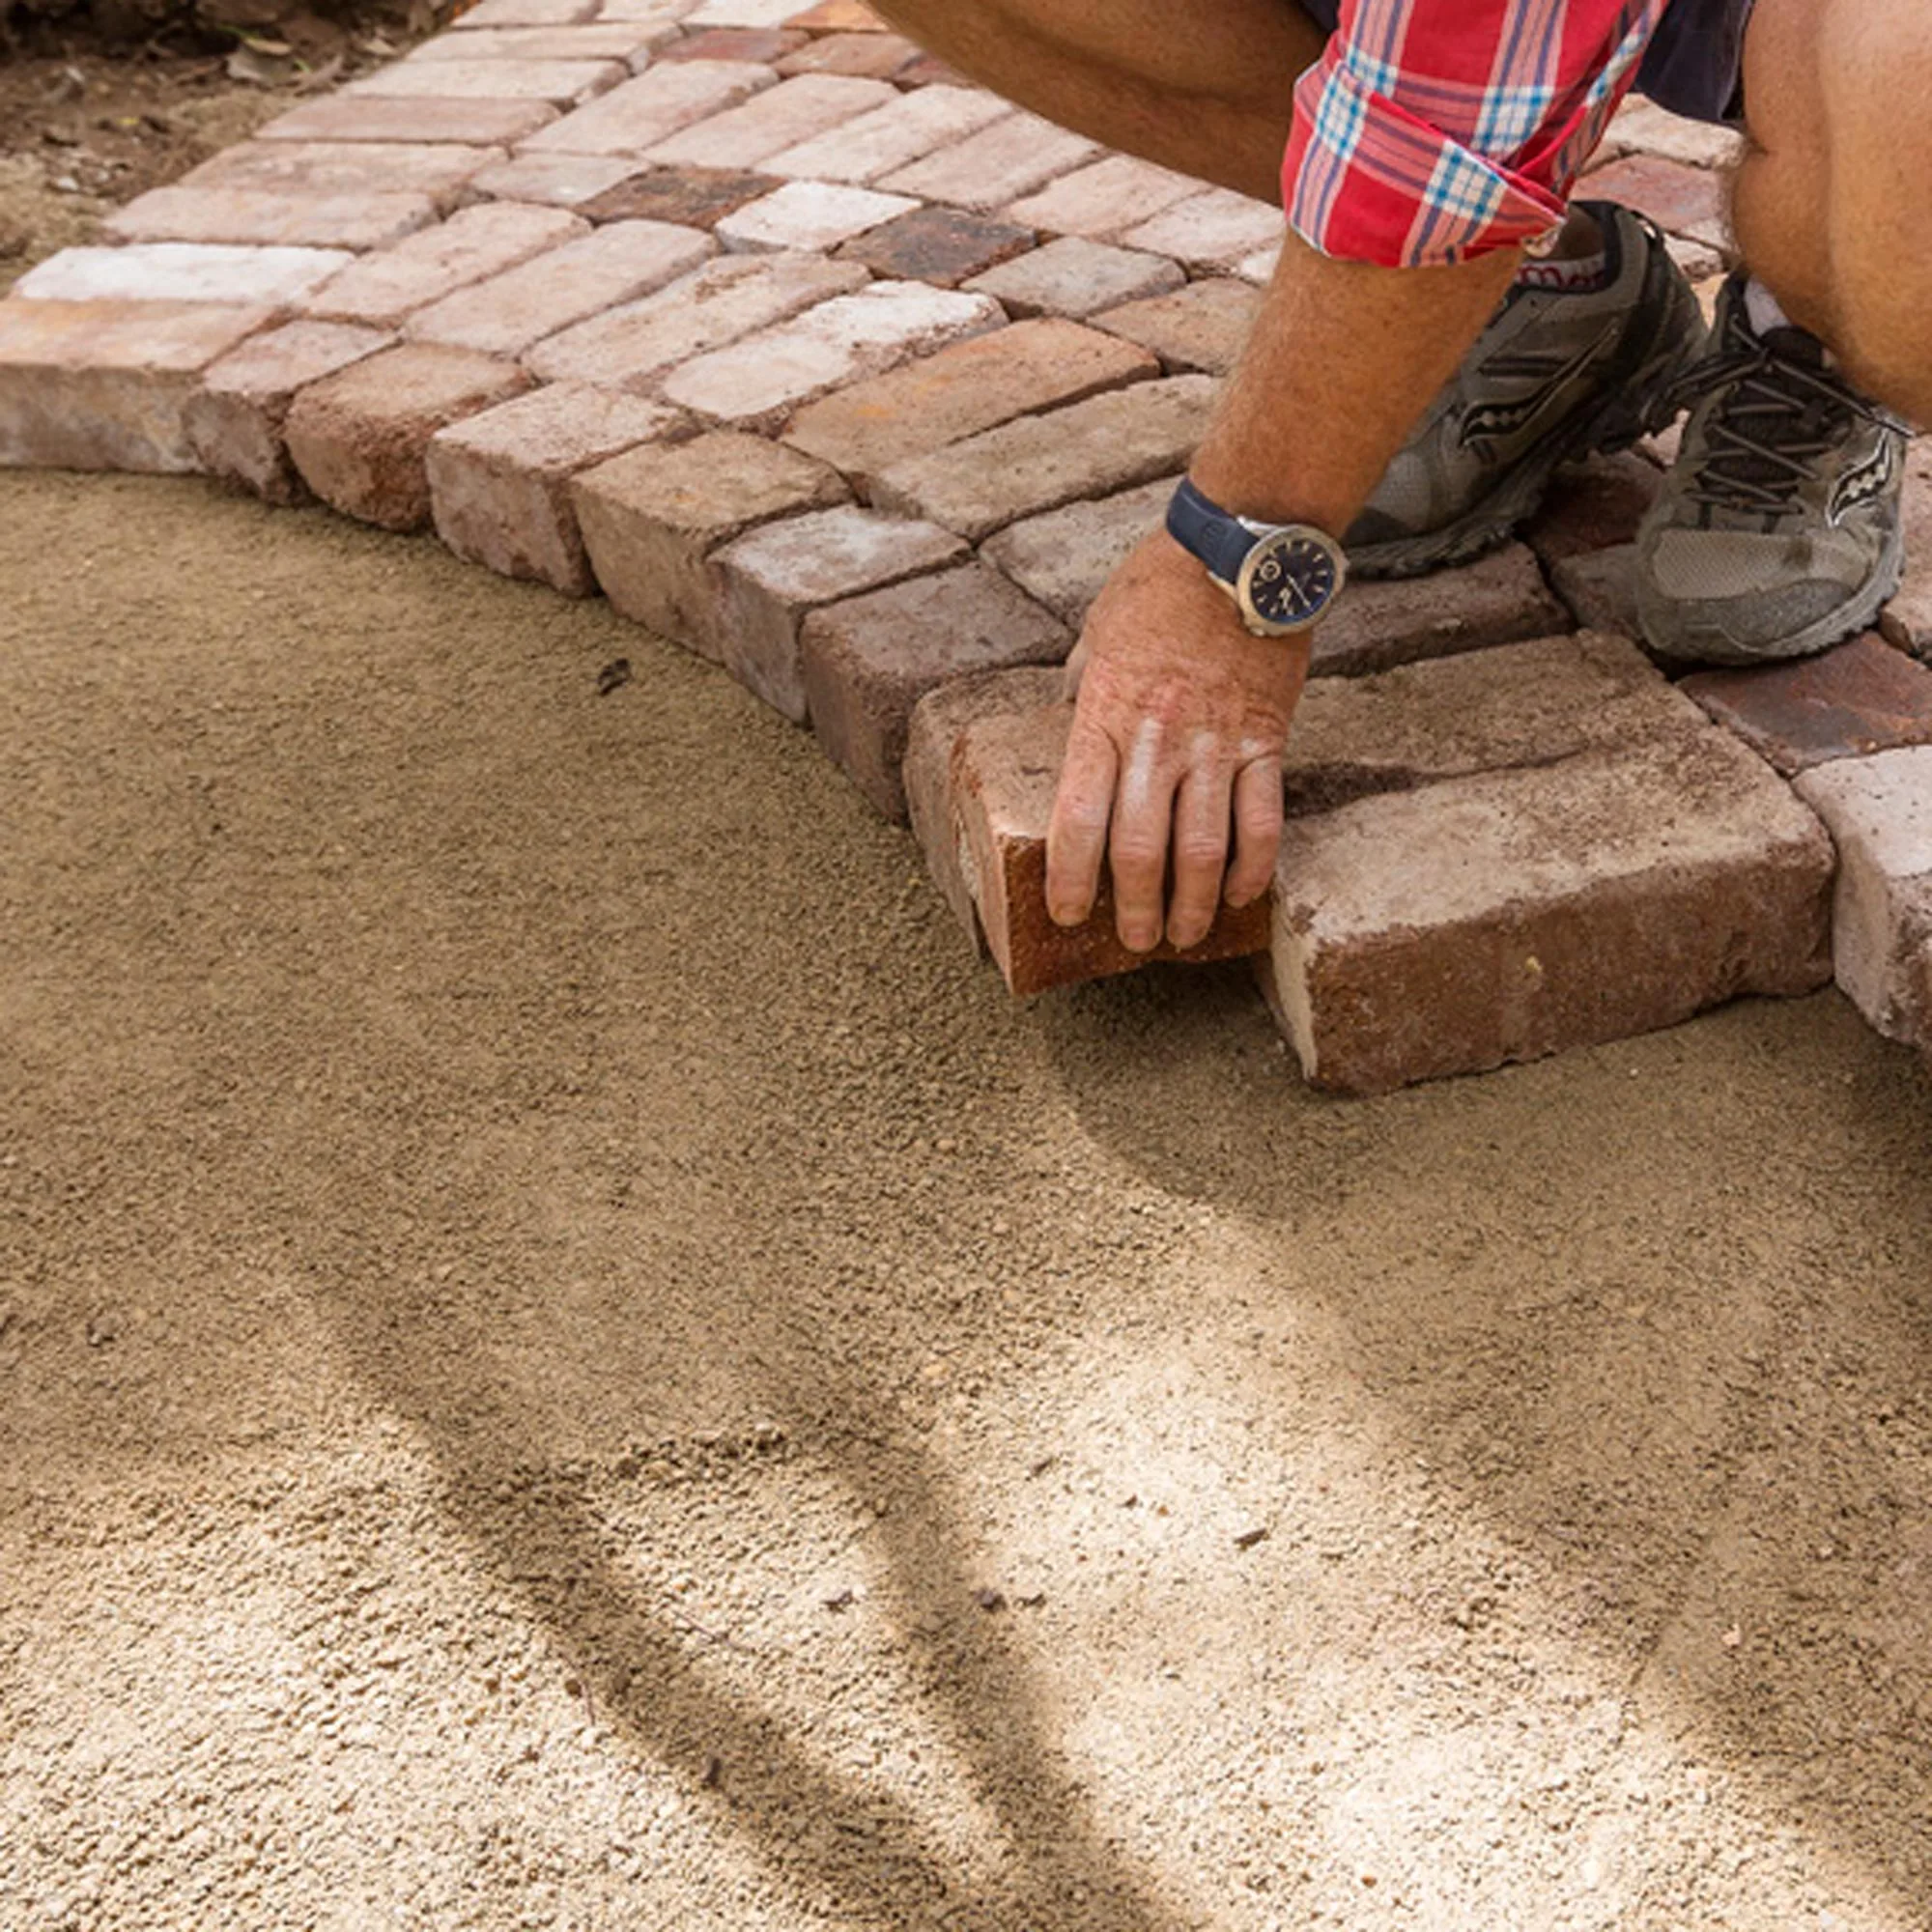
Continue to lay bricks, alternating between whole- and half-brick courses. Leave a gap in the centre about 30cm across.
Step 9
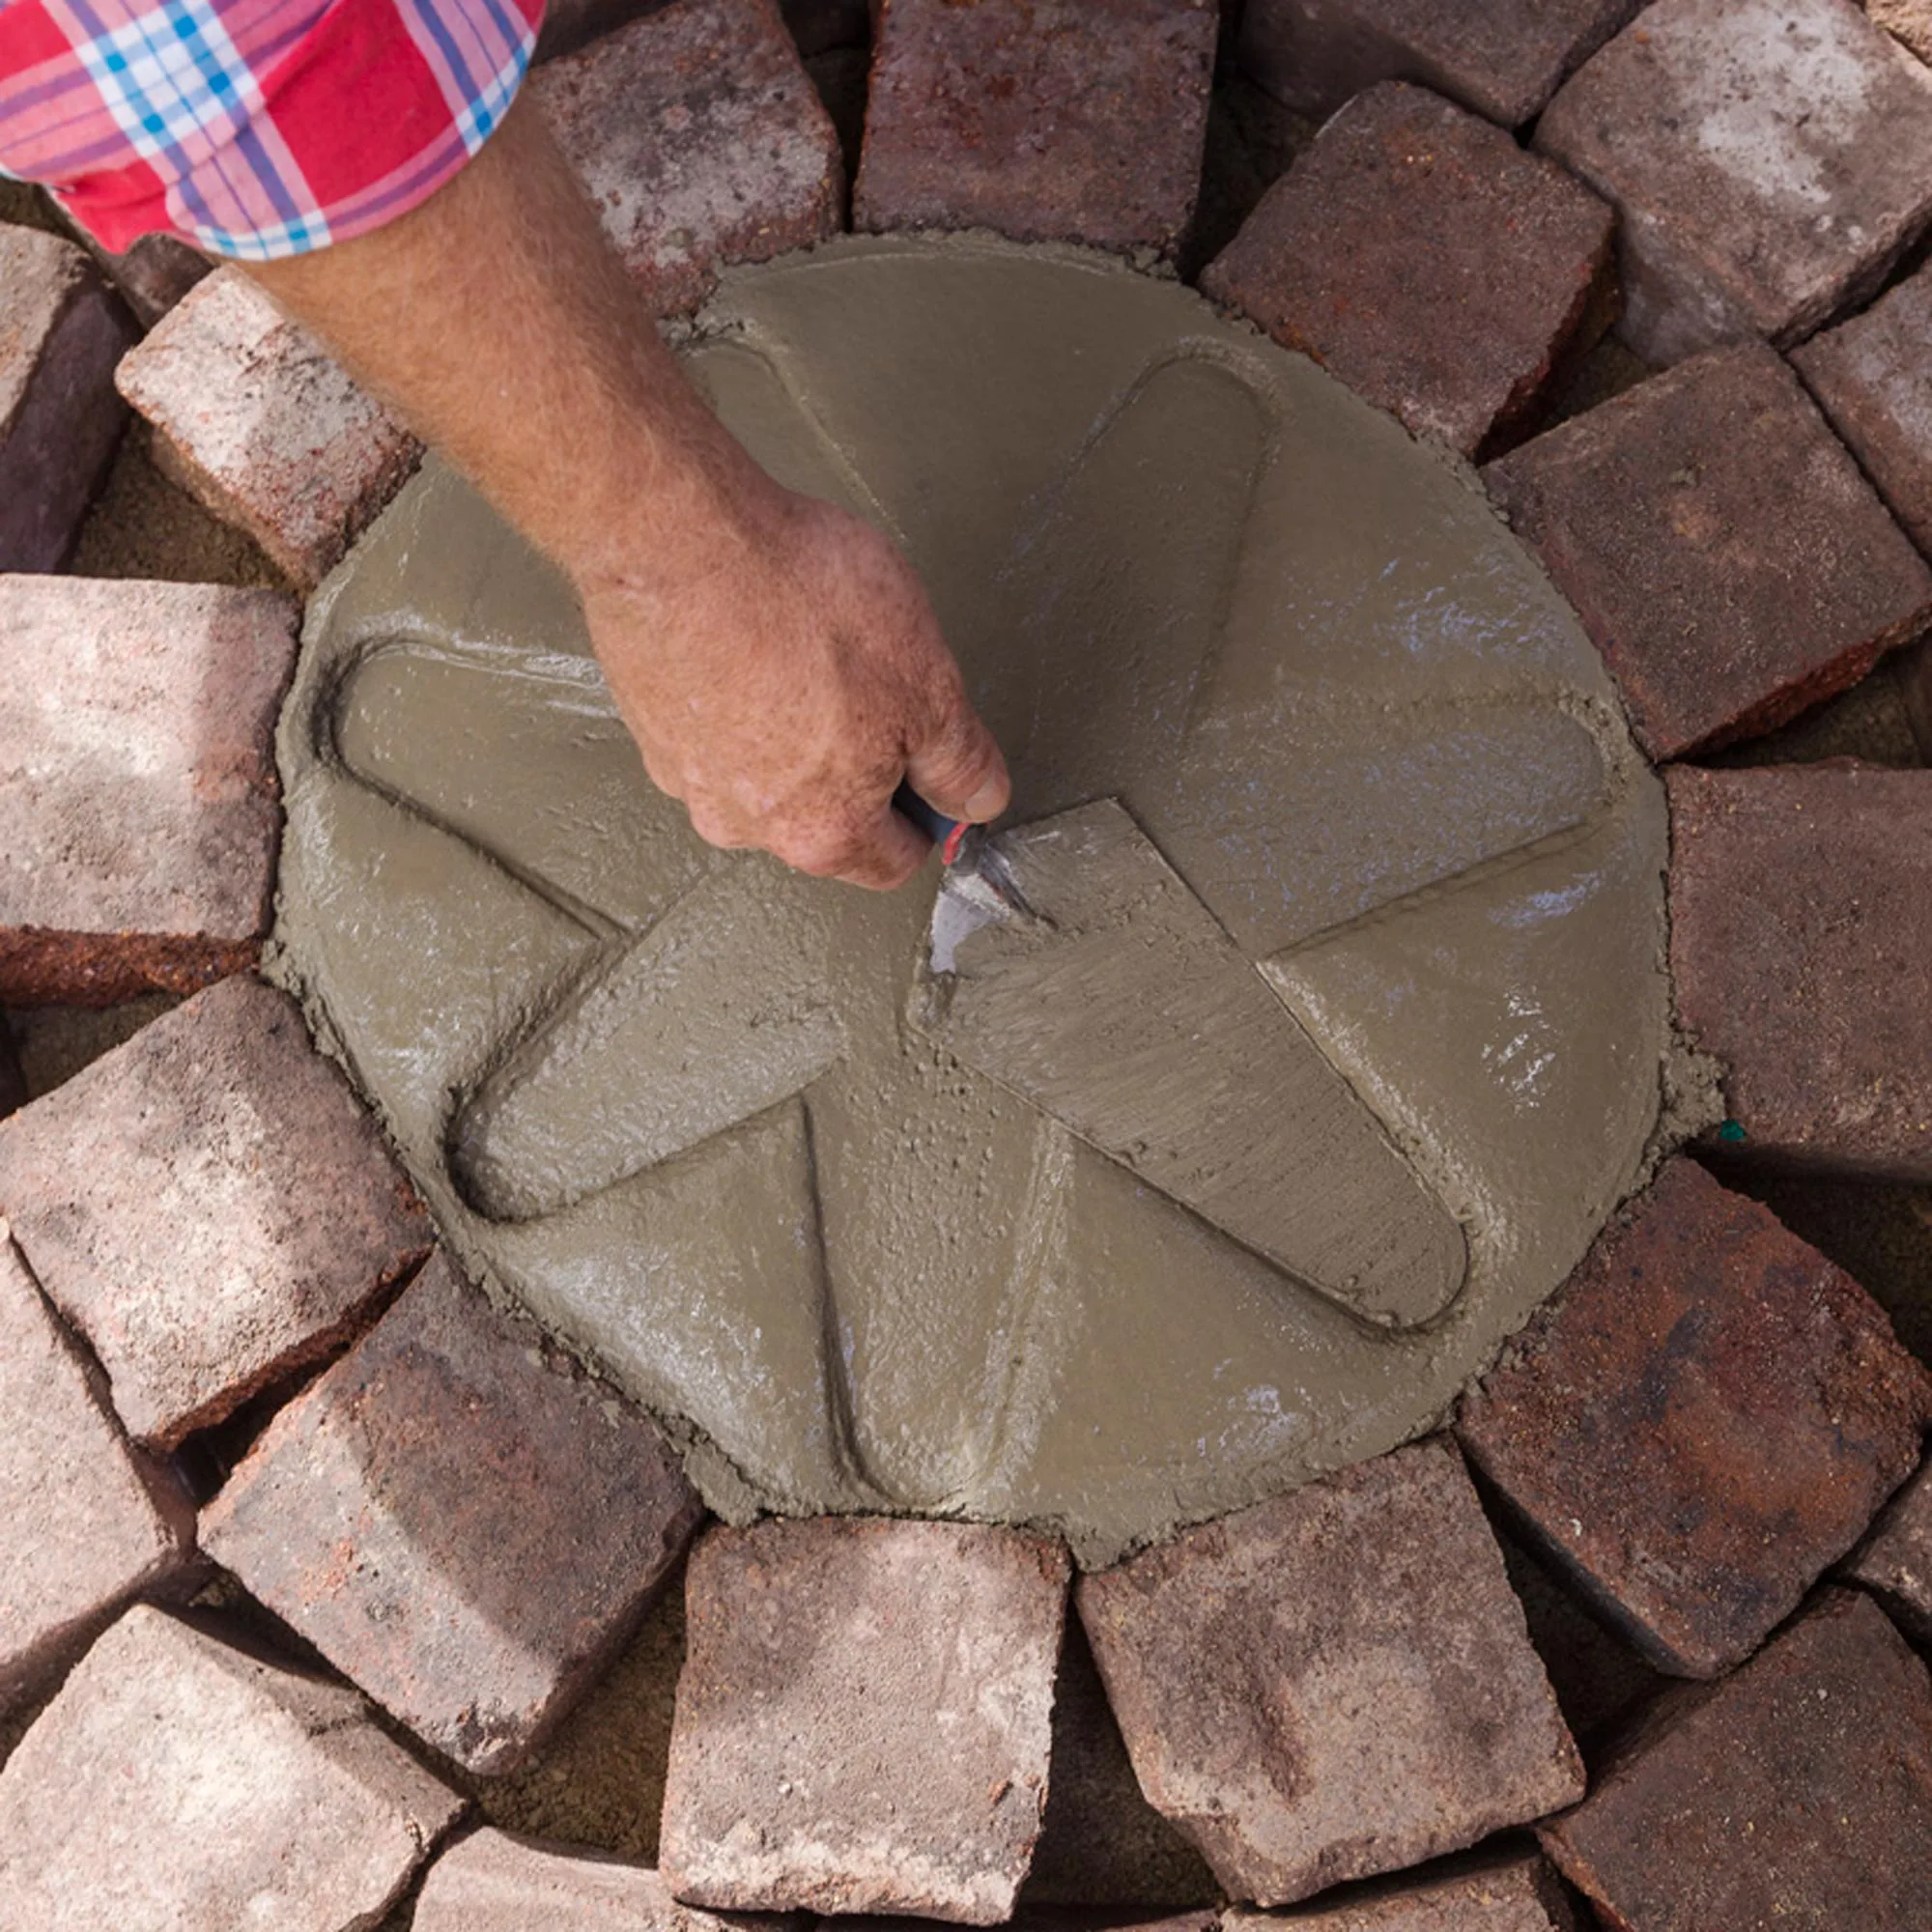
Mix mortar using river sand and grey cement at a 4:1 ratio, with enough water to achieve a toothpaste-like consistency. Fill centre gap with mortar. Using a trowel, press a flower pattern into the mortar. You could also press in pebbles or decorative tiles.
Step 10
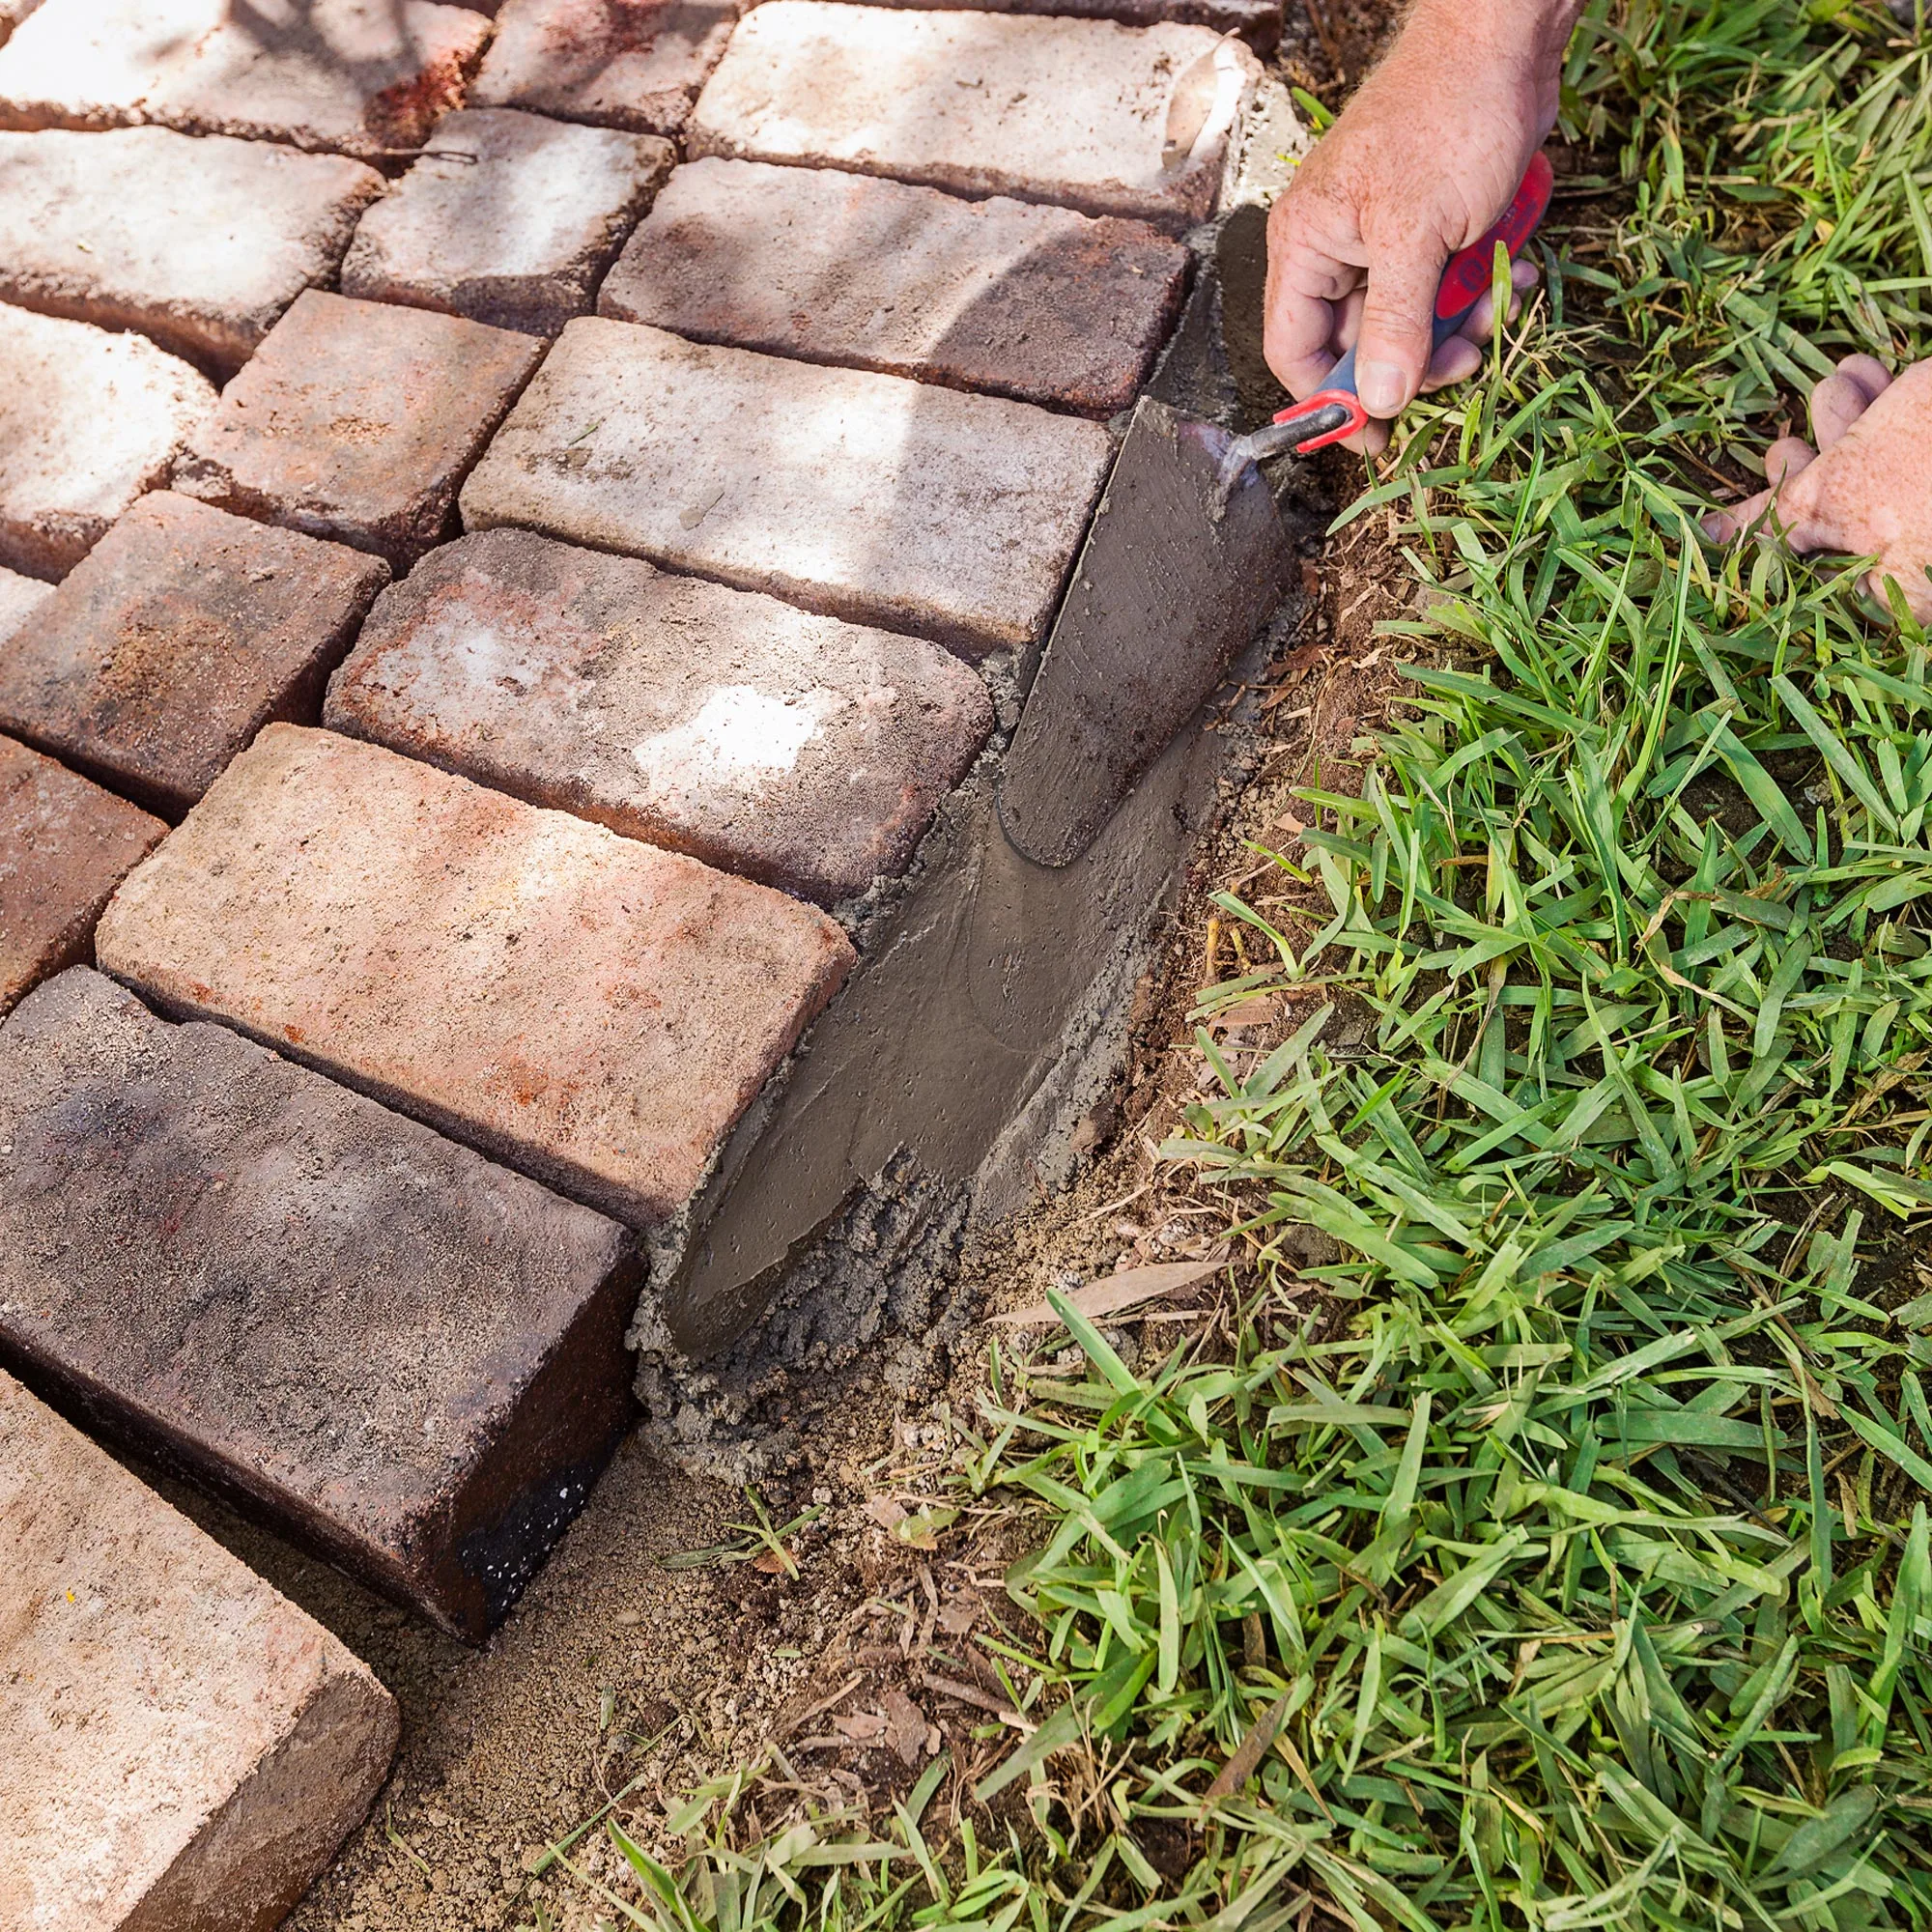
Secure outer course of bricks in position by creating a mortar haunch. Keep mortar wide at base, tapering towards top. Allow to set for 48 hours.
Step 11
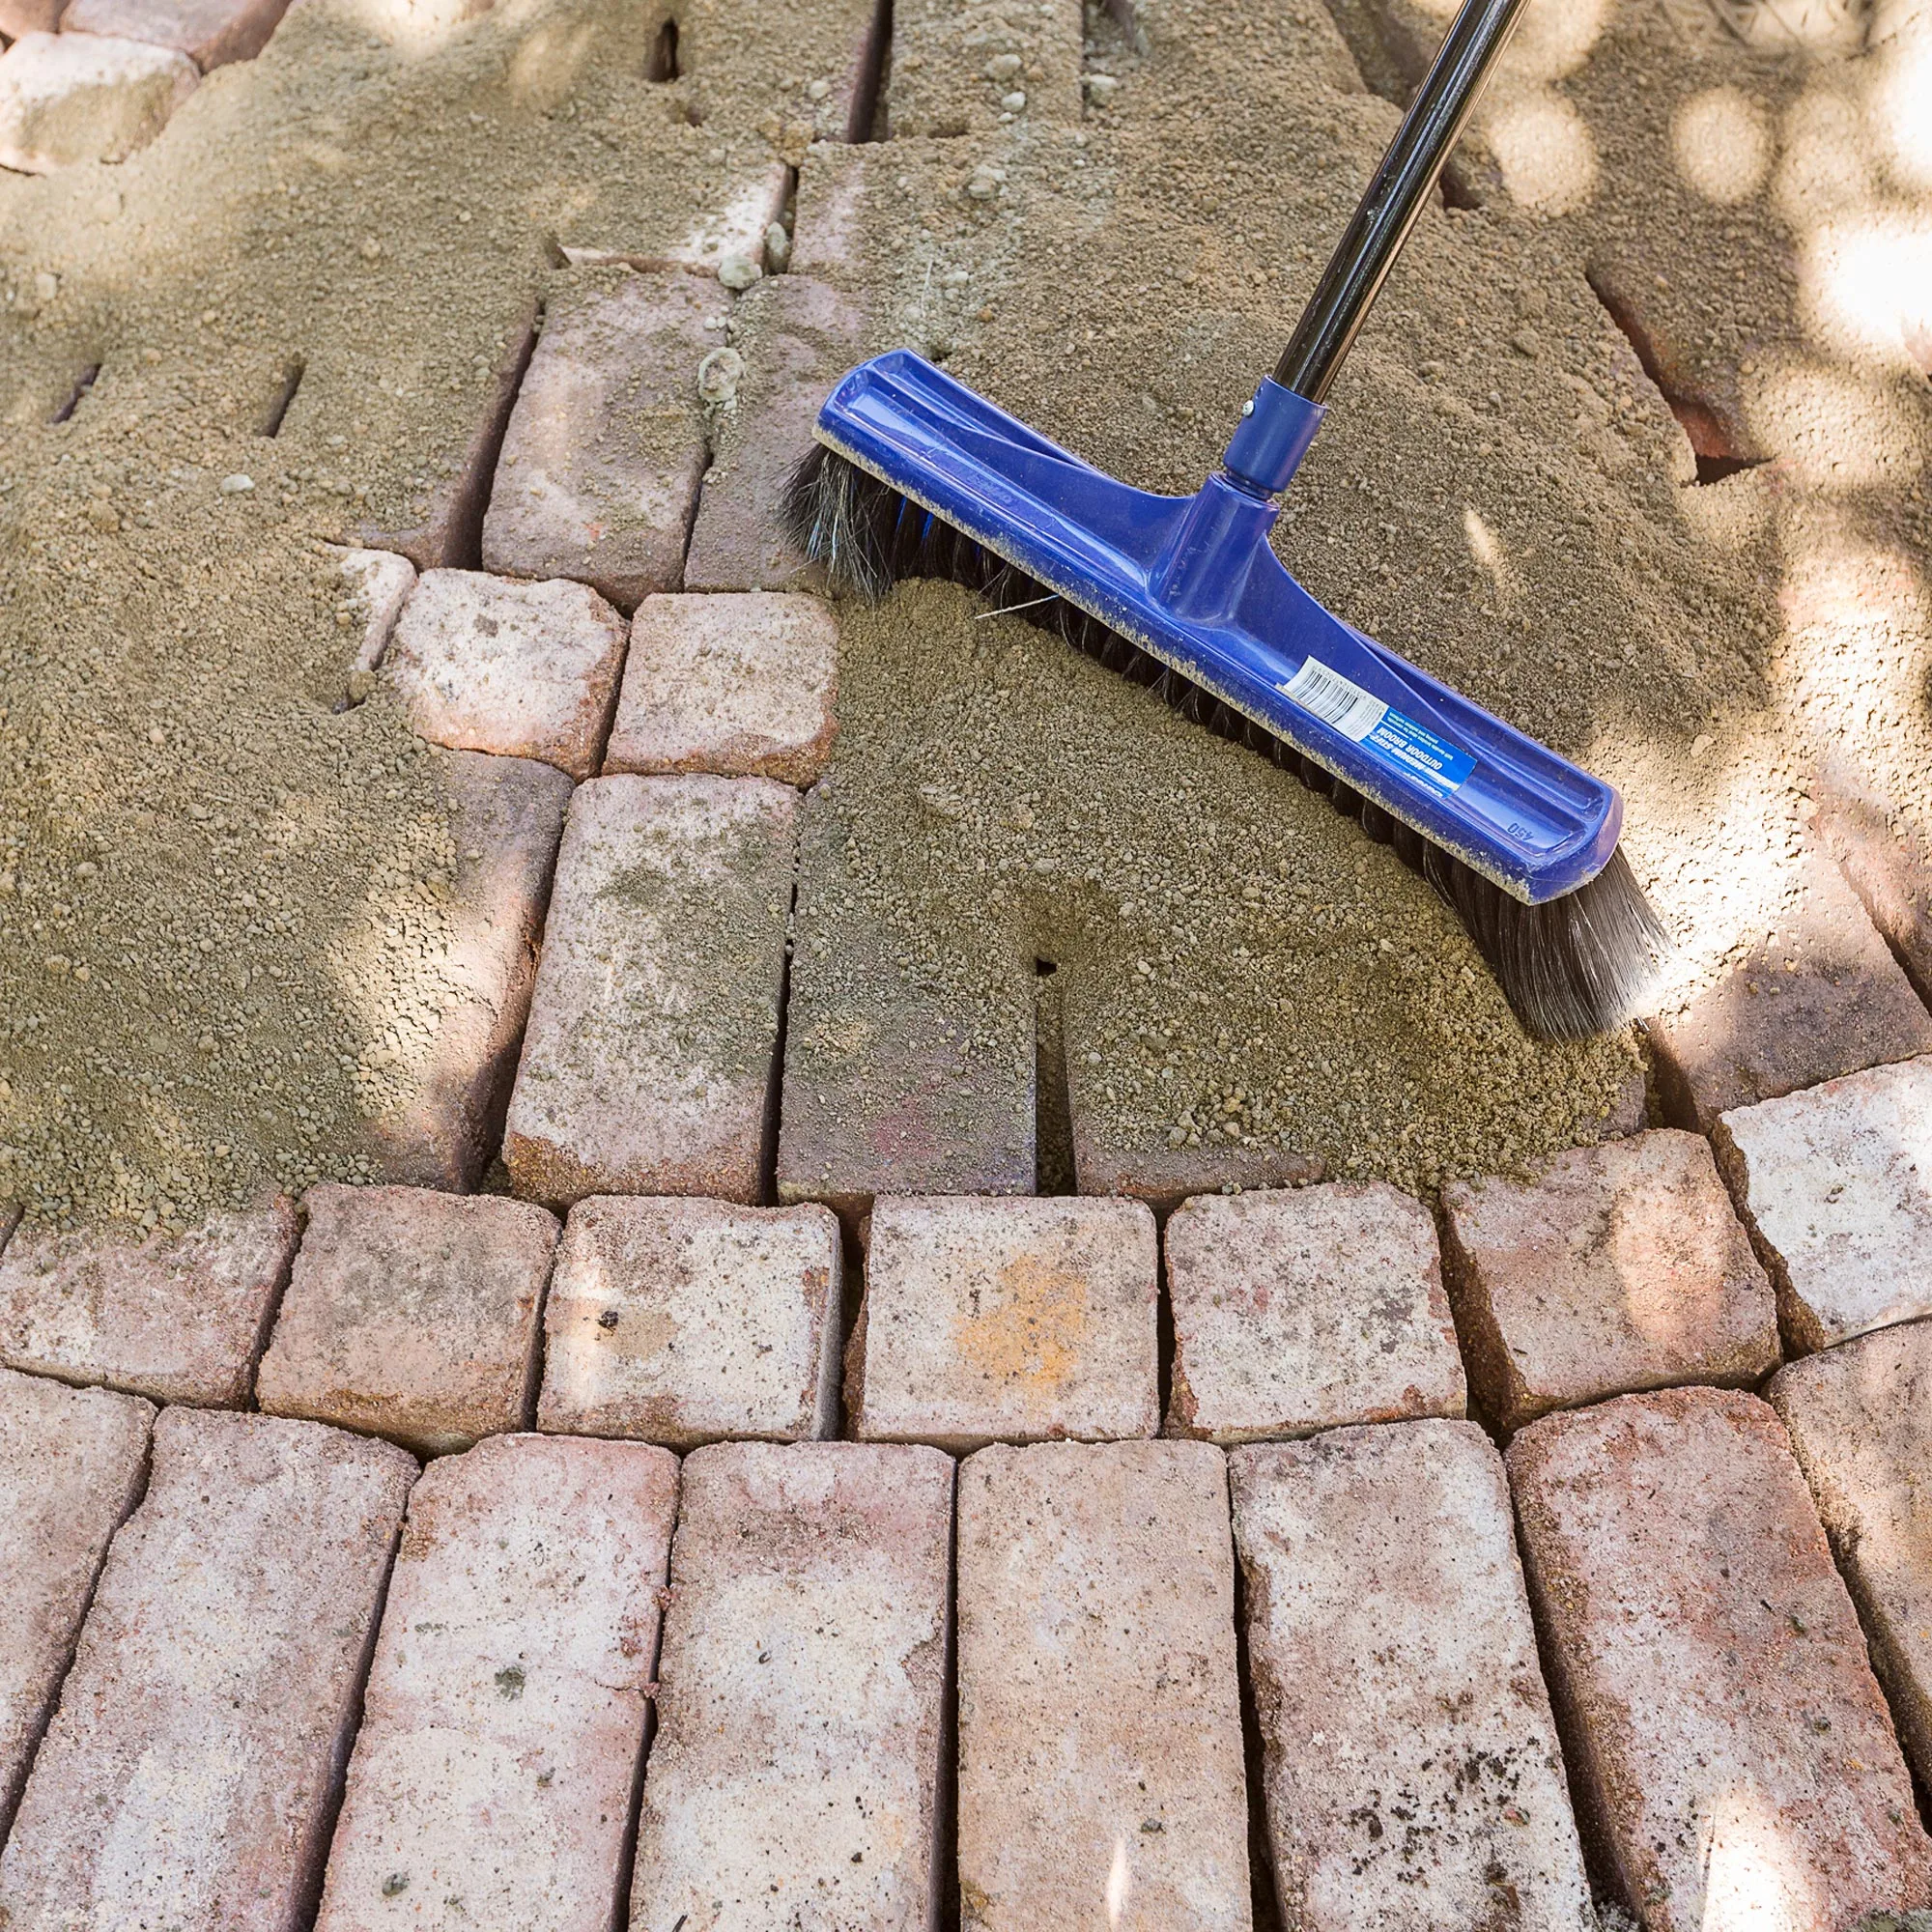
Mix a portion of grey cement with river sand in a wheelbarrow and use to fill gaps in paving. Using a broom, sweep sand mix across paving until all gaps are filled and sand mix is level with top of brickwork.


Related stories

Native ad body.
Native ad body.



Native ad body.