Clotheslines are more tricky than you expect; they’re hard to set up and even harder to find a space for. That’s why a fold-down clothesline is a great space saver for a small area, provided it actually stays up!
There’s nothing worse than hanging out your washing to dry only for it to tower over at the slightest knock or bump. This durable clothesline needs to be propped up by a stick of timber, so if yours needs replacing, here’s how to do it.
Gather your supplies
- Fold-down clothesline
- 8mm dia. x 50mm galvanised Ankascrews (4)
- Drill
- 8mm masonry drill bit
- Ratchet and socket set
- Spirit level
- Cutting pliers
Here’s how
Step 1
Undo bolts on wall and carefully remove old unit and discard. If bolts are rusted to clothesline, spray with an oil and waterdisplacing spray, such as WD-40, and tap with a hammer to loosen.
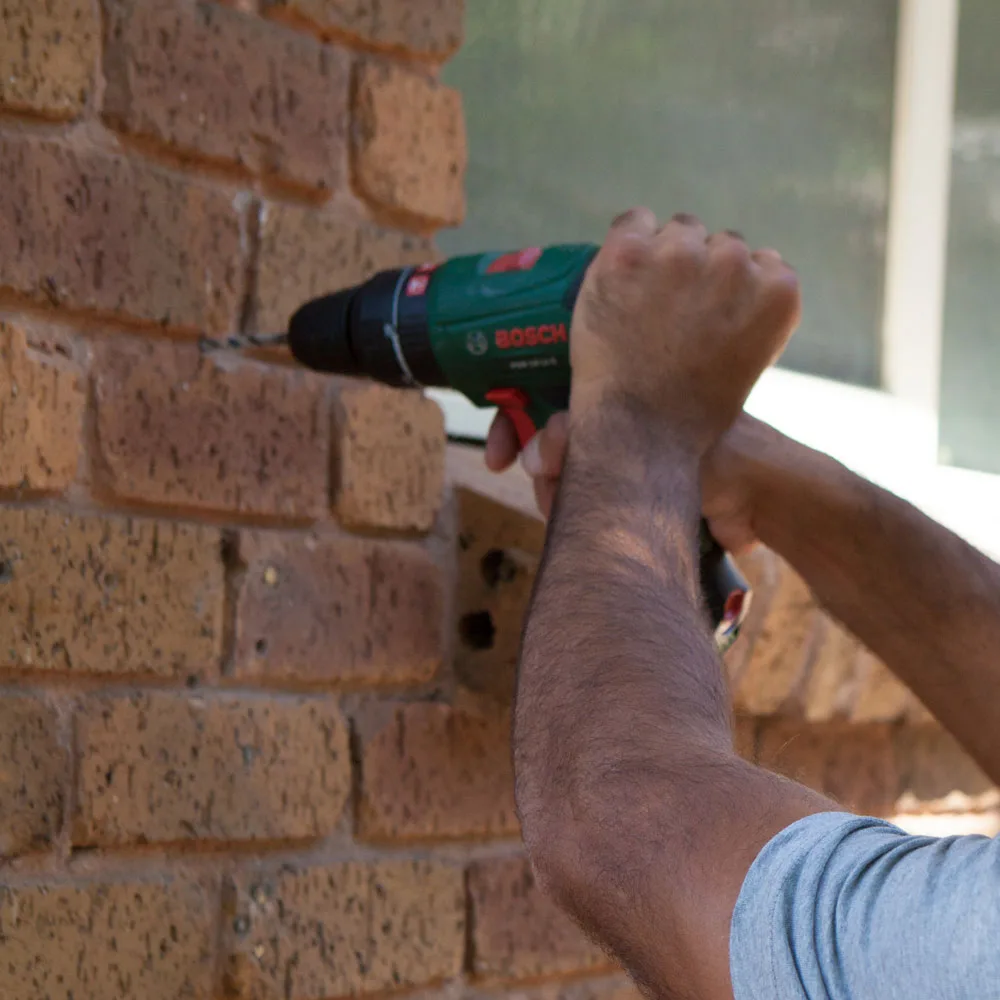
Step 2
Place bracket on wall so new unit is at a similar height to old one. Using drill on a hammer setting and fitted with 8mm masonry bit, mark holes for bolts on wall. Remove bracket and drill holes deep enough for bolts.
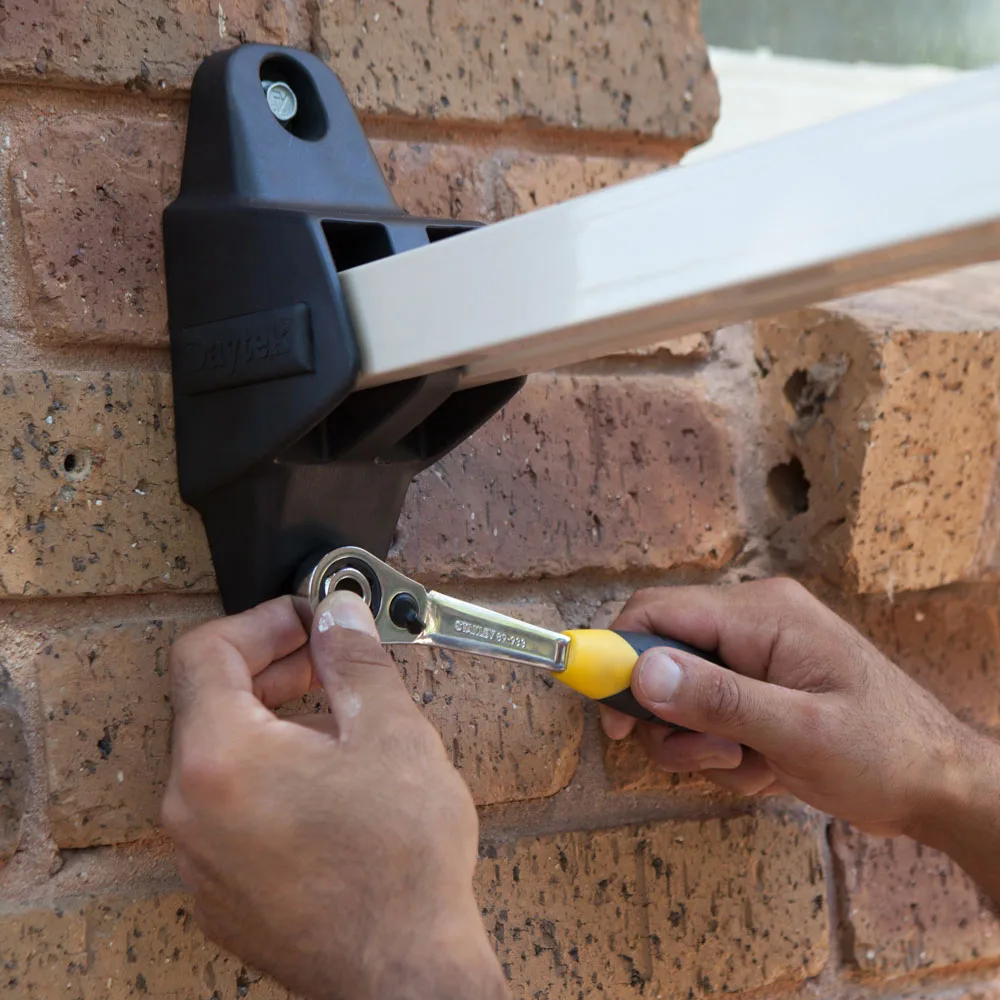
Step 3
Put bracket back on wall. Insert Ankascrew through bracket into hole and tighten using ratchet. Measure required distance for other wall bracket and repeat process to install. Use front bar of clothesline with spirit level on top to make sure the second bracket is level with the first.
Step 4
Assemble front bar, then the corner brackets, with nuts and bolts. Insert this assembly into the side arms and tighten all bolts.
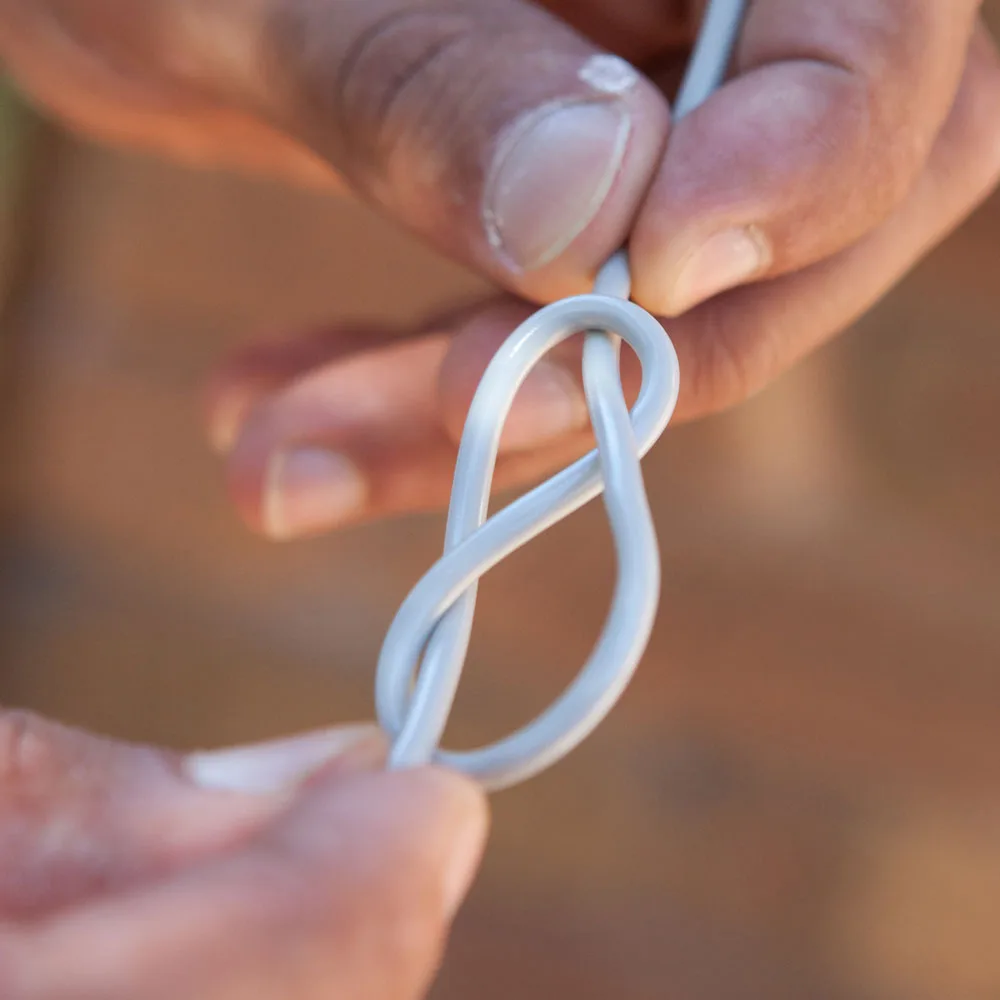
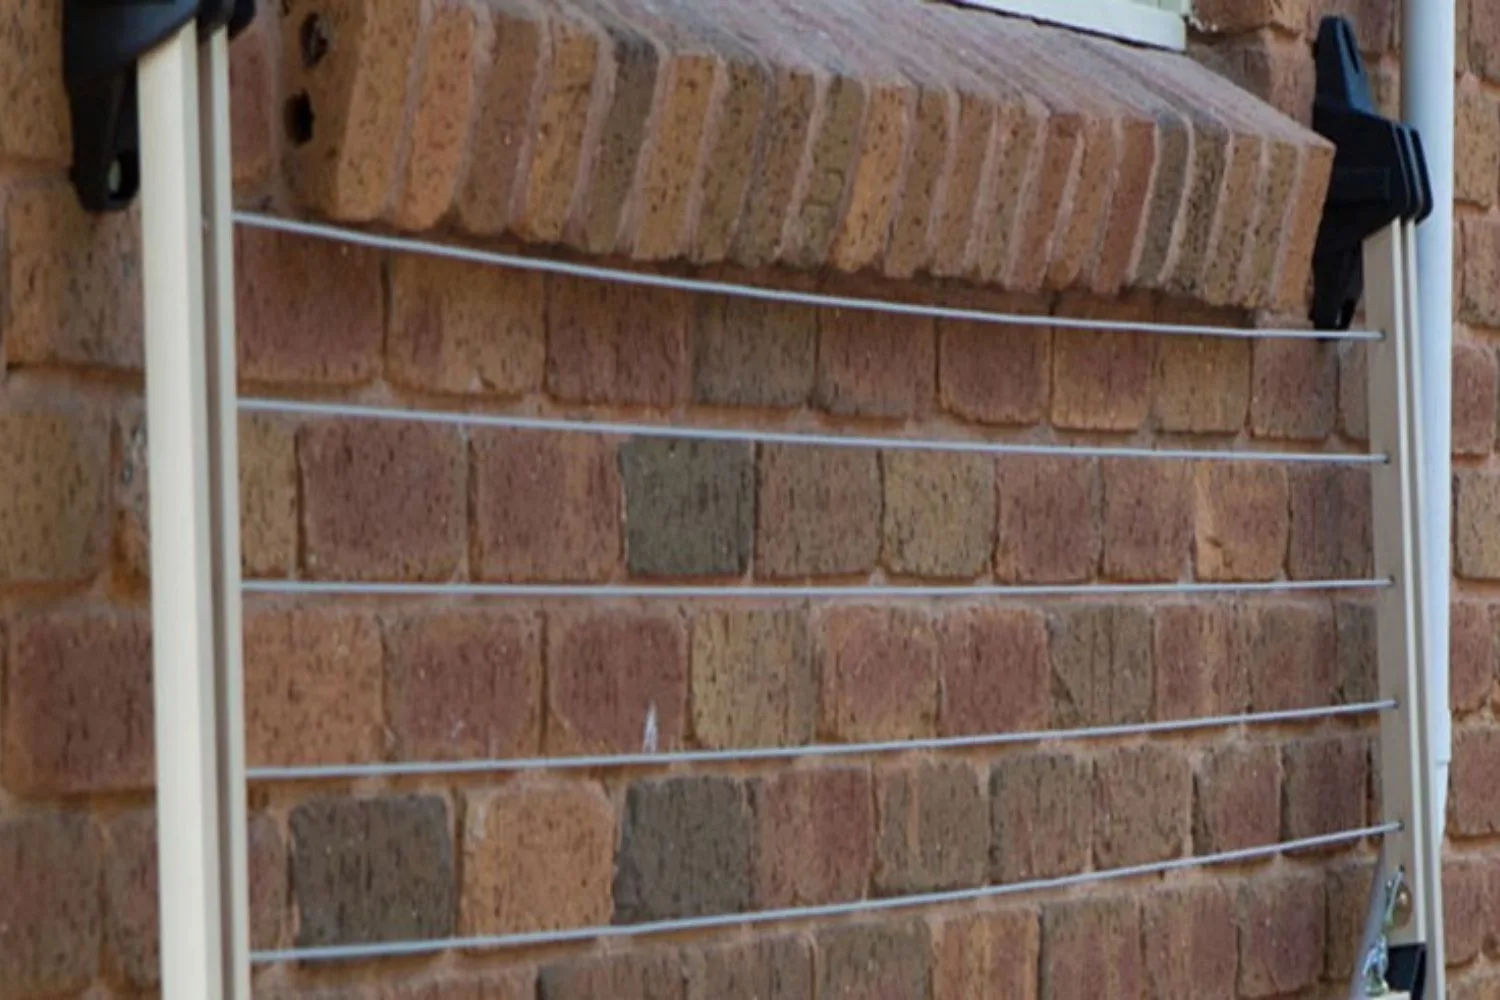
Step 5
Make a figure-of-eight knot in line and thread through holes. Start from the innermost holes and go out. Tension by hand, then tie off line. Cut off excess with pliers.
You may also like
How to care for cotton and linen bedding correctly
What’s that little door on your front loader washing machine for?
Related stories
Native ad body.

Native ad body.


Native ad body.