

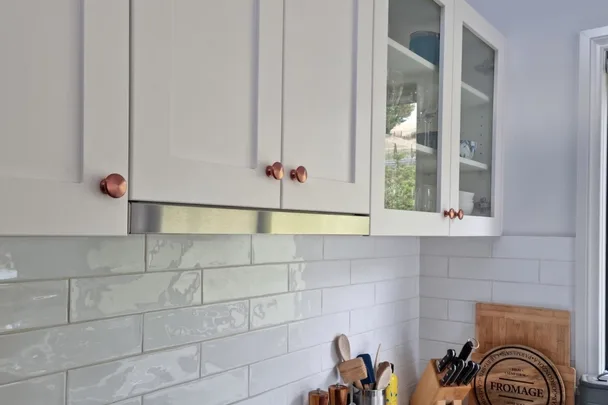
Sometimes you don’t need to remodel and renovate your whole kitchen to give it a quick yet effective update. In fact, this Bunnings kitchen cupboard hack is a great way to create a luxe look in your kitchen without spending a lot.
The clever makeover was shared by Liesel Cooke, who wanted to replace the cheap silver handles in her kitchen with beautiful brushed copper ones she had seen online. However, she couldn’t afford the hefty $64.90 price tag for one pull handle.
KEY TAKEAWAYS
- Swapping out kitchen handles is one of the easiest and most affordable ways to give your kitchen a designer look without renovating
- You only need three products — T-bar handles, metal primer and copper rose spray paint, all available at Bunnings
- The total cost for all supplies comes to around $66, working out to approximately $9.80 per handle, compared to $64.90 each for designer versions
- Always wait at least 48 hours before attaching handles to cupboards to allow the paint to fully cure
- Add a protective top coat to prevent the paint from coming off when the handles get wet
So the savvy DIY-er took matters into her own hands and decided to have a go at creating her own designer-look handles.
How to DIY your own kitchen handles
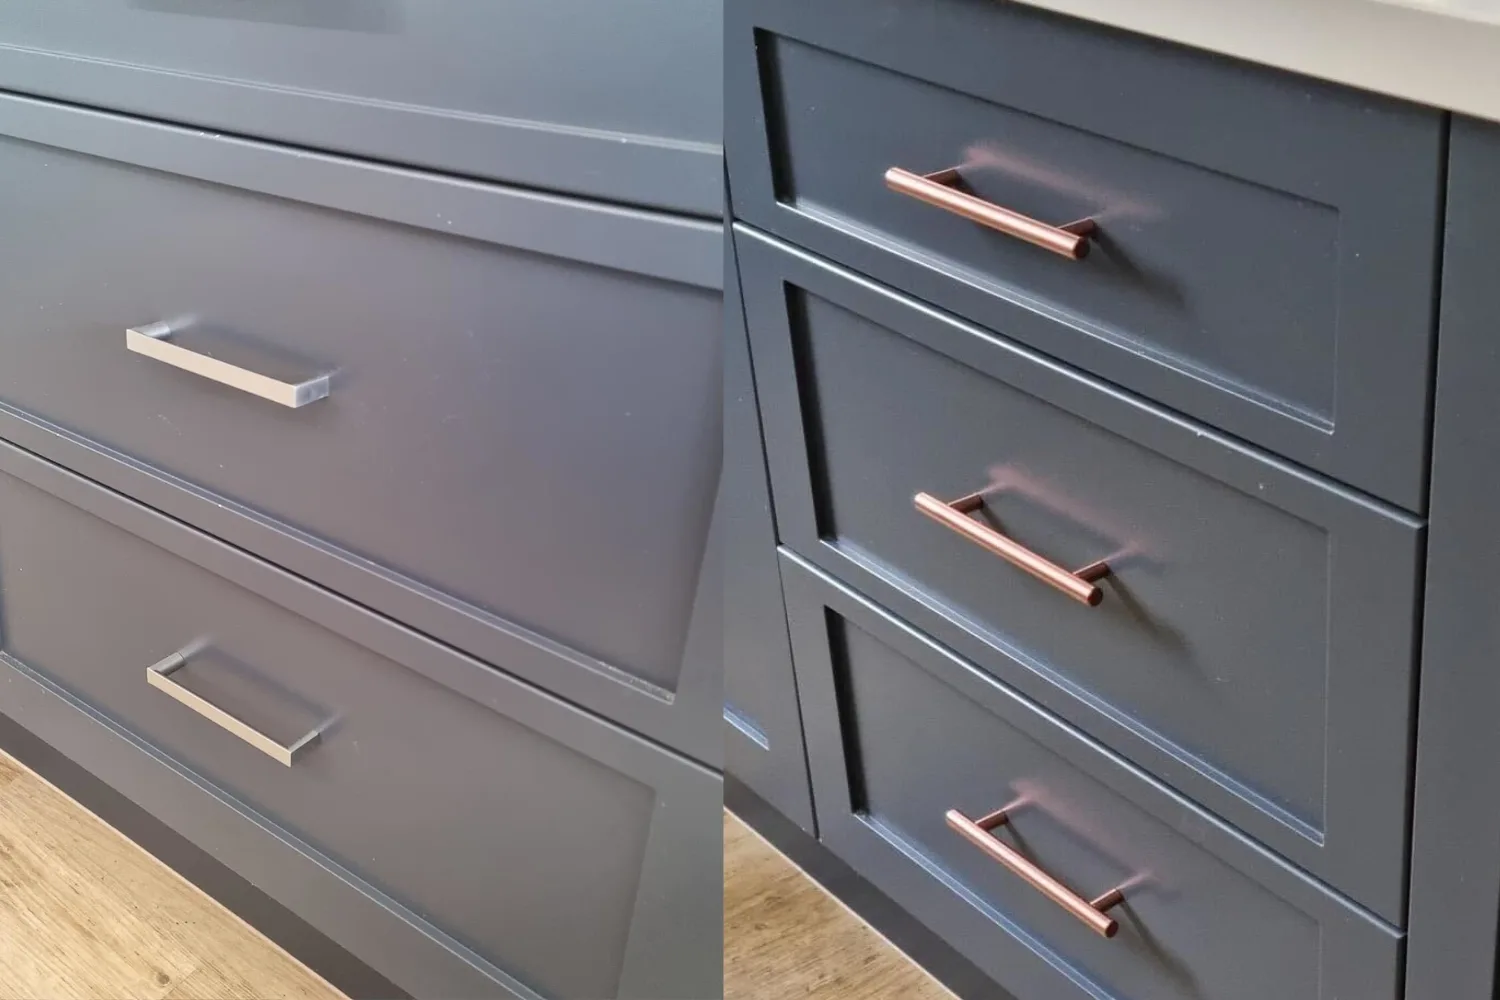
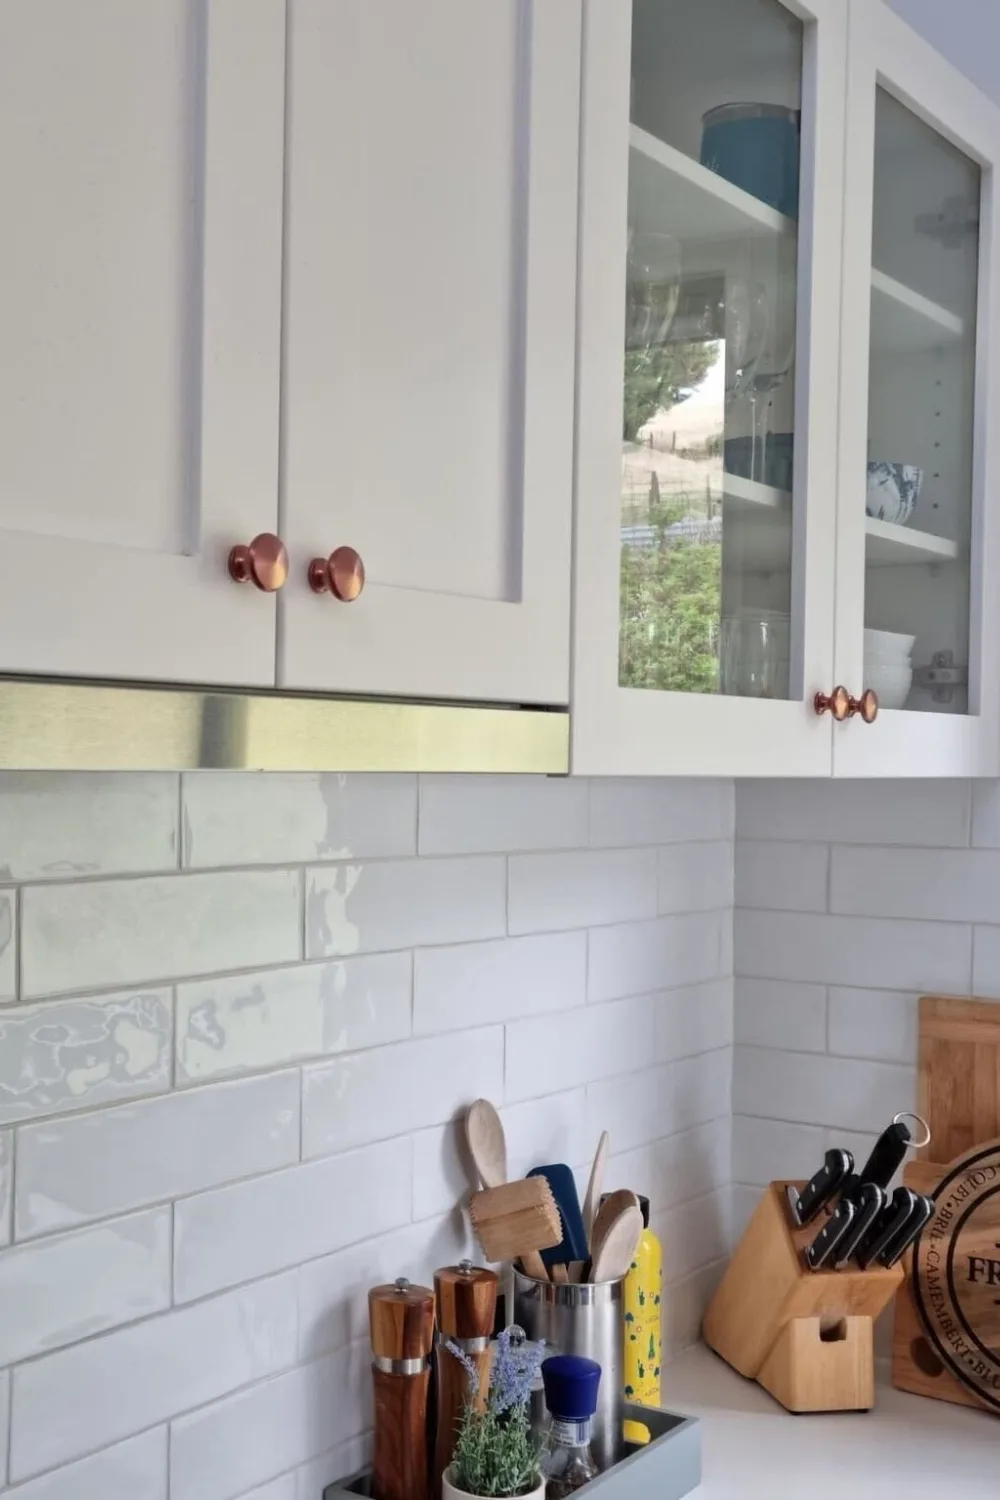
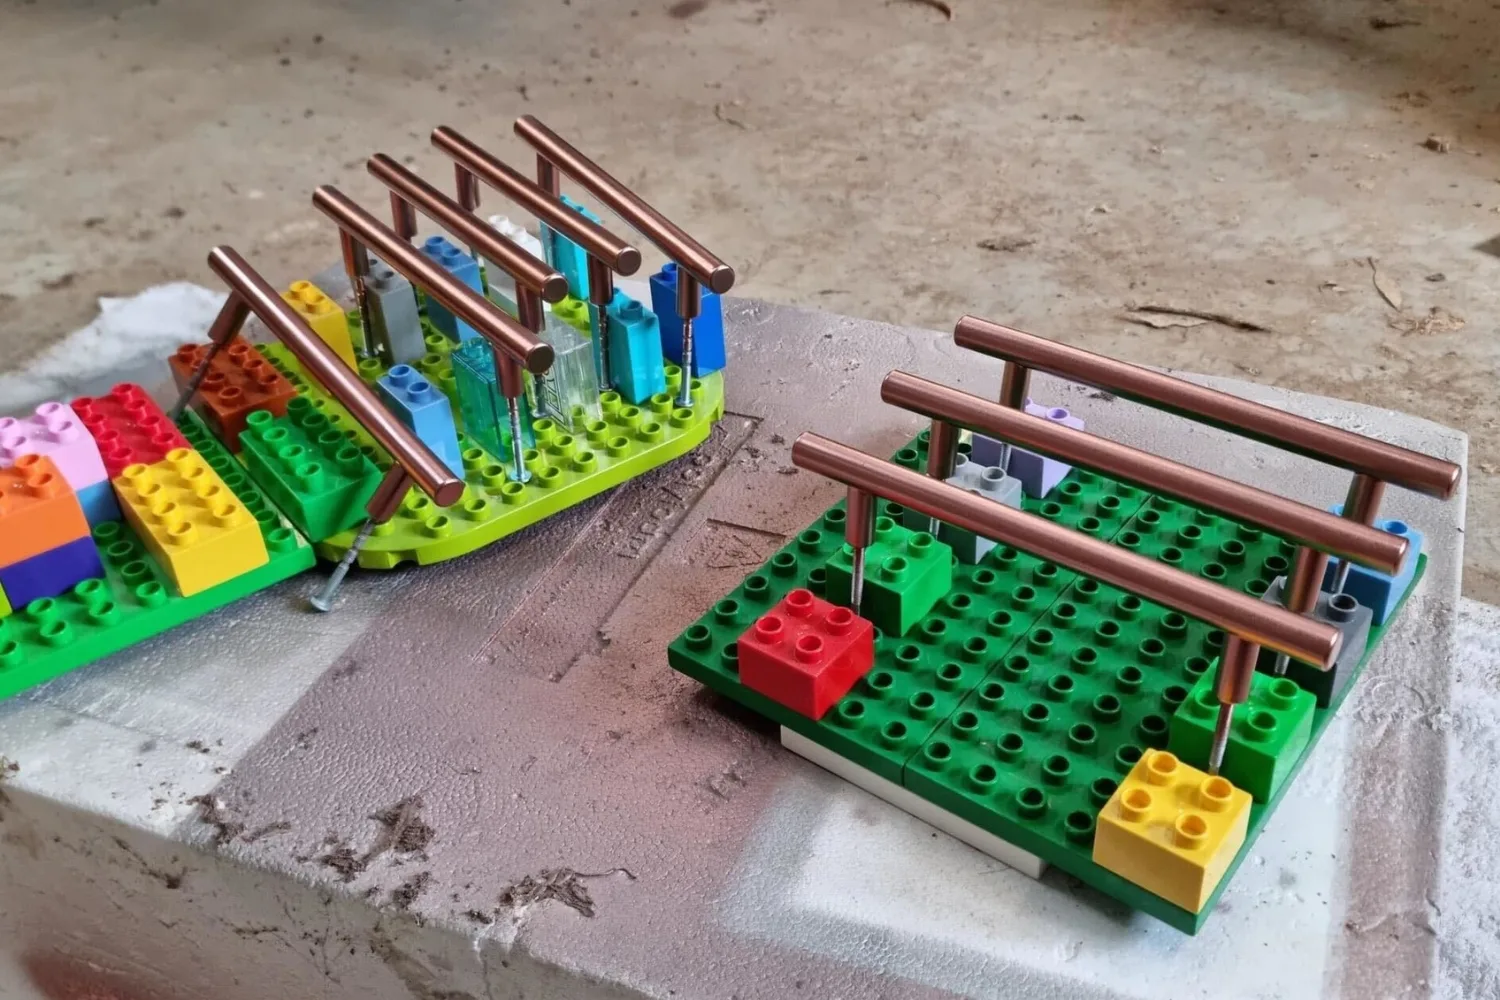
“I started off by removing the handles from the cupboards, but saved the round handles we already had on the top cupboards,” she says.
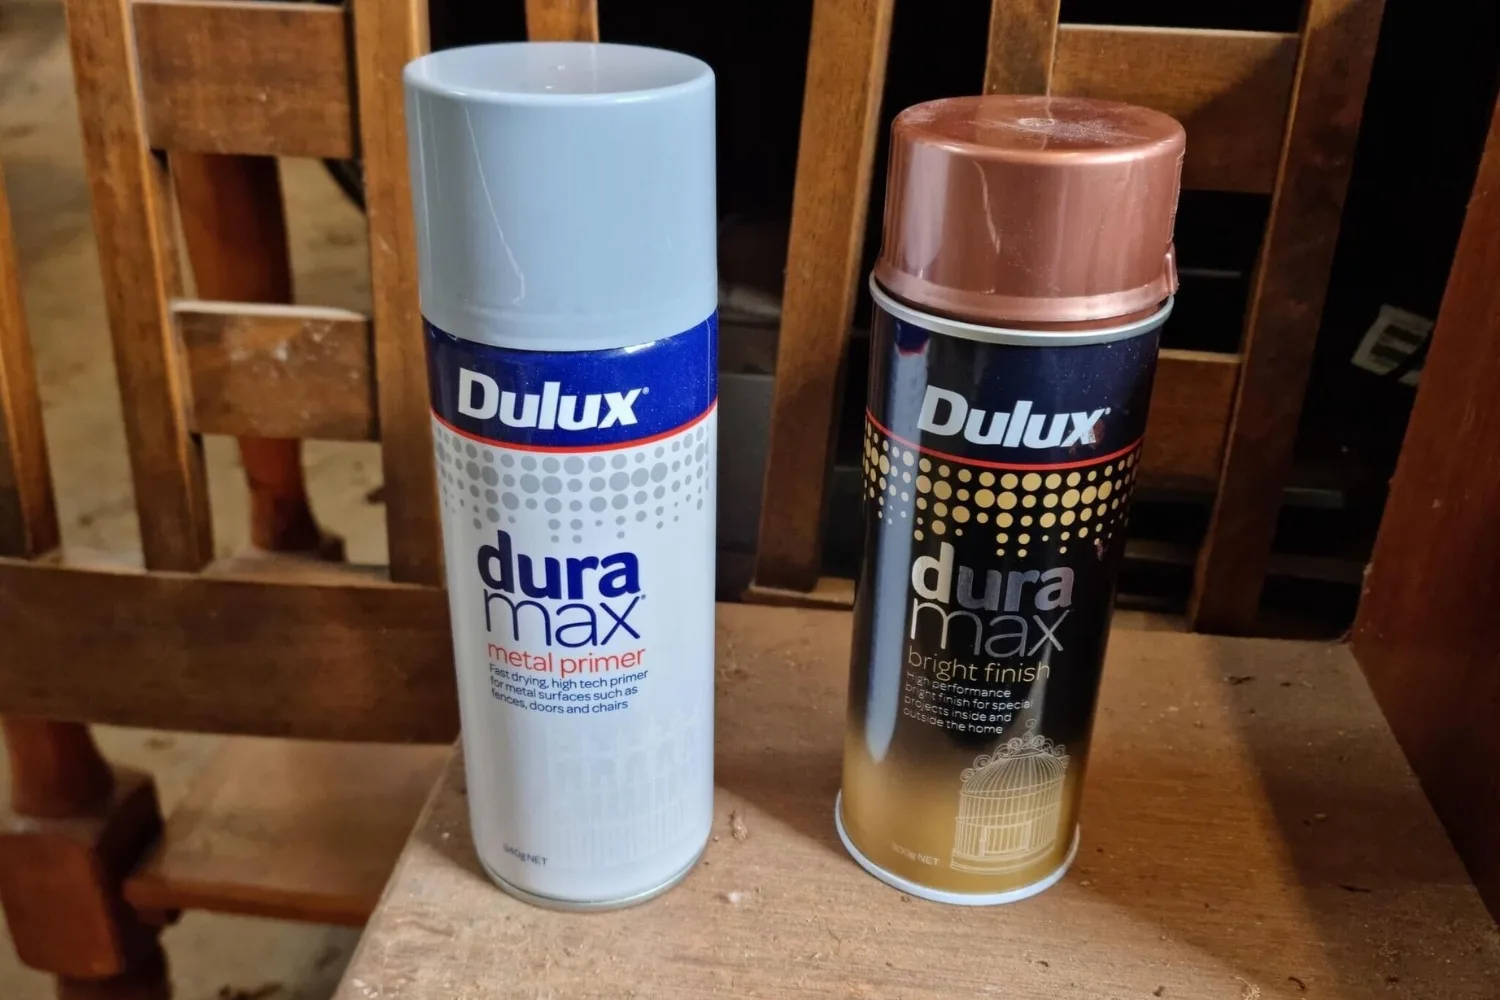
“For the lower cupboards, I bought T-bar handles from Bunnings and sprayed them with one coat of Duramax metal primer, followed by two coats of Duramax Bright Copper Rose Spray Paint.”
“I waited at least 48 hours before attaching them to the cupboards to allow curing time”. Liesel says.
Tips for this Bunnings Kitchen cupboards makeover
If you’re keen to update your kitchen cabinets without spending a fortune, this hack could be a good option. And Liesel has shared some tips for those wanting to attempt this simple and easy DIY.
- Use a degreaser to thoroughly clean existing handles before applying primer or paint
- Use a drop cloth and spray the handles outside.
- Do the spraying in batches so you can still open one side of a cupboard and access a few drawers.
- Allow at least 48 hours for curing, as the paint will show fingerprints if you use it too soon.
- Add a protective top coat. I didn’t do this on the first few, and when the handles got wet, some of the copper paint came off.
- If you are replacing existing handles, make sure you choose handles that will fit the existing drilled holes (measure carefully).
Budget breakdown for DIY kitchen handles (updated 2026)
When we first reported on this clever kitchen handle makeover in 2023, the total cost was around $7.49 per handle. That’s $50.50 less than what Liesel would have paid for the original handles she had wanted to buy!
While the cost of living has affected many items, fortunately, there were only minor changes when we checked prices in July 2025.
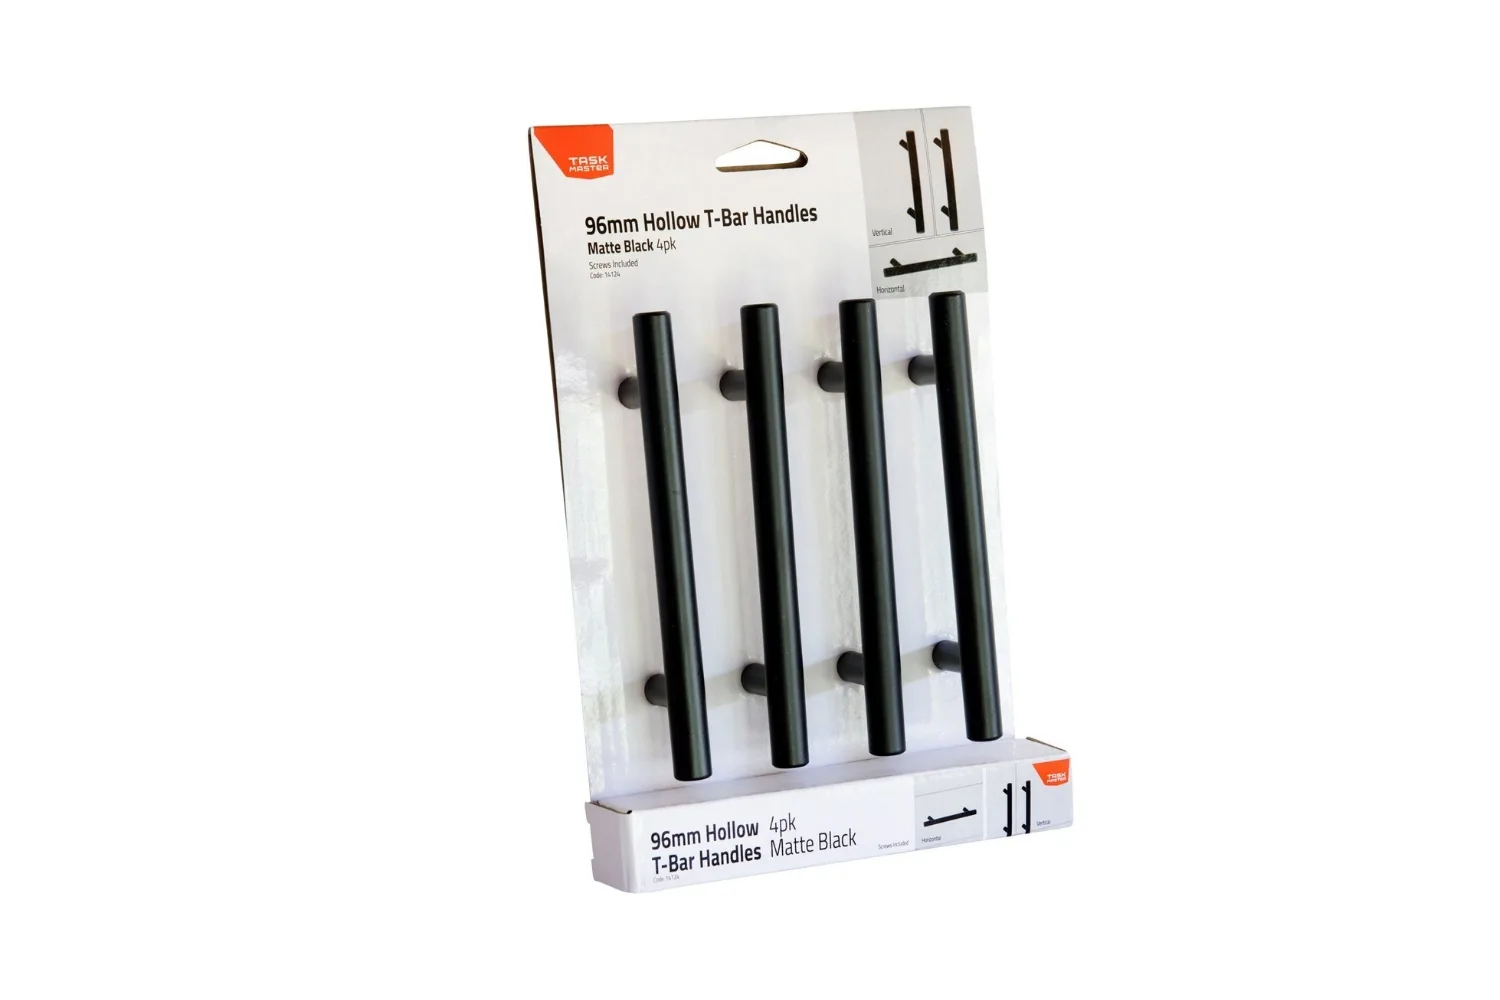
- Taskmaster 96mm Matte Black Hollow T Handle, $9.81 for a 4 pack x 2
- Dulux 300g Duramax Bright Copper Rose Spray Paint: $27.50
- Dulux Duramax 340g Flat Metal Primer: $18.90
19.62 + 27.50 + 18.90 = 66.02 (total cost for all supplies)
So, even though the kitchen can be the most expensive part of a home to renovate, this hack shows you can update it without breaking the bank. If you’ve got bigger changes in mind, you could also check out this gorgeous, cheap kitchen renovation for more inspiration.


