
Finding time to chop, slice and dice all your vegies and meat on a weeknight can truly be an effort. Since our food editor, Sarah Murphy, is all about convenience, she’s tapped into the popular ‘dump bag’ trend that’s taking over on social media.
Prep a few vegetables and cuts of meat ahead of time, freeze and then dump them into your casserole dish or slow cooker when you’re ready. Here’s how to maximise time and save hours of cooking with dump bags.
KEY TAKEAWAYS
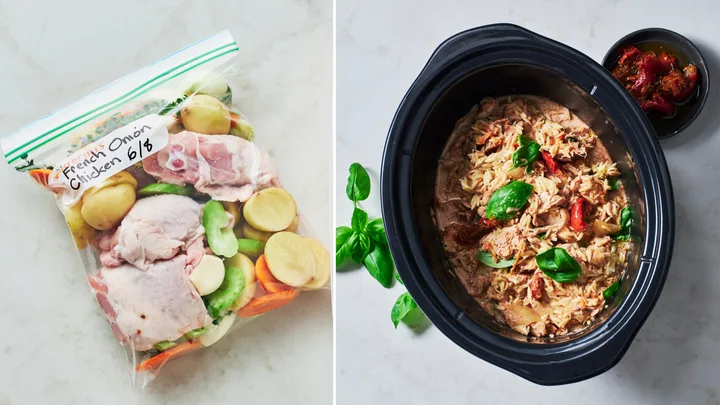
- A ‘dump bag’ is a large bag into which prepared vegetables and sliced meat are placed. It lives in the freezer until ready to ‘dump’ into a pot or slow cooker.
- We recommend using dump bags for slow cooking recipes, homemade stock and one-pot recipes.
- Food safety guidelines include using airtight containers or bags, and ensuring the date of prep is listed.
Putting together dump bags that actually work
The dump bag process is simple. Make your prep bag, keep it in the freezer and dump it out into your slow cooker or tray when ready to use. But there are a few expert tips to make sure you have a tip-top dinner every time.
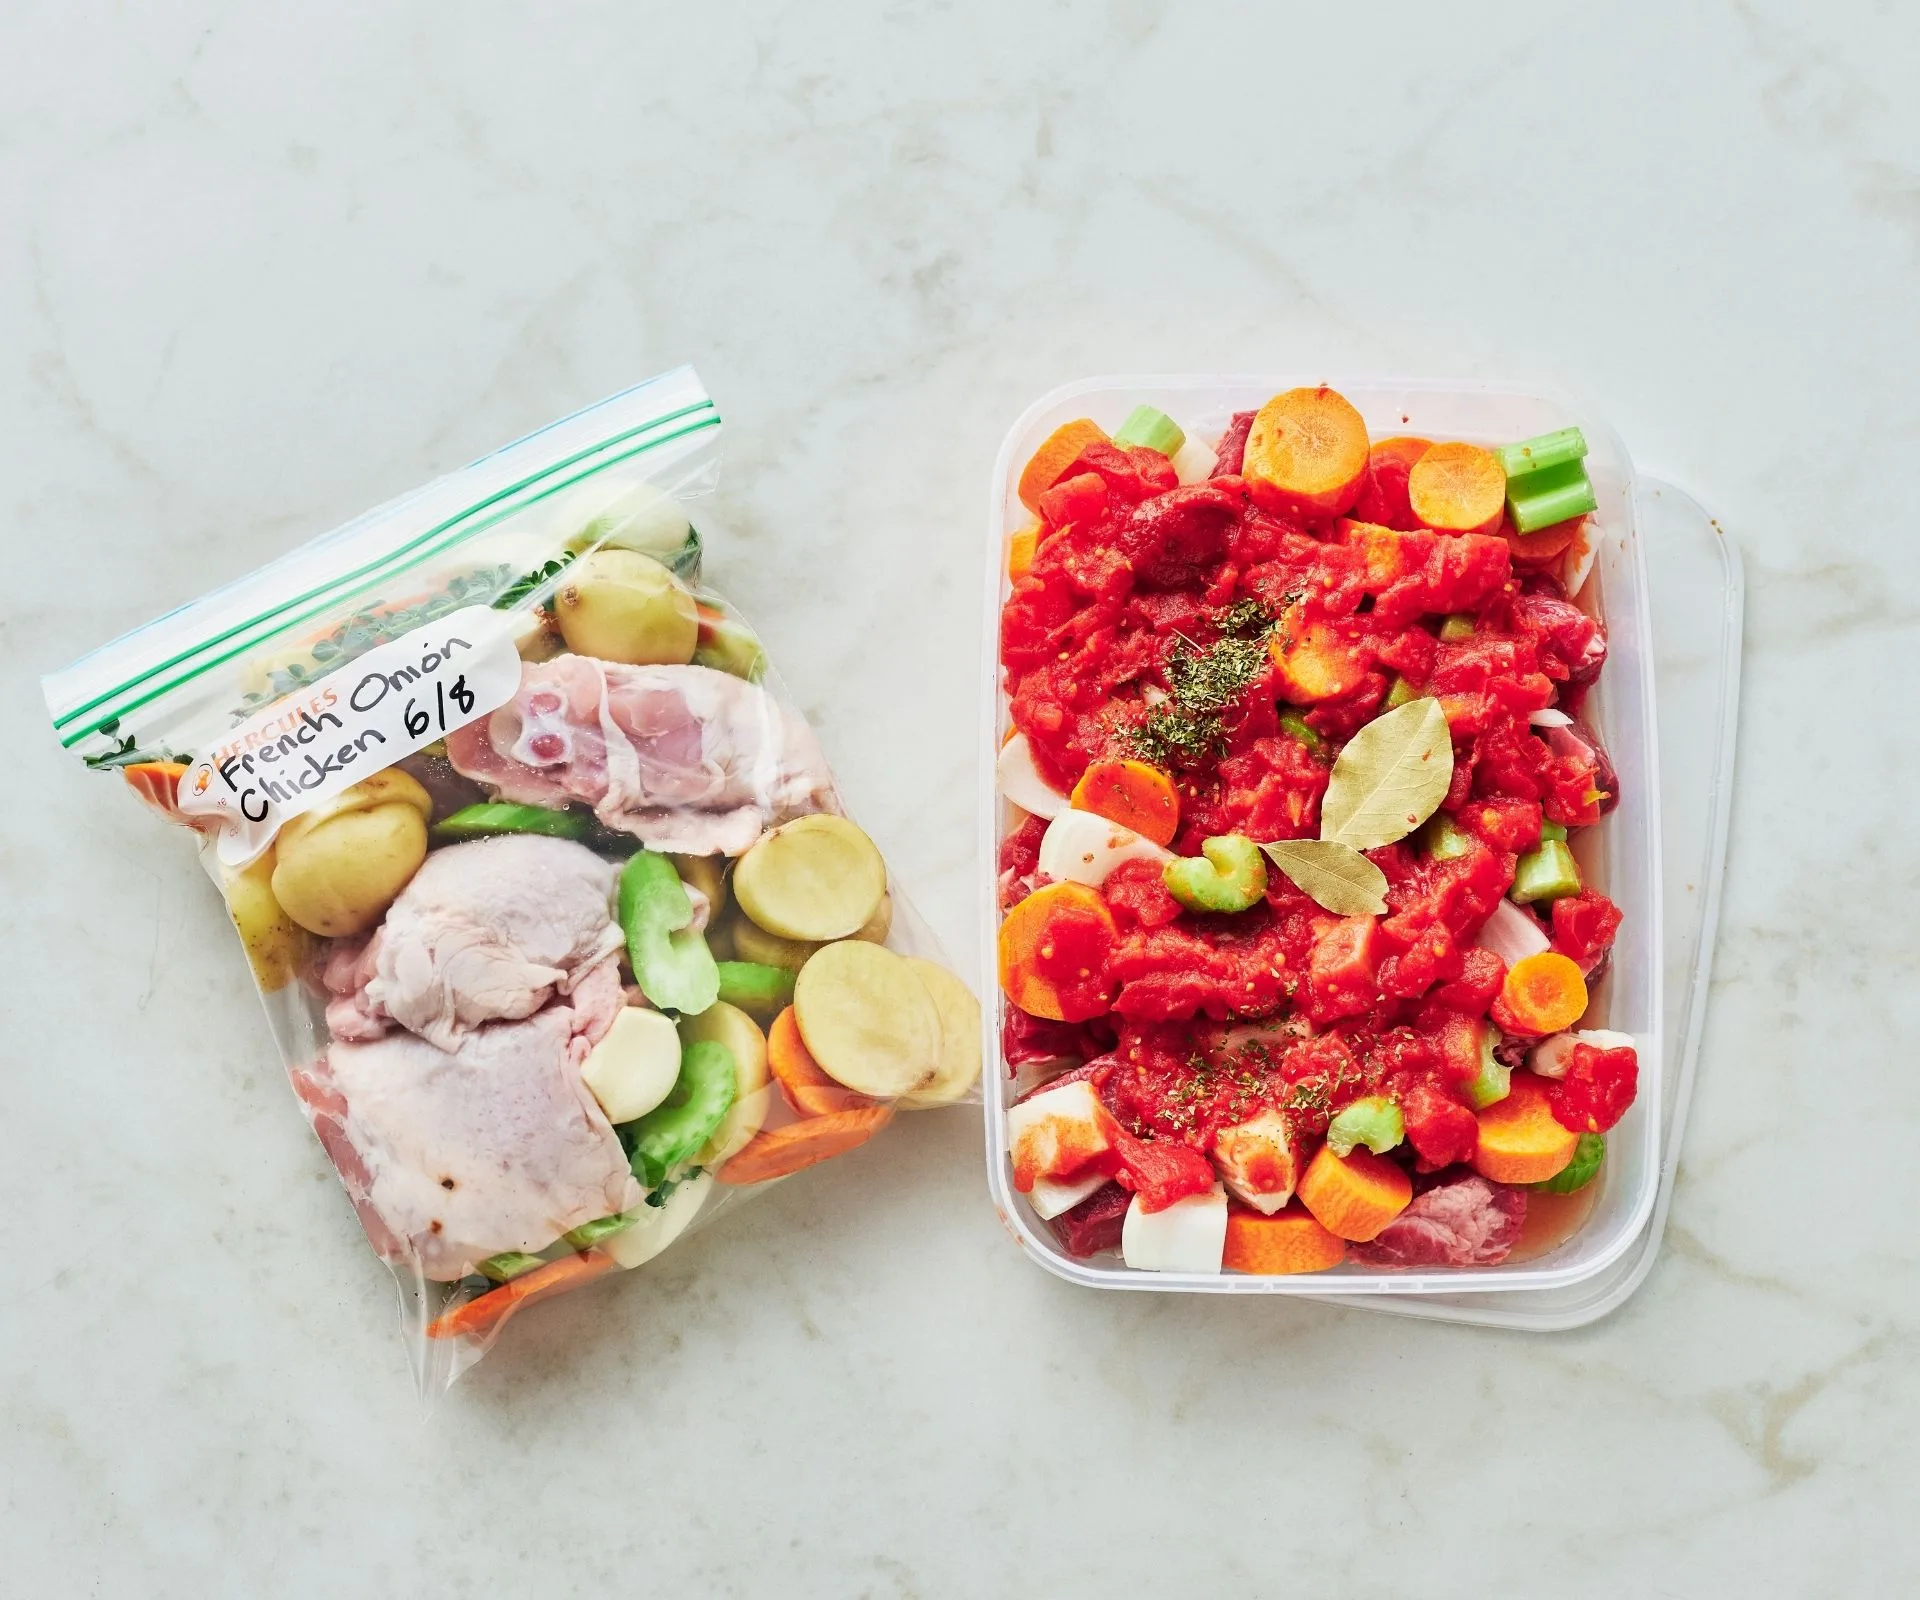
1. Prep in advance is required
Dump bags only work if you set out time in advance to prep them. A spare Sunday afternoon or a Friday night with nothing better to do is the ideal time to chop up vegies and meat in bulk, measure out your wet ingredients, and pack them all up to go in the freezer.
For slow cooker recipes, Sarah says to use the ingredients that are added at the very start of the recipe to your dump bag. Adding in stock is optional, but it can be tricky to seal the bag with lots of liquid. At cooking time, throw your dump bag in with the stock. For one-pot or traybake recipes, the same should apply.
Most recipes don’t recommend starting from frozen. Instead, take out your dump bag from the freezer the night before and thaw in the fridge overnight.
2. Some ingredients shouldn’t be frozen
The ingredients that are added throughout the cook, don’t need much time to cook or are a garnish should not be included in your dump bag. This includes:
- Soft vegetables
- Dry ingredients including cornstarch, flour, rice, grains or pasta
- Dairy products including cream, milk and cheese
- Egg or egg-based mixtures
- Soft herbs that are a topping
These ingredients usually don’t freeze well, and may mean your dinner turns out soggy, a bit mushy or even icy.
3. Airtight containers and bags are a must
Single-use plastic bags are often used for dump bags, but reusable alternatives work just as well and create less waste. Look for large reusable silicone bags, or wide and shallow, freezer-safe airtight containers (shallow containers will defrost more evenly).
The best recipes for dump bag prep
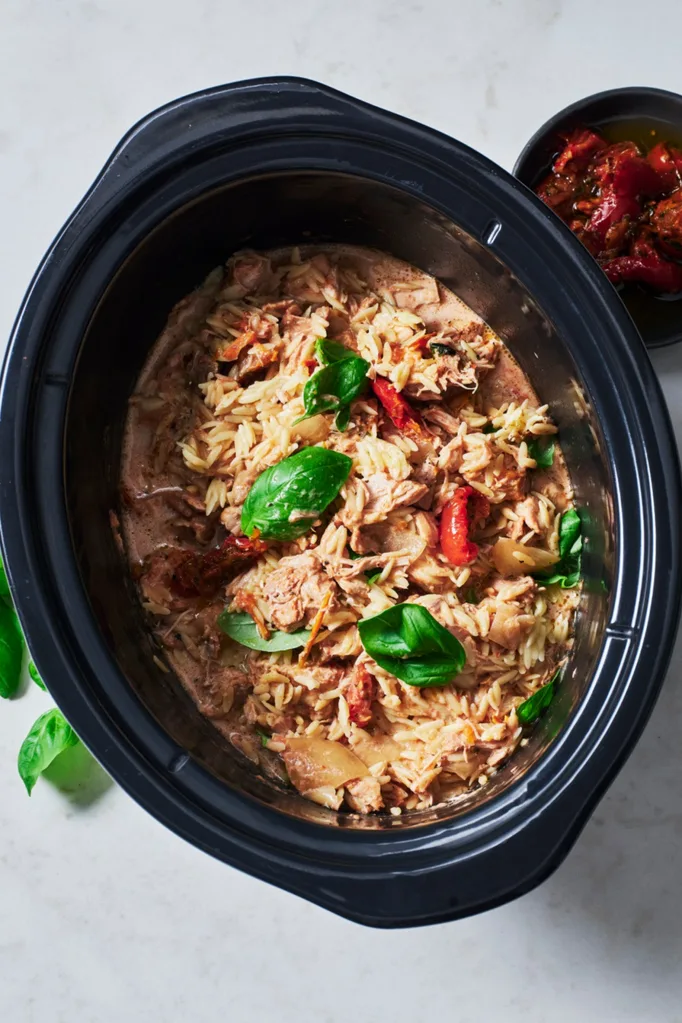
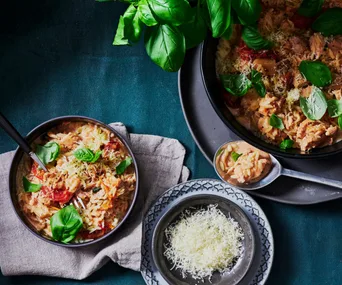
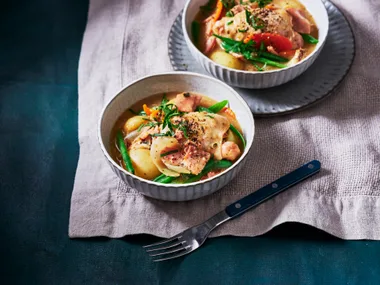
The best recipes for dump bags are slow cooker or slow cooking recipes, but many one-pot options work well too. Try one of the recipes below for your next dump bag.
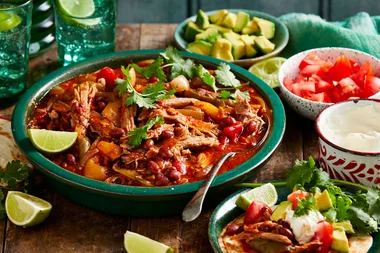
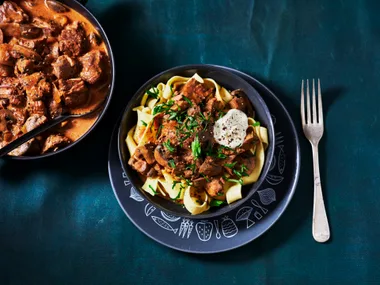
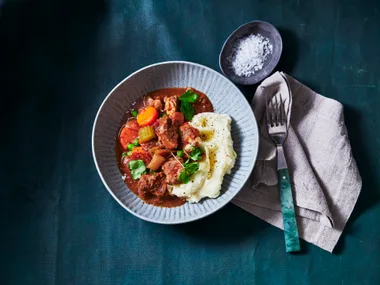
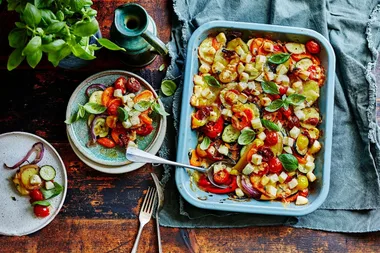
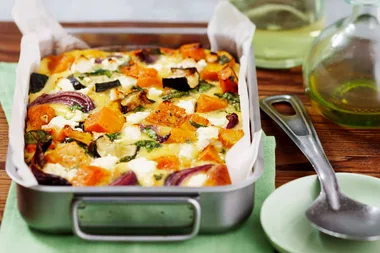
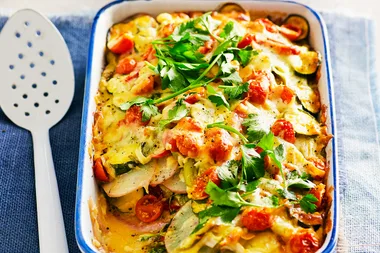
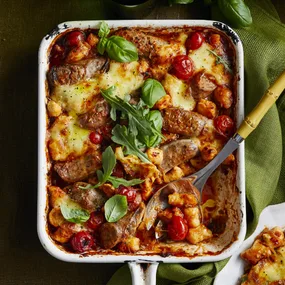
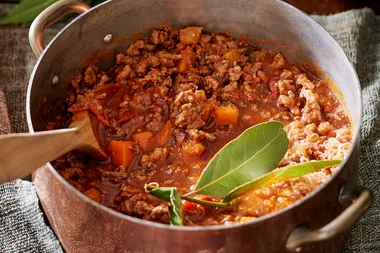
The dump bag hack also works well for storing veg and meat scraps for making homemade stock. Keep everything together in the freezer until the bag is full, and then it’s time to make stock!
Make sure to label everything
Whatever you use, labelling everything is key. Sarah recommends putting the recipe name, date and cook time on the front of the bag or container lid. When you’re ready to cook, you’ll have all the information you need to get started.
Having the date of prep is also helpful to work out how long something has been in the freezer. Sydney Local Health District times storage in the freezer by type of food:
- Beef, lamb and chicken mince: 3 months
- Pork mince: 2 months
- Chicken pieces: 6 months
- Whole chicken: 12 months
- Beef steak and roasts: 6 months
- Lamb and pork cuts and roasts: 3-6 months
- Fruit and vegetables: 8 months
Keep this in mind when you are creating your dump bags, especially when there is meat involved.


Related stories
Native ad body.
Native ad body.


Native ad body.