

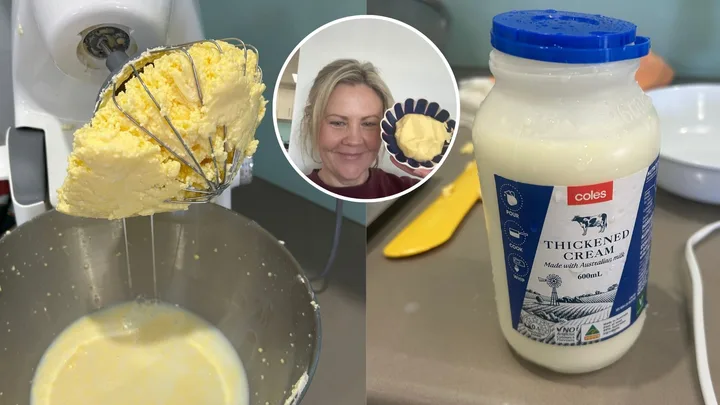
A quick scroll through Instagram suggests that, in addition to making our own bread, we’re now making butter too.
So of course I dived in headfirst without reading any recipes to see what all the fuss is about. The most surprising part was what happened when I weighed the butter and worked out how much it had actually cost me to make.
Update: After publishing this story, dozens of readers told me I’d used a lower-fat cream than they would normally choose for homemade butter. Here’s what I learnt from their feedback.
KEY TAKEAWAYS
- Actual time: 44 minutes
- Cream cost: $10.40
- Butter made: 456g
- Homemade cost: $2.28 per 100g
- Store-bought Buttersoft: $2.83 per 100g
- Saving: About 19%
- Bonus: Around 600ml of buttermilk
- Worth knowing: Buy cream on special, and the numbers get even better
I tried making butter from supermarket cream
Very excited to get started, I bought two 600ml cartons of Coles cream for $10.40. I wanted to compare the finished result with Buttersoft, the butter I usually buy, which costs $10.60 for 375g.
Thinking the process would take about 10 minutes, I poured the cream into my Kenwood stand mixer, set it to speed 3 and waited.
At nine minutes, I still had cream.
I gradually increased the speed, but learnt you can’t crank a mixer full of cream up too early, unless you want it to go flying everywhere.
At 24 minutes, it was finally getting thicker, so I increased the mixer to speed 5. This was also around the point where I started questioning my life choices and messaged my team to ask what I’d done wrong.
Jade Coull, who had made butter before, reassured me I hadn’t done anything wrong. Rachel Iorfino agreed, saying there’s really only one direction this cream can go in. So I kept going.
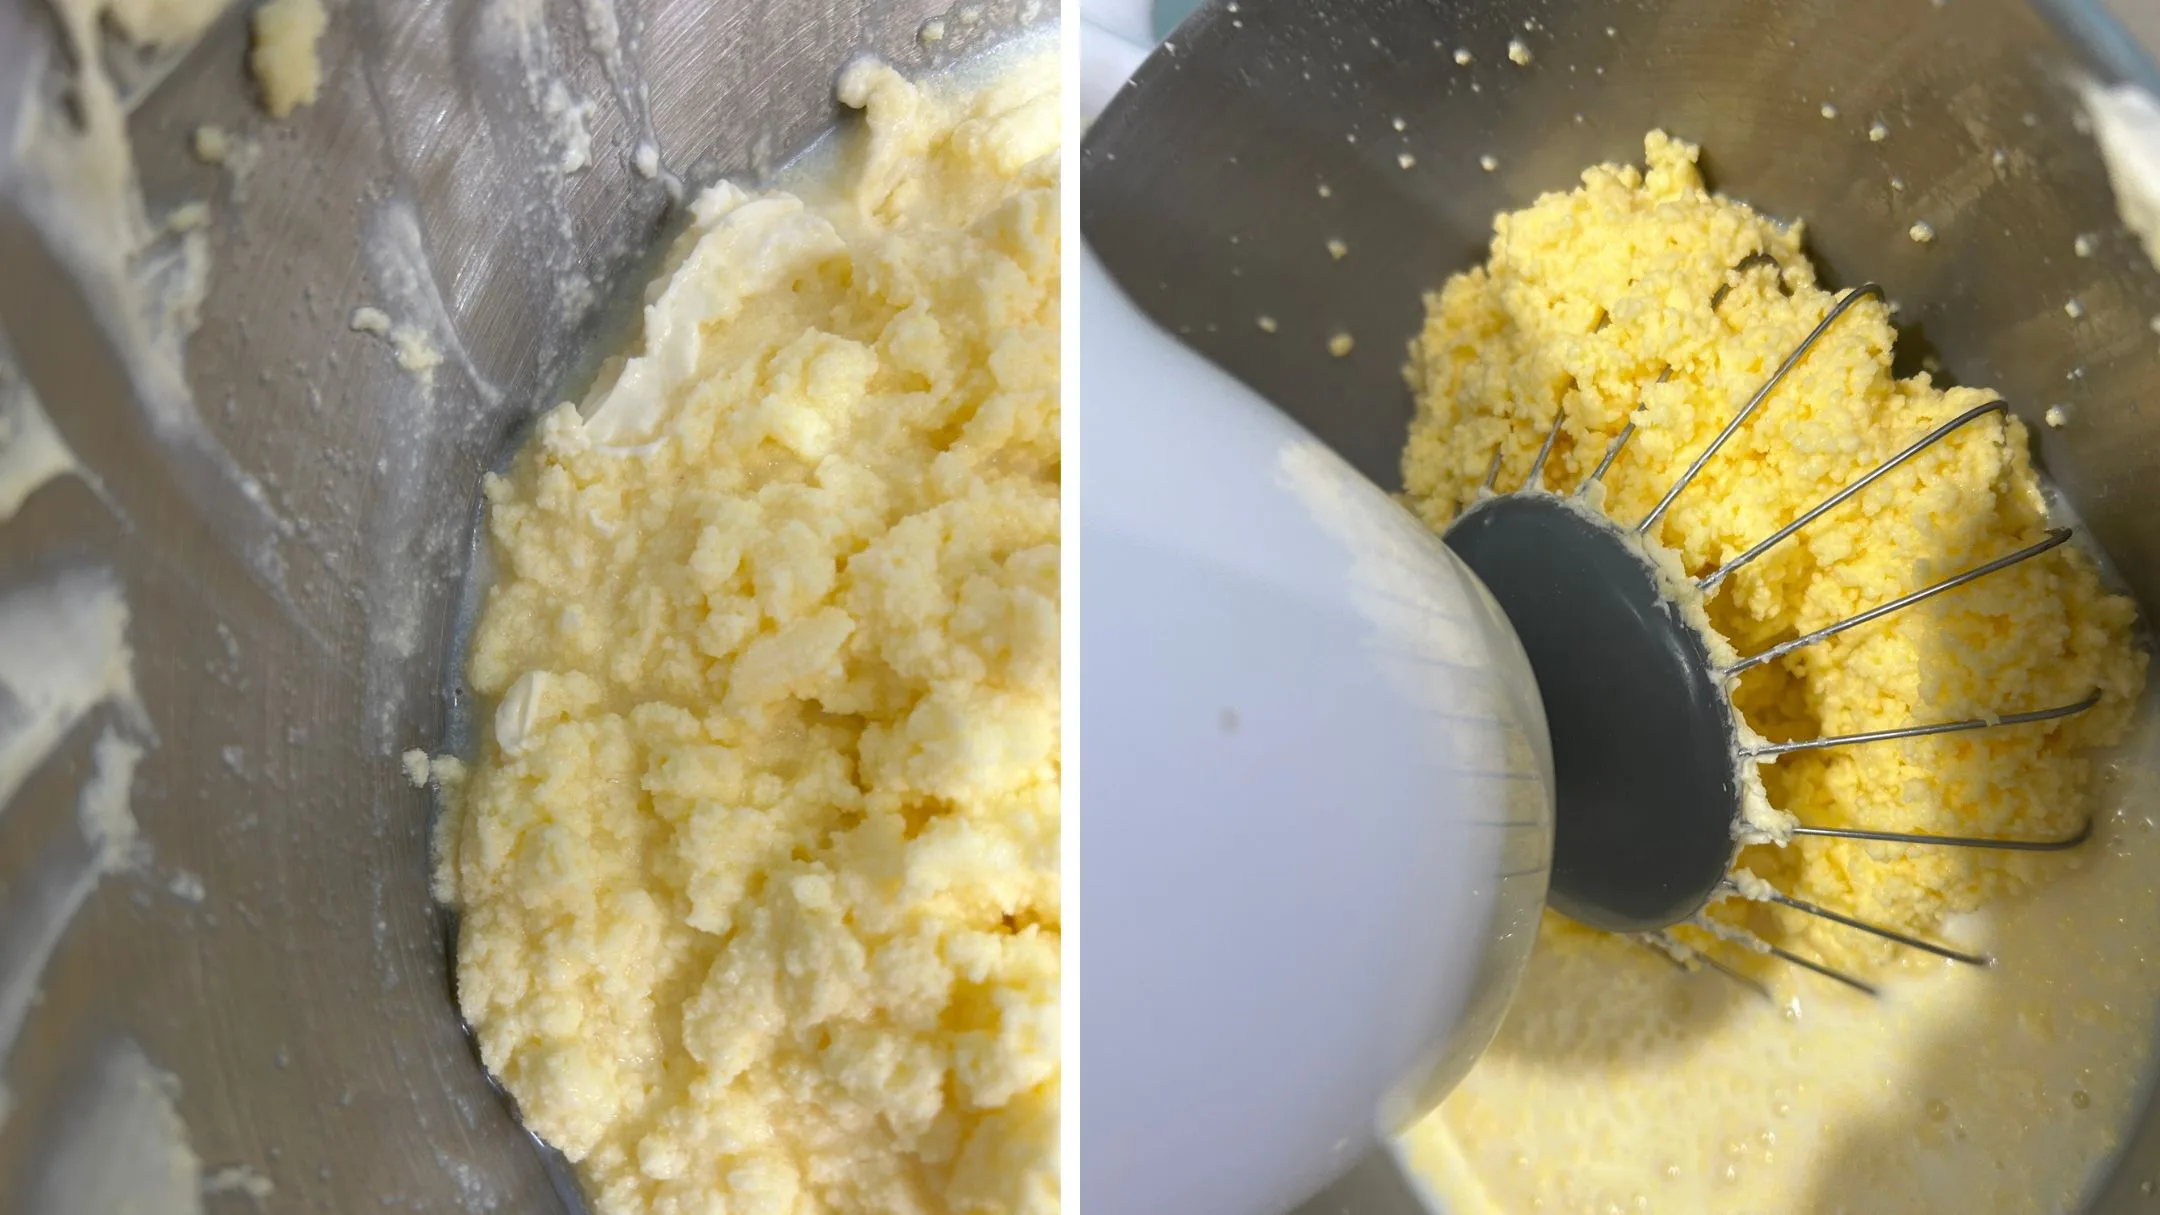
Here’s what happened next:
- 32 minutes: Small lumps started to appear.
- 34 minutes: It was thick enough to mix at full speed without splashing everywhere, but looked more like cake batter than butter.
- 37 minutes: The texture started to resemble cottage cheese.
- 40 minutes: It looked alarmingly like scrambled eggs.
- 44 minutes: The fat and buttermilk finally separated.
So, for this batch at least, making butter took 44 minutes. This surprised me, as a couple of recipes I read said 10 minutes. In my case, I had too much cream in my mixer. I think if I had halved the cream, I could have cranked the speed without it going everywhere. That said, Jade agrees, saying butter took her a lot longer than the recipes say.
How to wash homemade butter
Once the butter finally separated, the rest was pretty straightforward.
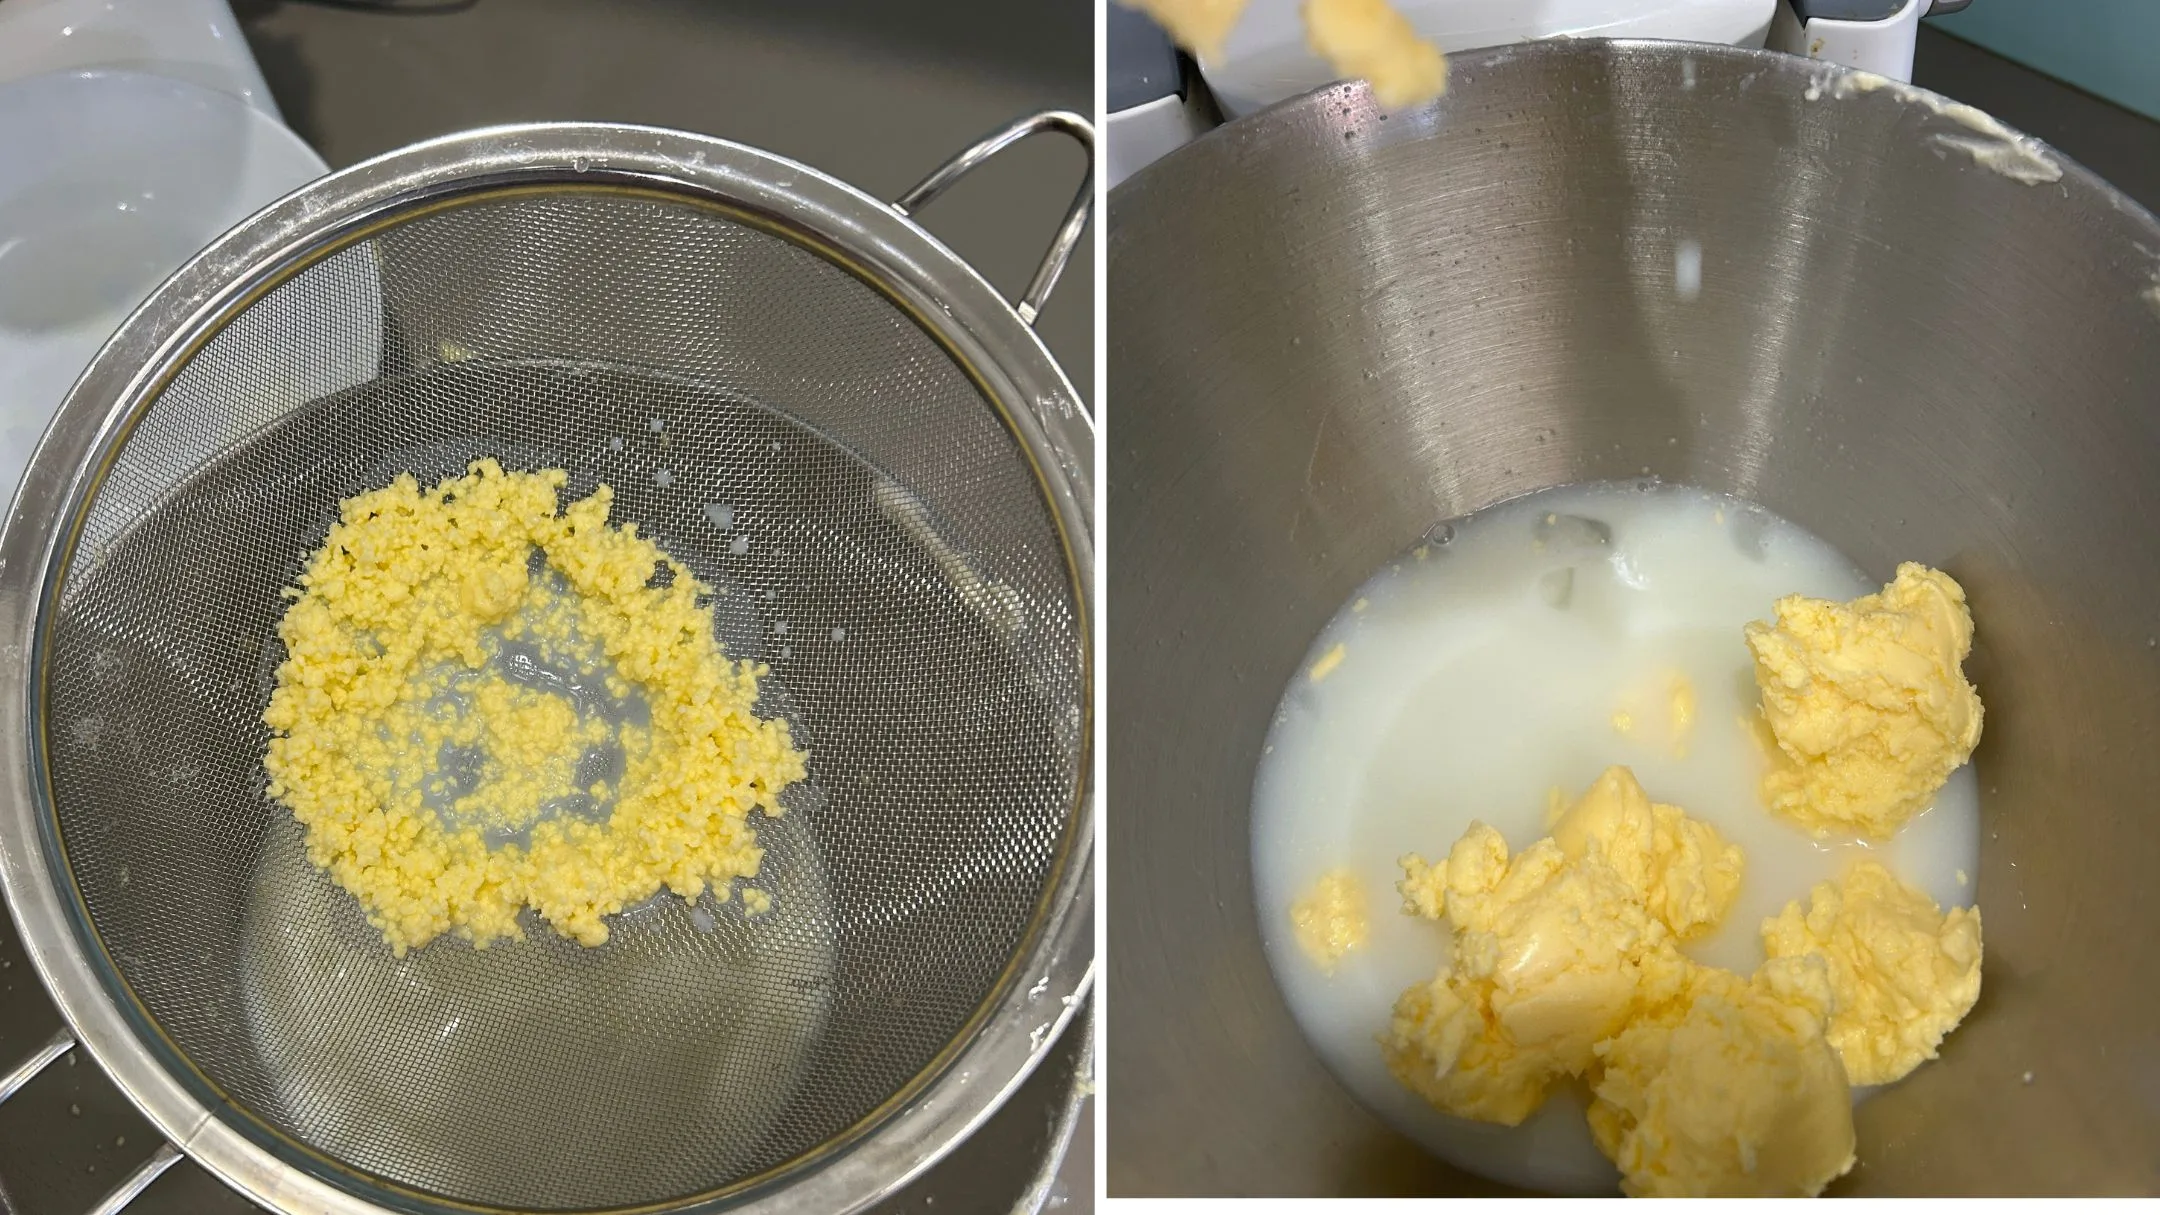
First, I strained off the buttermilk. I ended up with roughly 600ml, which I kept and used to make pancakes the following morning.
Next, I returned the butter solids to the bowl, added very cold water and mixed briefly to rinse away the remaining buttermilk. I tipped out the cloudy water and repeated the process until it ran clear. Mine took about three rinses.
Then I squeezed out as much water as I could by hand and kneaded in some salt.
After all that, my two 600ml cartons of cream had produced 456g of butter.
Homemade butter vs Buttersoft: the taste test
The homemade butter looked like butter, but did it taste like the butter I usually buy?
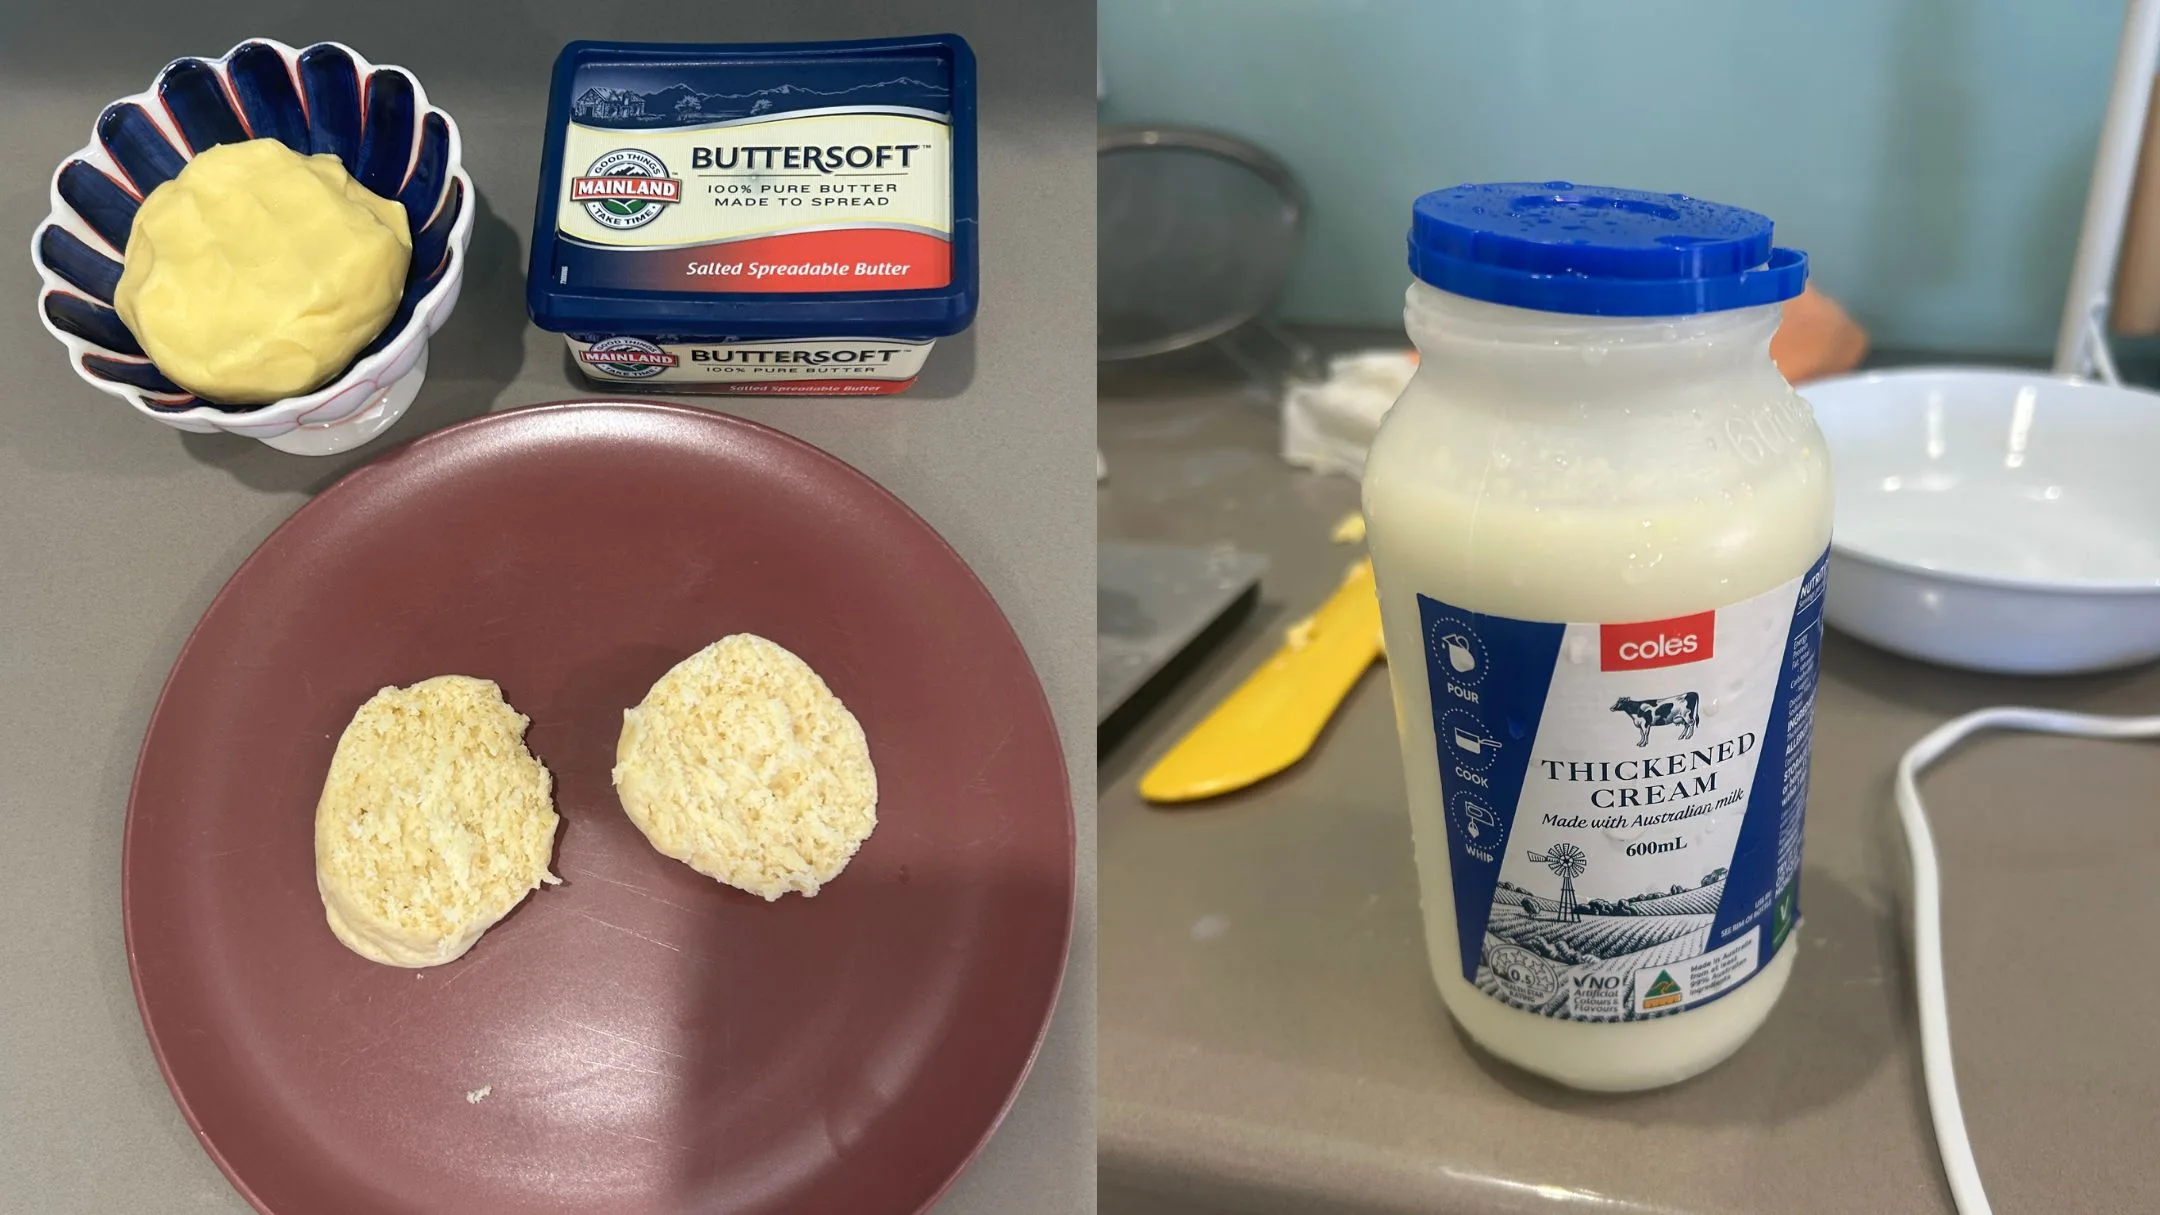
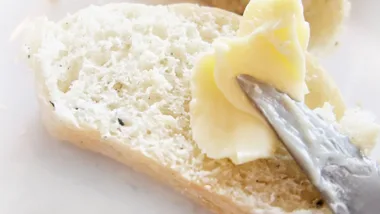
I tried both on half a scone. The good news: my homemade version tasted exactly like Buttersoft but with a lot less salt. An easy fix.
The next day, the texture also differed. Straight from the fridge, my butter was firmer than Buttersoft, although I could still spread it without destroying the bread underneath.
Once properly salted, I’d happily eat the homemade version. Buttersoft still had the edge when it came to being consistently spreadable straight from the fridge.
I may have used the wrong cream
After publishing this story on Facebook, I went to the comments section. One piece of feedback came up again and again. Many readers believed I used the wrong cream. Instead of thickened cream, I should have used pure pouring cream. And they’re probably right.
Comments ranged from “Use PURE POURING CREAM, not thickened cream!” to “Pure cream is your friend when making butter”, and several readers suggested a higher-fat cream would separate faster and potentially produce a better yield.
In saying that, plenty of readers reported making butter with thickened cream, with one saying, “We used thickened cream at room temperature, and it made delicious butter,” while another wrote, “I use thickened cream to make my butter when marked down.”
But pouring cream appears to be the cream of choice for people who regularly make butter. My cream choice might also explain why my batch took 44 minutes, while many recipes say it should take 10 minutes when using pure cream, food processors, or Thermomix machines.
Is it cheaper to make your own butter?
This was the part that surprised me. The two cartons of cream cost me $10.40 and produced 456g of butter. That works out to about $2.28 per 100g. The Buttersoft I normally buy costs $10.60 for 375g, or about $2.83 per 100g. So based on those numbers, my homemade butter was around 19% cheaper.
When I asked the Better Homes and Gardens Facebook community whether making butter at home was worth it, this came up repeatedly. Several people said they make butter when they find discounted cream rather than buying cream specifically for the job at full price.
As one commenter explained, “When cream is marked down, I buy it and turn it into butter (and buttermilk) in a few minutes in my Thermomix. Keep it natural, add a small amount of light olive oil to make it spreadable, salt for salted, garlic and herbs for garlic bread. Options are endless, and it saves so much $ and no other nasties added. It’s a winner every time.
Another added: “I don’t do it regularly. I buy cream and hate it going off, so before it’s time, I put it in the freezer and buy fresh. When I see lots in the freezer, I thaw it and whip it into butter, adding a little salt. It is a little paler in colour but just the same as shop-bought.”
My experience doesn’t mean homemade butter will always be cheaper. It depends on the price of the cream and the butter you’re comparing it with. When compared with Coles Salted Butter, which costs $1.92 per 100g, my homemade butter worked out more expensive at $2.28 per 100g. So using leftover cream or waiting for it to go on special, would be the key to saving money.
Don’t throw away the buttermilk
One unexpected bonus was how much buttermilk I left behind. I ended up with roughly 600ml. I used mine to make pancakes the next morning, and they were delicious.
That liquid left after making butter is called sweet cream or traditional buttermilk, and it isn’t the same as the cultured buttermilk sold at supermarkets. That means it won’t necessarily work as a straight swap in recipes that rely on cultured buttermilk’s acidity.
If you don’t need to use your fresh buttermilk straight away, store it in the fridge for a few days or freeze it in smaller portions for later.
So, is making butter at home worth it?
For me, yes. Not only was it cheaper, but I was quite chuffed with myself after learning something new.
The downside is time. Anyone who says this takes 10 mins hasn’t made butter before. My butter took 44 minutes, plus extra time to wash, squeeze, and salt it.
Would I do it again? Yes absolutely. I’m a butter snob, and butter with simple ingredients isn’t cheap. So if cream is heavily discounted at the supermarket, I would definitely grab it instead of butter. At full price, I’d probably decide based on how much time I had.
Homemade butter FAQs
Some recipes suggest butter can form in around 10 to 15 minutes, but my batch took 44 minutes. The amount and temperature of the cream, its fat content and the mixer you’re using can all affect how long it takes.
My homemade butter cost about $2.28 per 100g, compared with $2.83 per 100g for the Buttersoft I buy. So it depends on the price of the cream and the butter you usually buy.
Regular thickened or whipping cream with around 35% milk fat can be used to make butter. Higher-fat cream may separate more readily.
Yes, washing your fresh homemade butter removes excess buttermilk. Removing all of the buttermilk will extend the shelf life of your butter.

