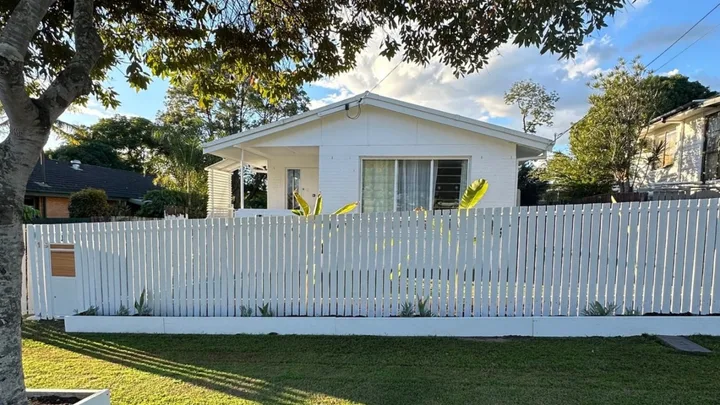
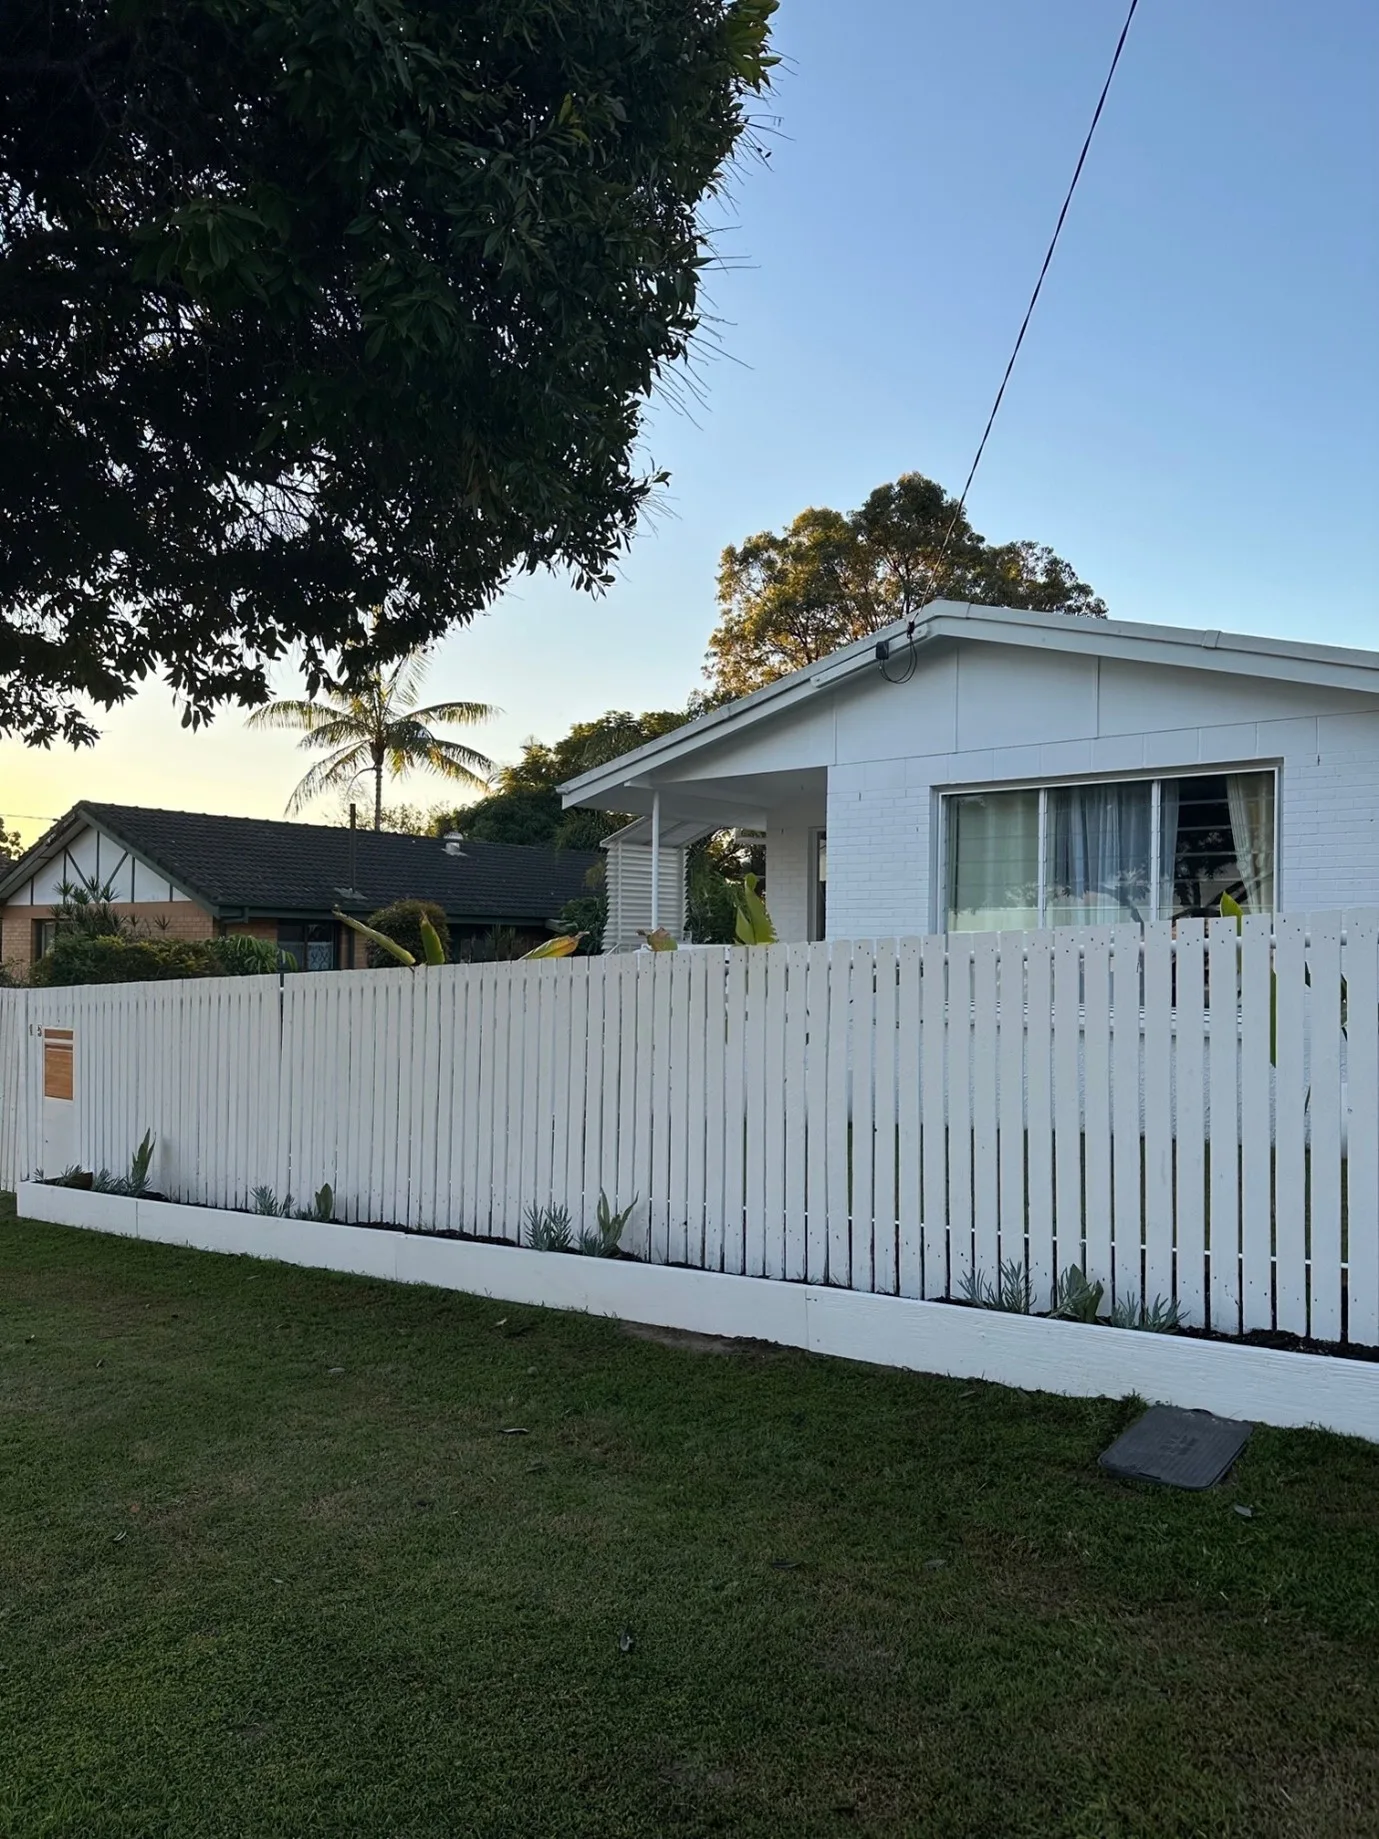
Cheap front fence ideas that actually look good can be hard to come by, but Instagram renovators Amy and Aaron (@casadechen) from Acacia Ridge, QLD have pulled off the impossible with their resourceful DIY project. The couple, who have been chipping away at renovations of their home for the past two years, were working with a limited budget, so they had to be savvy. All up, this stunning front fence transformation only cost them $67!
The labour of love did take about a week, but that was a small price to pay for the improvement to their home’s kerb appeal. “The feeling of satisfaction when you’re done will be worth it, we promise,” says Amy. Better Homes and Gardens caught up with the couple to find out how they pulled it off!
1. Scour the internet for second-hand goodies
The main part of this DIY is, of course, sourcing a quality fence at a low price. In this case, Amy and Aaron actually spent none of their budget on the fence itself, it was free! After scouring Facebook marketplace for a few weeks, they finally found an old picket fence that fit their front yard measurements and the style they had in mind.
While it did take more time than expected, their advice is to practice patience. As they explained, “Sticking to a budget means rolling up your sleeves and putting in some hard work, so be prepared for the project to take a little longer than usual.” There are so many resources out there on marketplaces and second-hand stores that are great quality, and worth biding your time for.
2. Keep costs low by using what you have
This project only cost Amy and Aaron $67 – which they spent on screws (to secure the fence) and paintbrushes. They kept costs low by scouring Facebook Marketplace for a free fence then using tools, paint and equipment they already owned.
3. Stay true to the style of your house
Whenever you’re retrofitting second-hand items to your home, matching them to the style of your home can be tricky. For Amy and Aaron, the solution was to use leftover house paint, to ensure the fence colour stayed in the same colour palette and blended with the rest of the house’s facade. The colour on the exterior of their house, and their newly installed fence is Lexicon Half – Dulux.
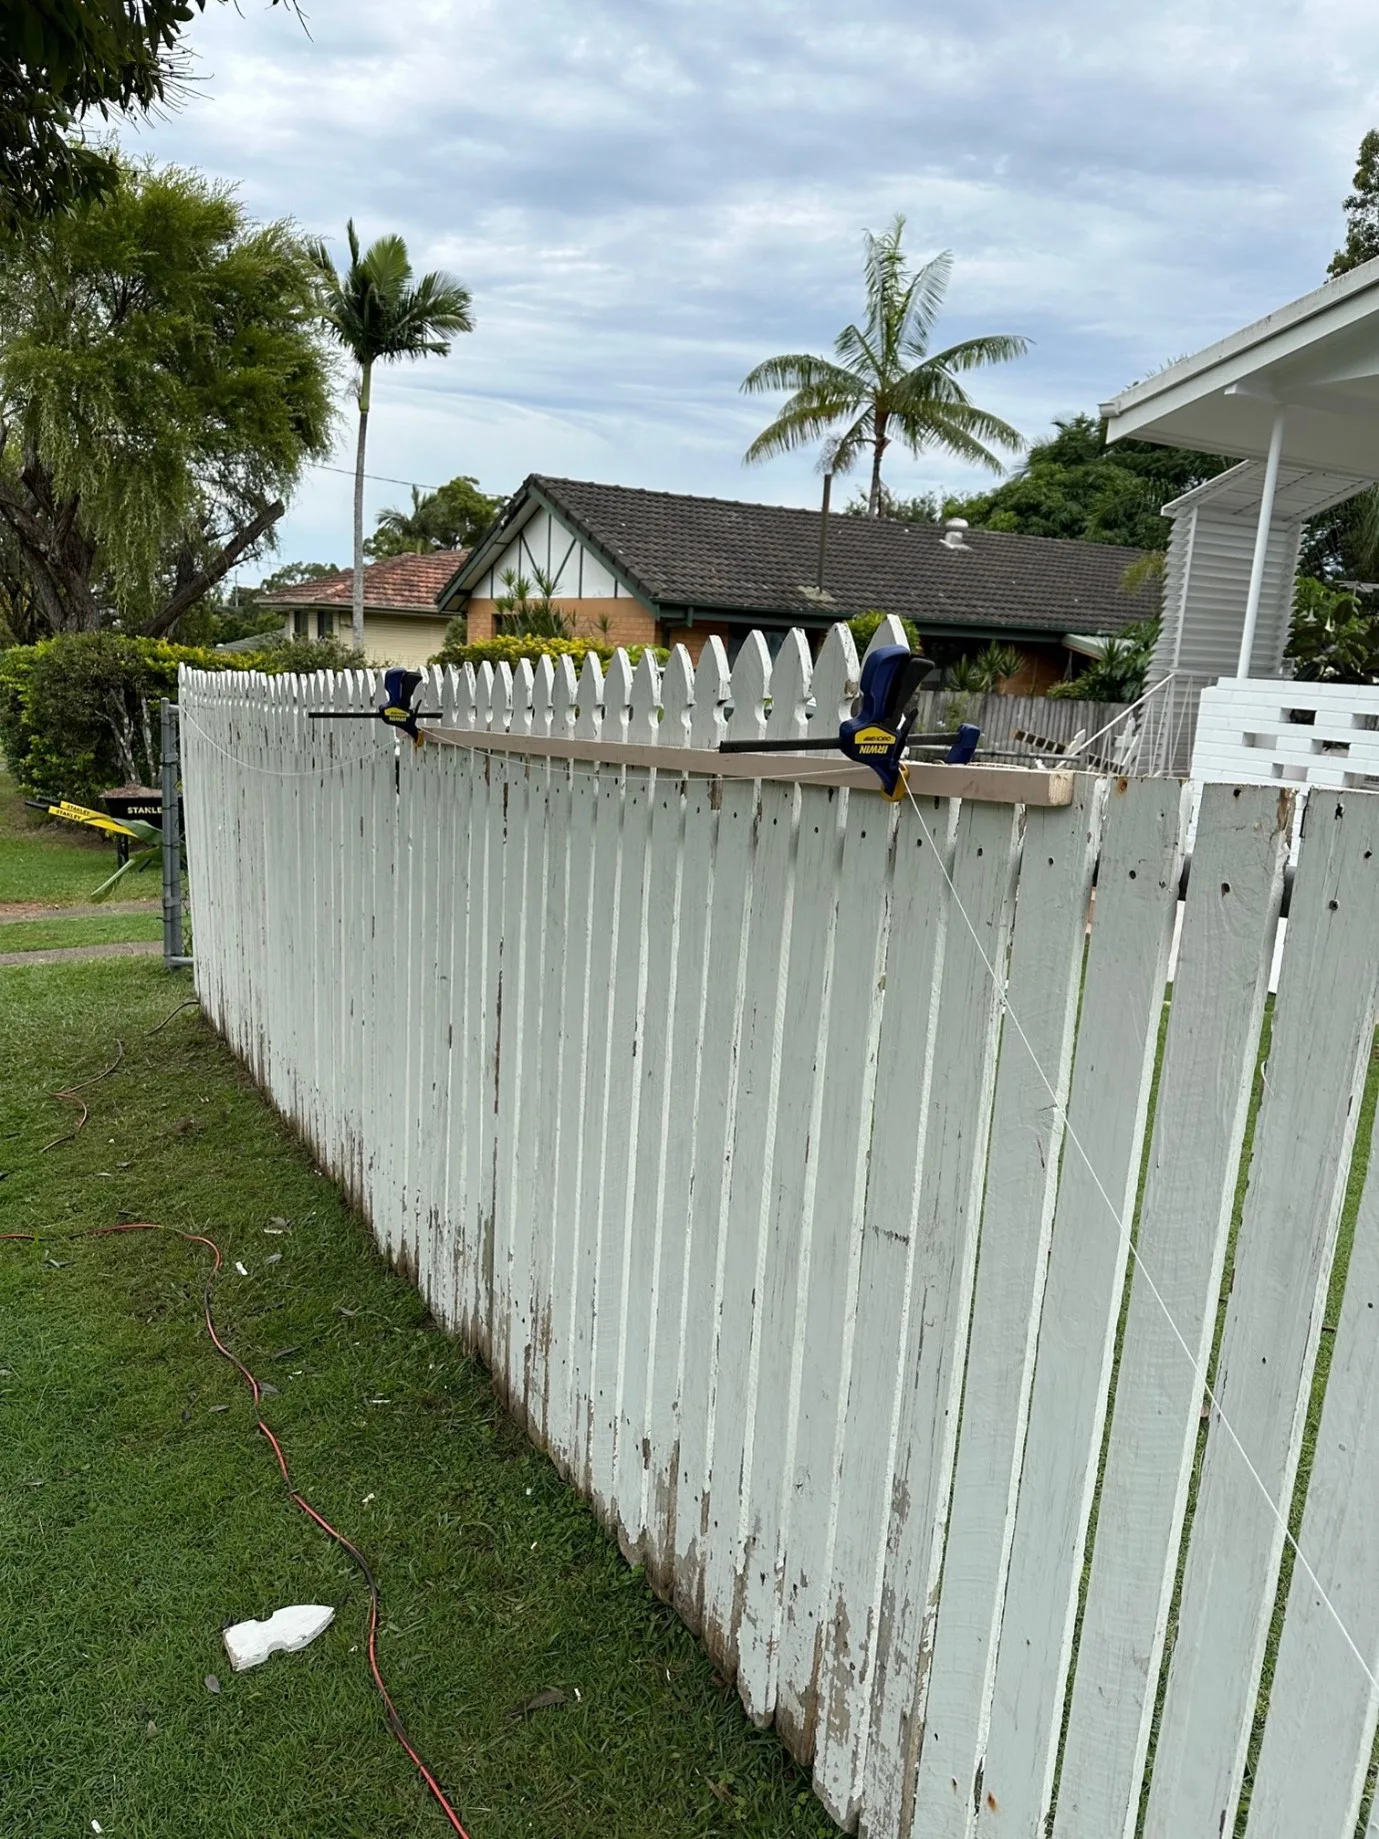
They also squared off the top of the picket fence to give it a more modern, rather than traditional, look.
And, of course, using leftover house paint means you don’t have to spend any extra on buying new paint or spending extra time picking out a new colour!
4. It’ll take longer than you think
Finally, it takes patience to complete a fence installation. Not only did it take this couple a few weeks to source the second-hand fence, but it also took almost a week to complete the DIY.
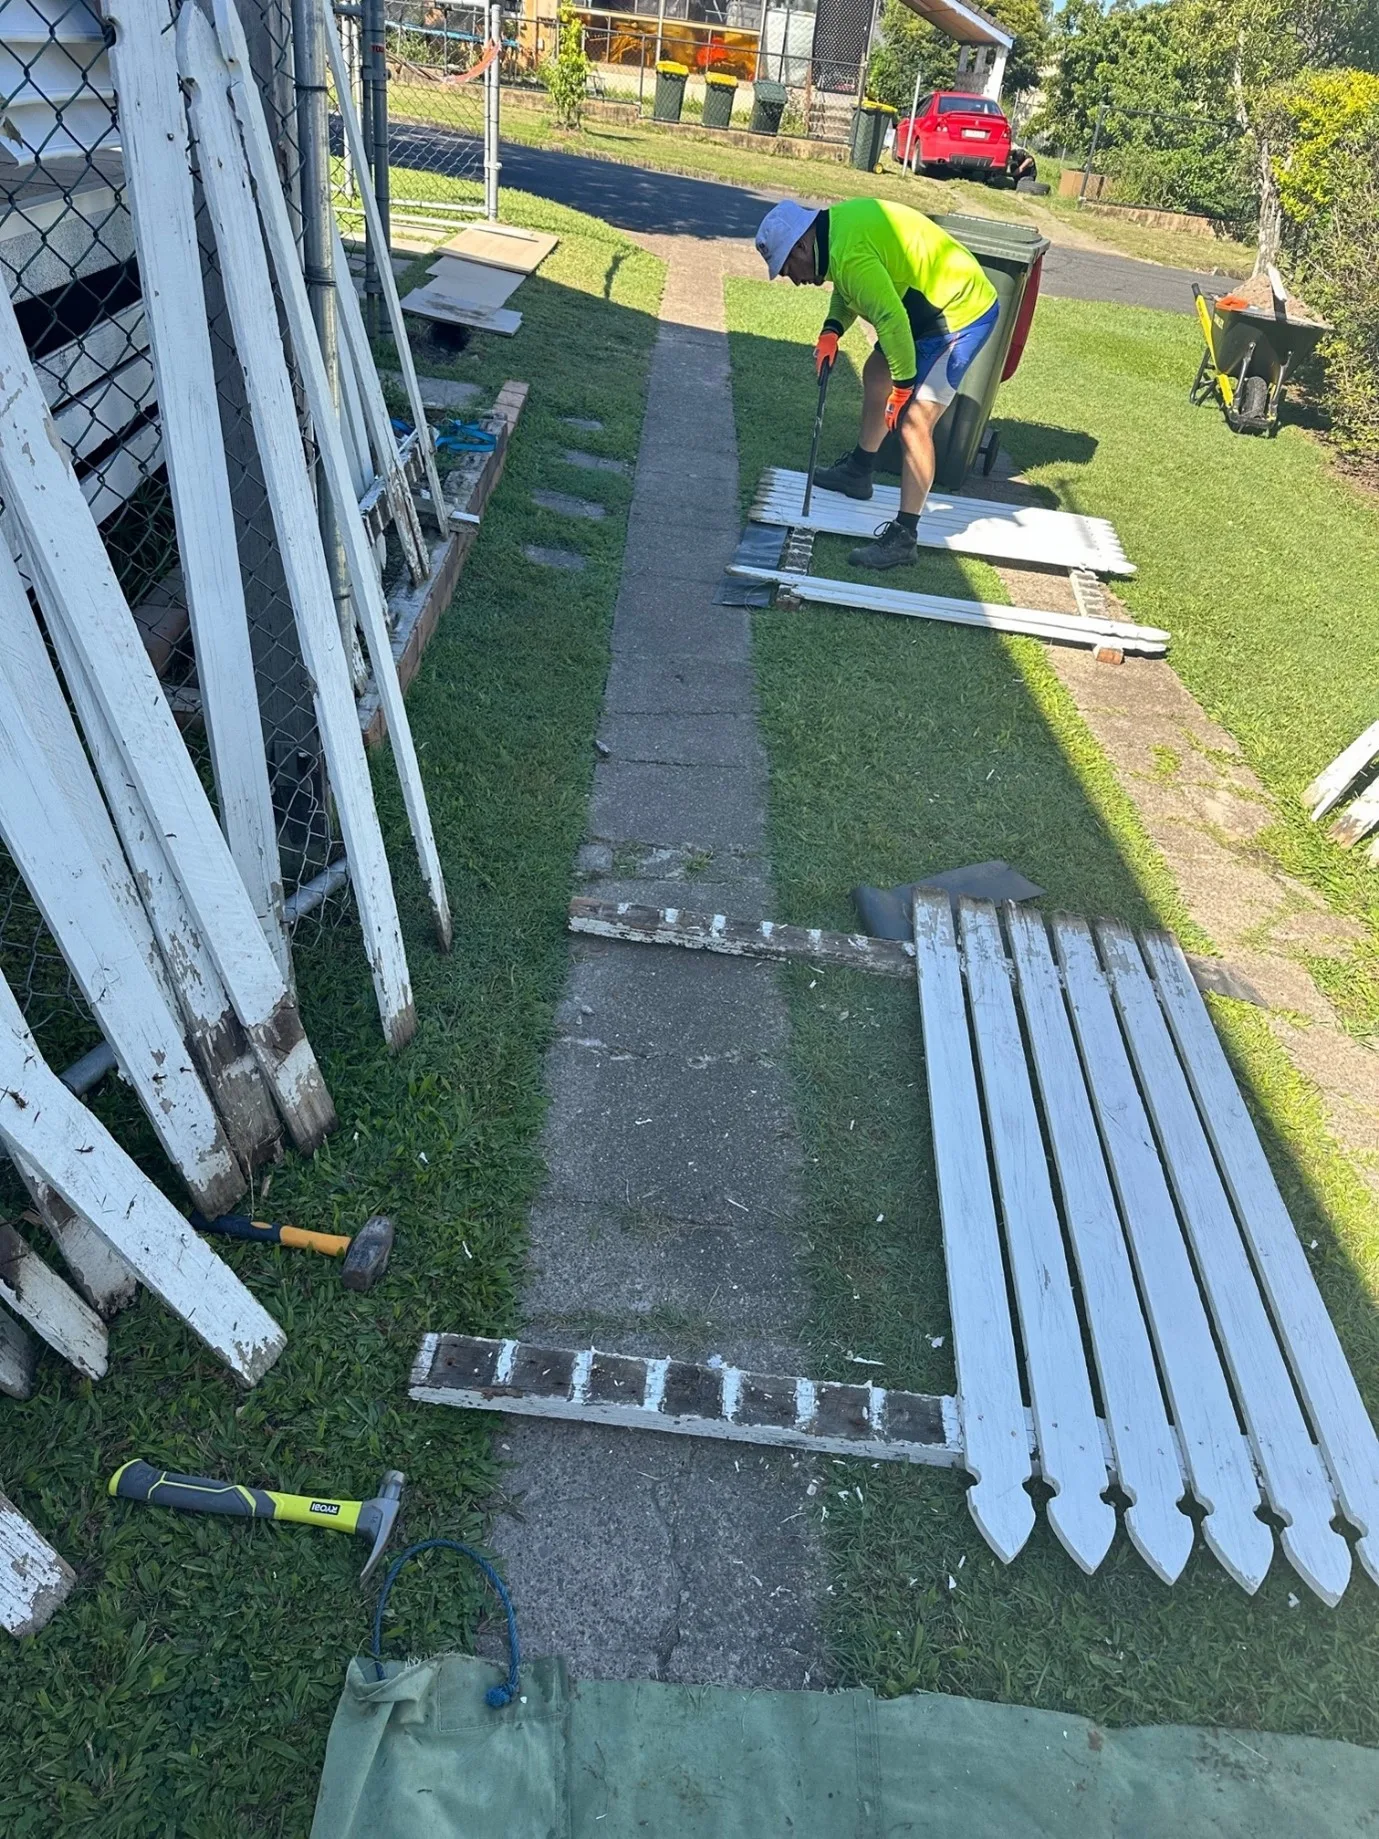
Removing the old fence took an entire day. Taking out the old paling, nails and wire fencing took much longer than expected. To save time, they kept the existing fence frame in place, but even then screwing the new fence in took two days. Once the new fence was secured, it took another two days of sanding, and two days of painting. It’s not a weekend job, but the effort is definitely worth the outcome!
The step-by-step process
Amy and Aaron were kind enough to share their step-by-step process. If you’re wanting to complete a similar DIY, check out the steps below:
- Find free fence on marketplace
- Remove the palings from the old fence, along with any old nails remaining in palings
- Remove wire fence with wire cutters, leaving the existing frame as is
- Fix the palings to the remaining frame, ensuring that they are evenly spaced a part and level. You will need to predrill the holes of the frame with the metal screws.
- Once all palings are fixed, it’s time to sand! You only need to sand enough so that there is texture for the paint to stick to, you don’t need to remove all the paint or make it a smooth surface.
- If the palings have pickets, use a brickies string line to make a straight line and remove them if desired
- It’s time to paint! Do a few coats, until you achieve your desired look

