

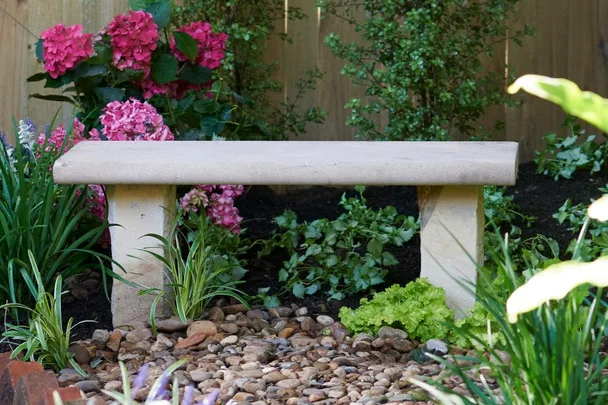
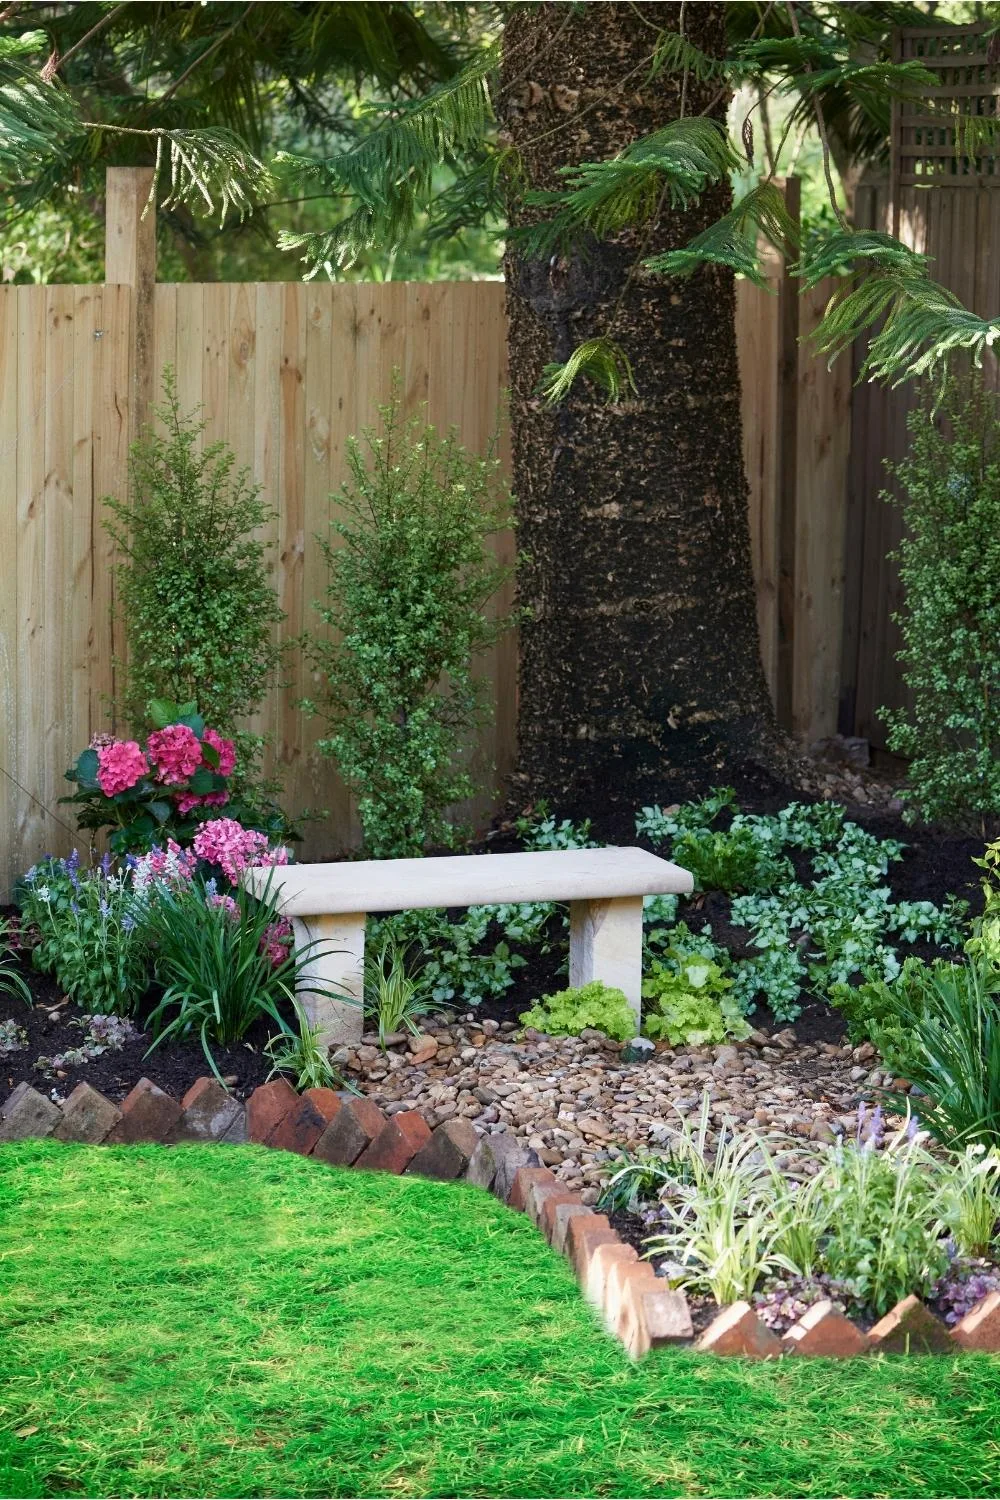
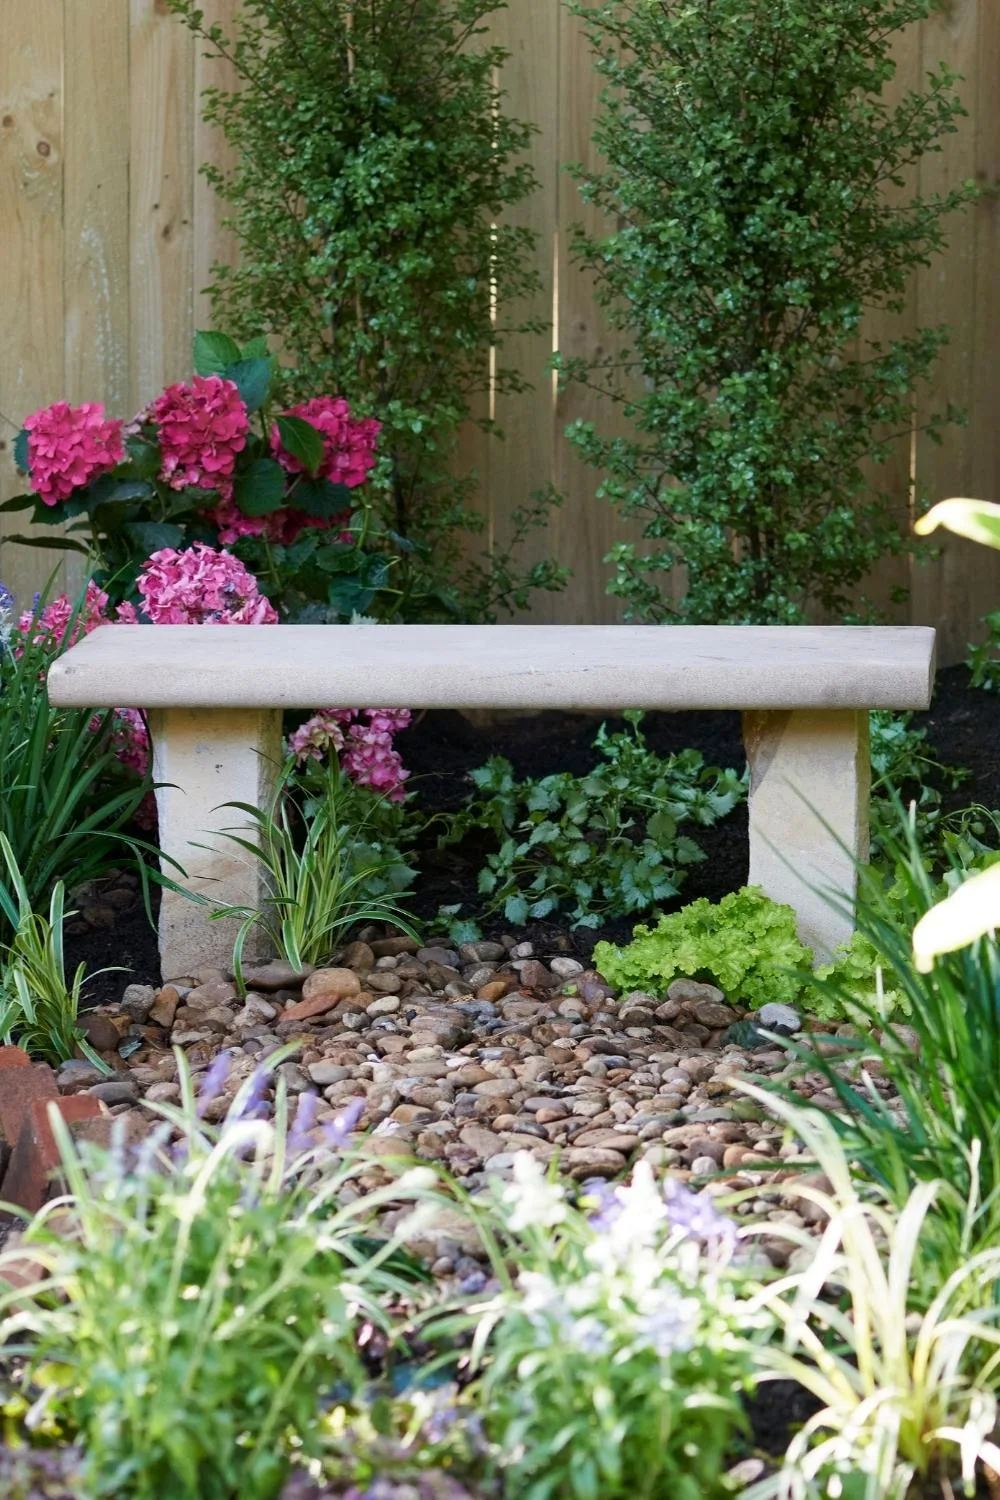
An unused corner of the garden can become a beautiful place to sit with one relatively simple DIY project. Made using sandstone blocks and wall capping, this sturdy stone garden bench looks like a permanent part of the landscape, and you don’t need masonry experience to build it.
Follow Charlie Albone’s seven-step guide to creating your own stone garden seat, from setting the legs at the correct height to securing the sandstone top.
Before you start
- Difficulty: Beginner to intermediate
- Finished seat height: 450mm
- You’ll need: Two people to safely position the heavy sandstone seat
- Important: Choose a level, stable location

Your step-by-step guide
Gather your supplies
- Seat 100 x 300 x 900mm sandstone colonial wall capping
- Legs 100 x 200 x 600mm sandstone blocks
You’ll also need
- Spade
- Long-handled
- Round-mouth shovel
- Rake
- Tape measure
- Marker
- Spirit level
- Quick-set concrete
- High-strength landscape construction adhesive
For you to know
The legs need to be set in the ground so the finished seat is 450mm high.
Here’s how
Step 1
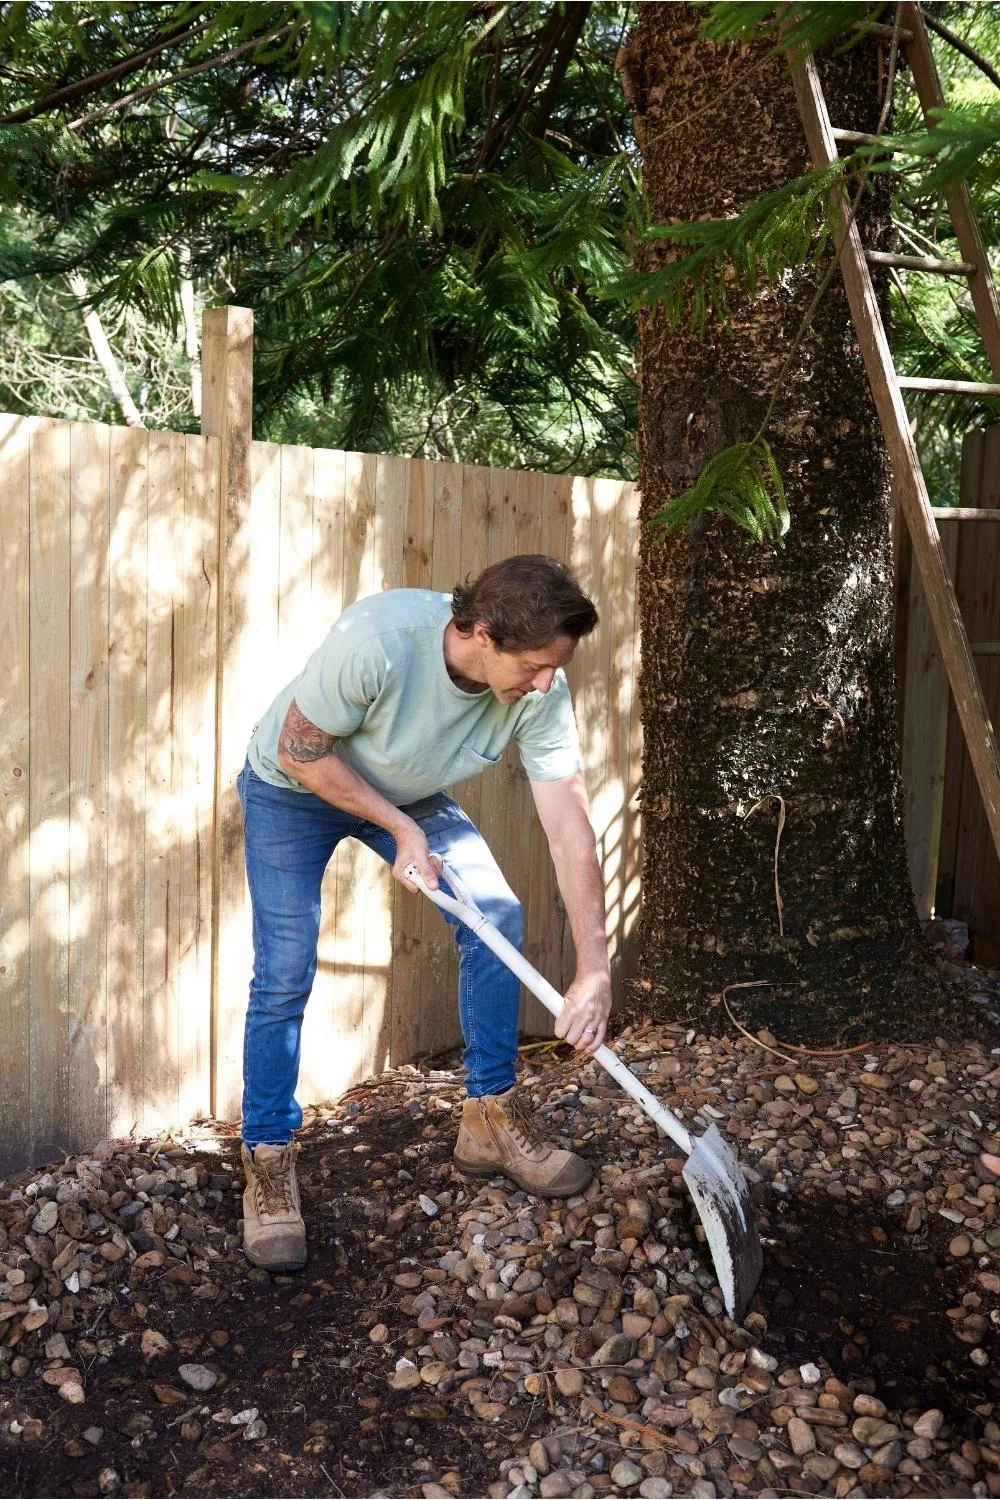
Clear the garden bed of all debris. Here, all the pebbles were removed and reserved for later use. Rake over the soil to roughly level it.
Step 2
Choose the bench seat location in the bed, then measure 2 points about 60-70 cm apart and mark the centre points for the leg positions.
Step 3
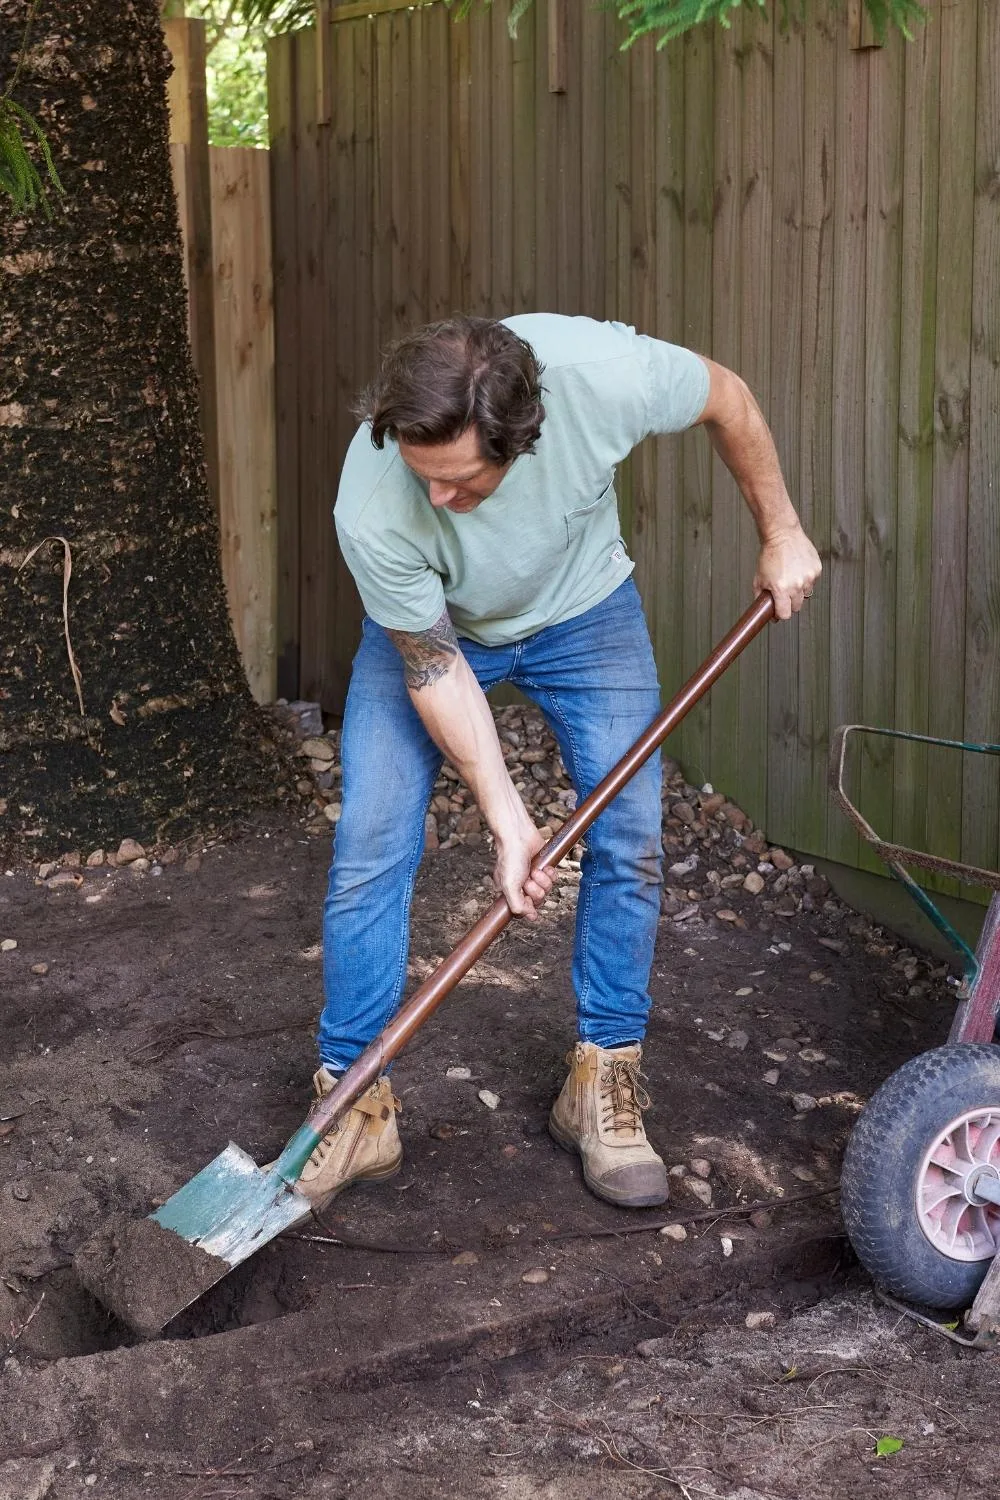
Dig holes for legs about 250mm deep.
Step 4
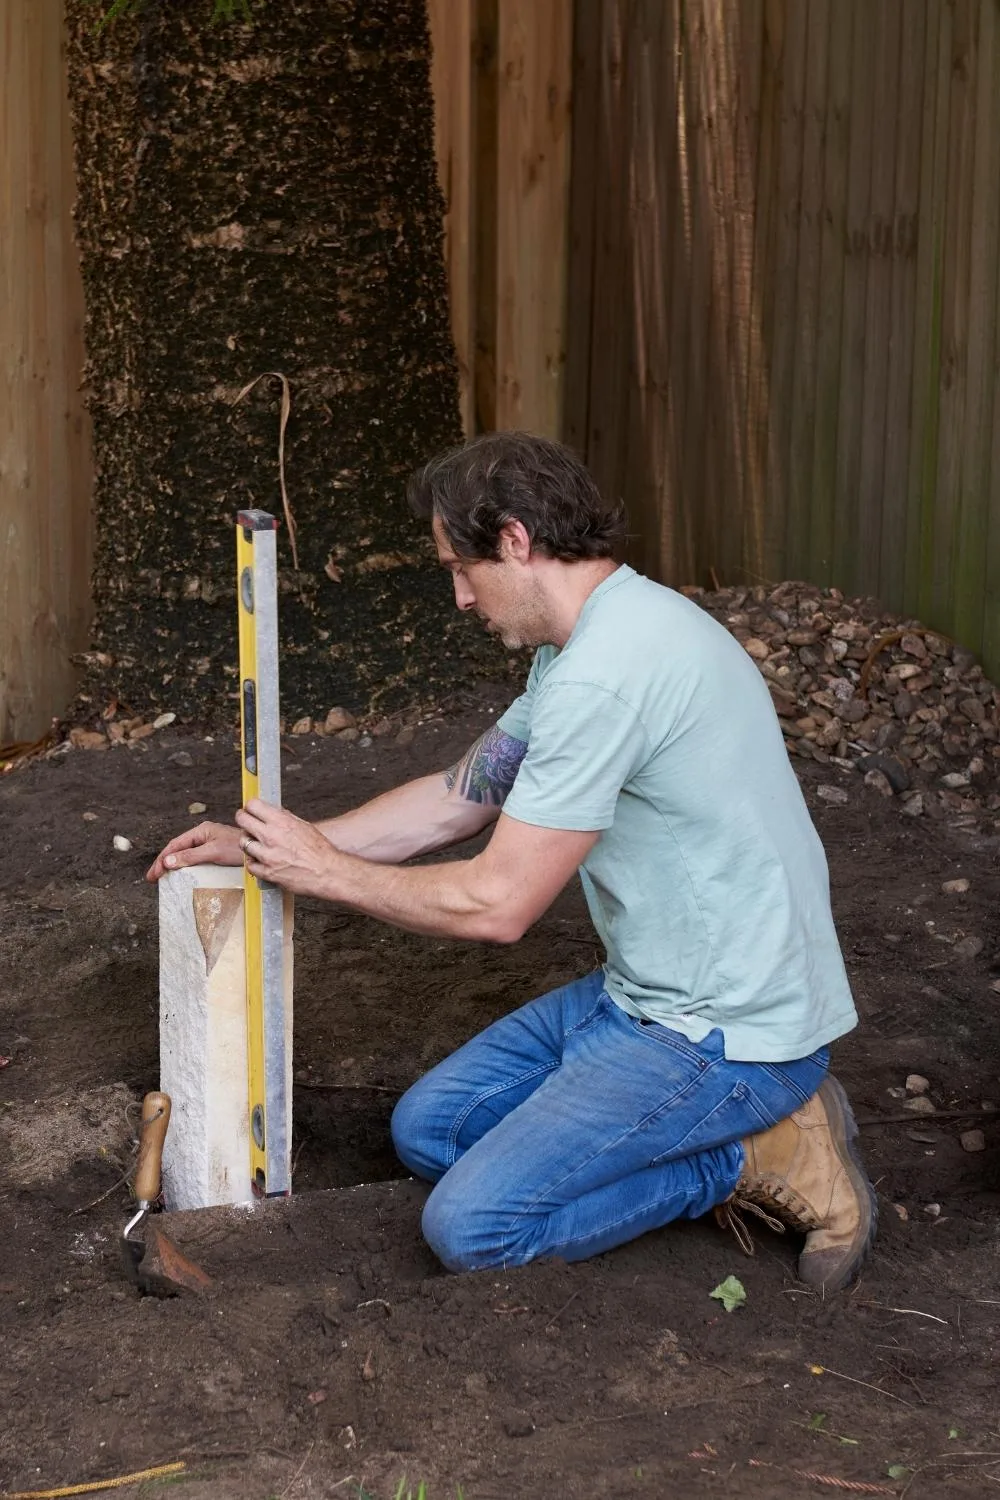
Position seat legs in holes and check tops are level with each other.
Step 5
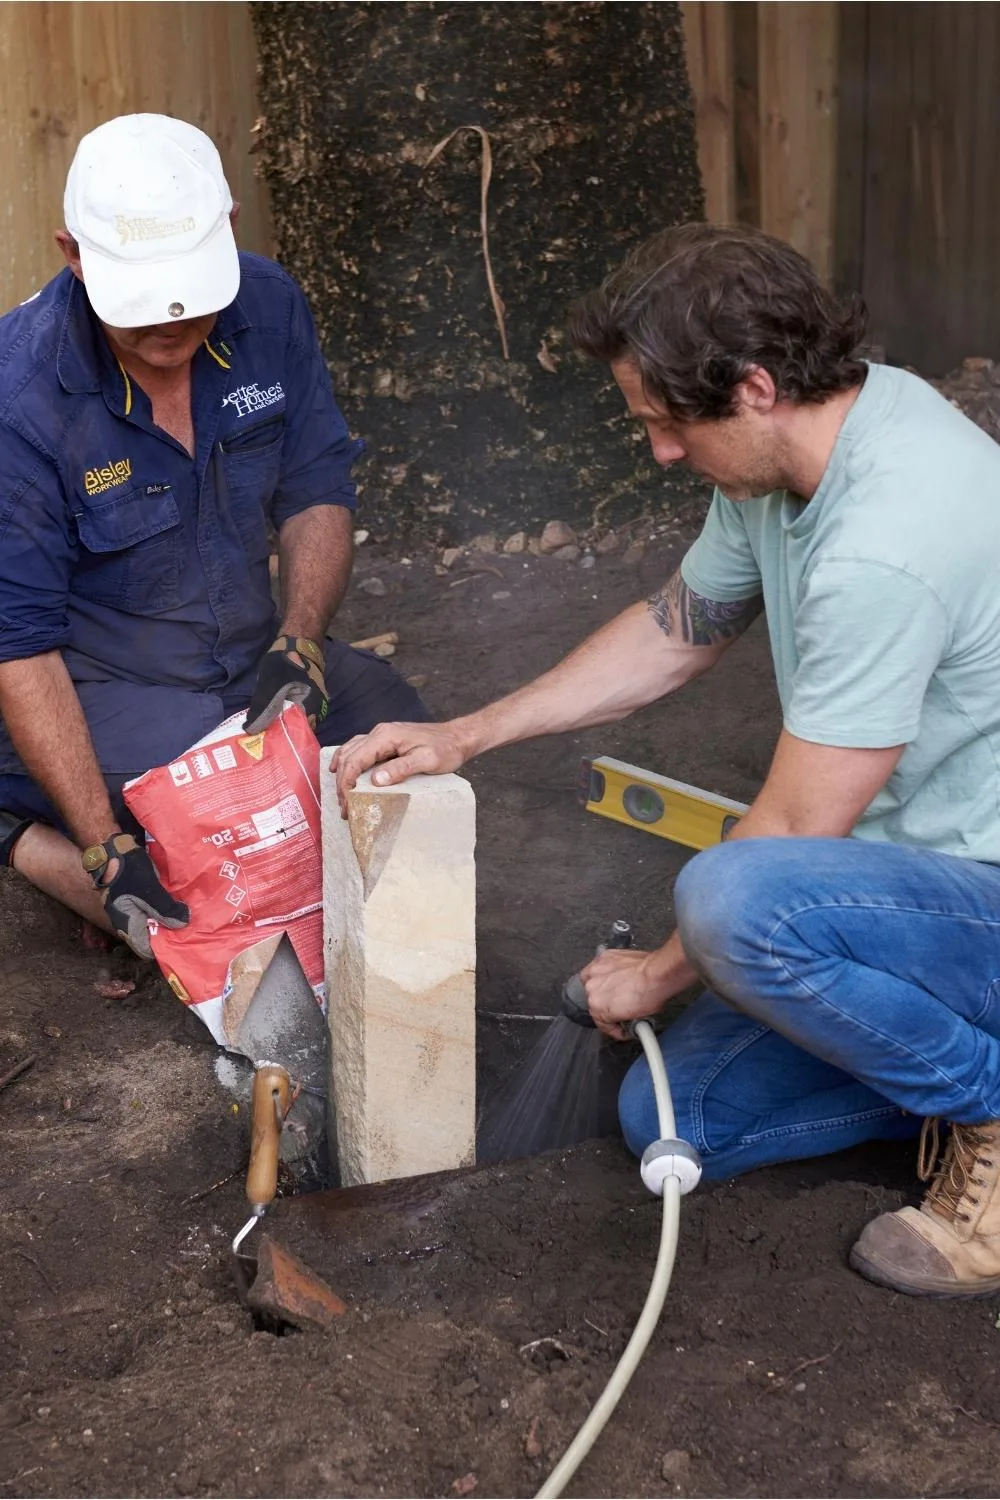
Pour quick-set concrete and water into holes around legs. Allow the concrete to set according to the packet instructions.
Step 6
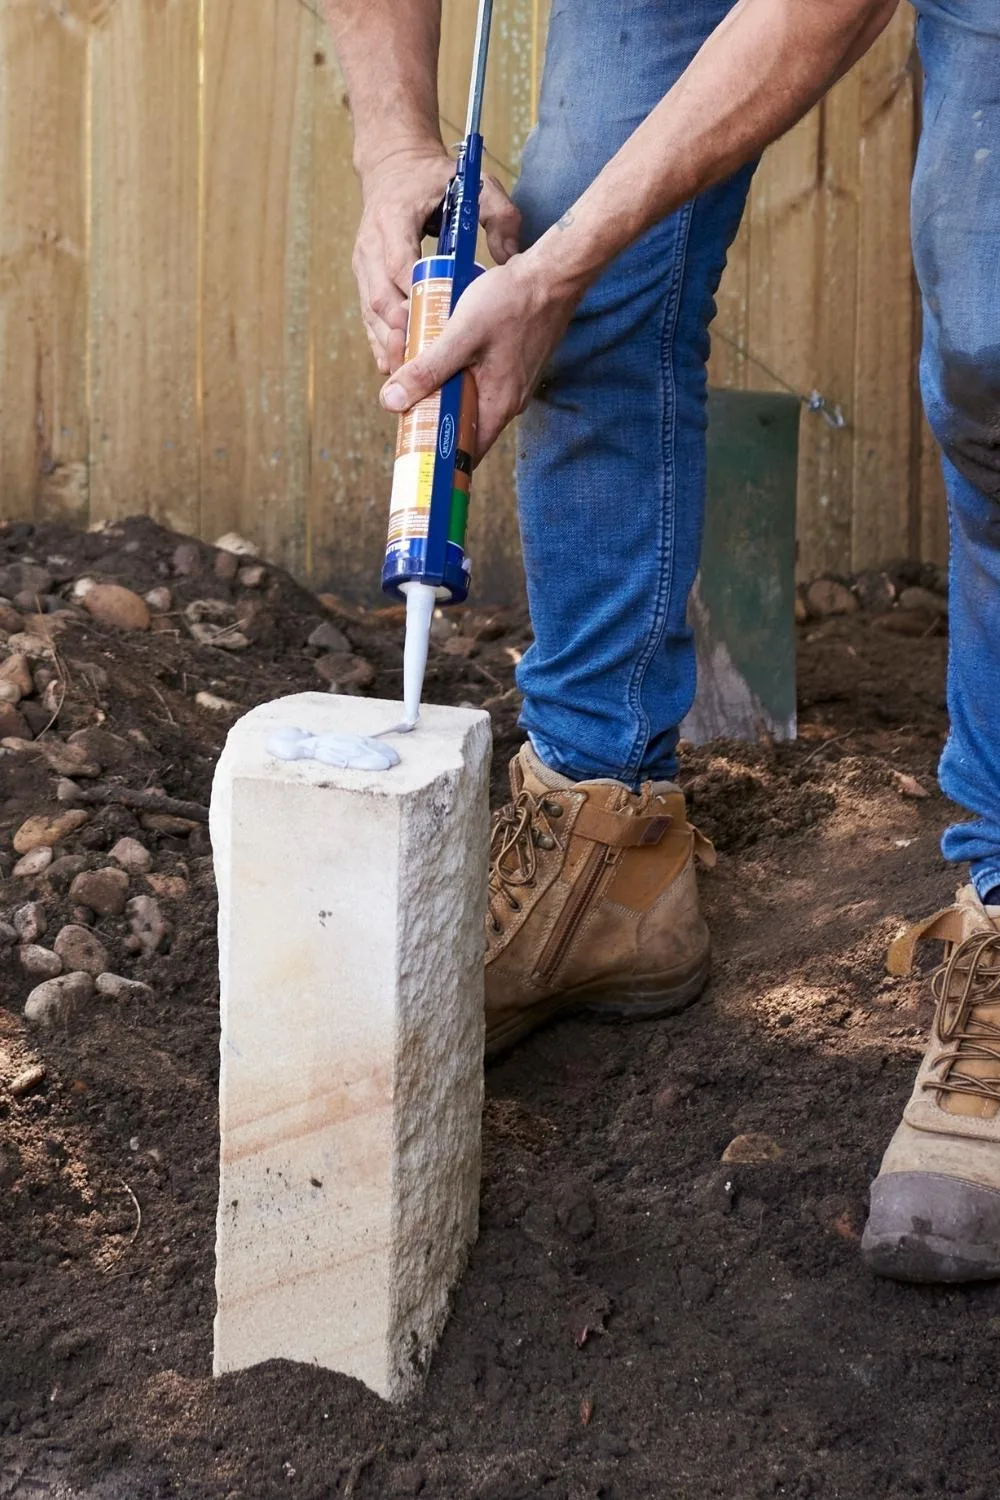
Apply adhesive to the top of the legs, keeping it away from the edges.
Step 7
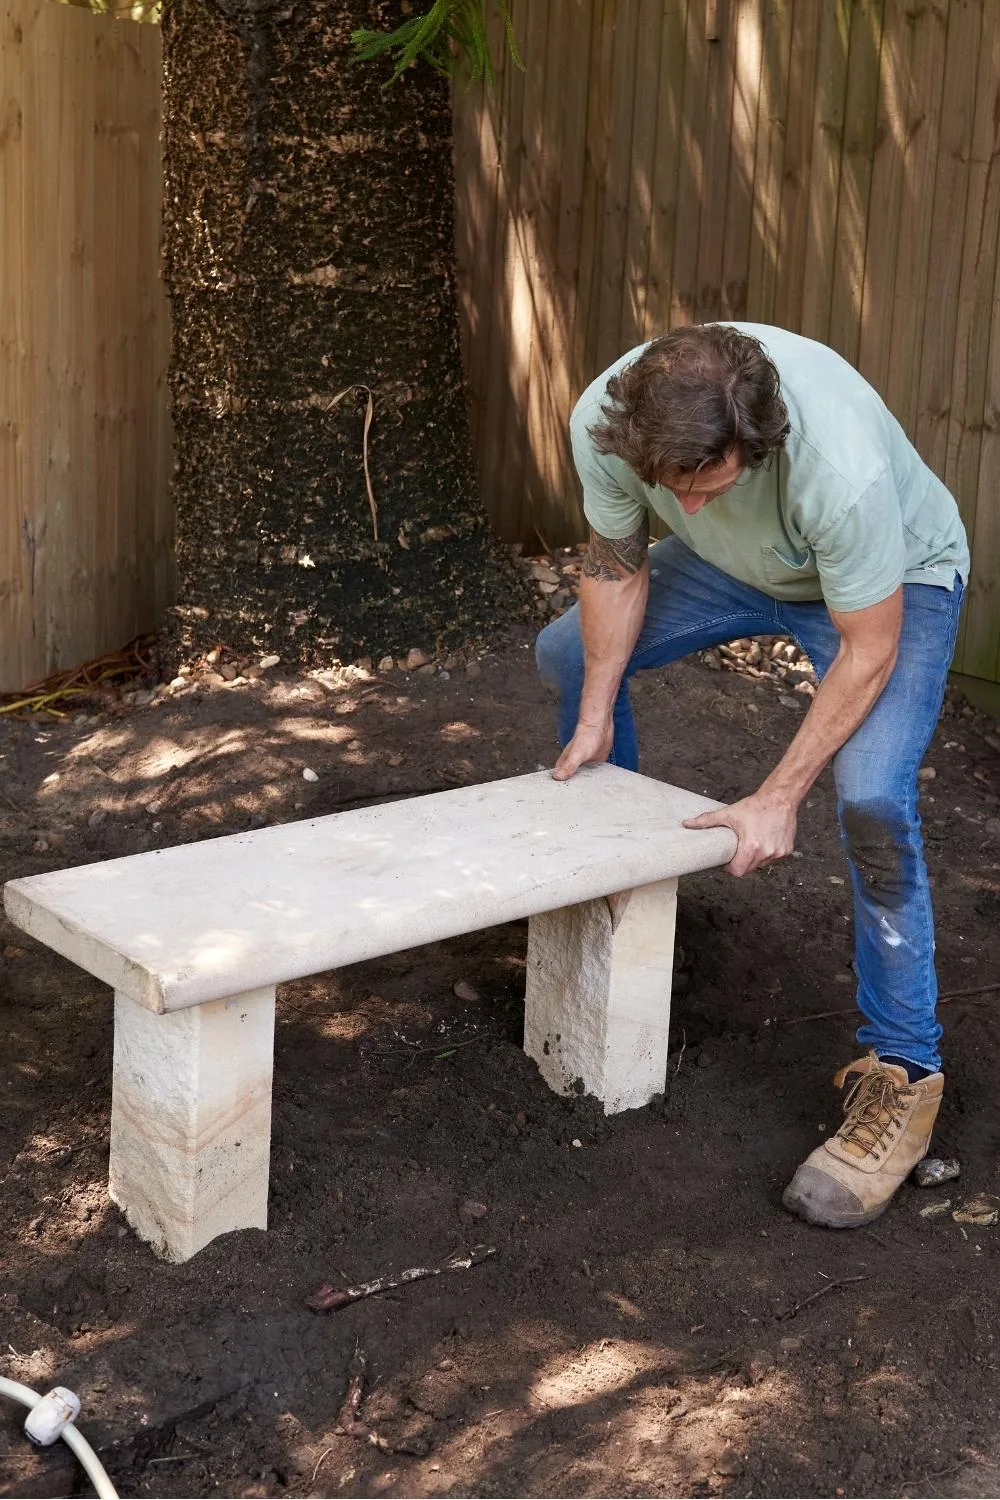
Ask someone to help you carefully lower the heavy sandstone capping onto the legs. Let the adhesive set.

Related stories
Native ad body.
Native ad body.

Native ad body.