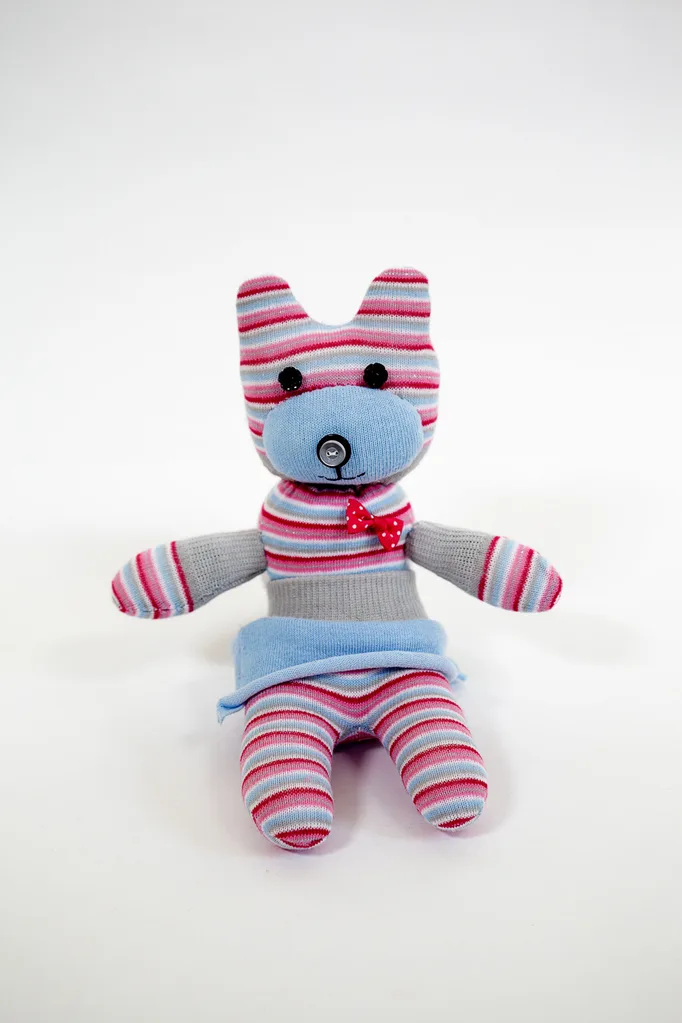
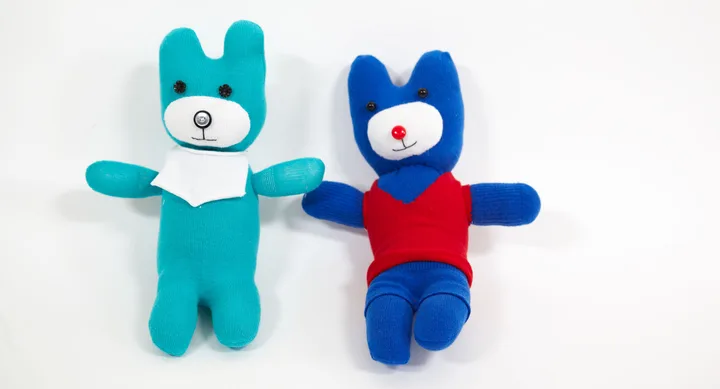
Put those odd socks to good use by turning them into cuddly toys for your kids. They’re so adorable, you’ll want to make a bunch.
Gather your supplies:
Contrasting socks (2-3) for body, muzzle and clothing
You’ll also need:
Water-erasable or fast-fade marker; fibrefill; small coloured button; small black buttons (2); larger flat black button (optional); ruler; scissors; sewing thread and needle; black embroidery cotton.
Here’s how…
STEP 1
Turn sock for body inside out and position so heel is centred and facing out. Rule a line across sock, halfway between toe and heel, then rule another, halfway between cuff and heel. Cut across both so you end up with 3 pieces – toe (head), middle (body and legs) and cuff (arms).
STEP 2
On toe piece, draw a rounded head with ears, so toe seam forms base. Cut out, then cut a narrow slit at bottom of head for filling.
STEP 3
Draw a vertical line down centre of cuff, then cut to divide into 2 arms. Round ends at cuff edge.
STEP 4
On middle piece, divide and mark section below heel (teddy’s bottom) into 2 for legs, making a narrow turn at crotch and leaving 1cm gap between legs for seam allowance. Round 1 end of legs, as you did for arms. Cut along lines. You should now have a head, a body with legs and 2 arms.
STEP 5
With right sides together, stitch around raw edges of each piece, allowing a 5mm seam and leaving straight edges open on upper body, arms and bottom edge of head. Turn each piece to right side out.
STEP 6
Stuff head with fibrefill then, using a double-threaded needle, stitch across open edge using running stitch. Pull tight to ensure it’s completely closed. Repeat for body.
STEP 7
Sew head firmly to body. Stuff arms with fibrefill, then fold in raw edges at top of arms and stitch to body.
STEP 8
To make muzzle, cut 2 oval shapes from second sock. With right sides together, sew around outer edges, leaving a small opening for turning through. Turn right side out, fill sparingly, then slip-stitch opening closed. Stitch muzzle in place on lower half of teddy’s head.
STEP 9
Sew on 2 black buttons for eyes. For nose, stitch a coloured button, or a coloured button on top of a flat black button, to centre of muzzle. Stitch a mouth underneath in black cotton.
STEP 10
From leftover second sock (or third sock), make clothes for your teddy. You can cut shor ts or a singlet from cuff end, or create a skirt by cutting and joining 2 straight sections of sock fabric and gathering them onto a cuff waistband. Or, easiest of all, make baby teddy a small bib. Your teddy bear is now ready for a picnic.
