
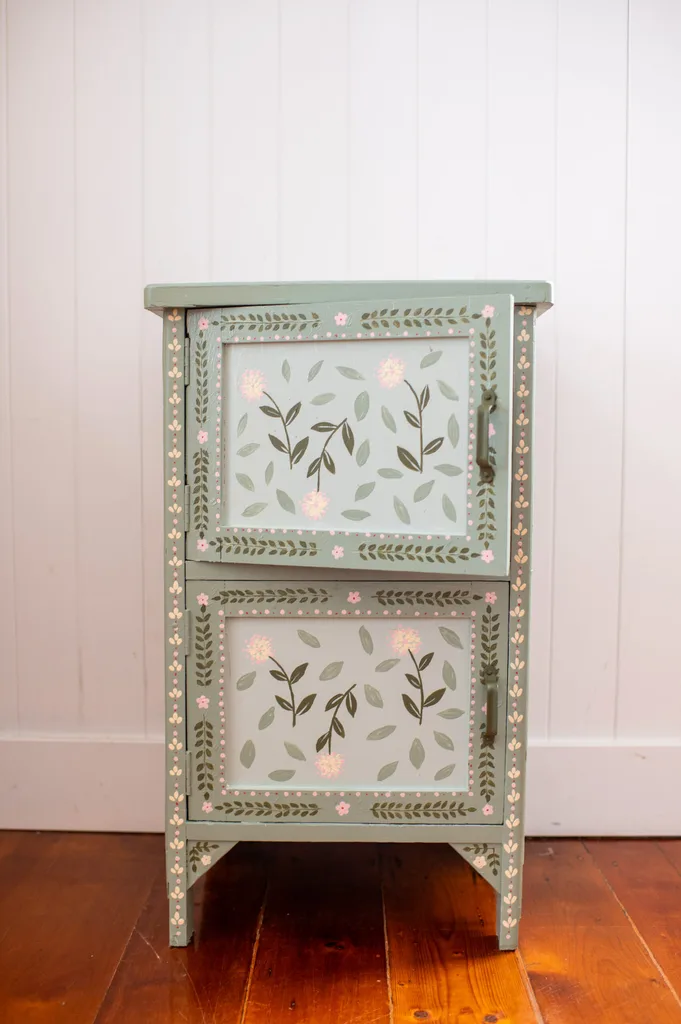
I found this cabinet at the Logan Recycling Market for $6. I loved the shape of it, but the timber was damaged in places.
Instead of moving on, I realised it would be the perfect piece to create a folk-inspired flower design. Every damaged timber item has a silver lining.
Tips for painting florals on furniture
- Don’t skip the sanding. Lightly sanding a surface helps the primer and paint stick properly and gives you a smoother, longer-lasting finish.
- Let each layer dry completely. Whether it’s primer or a base coat, letting the layers dry prevents smudging and gives you a cleaner result.
- Practise your design first. Before painting directly onto the cabinet, test out your colours and brushwork on cardboard or scrap wood to build confidence and tweak your design.
How to paint a floral cabinet
Safety notes
- Work in a well-ventilated area: Always use primer and paint in a space with proper airflow to avoid breathing in fumes.
- Wear a mask while sanding: Fine dust particles can irritate your lungs – a basic dust mask will help protect you.
Gather your supplies
- Cabinet
- Electric sander or hand sanding block (120–220 grit)
- Primer
- Paints (colours of your choosing)
- Paint brushes (variety of sizes, including very small detail brushes)
- Paint roller
- Painter’s tape
- Pencil
- A drop sheet to protect your surface area
Step 1
Remove all hardware from the cabinet, including handles and knobs.
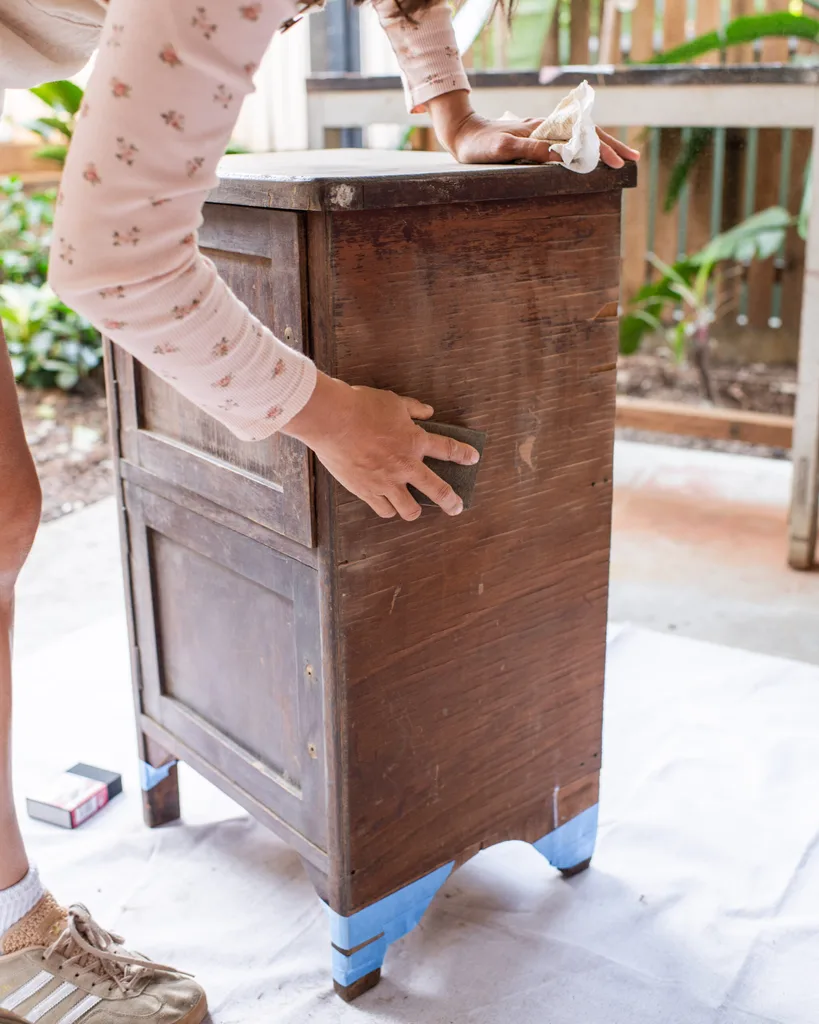
Step 2
Lightly sand the cabinet using a sander or medium-grit sandpaper to dull any existing finish. Wipe away all sanding dust with a damp cloth.
Step 3
Apply painter’s tape to mask off any areas you want to keep paint-free, such as inside edges or hardware holes.
Step 4
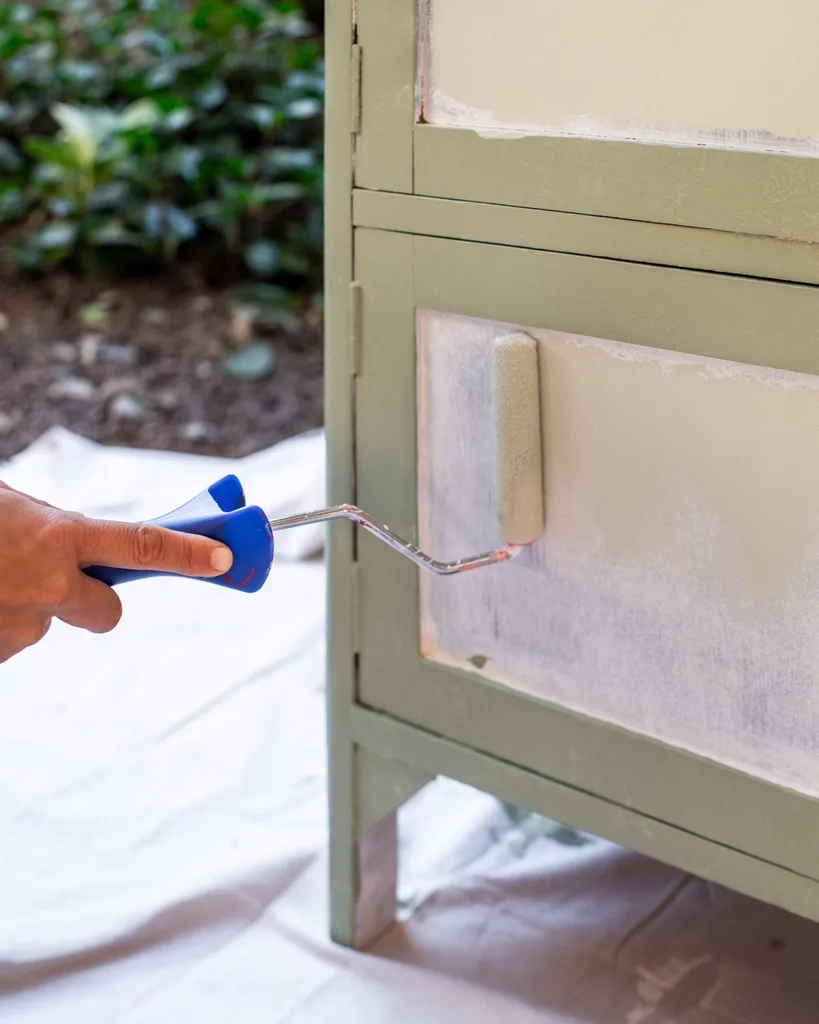
Apply a thin, even coat of primer to the cabinet, using a roller for large surfaces and a brush for detailed areas. Allow it to dry completely.
Step 5
Paint the cabinet in your chosen base colour using a roller and brush, applying the paint in thin, even coats. Let the first coat dry completely before applying one or two additional coats, as needed, for full coverage. Allow each layer to dry thoroughly.
Step 6
Tape off any doors, panels or details you want to highlight, then apply your chosen accent colour. Allow it to dry completely before moving on.
Step 7
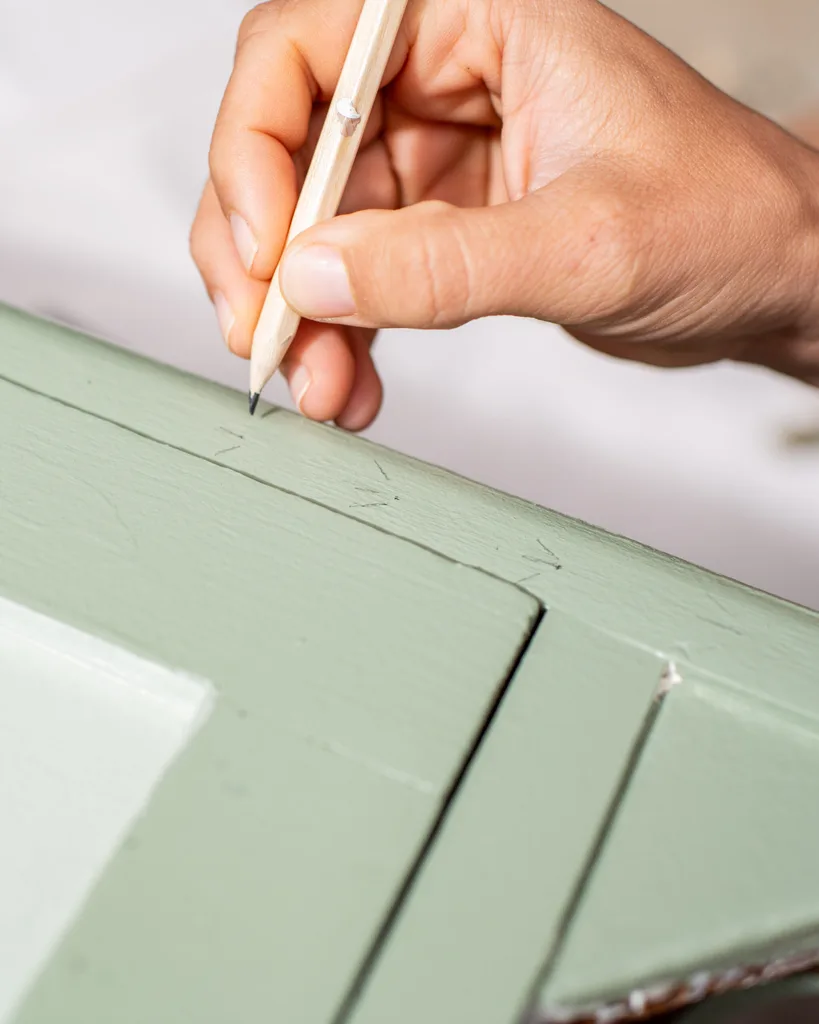
Once the paint is completely dry, lightly sketch your floral design onto the cabinet with a pencil.
Step 8
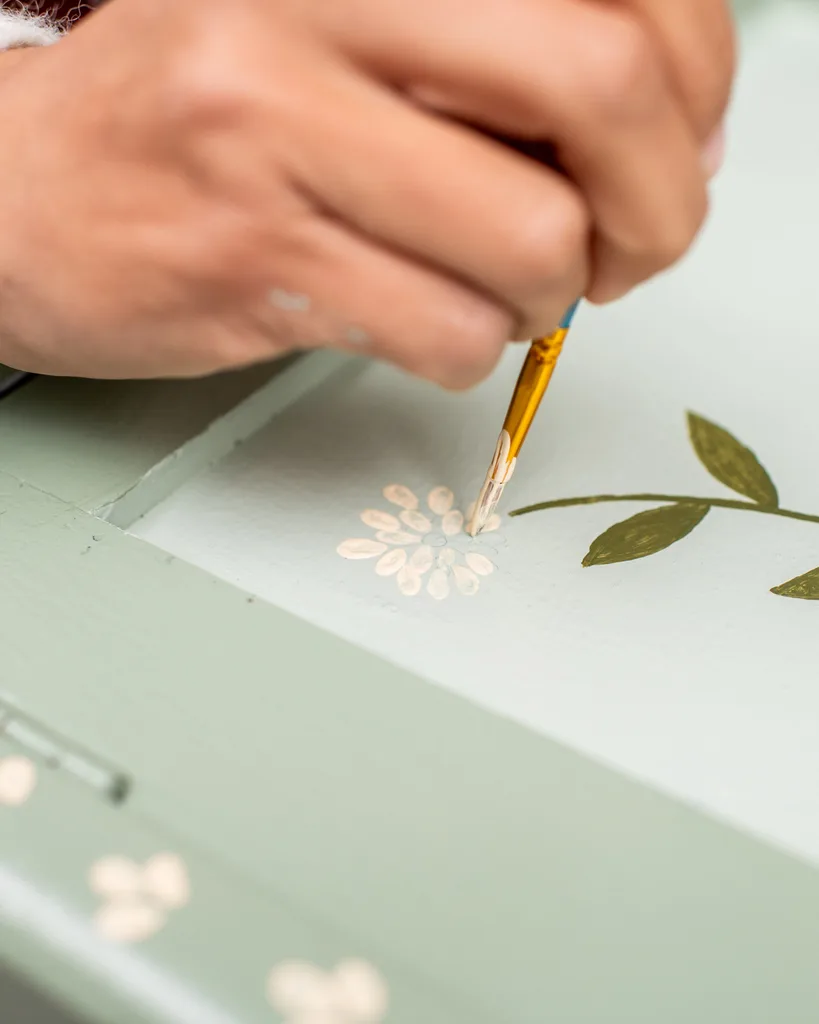
Start by painting the larger shapes of your flowers and leaves with mid-sized brushes. Gradually add details and flowers using smaller brushes. Don’t be afraid to test out
some different styles – you can always paint over it and start again if you want!
Step 9
Once the paint is dry, carefully remove the painter’s tape and reattach the cabinet’s hardware. You can apply a coat of clear sealant, if you like, to protect the paint finish.