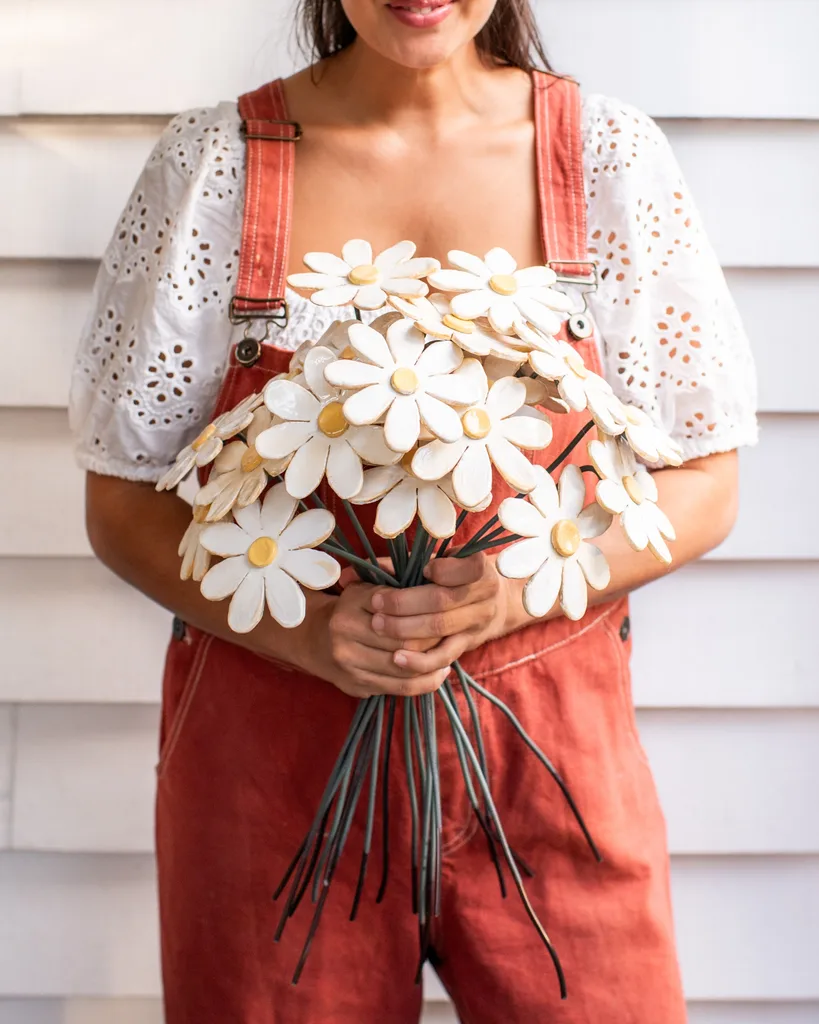
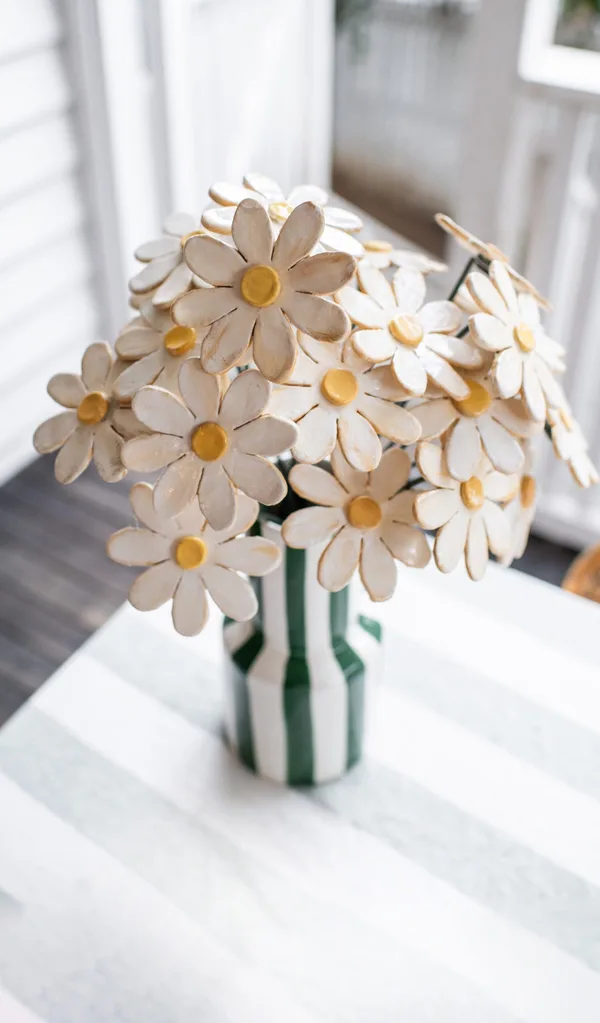
Delicate, durable, and DIY-friendly, these air-dry clay flowers offer a fresh take on handmade decor.
With just a few simple materials, you can shape and style a floral arrangement that’s made to last.
Tips for making clay flowers
- Choose the right clay. Use a high-quality clay that’s easy to shape. White or light grey is ideal for painting.
- Smooth it out. If you notice cracks or texture, dip your finger in a little water and gently smooth the surface.
- Seal for durability. A thin coat of UV resin adds strength, gloss, and water-resistance. You can also use a matte sealer if you prefer a more natural look.
- Stay safe. When you’re working with UV resin, it’s important to wear gloves and make sure the space has proper ventilation.
How to make a clay flower bouquet
Gather your supplies
- Air-dry clay
- Flower cookie cutter
- Clay modelling tools
- Rolling pin
- Bowl of water
- Sandpaper
- Paint
- Paintbrush
- UV resin
- UV light
- Super glue or hot glue
- 4mm bonsai wire, cut into 20cm lengths
You’ll also need
- Baking paper or a non-stick mat
- Gloves

Step 1
Begin by taking a piece of air-dry clay and rolling it out on a clean, flat surface. Use a rolling pin or similar tool to ensure the slab is evenly flattened to roughly 3mm.
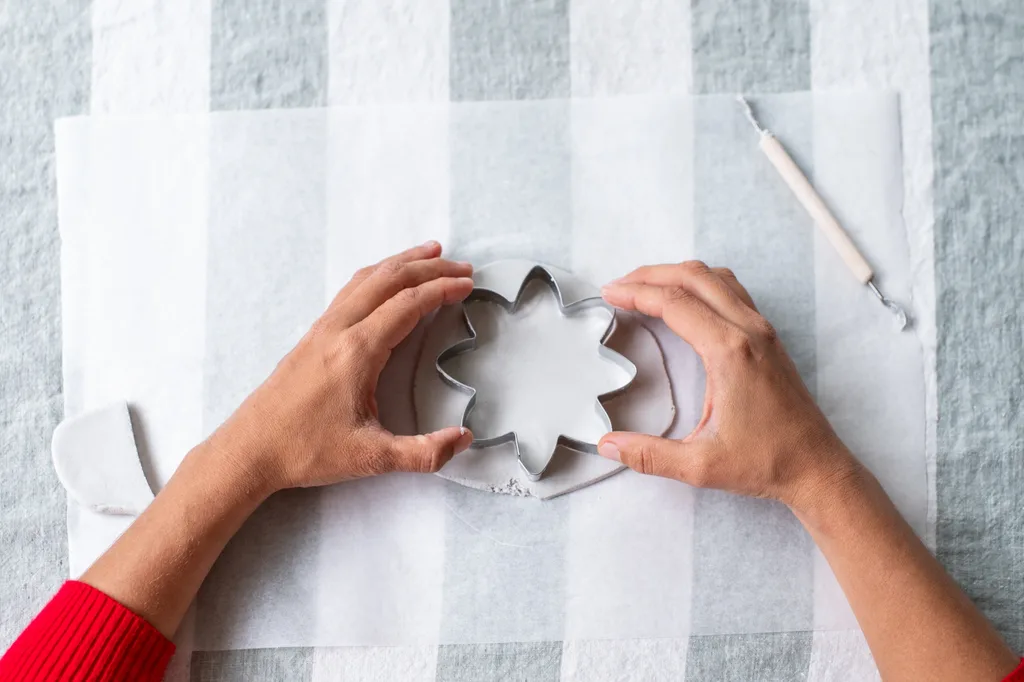
Step 2
Using a cookie cutter in a floral shape, cut out the base of your flower. This forms the foundation of the petals.
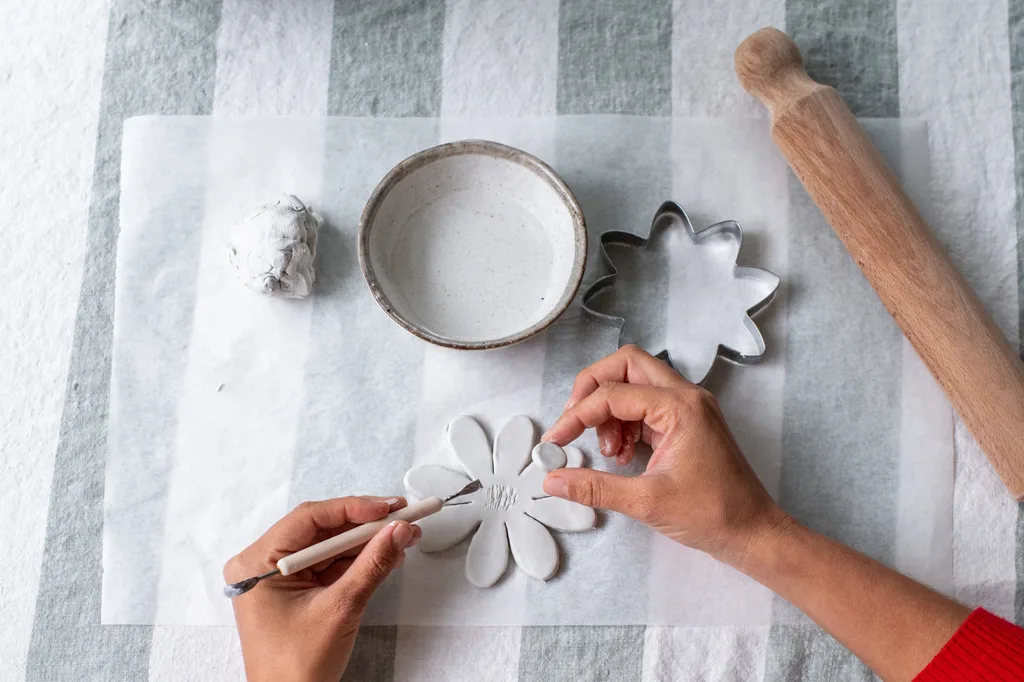
Step 3
With a sculpting knife or blade tool, carefully shape and define the edges. Smooth and round each petal with your fingers to create a more natural, organic look.
Step 4
Take a small amount of leftover clay, roll it into a neat ball, and gently press it down to form a slightly flattened dome. This will serve as the flower’s centre.
Step 5
Score the centre of the flower and the ball using a fine-pointed tool to help the clay adhere. Lightly moisten the area with water, then press the flower centre into place.
Step 6
Set your flower aside to air dry completely. This typically takes between 24 to 48 hours, depending on the clay’s thickness and the room’s humidity. Flip the flower halfway through to help it dry evenly.
Step 7
Once dry, sand any rough edges for a smooth finish.
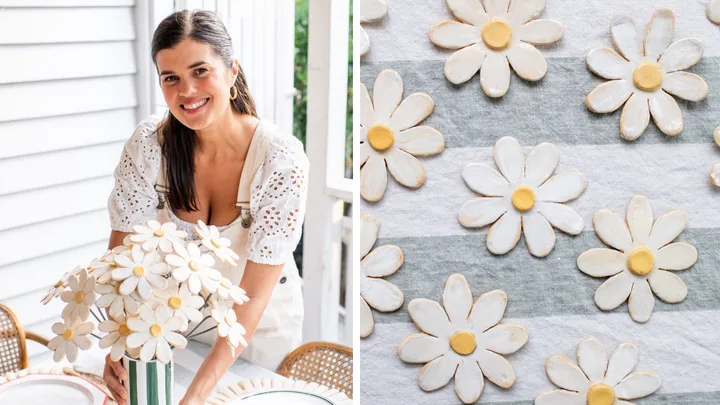
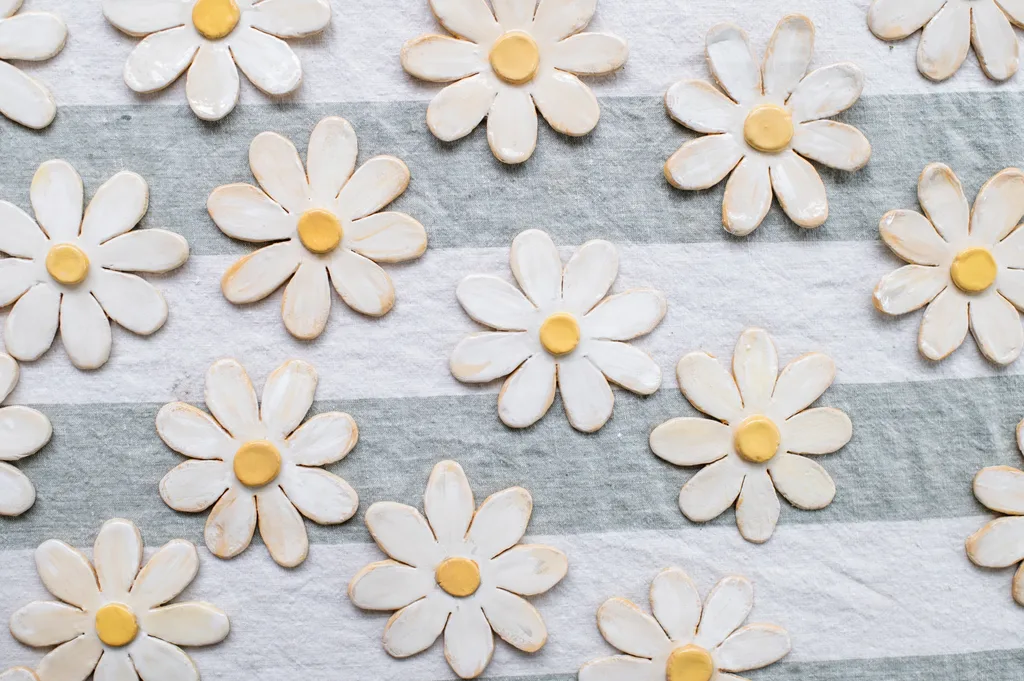
Step 8
Paint your flower in the colours of your choice and allow it to dry thoroughly. We chose white for the petals with some yellow shading around the edges, and a yellow centre.
Step 9
Seal flowers with a layer of UV resin under a UV light for 2–3 minutes.
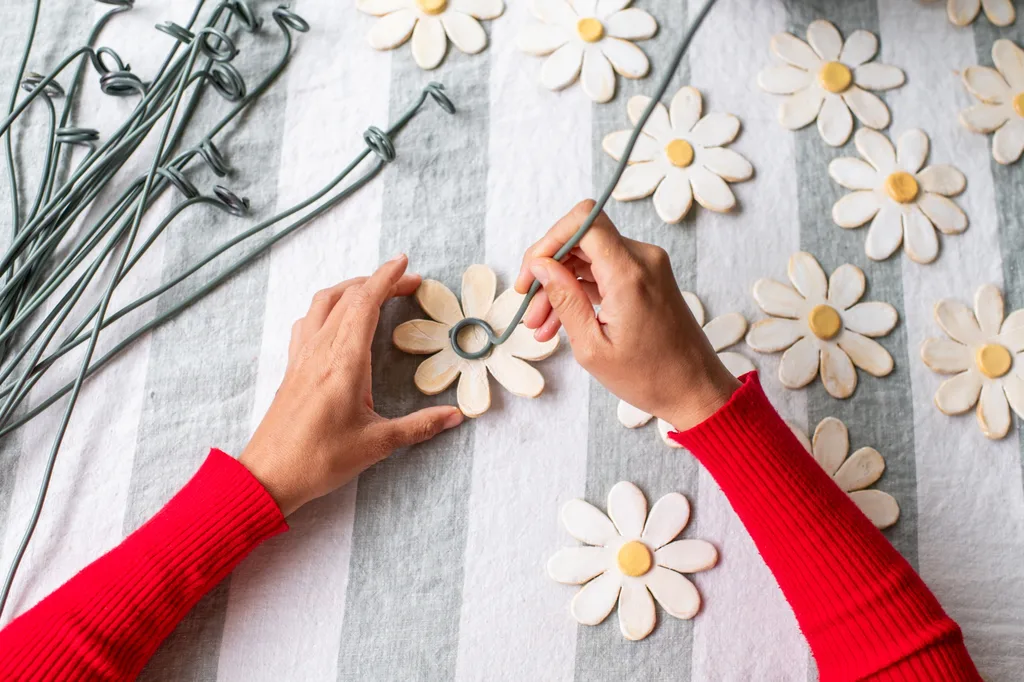
Step 10
To make the stem, bend the end piece of the wire into a small loop and glue it to the back of the flower using super glue or hot glue. Repeat these steps to create your long-lasting bouquet. You’ll need to make about 15–20 flowers.