Gather your supplies
Sandpaper
Wire brush
Screening hardwood 69 x 15 x 485mm (12 per chair)
30mm timber-to-metal self-drilling screws with countersunk head
You’ll also need
Sanding machine (optional); spray primer; spray enamel topcoat; belt sander; external furniture oil; safety goggles and mask
Here’s how
Step 1
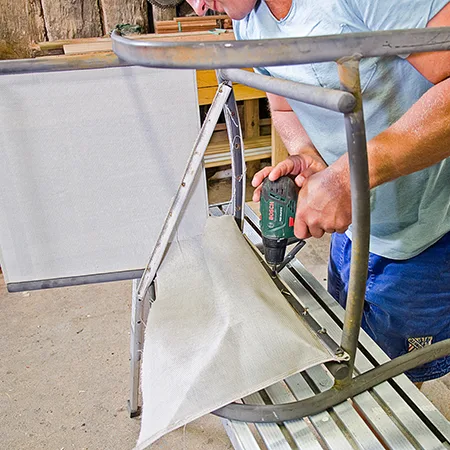
Strip all seating fabric or webbing from seat and back so you’re left with just the frame. This is normally held together by metal strips and screws.
Step 2
Sand steel using wet and dry paper, which is ideal for using with metal. Use a medium sandpaper of 180 grit to get through any old finish and rust. You should cut through surface rust quite easily. Follow with finer 240 grit sandpaper.
Step 3
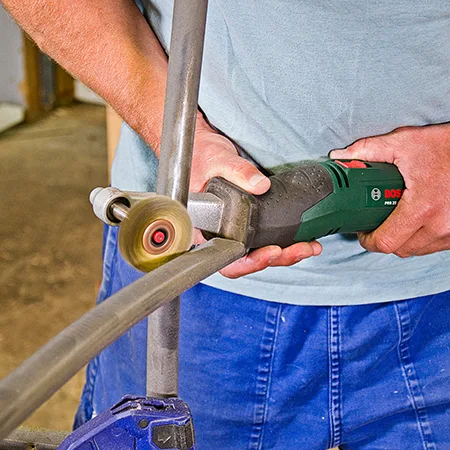
anding by hand works for most flat and curved surfaces, but tight corners, such as welds, are best done with a wire brush. Fit a wire brush attachment to a drill or angle grinder, or use the new Bosch PRR 250 ES Sanding Roller, which takes a range of sanding and wire attachments for all sanding jobs. While the machine comes with a guard, it limits access to certain spots, so wear safety goggles and mask, as tiny brass wires will occasionally fly off when the sander is in use.
Step 4
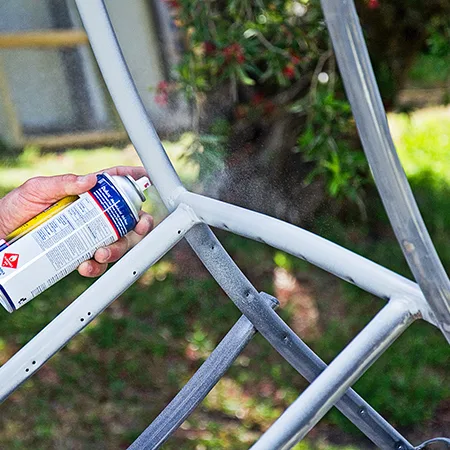
If there are any deep areas of old rust you can’t sand off, treat with a rust converter, allowing it to penetrate the rust. Wipe off any excess solution. When dry, take chairs outside and spray with an etch primer.
Step 5
Once dry, spray chairs with satin white enamel. When spraying, apply 2, 3 or even 4 light coats, as 1 thick coat will just lead to runs and sags in the paint. Let dry.
Step 6
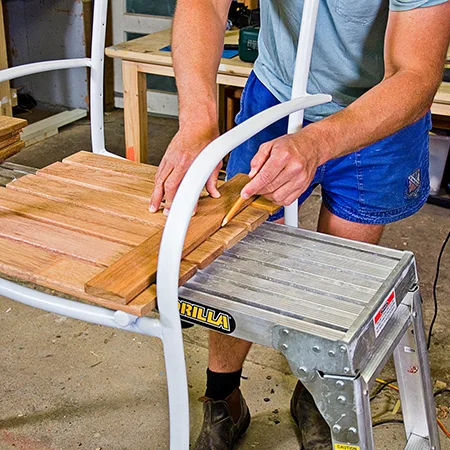
Instead of using outdoor seating fabric, use hardwood screening for seat and back. For this you’ll need 12 lengths to suit widest part of seat (ours is 485mm). The 6 pieces for the back are used full length, but the seats are tapered in line with the chair frame, so chairs will still be stackable. Lay out seat slats in position with a 10mm space between them, then align another length of screening with chair frame to pencil in taper at ends of seat slats. The angle is only a few degrees. Cut with a handsaw or drop saw.
Step 7
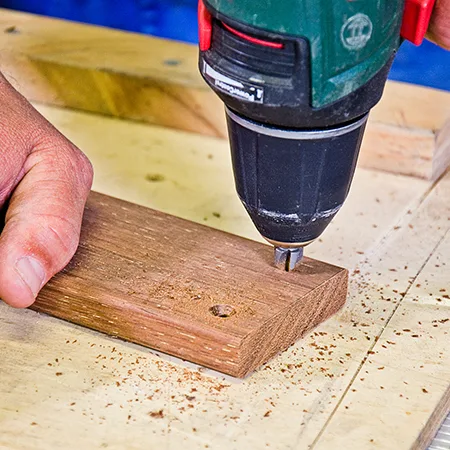
Predrill boards at each end for 2 screws to go into metal frame of chair, then countersink.
Step 8
Many hardwoods leach tannins when left in the rain and can stain your deck or paved area, as well as the freshly painted frames. To help prevent this, seal timber with an exterior furniture oil before fixing to chairs.
Step 9
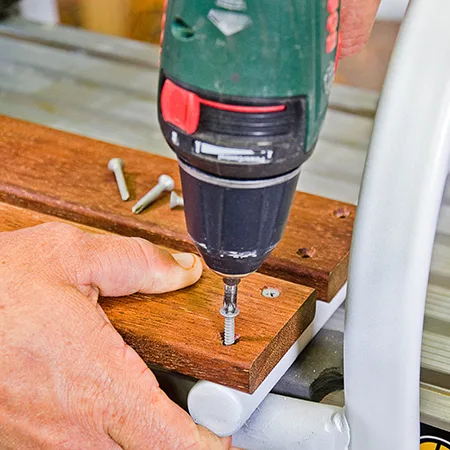
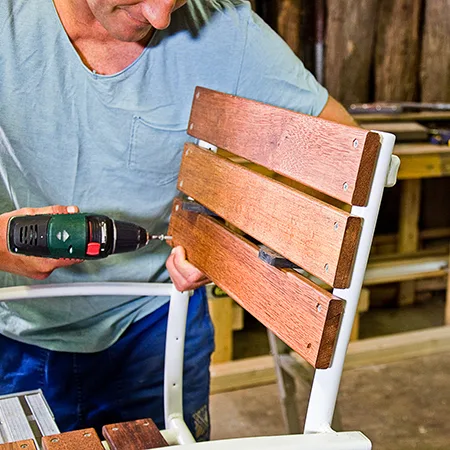
Screw first slat to chair, aligning it with front edge of chair frame. Use self-drilling timber-to-metal screws with a countersunk head.
Step 10
Screw on rest of slats for the seat, allowing for a 10mm gap between slats. Then, starting at top, screw 6 slats to the back in the same way. Repeat for all chairs.
Step 11
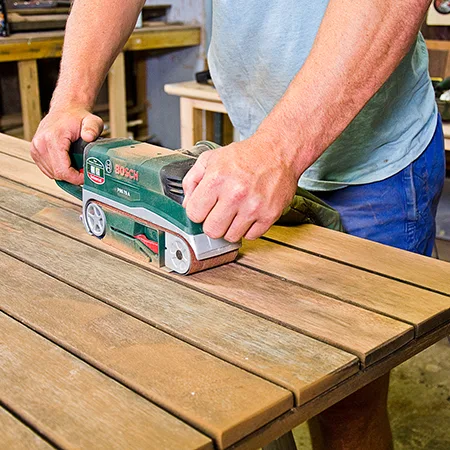
While you could use a timber-cleaning solution to prepare the weathered table, the chairs now have new timber slats, so it’s worth sanding the table to reveal a little more of the original timber colour. Start with a belt sander, working along the timber grain. This is an efficient way to remove a lot of the material. Wear your safety gear, as it’s dusty work even if you’re using a dust bag on your sander.
Step 12
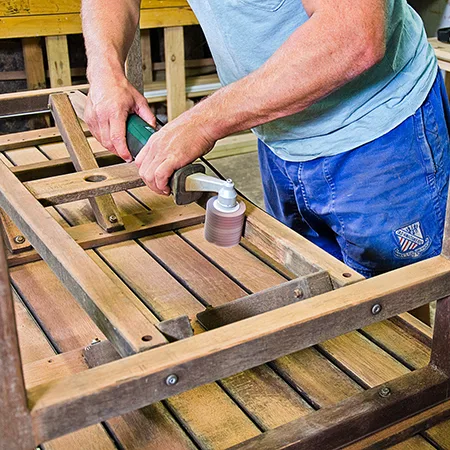
Turn table over to sand the rails, braces and legs. Sand by hand or use the sanding roller with its range of wide and narrow flap sanders. To interchange sanding accessories, press the red button to release the current tool and install the new one.
Step 13
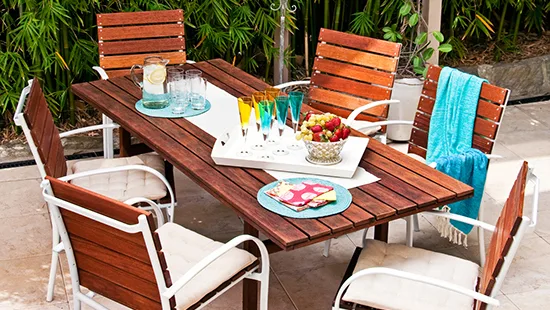
Coat table all over with an oil-based outdoor furniture oil to bring out the rich colour of the timber. We actually had a nice surprise. Once coated, it became obvious that the timber was beautiful red jarrah – it made it all worth it.
 Better Homes and Gardens
