 (Photography: Alan Jensen, styling: Kate Walsh, project: Tiff Bancroft)
Preparing for the Easter long weekend means stocking up on chocolate eggs, buying fun Easter decorations and crafting festive Easter crowns so the kids can wow everyone at Easter lunch.
The tradition of wearing a new hat during Easter dates back centuries, offering a way to celebrate the meaning of Easter’s promise of new beginnings. It was once associated with attending church on Easter Sunday but in a more casual society, the tradition has faded away. Today, it is mostly only schools that carry the Easter hat tradition and the best way to create memories they’ll cherish forever is by DIY-ing them together.
A basket of flowers, greenery, cardboard and tape is an entertainment station which requires little effort. Whether going for a simple flower crown, a lavish nature hat or paper bunny ears, they can let their creativity run free with lots of joy and laughter along the way.
Keep reading for 5 DIY Easter hat ideas that won’t eat up all your time or money.

01
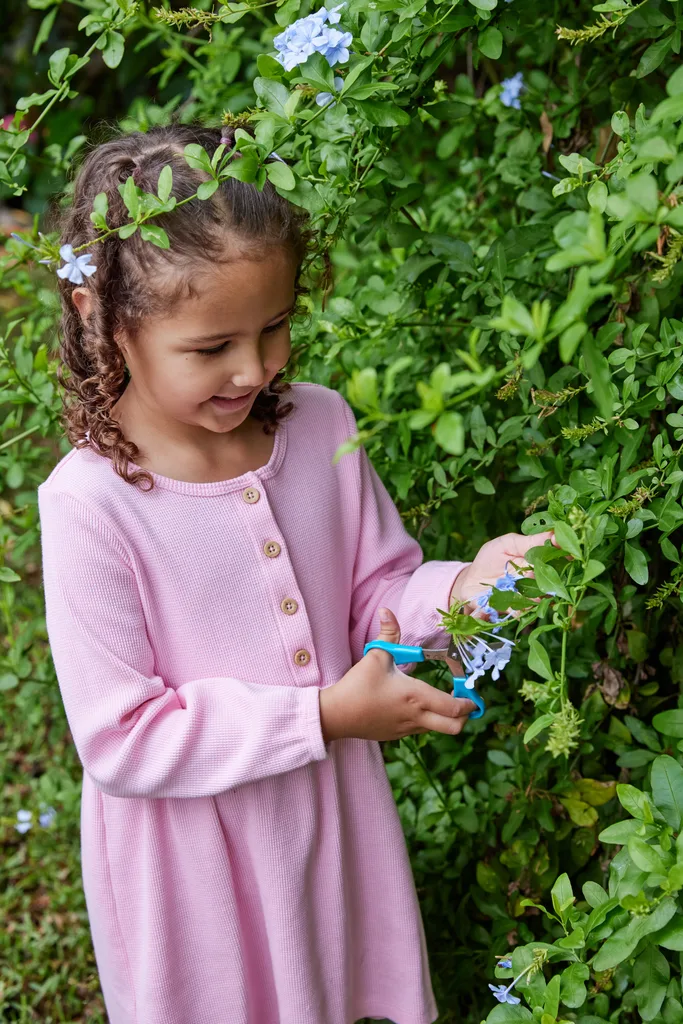
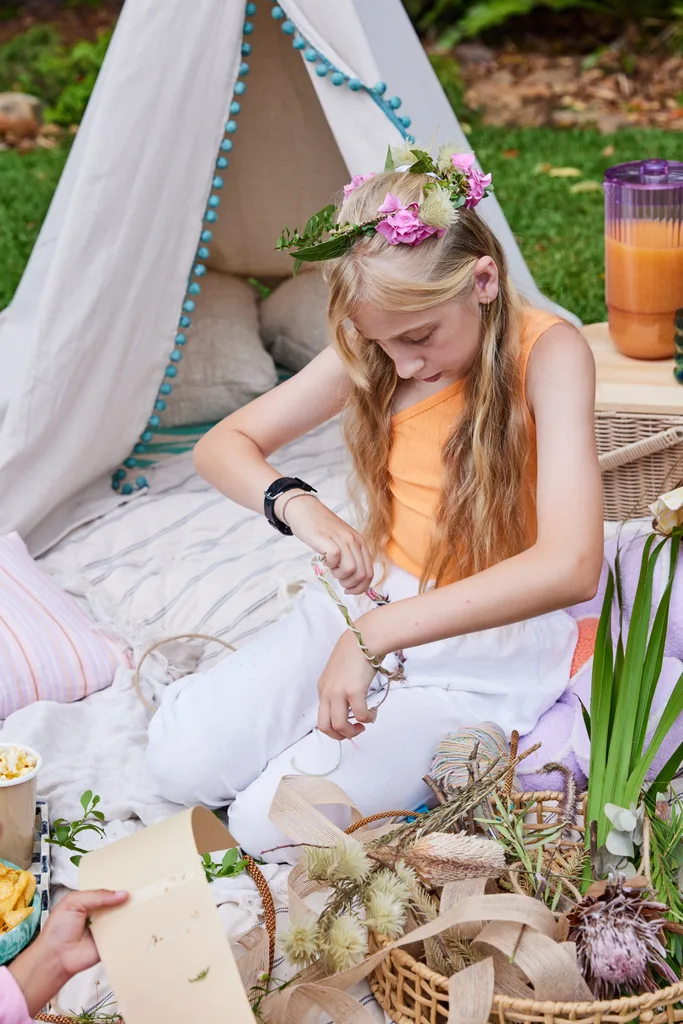
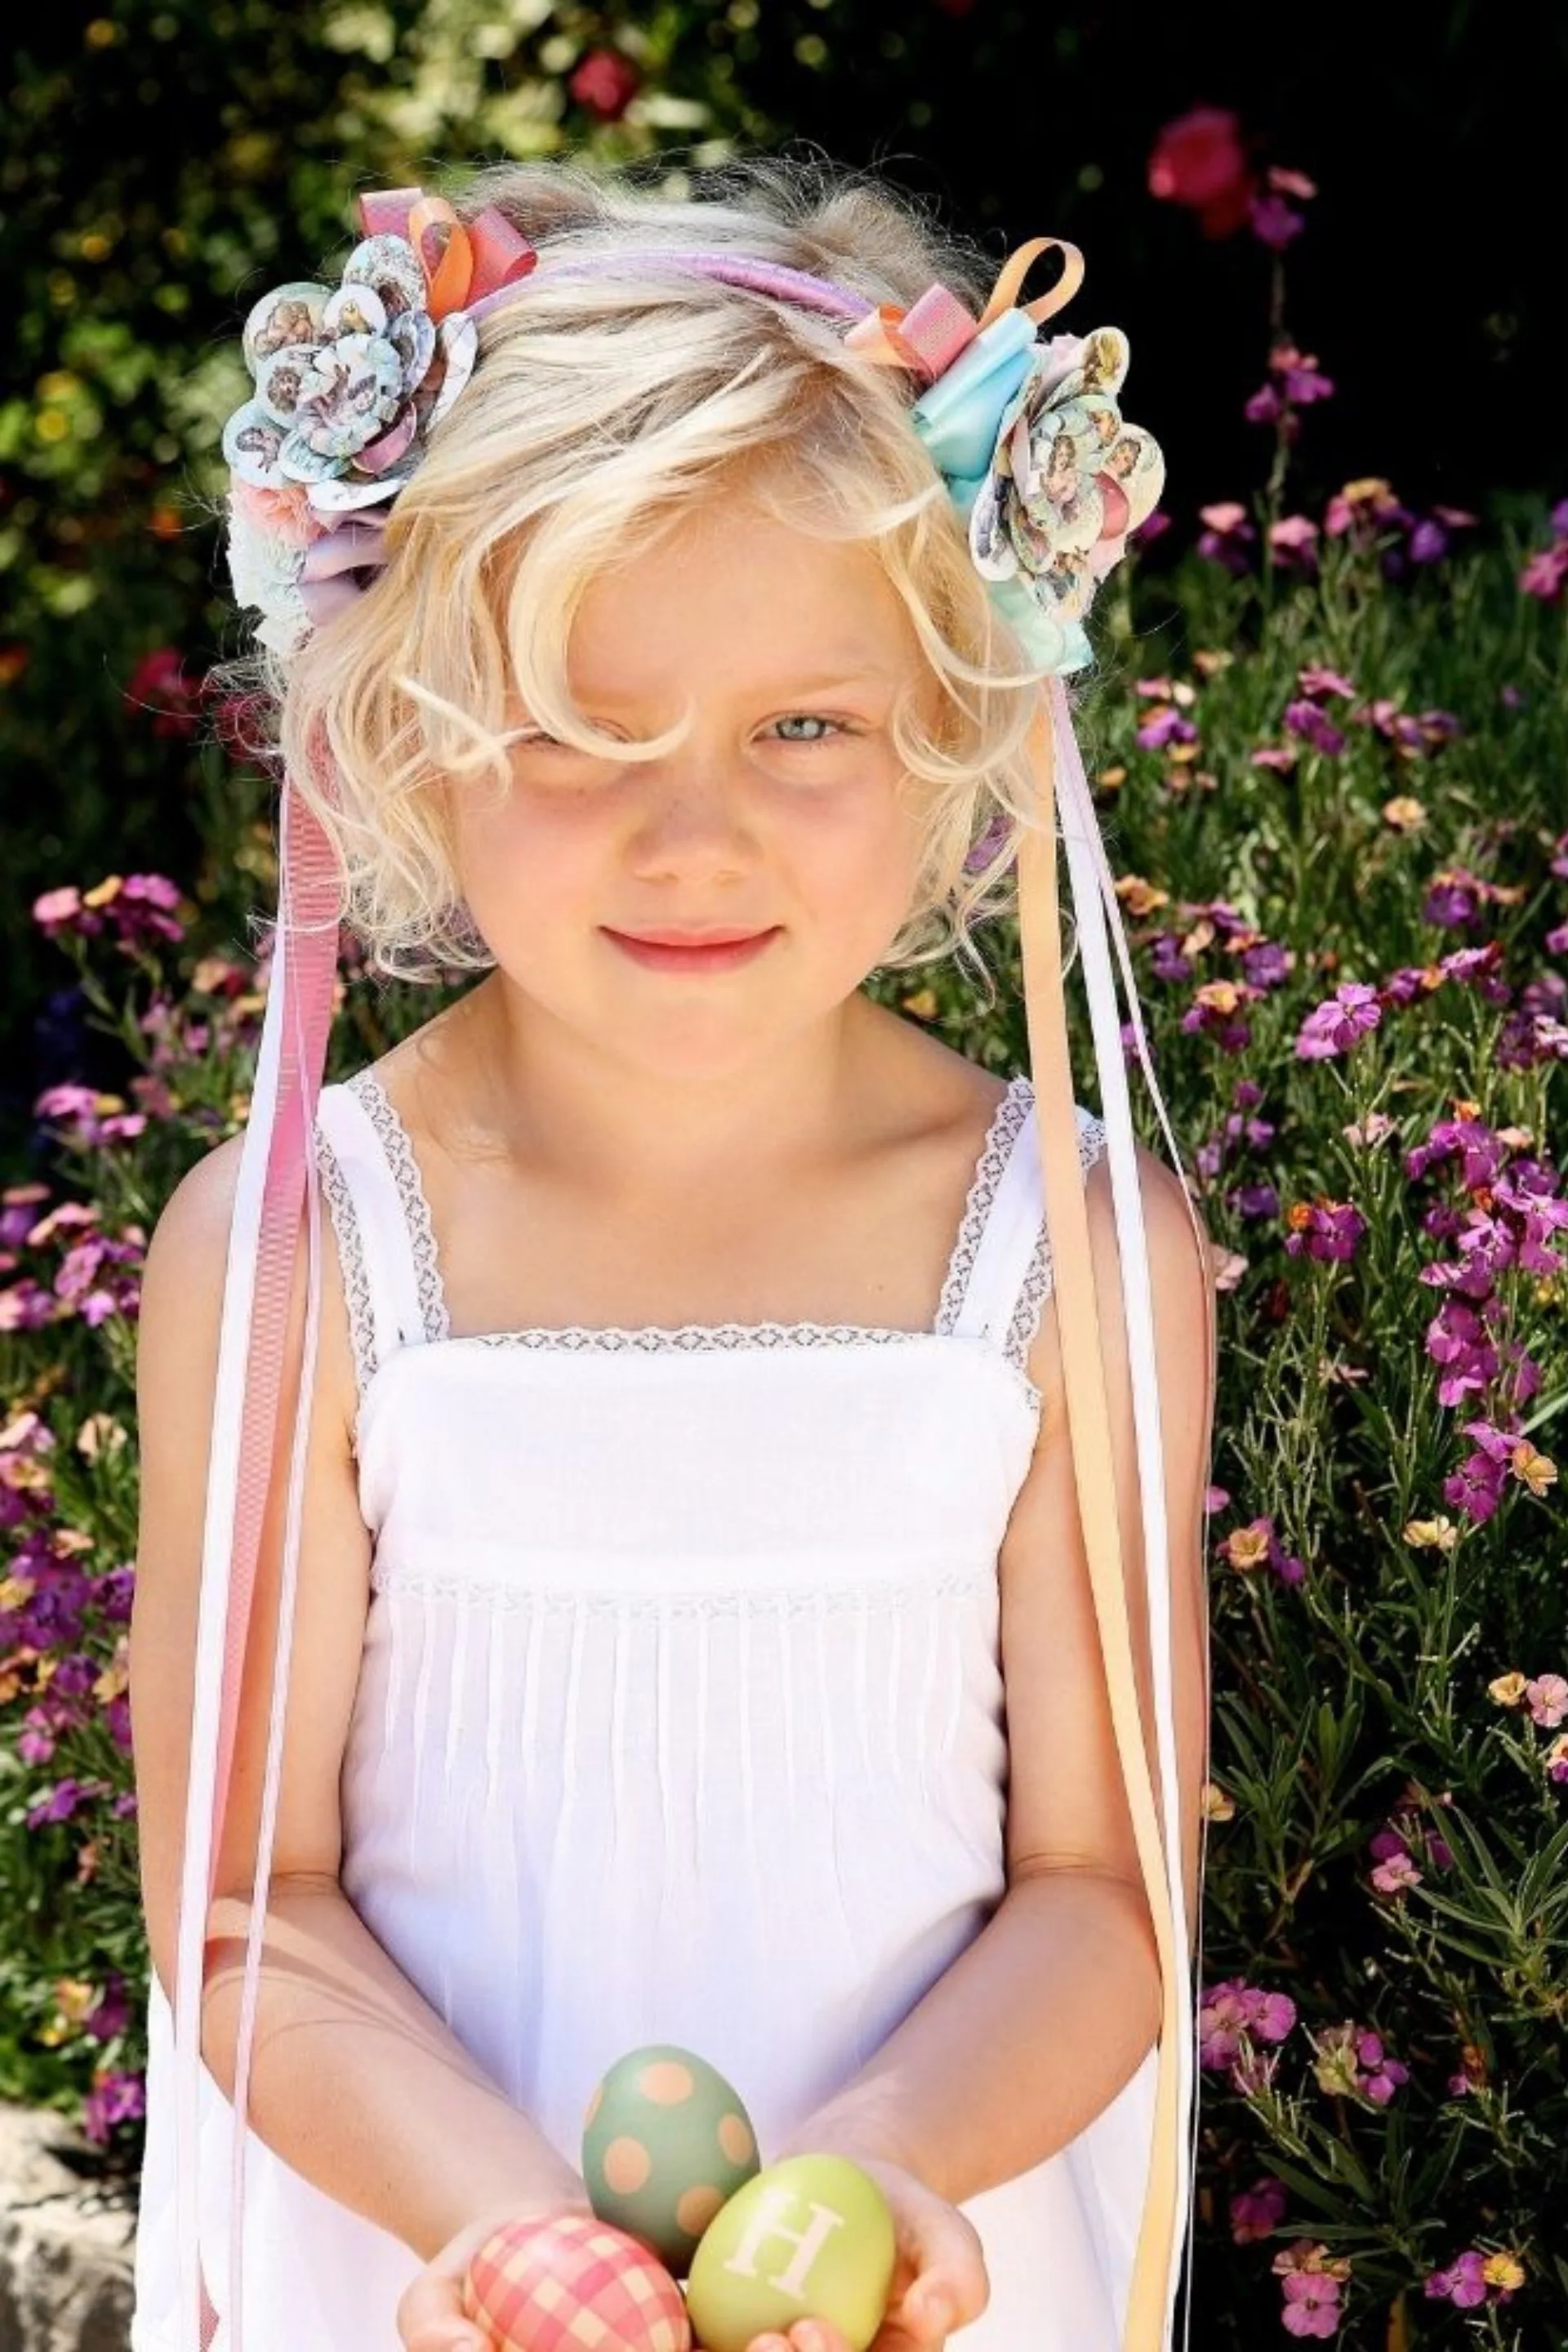
Flower crowns
Keep your kids busy and excited with a quick and easy craft station where they can create flower crowns.
Step 1
Fill a basket with basic crown supplies such as precut cardboard strips for the crown base, scissors, tacky craft glue, double-sided tape and burlap-covered wire. Add decorating supplies, including coloured yarn, paper tape and burlap ribbon. Get your little woodland wizards to forage in the garden for dried leaves, flowers and twigs. To plump out the selection, add fresh-cut flowers or an expired supermarket bouquet.
Step 2
For a crown that any pixie would be proud of, use glue or double-sided tape to attach leaves and flowers to the cardboard. Tuck the ends in with a strategically placed burlap ribbon, then attach the crown ends to fit your forest fairy’s head.
Step 3
Make a simple wire garland frame that’s ready for your mini crafters. Simply cut a length of wire, then bend to form a circle. Wind ends together and cover any sharp edges with paper tape. Choose trailing plants or long leaves to wind around a wire garland frame, then adorn with flowers, leaves and yarn. Use tape if needed to secure greenery and blooms.


02
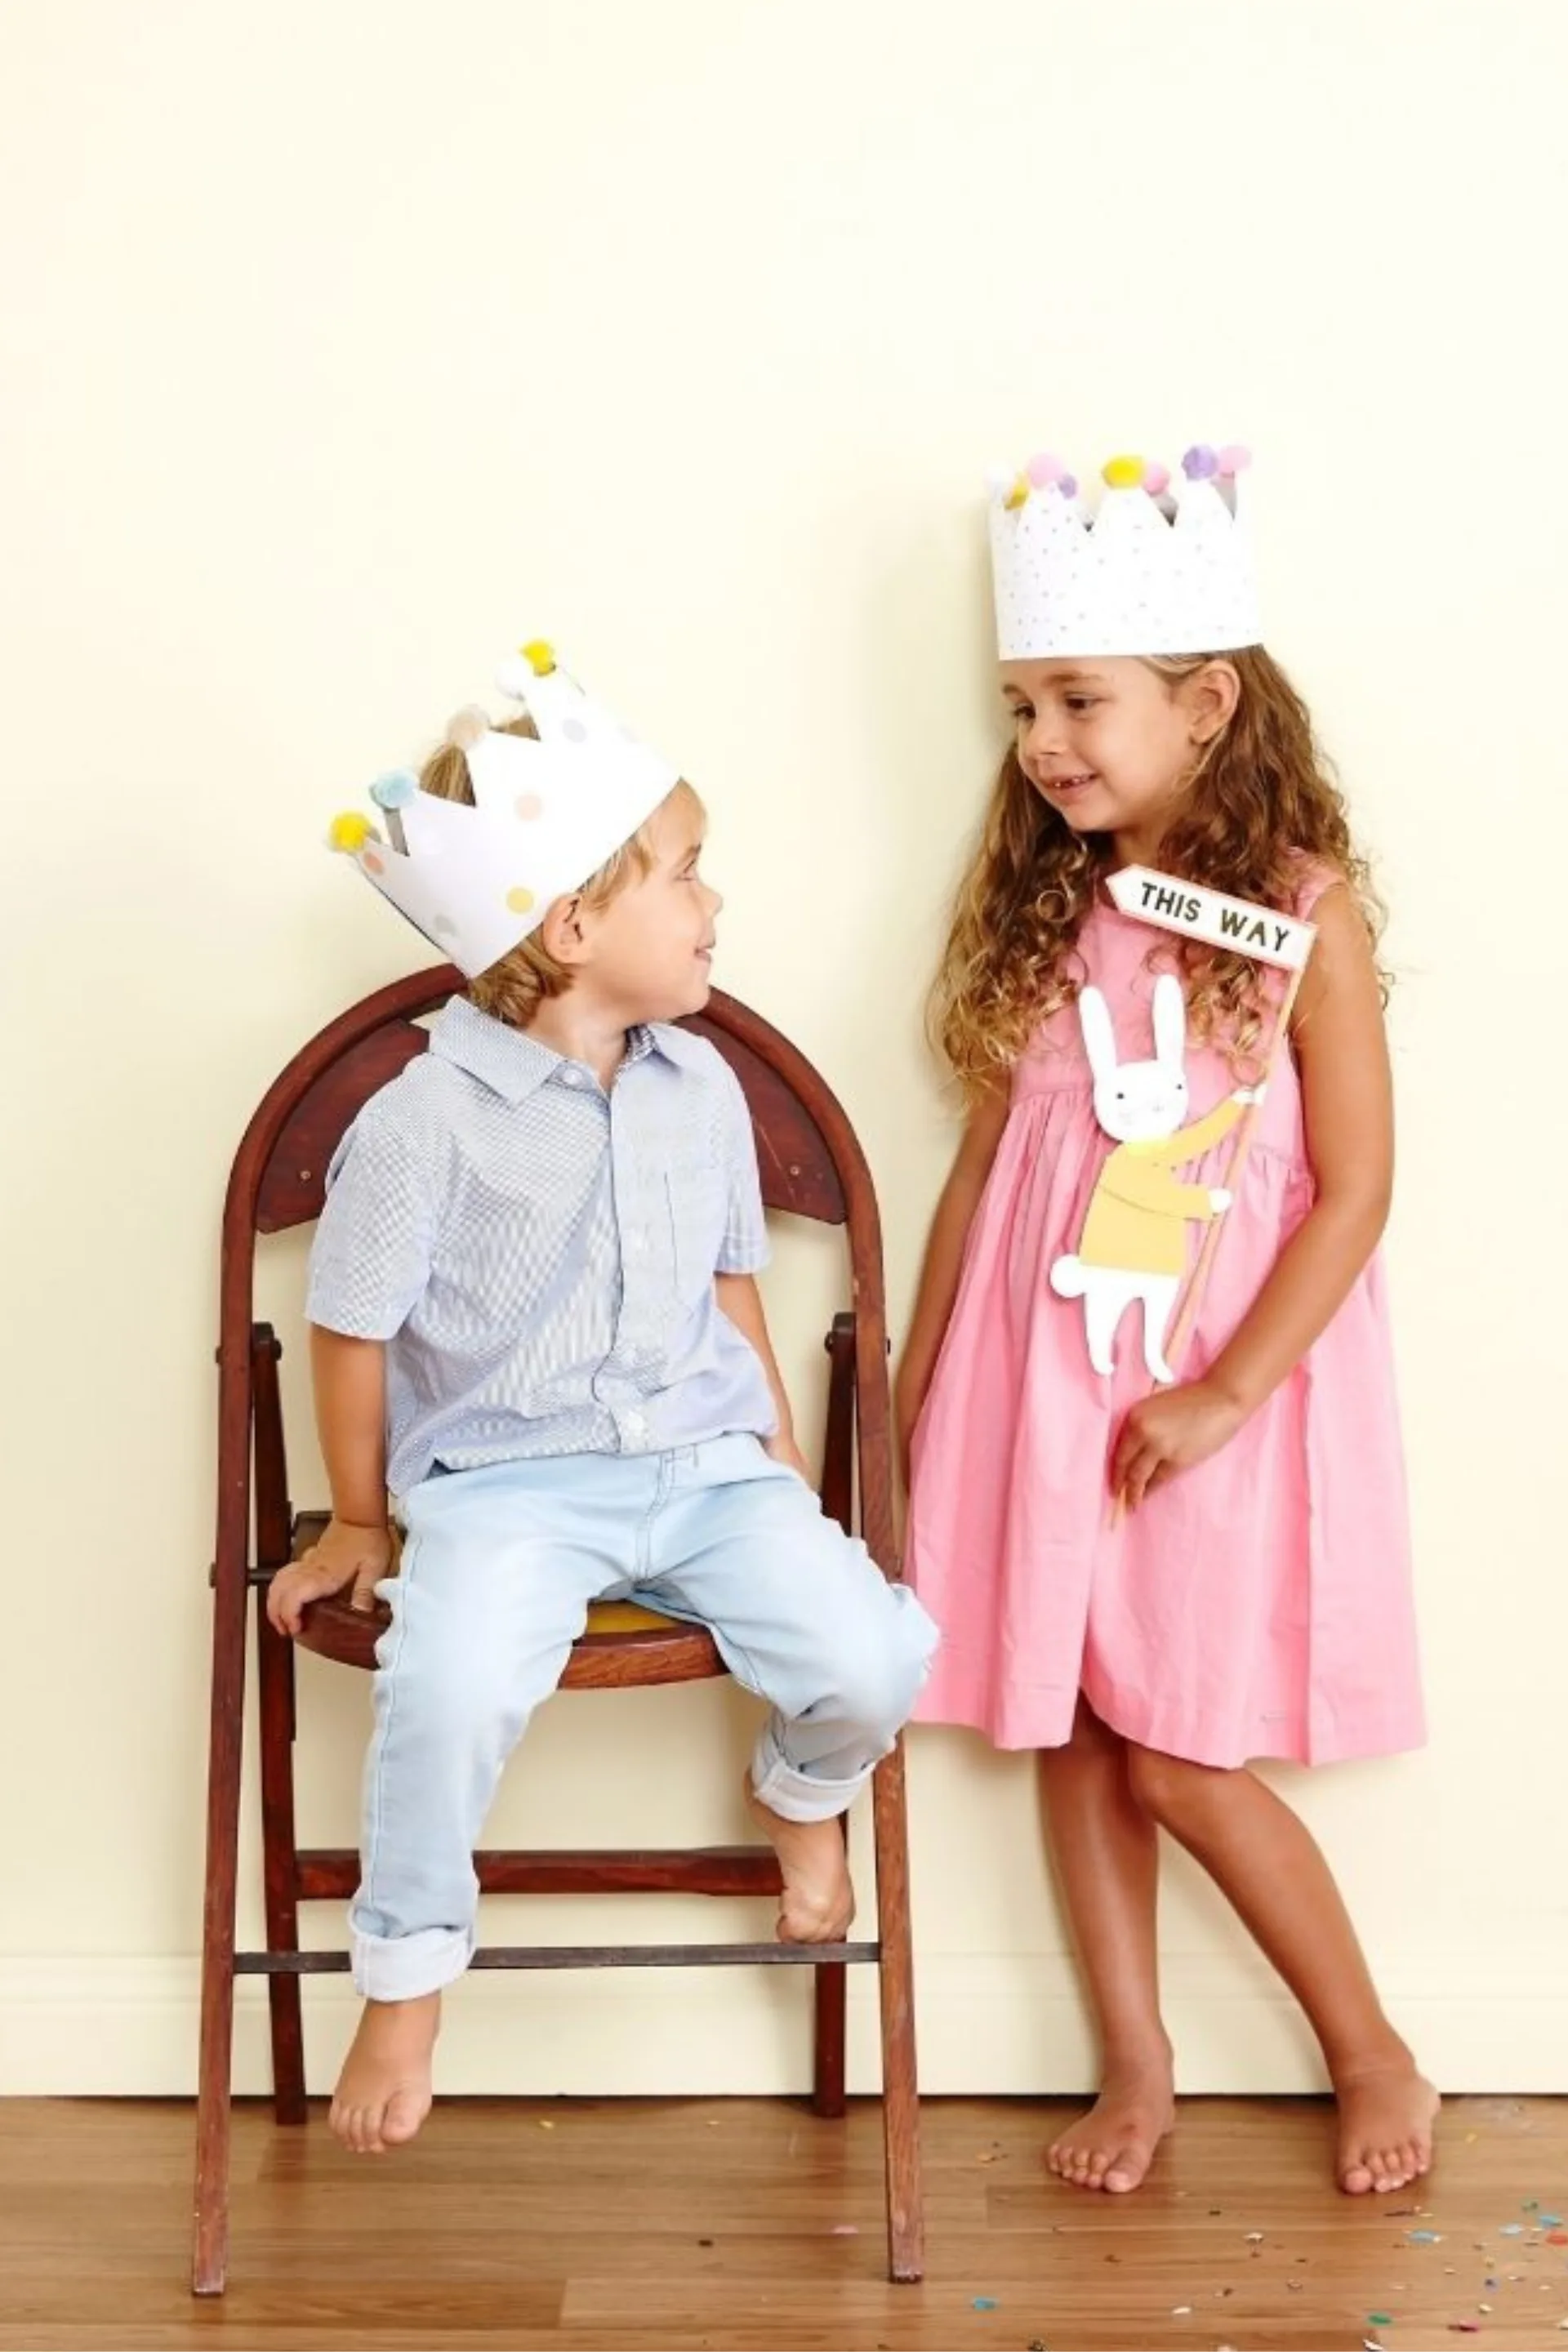
Confetti crown
This DIY crown is the perfect last-minute Easter hat project because it’s only one step!
Step 1
Transform a white piece of cardboard into a majestic crown with a bit of crafty cutting, colourful polka dots and pom poms glued to the end of each spike.
03
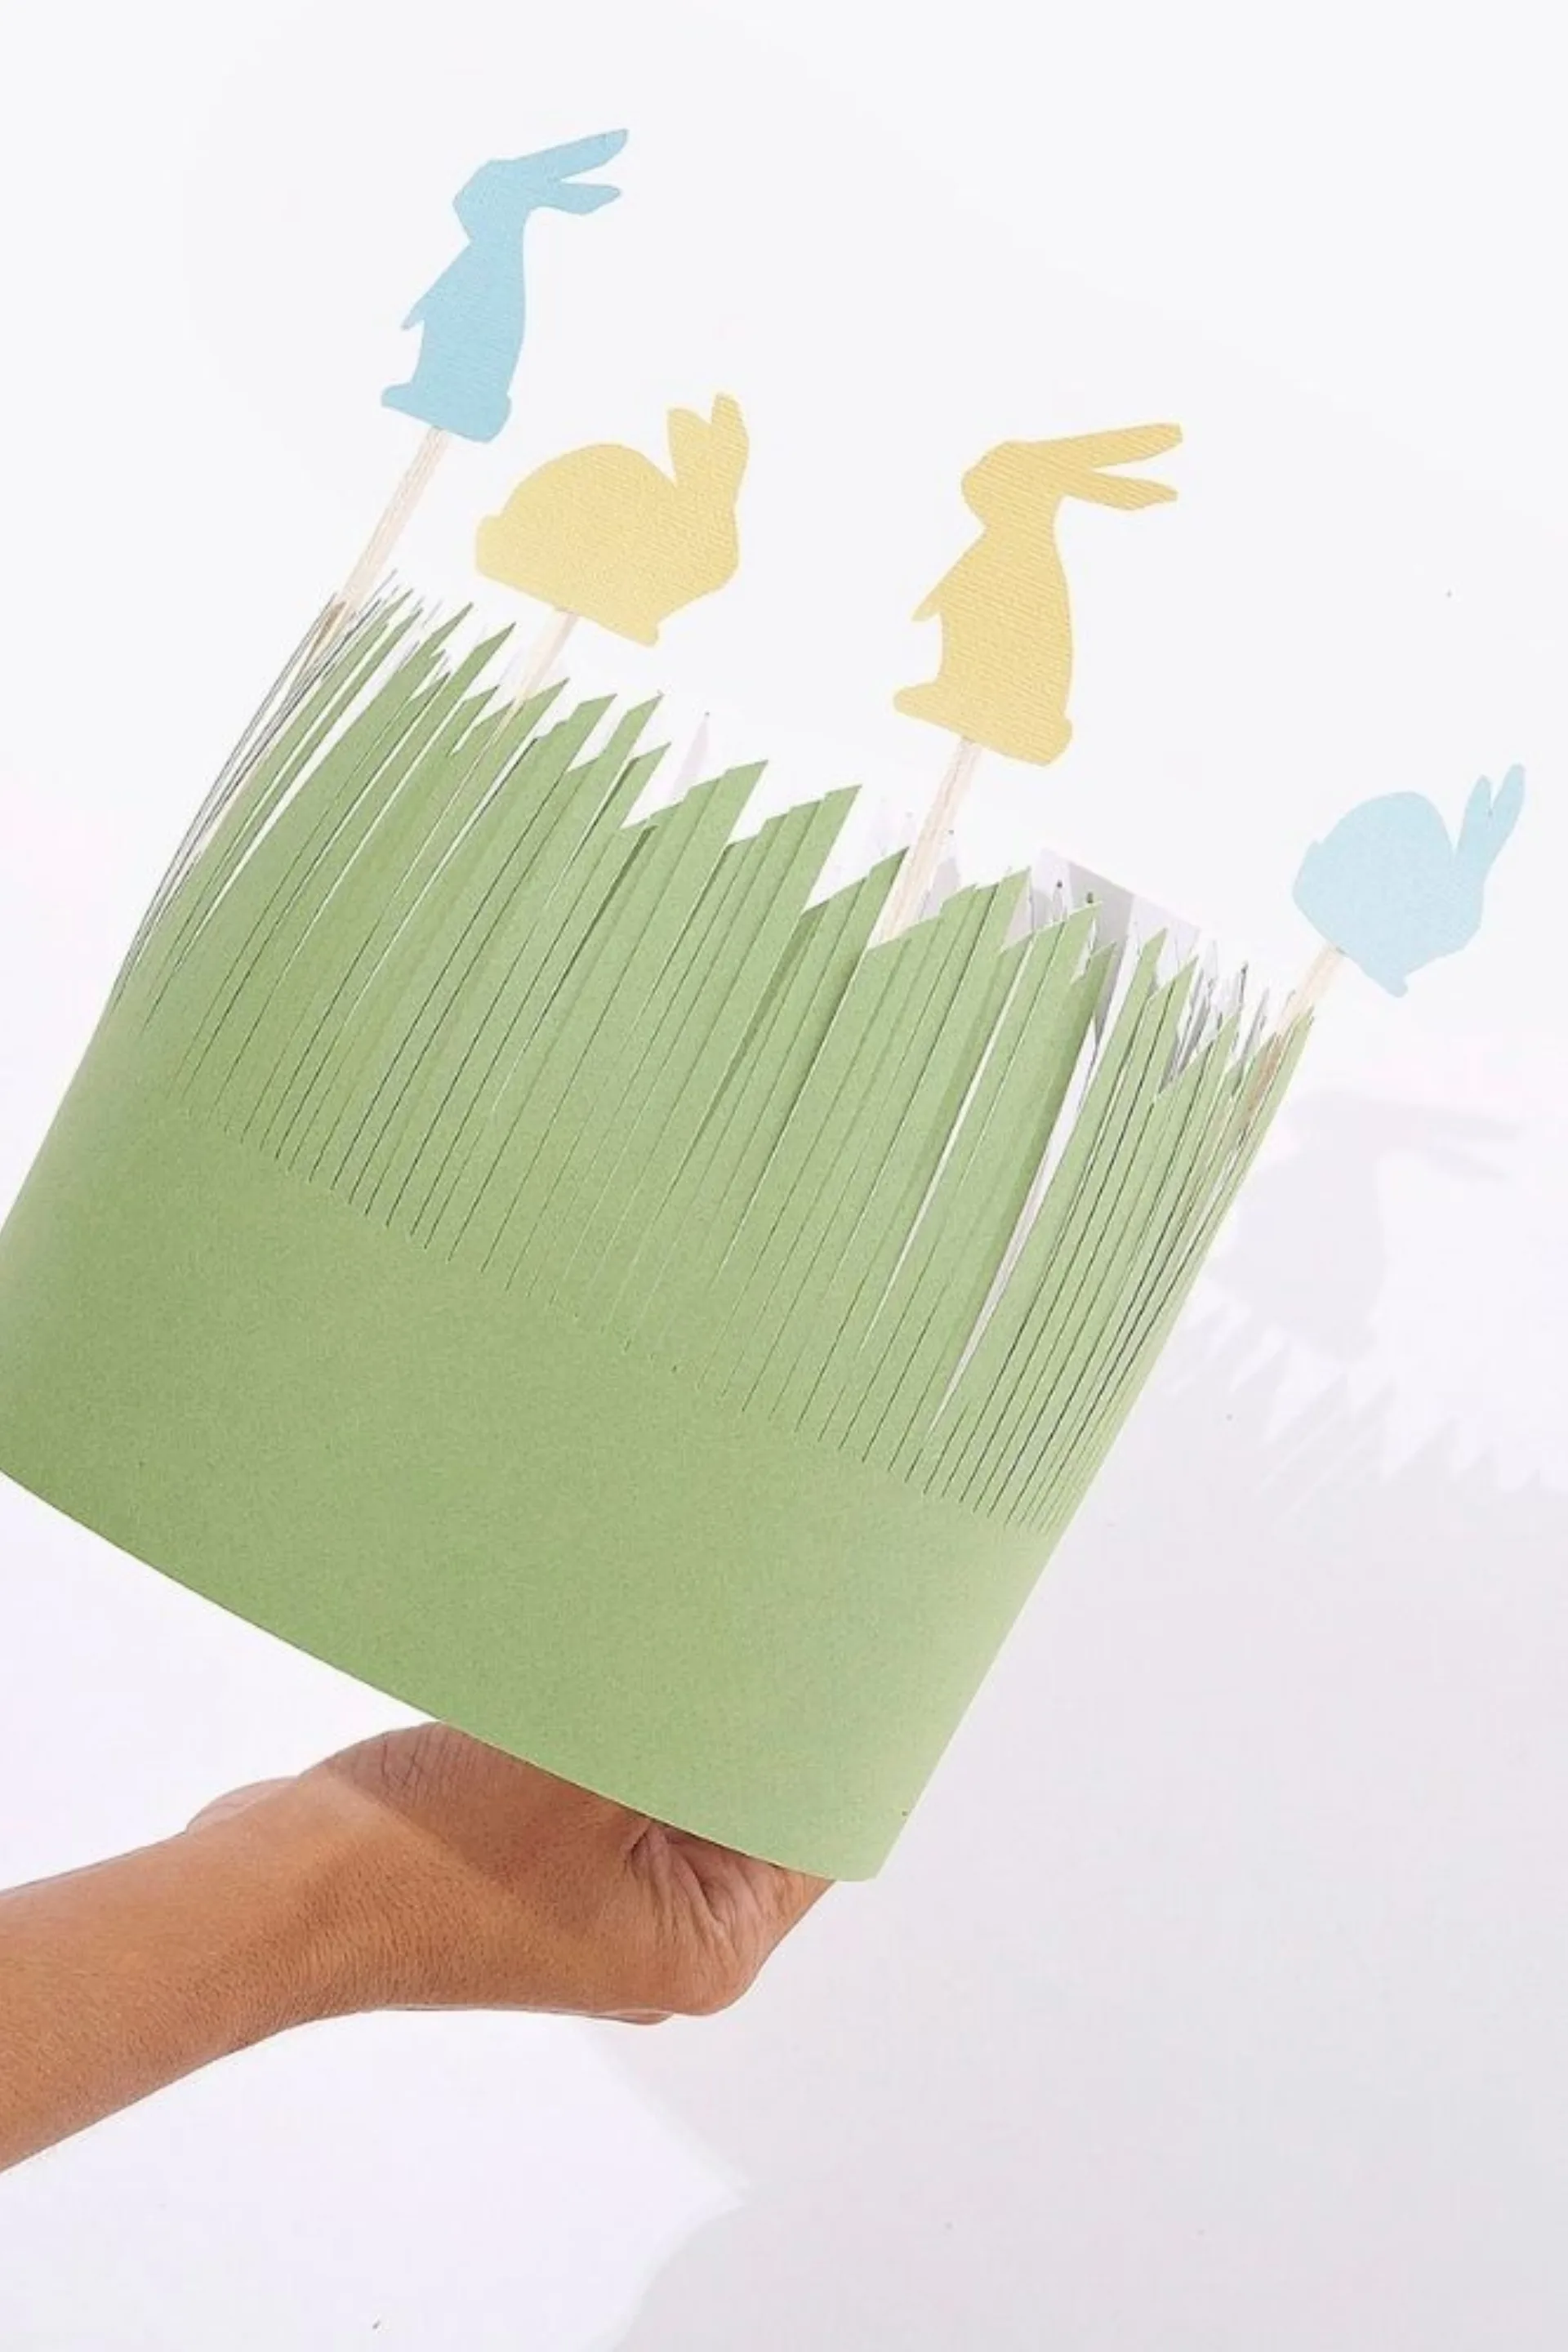
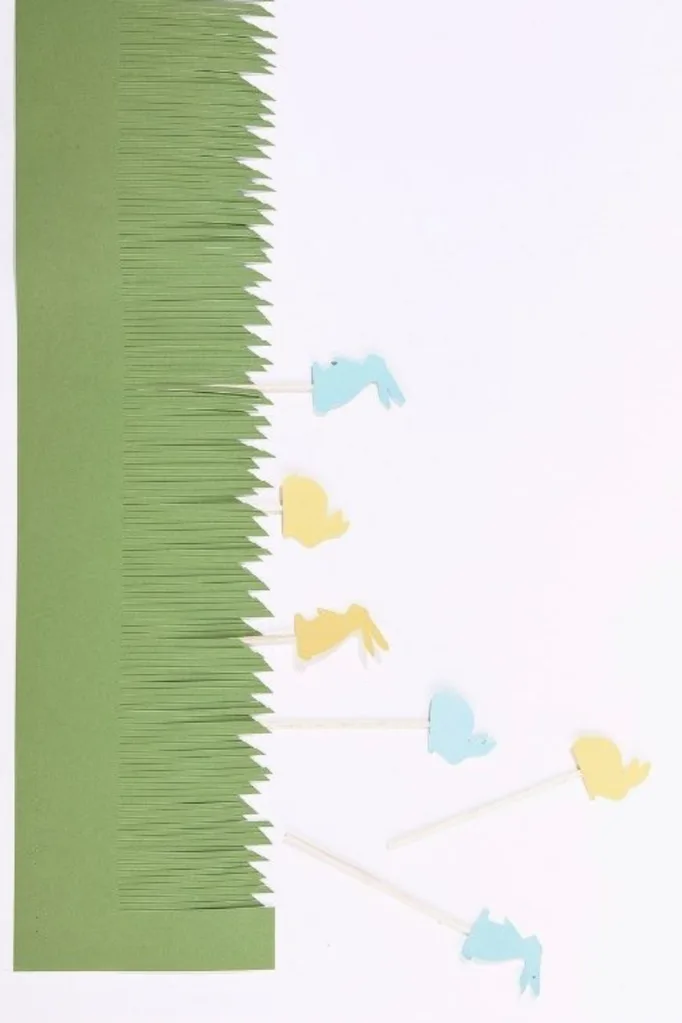
Rabbits in the garden
This project is a clever twist on the regular Easter crown design.
Step 1
To make it, cut out a series of cardboard bunnies. Attach the bunnies to paddle pop sticks and glue the sticks to a wide strip of yellow cardboard.

Step 2
To make the ‘lawn’, take a wide strip of green cardboard and cut straight lines one side until it is fringed all the way across. Attach both pieces of cardboard together, ensuring that the inner yellow strip is fully concealed by the green piece of cardboard. Secure the edges to create the hat.
TIP: For a fun variation, try cutting out different Easter-themed shapes like eggs, butterflies or flowers.
04
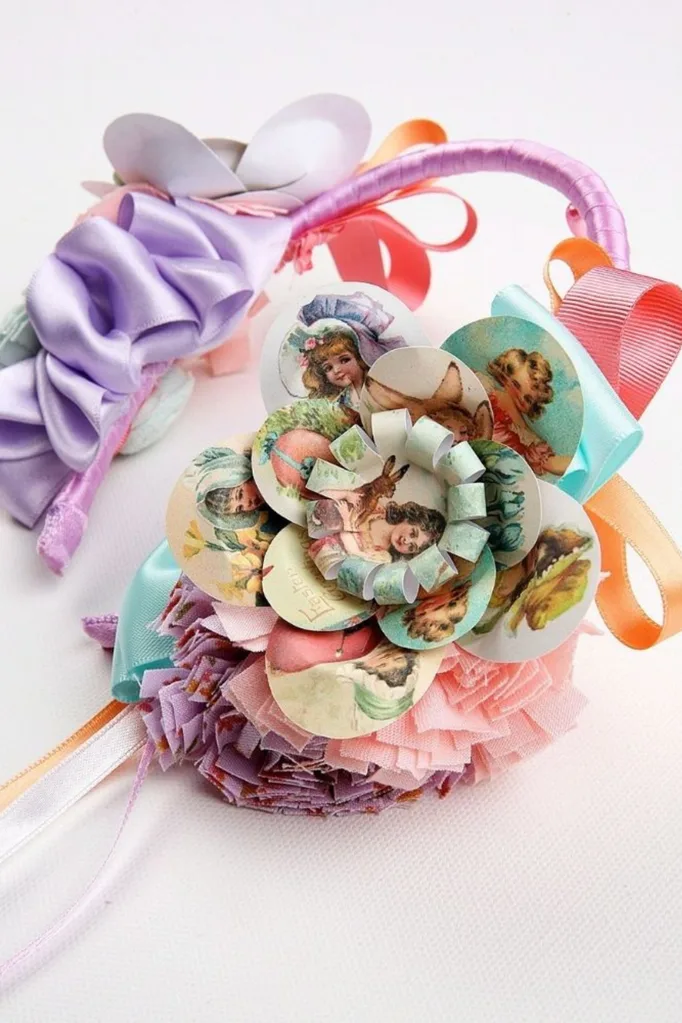
Easter streamer headband
Prefer something a little more subtle but just as cute? These gorgeous Easter streamer headbands will do the trick!
Wrap a headband in ribbon, secure ends with glue. Tie lengths of colourful ribbon to the frame and secure with glue. Allow to dry completely.
TIP: There are several ways you can make decorative rosettes: create flowers from fabric offcuts, make a ribbon flower, attach fake flowers, or create flowers from cardboard and secure them to the headband using string and glue.

05
Fluffy Easter bunny mask
If you’ve only got 30-minutes to make a hat, this project, which uses items you’ve probably already got at home, is for you.
Step 1
Cut a rabbit-shaped mask out of cardboard.
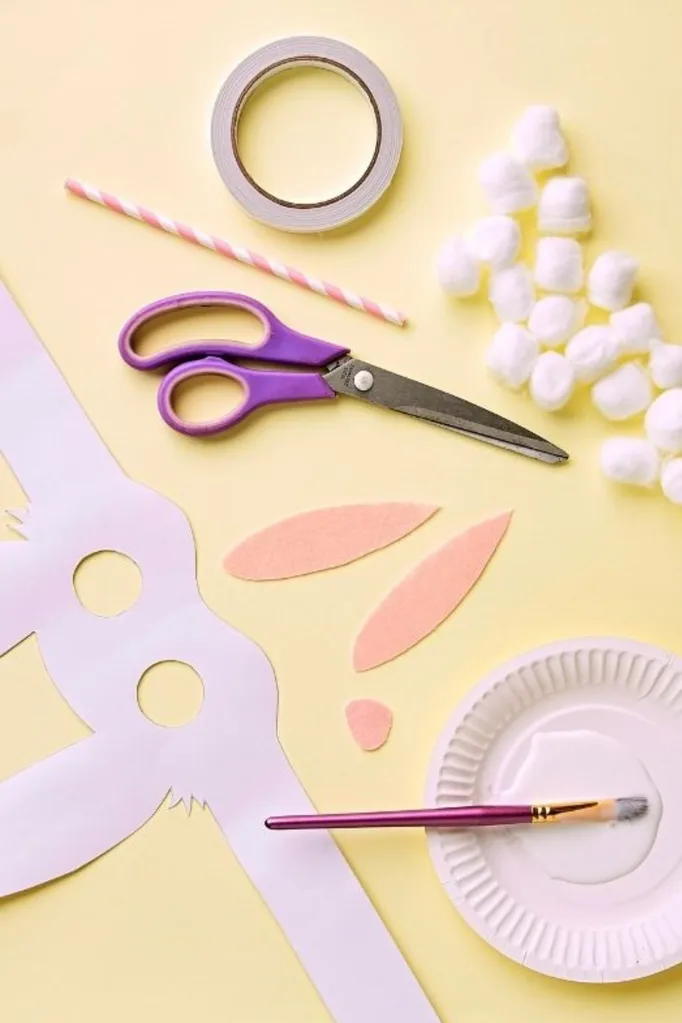
Step 2
Attach cotton balls to the mask using wood glue (be sure to leave room for pink ears and nose!). Then add the pink ears, nose and whiskers and you’re done!
