Home LIFESTYLE Craft

How to make a bauble and pom-pom garland 

DIY Christmas decorations the kids can help make.

Christmas crafts are a fun way to get creative and keep the kids entertained.  

This adorable garland is so easy to make and will look great hanging on your Christmas tree or the top of a door. It’s made using items you can easily pick up from Spotlight.  

Watch the how-to above, then see below for a detailed step-by-step guide. 

What you’ll need  

Here’s how 

Step 1

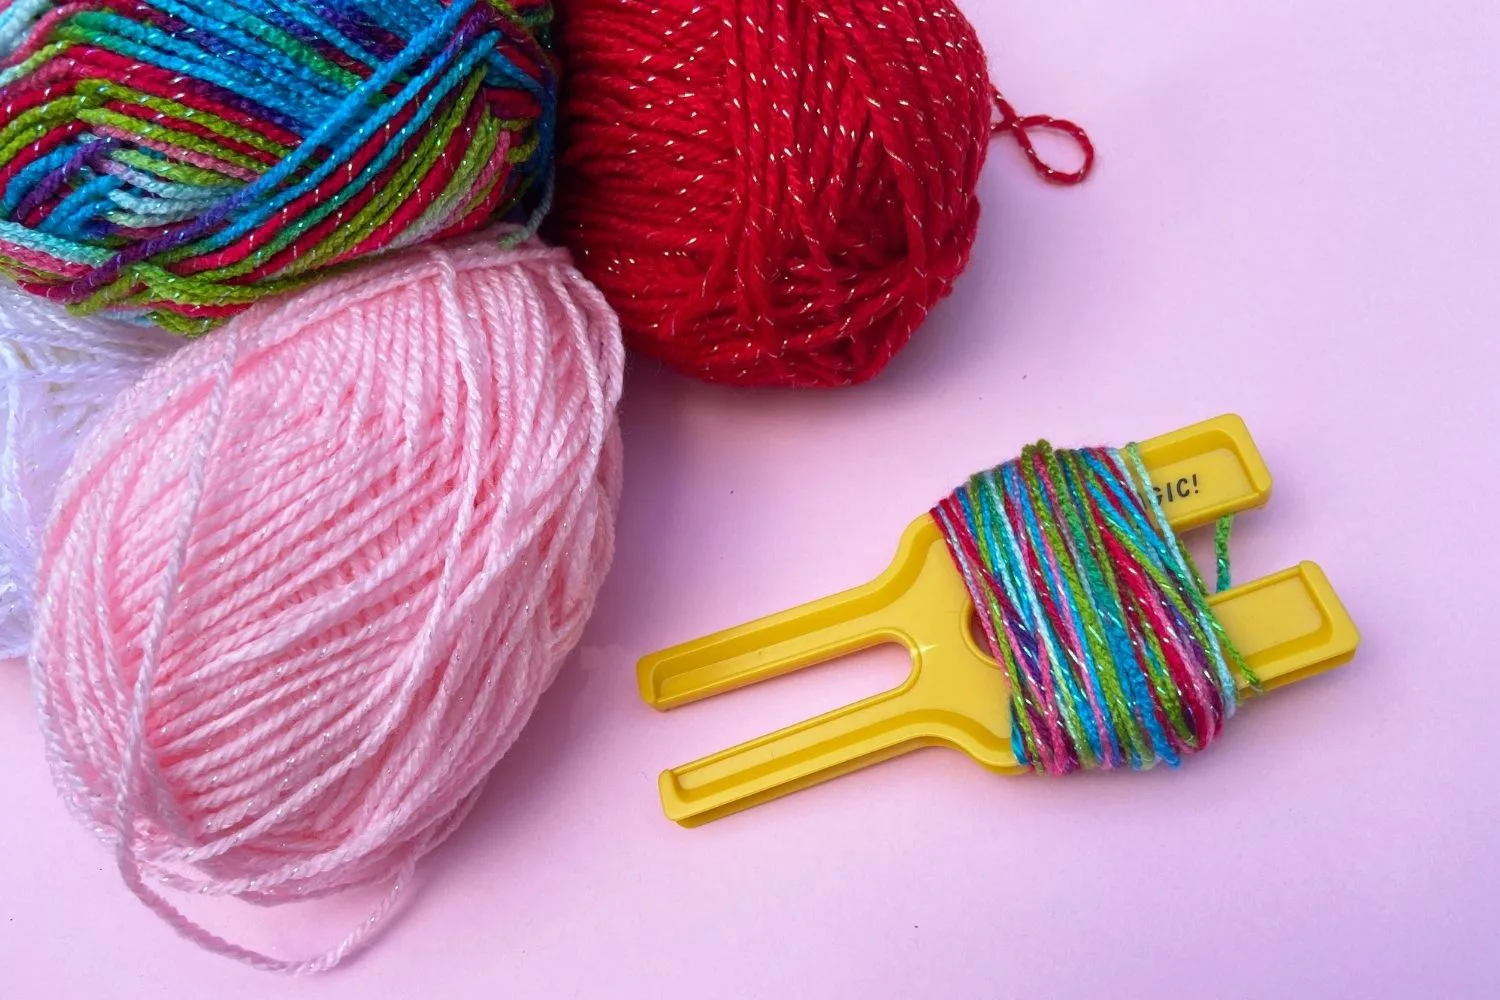
Lock yarn into your pom-pom maker. Wrap 20-30 times around your pom-pom spool then snip and repeat with all the remaining colours.
Step 1 (Credit: Handy With Scissors) (Credit: Handy With Scissors)

Lock yarn into your pom-pom maker. Wrap 20-30 times around your pom-pom spool then snip and repeat with all the remaining colours.

Step 2
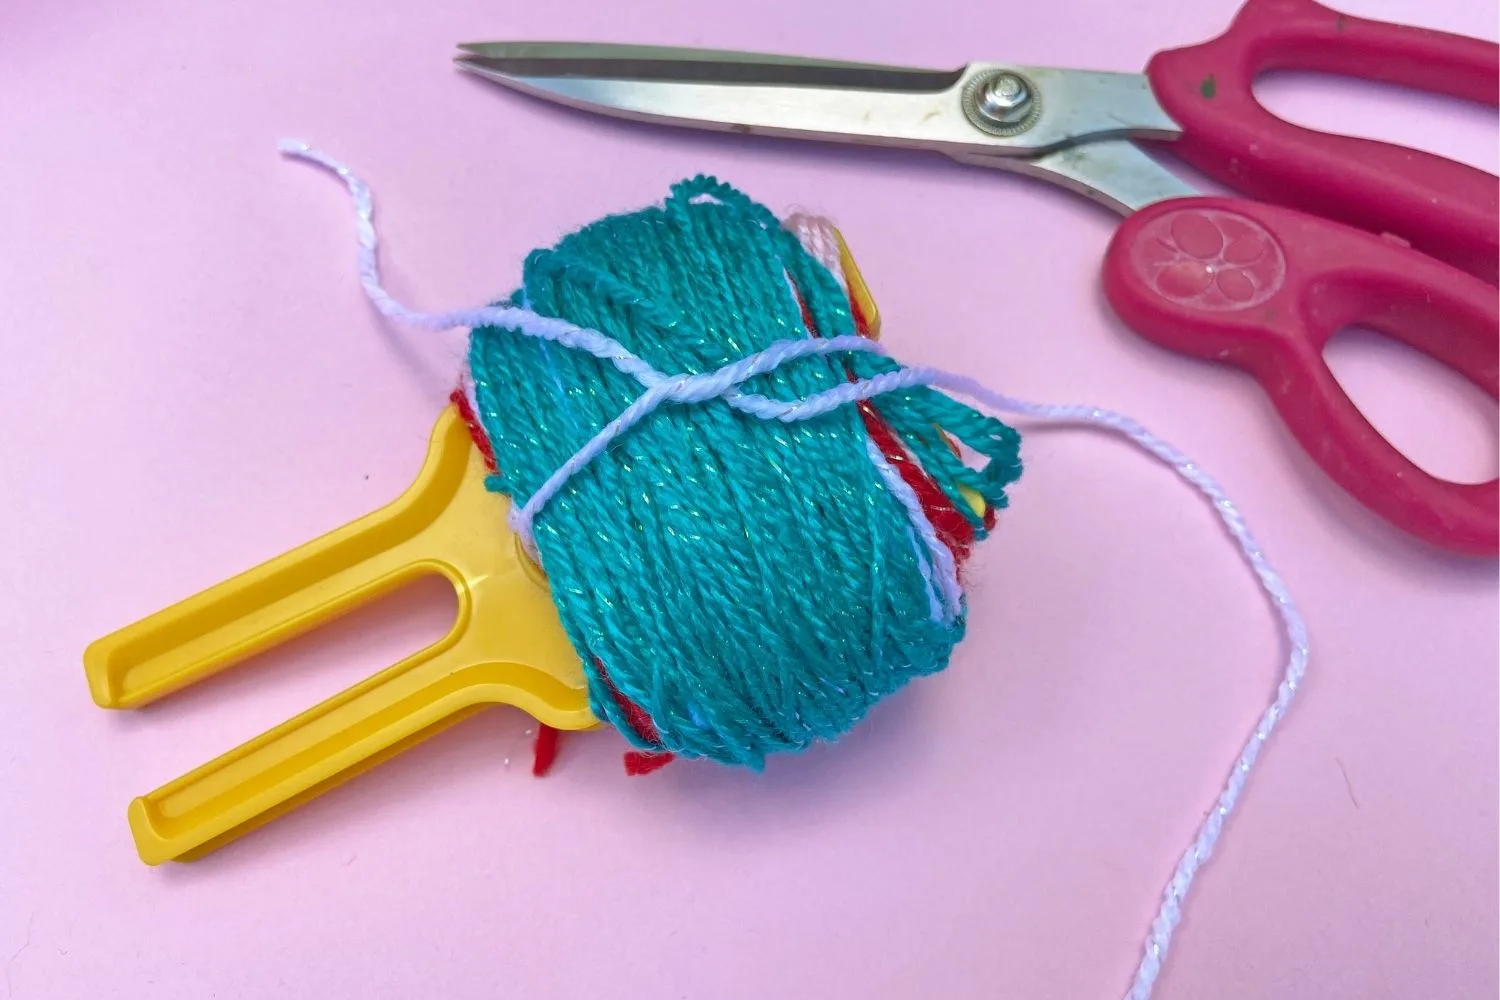
Cut about 30cm of yarn of any colour. Thread through the bottom of the U shape on your pom-pom maker and bring it around to tie in a loose knot.
Step 2 (Credit: Handy With Scissors) (Credit: Handy With Scissors)

Cut about 30cm of yarn of any colour. Thread through the bottom of the U shape on your pom-pom maker and bring it around to tie in a loose knot.

Step 3
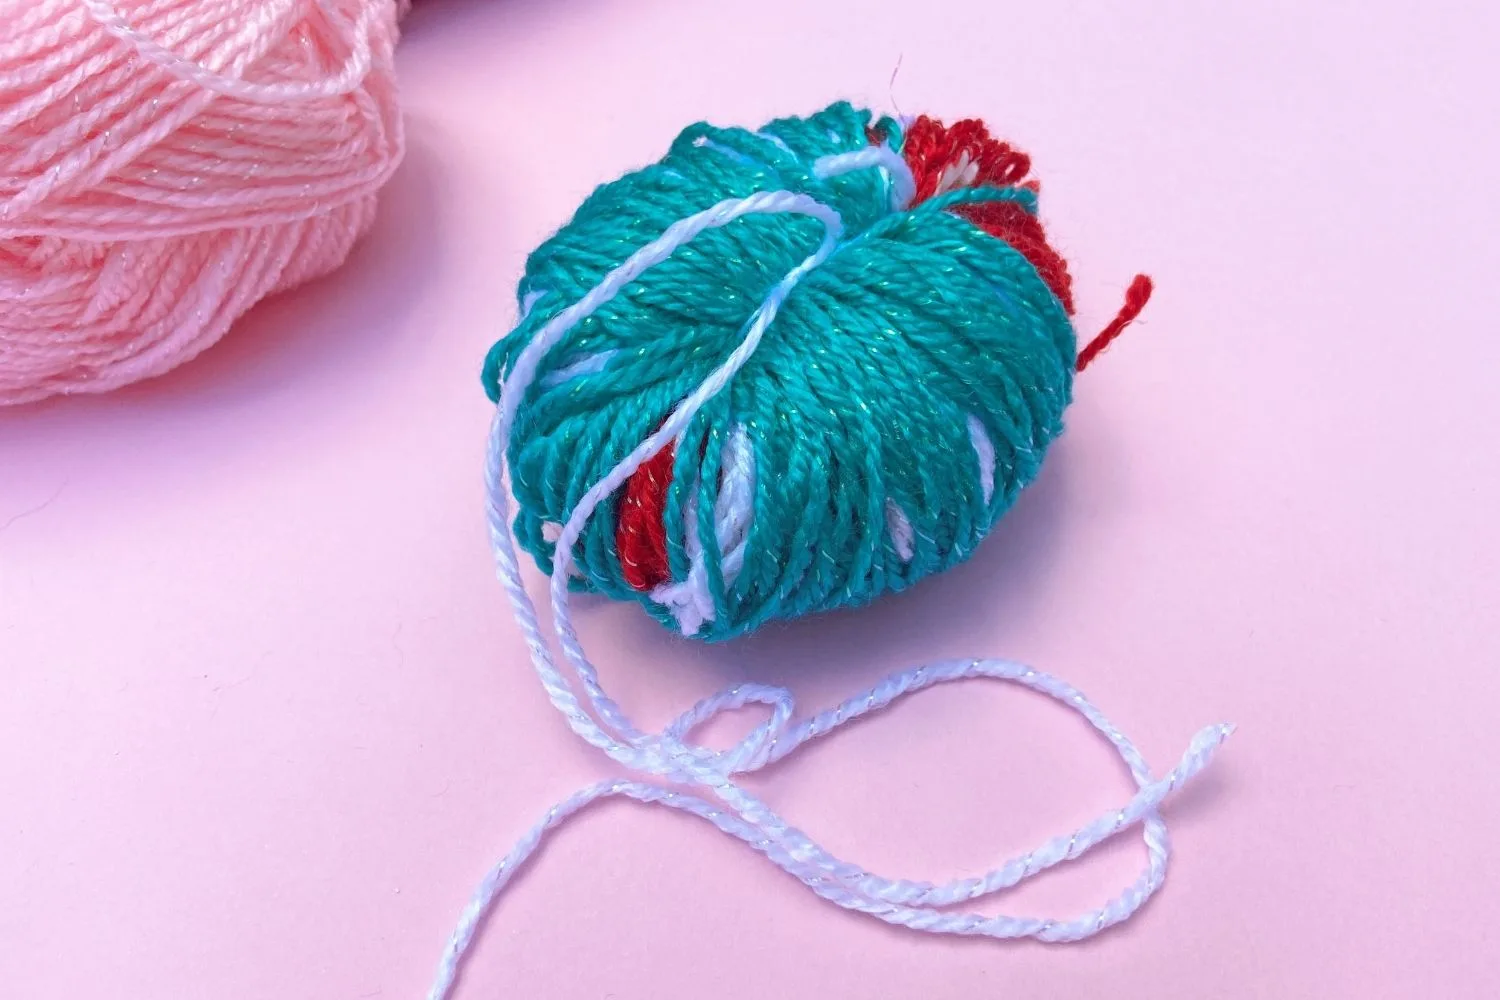
Slip the yarn off the spool then tighten your knot to secure.
Step 3 (Credit: Handy With Scissors) (Credit: Handy With Scissors)

Slip the yarn off the spool then tighten your knot to secure.

Step 4
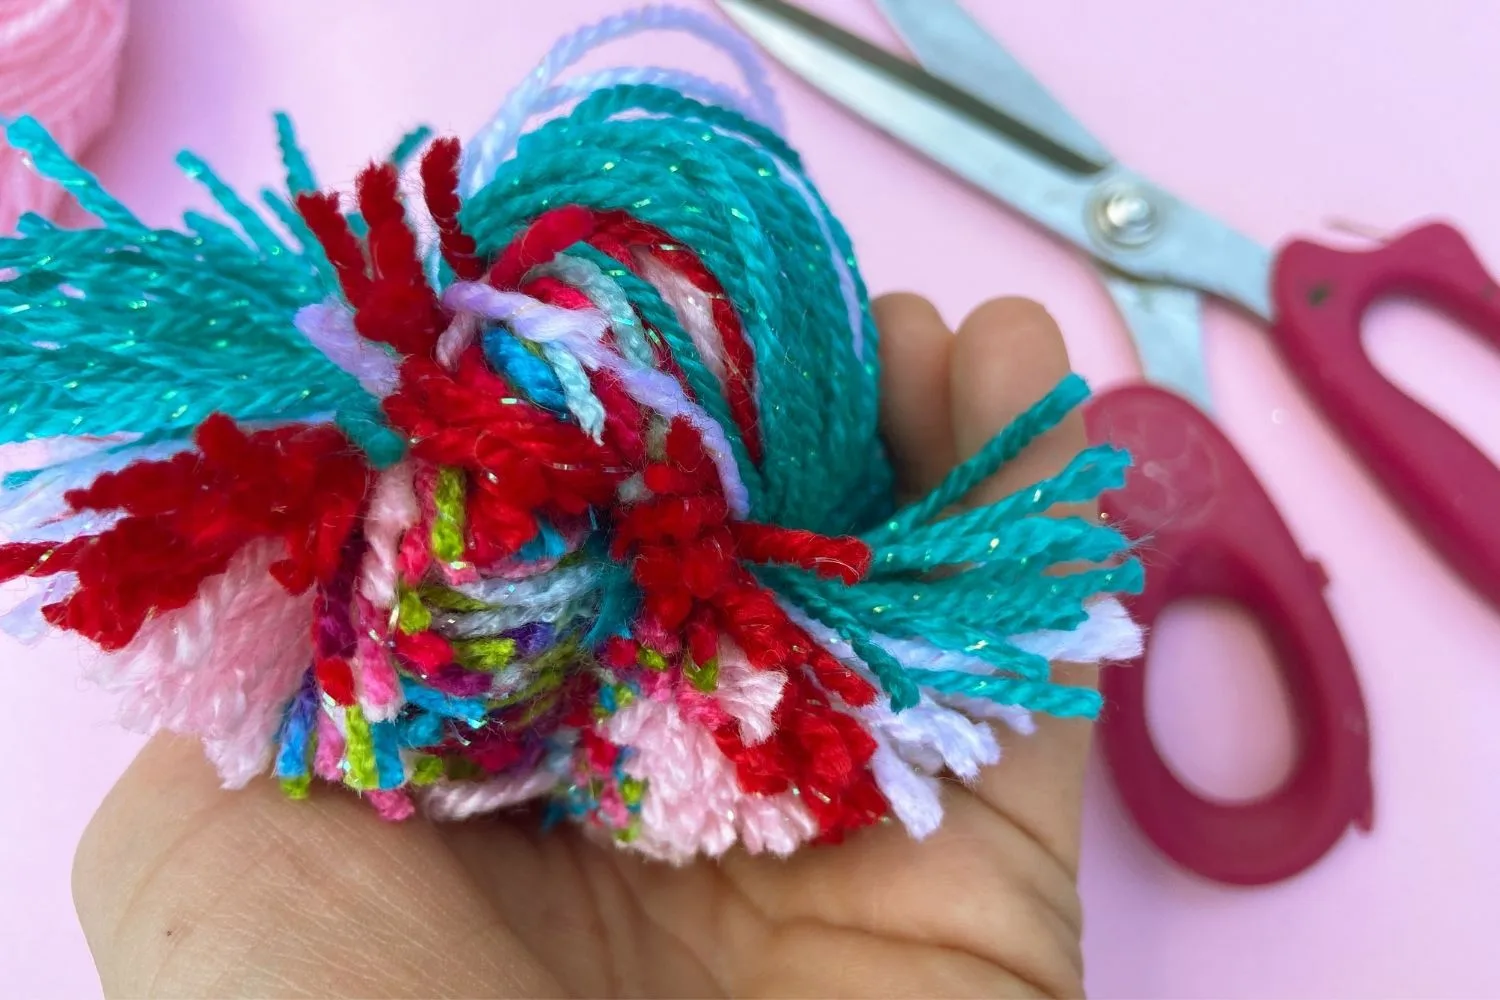
Using sharp scissors, snip the loops all the way around making sure not to cut the string you used to tie the pom-pom.
Step 4 (Credit: Handy With Scissors) (Credit: Handy With Scissors)

Using sharp scissors, snip the loops all the way around making sure not to cut the string you used to tie the pom-pom.

Step 5
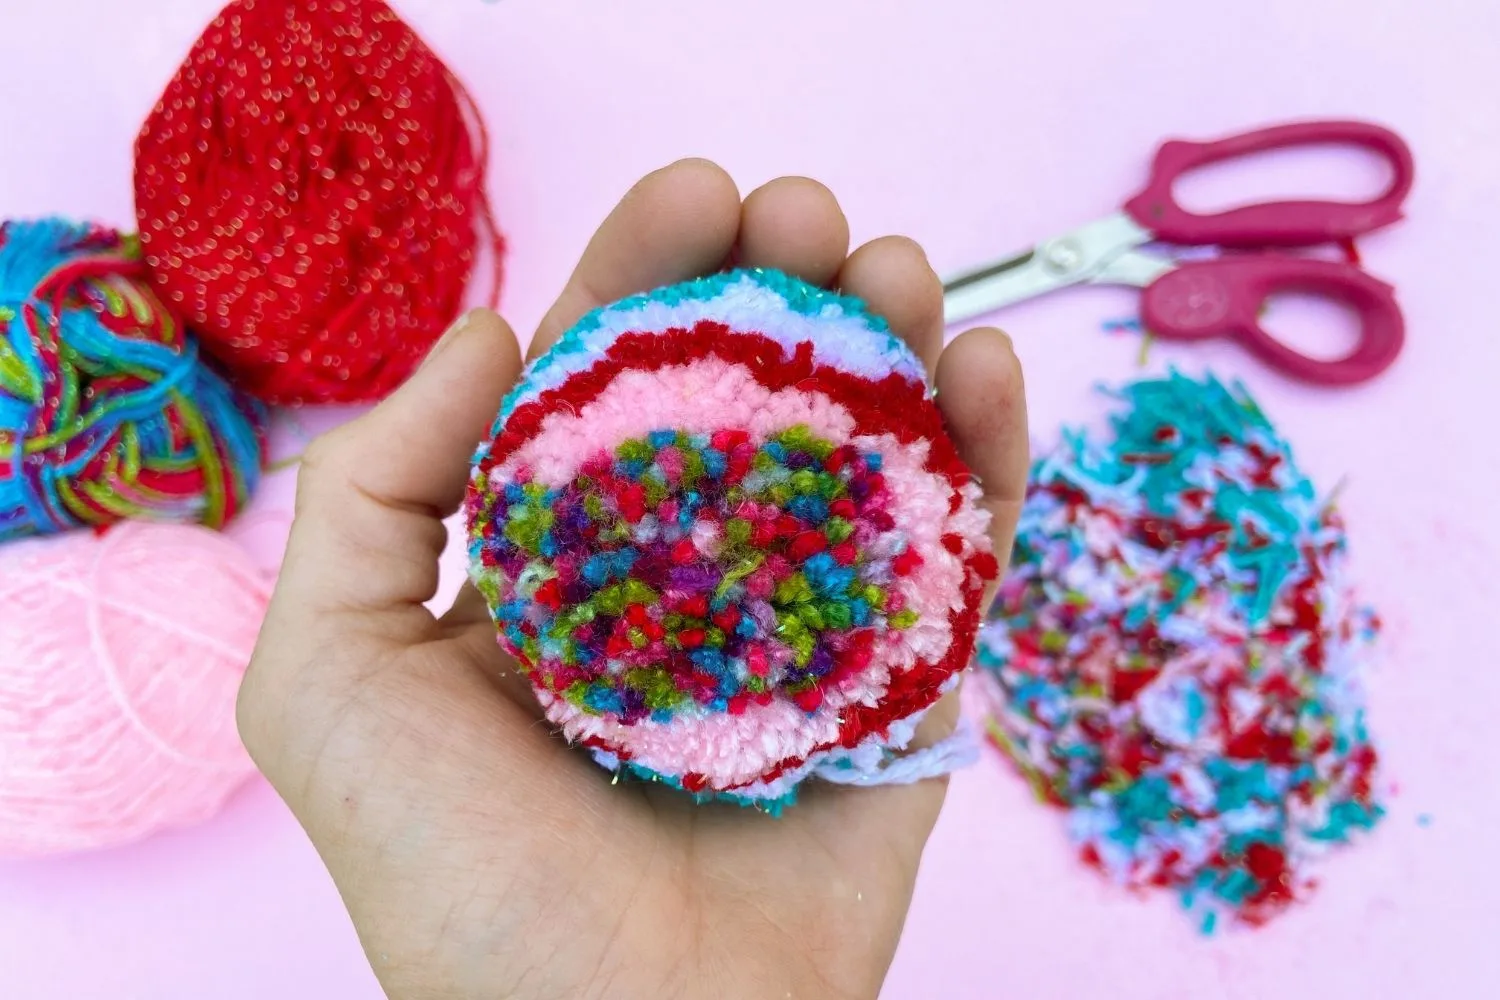
Once all loops have been cut, trim until you have a nice round shape. Repeat to make 6 pom-poms.
Step 5 (Credit: Handy With Scissors) (Credit: Handy With Scissors)

Once all loops have been cut, trim until you have a nice round shape. Repeat to make 6 pom-poms.

Step 6
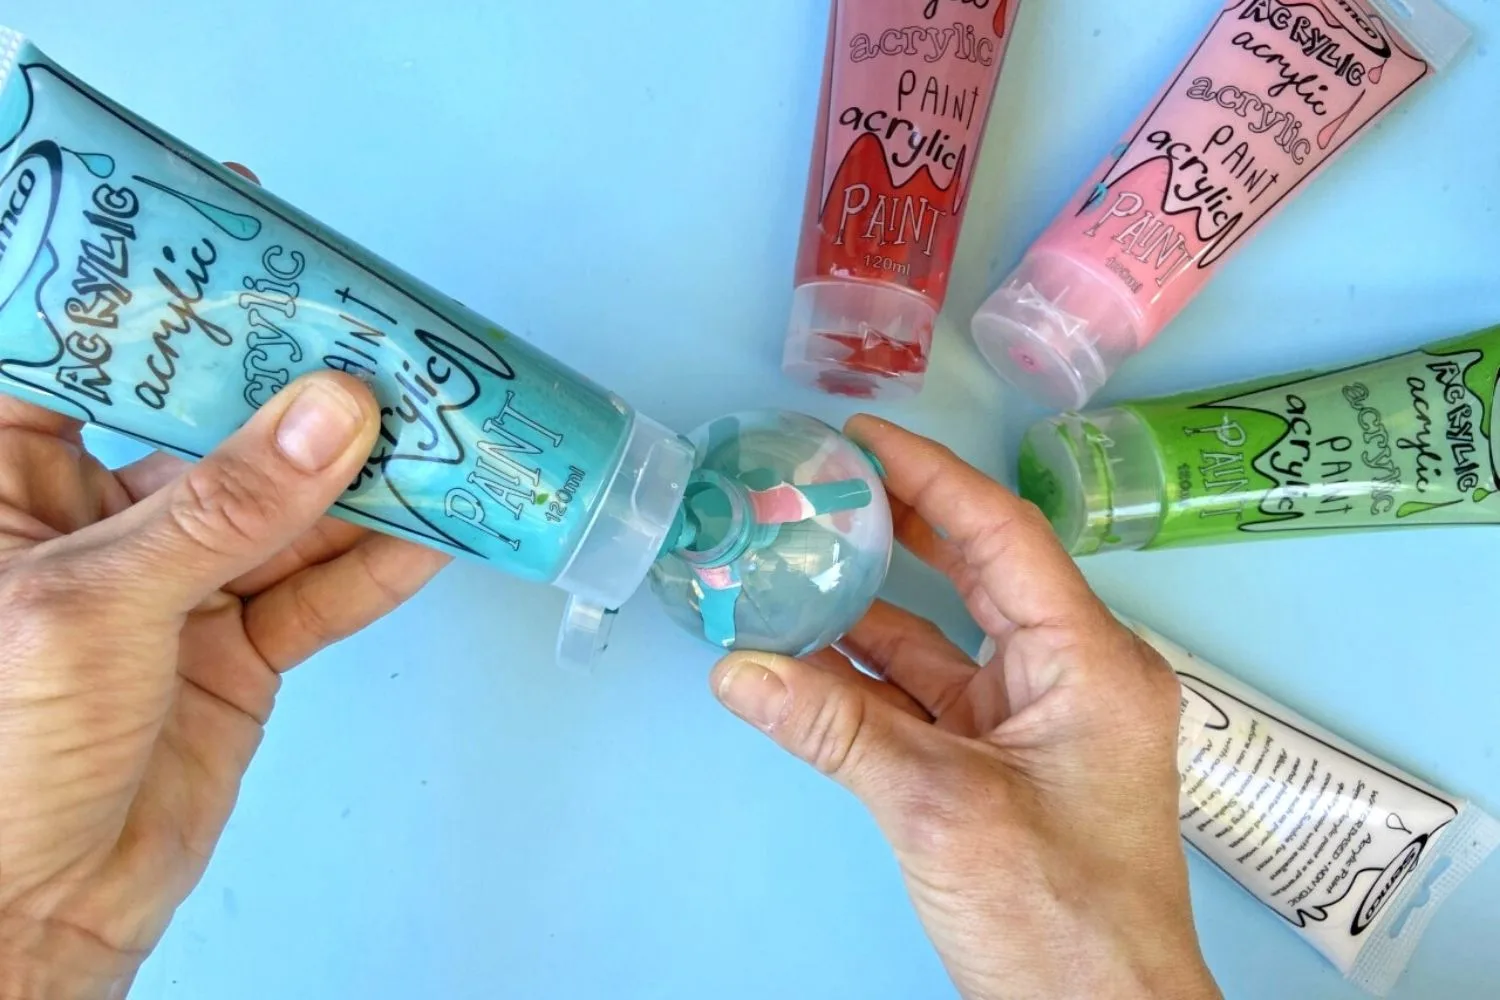
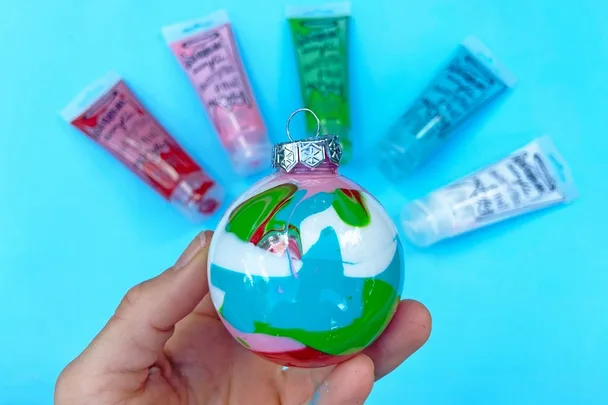
Remove the tops from your clear baubles and squirt a small amount of paint inside, in colours of your choosing.
Step 6 (Credit: Handy With Scissors) (Credit: Handy With Scissors)

Remove the tops from your clear baubles and squirt a small amount of paint inside, in colours of your choosing.

Step 7
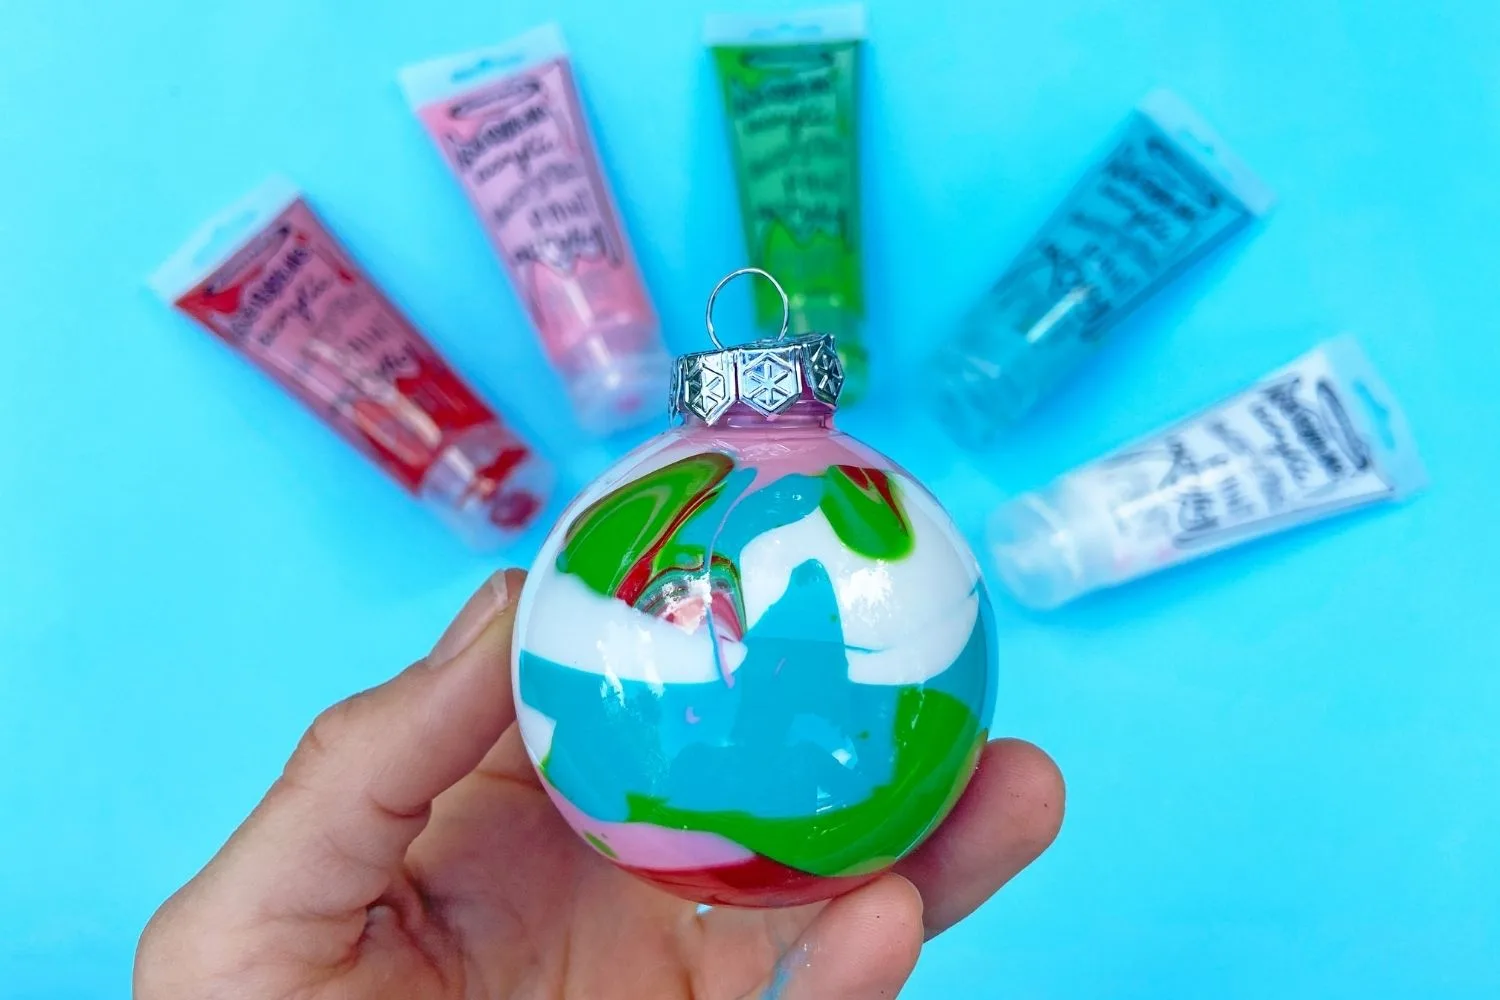
Replace the lid and swirl or shake the paint until it covers the insides of the bauble. Replace the cap. Repeat to make 6 baubles.
Step 7 (Credit: Handy With Scissors) (Credit: Handy With Scissors)

Replace the lid and swirl or shake the paint until it covers the insides of the bauble. Replace the cap. Repeat to make 6 baubles.

Step 8
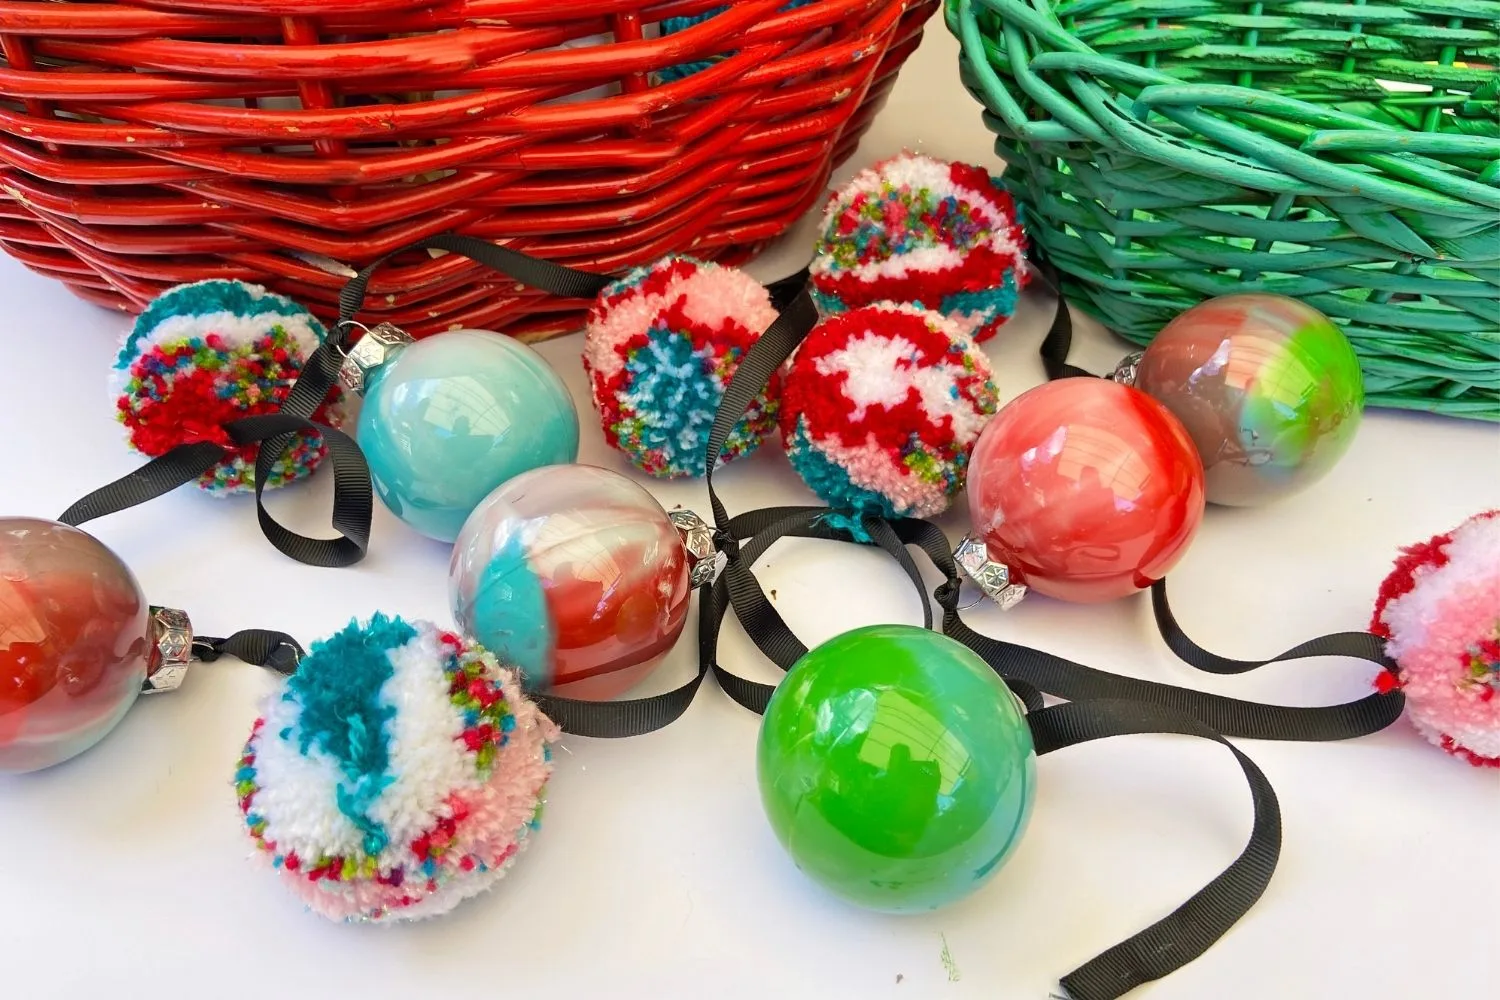
Leave for a few hours to dry, then alternate tying the pom poms and baubles onto your ribbon or spare yarn.
Step 8 (Credit: Handy With Scissors) (Credit: Handy With Scissors)

Leave for a few hours to dry, then alternate tying the pom poms and baubles onto your ribbon or spare yarn.

Step 9
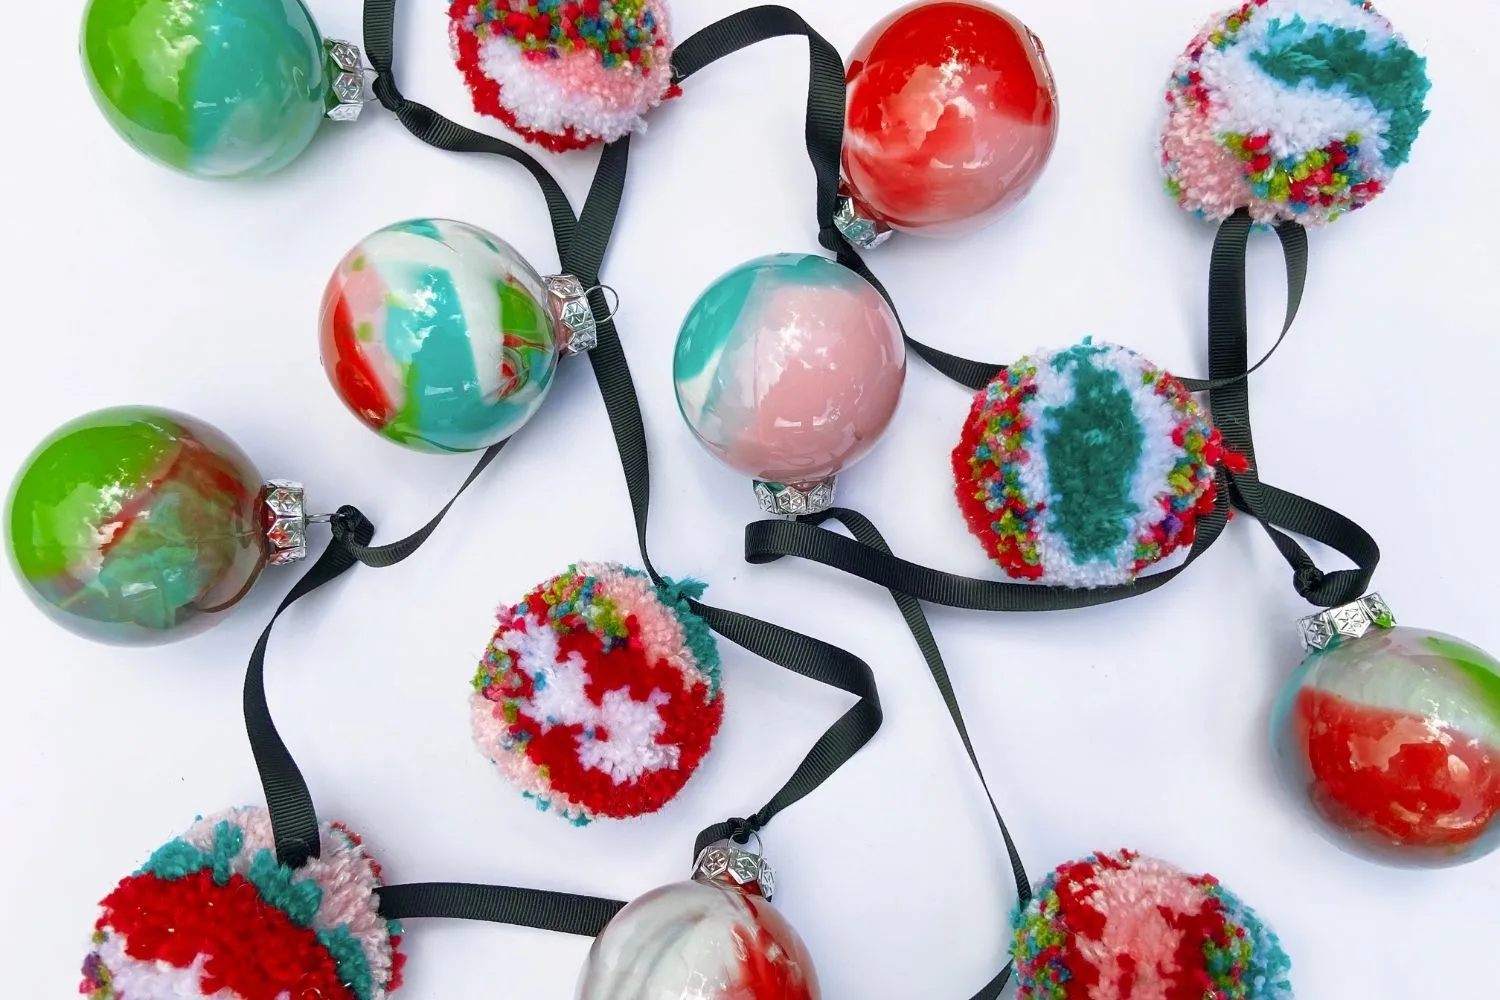
Hang and enjoy!
Step 9 (Credit: Handy With Scissors) (Credit: Handy With Scissors)

Hang and enjoy!

Brought to you by Spotlight. 
Related stories