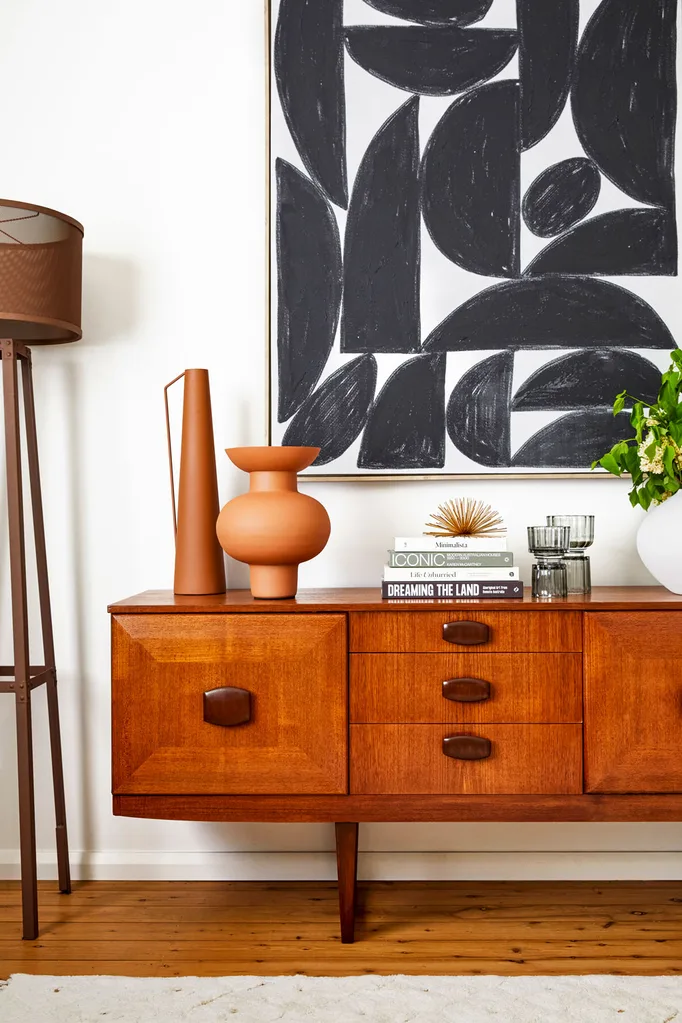
Dust off Nana’s old dresser or sideboard, or bag a bargain doer-upper, because retro is back, baby!
With a few tricks of the trade, you can restore your mid-century wood furniture over a long weekend and bring it back to life. You can sell it for extra cash or keep it as your forever piece! Once restored, your golden oldie will be good for another lifetime.
How to restore mid century wood sideboard
Gather your supplies
- Krud Kutter spray
- Mineral spirits
- Paint stripper
- Wood filling cement
- Danish oil
- Alcohol marker pens
- Dixie Belle gel stain in American Honey
- Wipe-on poly
- Soft wax
- Felt
- Bronze acrylic mirrors (cut to size)
- Magnetic LED light
You’ll also need
- Screwdriver
- scouring sponges
- wire wool
- WD40
- card scraper
- sponge applicator
- painter’s tape
- clamps
- PVA glue
- craft needle
- lint-free cloths
- 180 and 240-grit sandpaper
- paintbrush
- scissors
- double-sided tape
- candle
Safety notes
When operating power tools, wear safety glasses, mask and earmuffs, and tie your hair back. When handling paint stripper and/or chemicals wear nitrile gloves and protective clothing.
Project notes
- Veneer is a thin sheet of hardwood laminated onto a substrate (this could be solid hardwood, plywood or chipboard). It makes up the majority of furniture from the 1920s and was used for its smooth, perfect finish. Old veneer can be wafer thin and easily sanded off with an electric sander. To prevent damage, sand only with 120-grit sandpaper and above. Use a block/mouse to ensure equal sanding on your flat surfaces, and always sand in the direction of the grain.
- Never skip the cleaning and prep steps. There could be 60+ years of dirt in some corners, so take your time to remove. Sanding without this step will push dirt into the grain and make it harder to remove later. With sound preparation, a piece may often be refinished without the need for chemical stripping.
- Take care using paint strippers. Fast-acting strippers produce the best results but are more toxic than water-based options. Always follow the directions. Take appropriate precautions to protect yourself and family.
STEP 1
Remove all doors, and drawers from furniture piece, then remove handles and hinges. Vacuum throughout (including base).
STEP 2
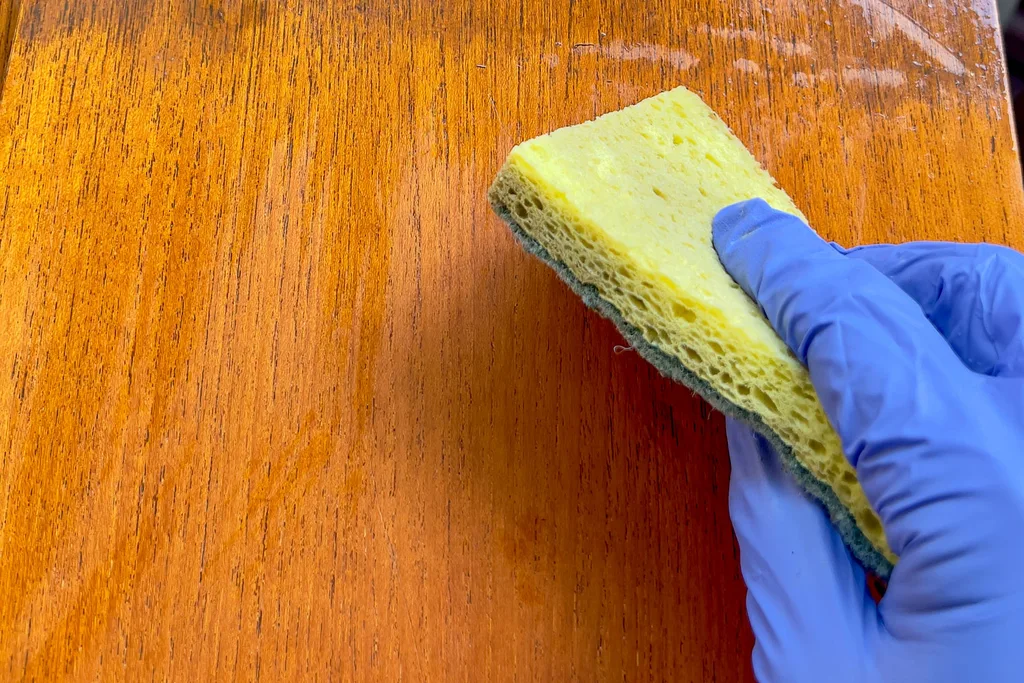
Working one panel at a time, spray Krud Kutter onto piece, then scrub with scouring sponge. Scrape off debris with card scraper in direction of grain. Wipe down with damp cloth (not wet); rinse and repeat until cloth wipes clean. Allow to dry. Repeat with doors, drawers, handles and internal carcass until all dirt is removed. Scrub metal hardware with wire wool and WD40. Polish dry.
STEP 3
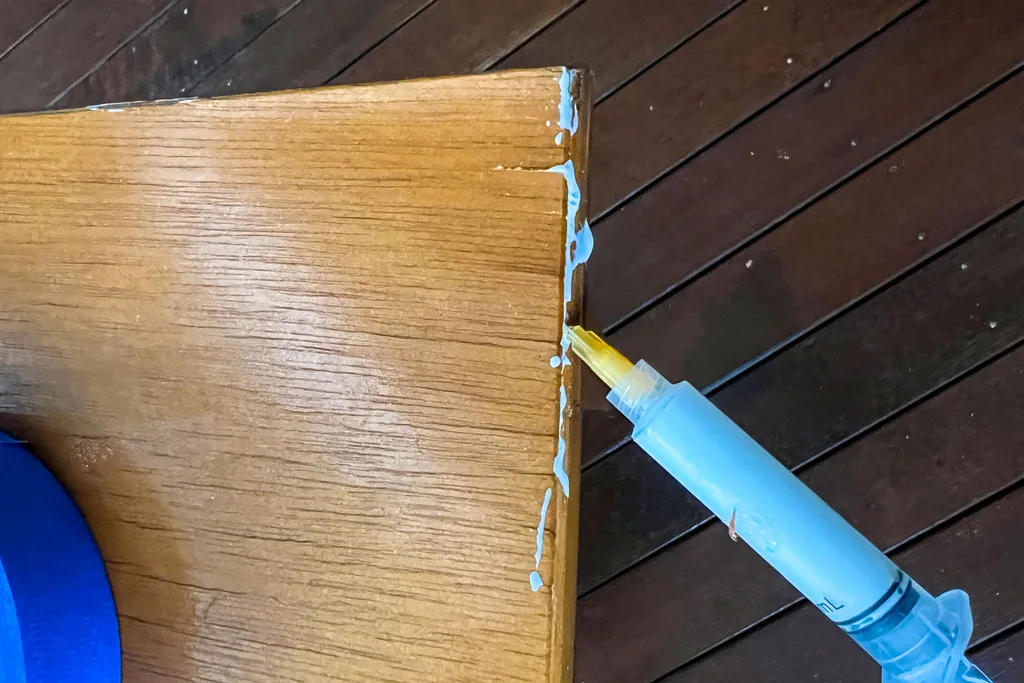
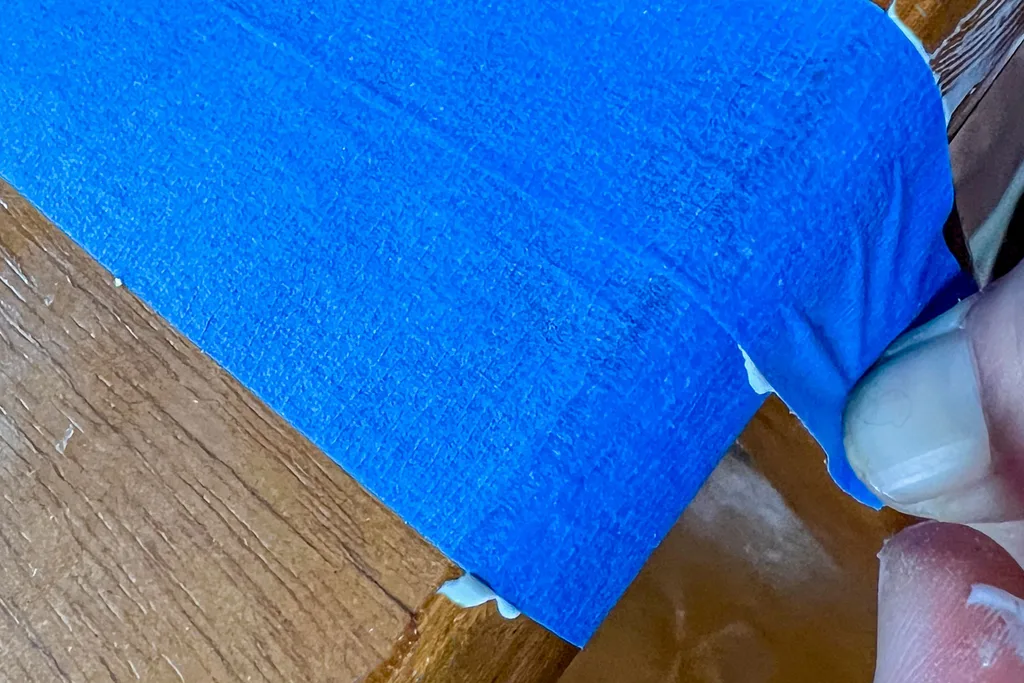
Patch any holes with wood filling cement. Sand down and repeat step to cover any shrinkage. Reglue peeling veneer with PVA and craft needle, apply pressure with tape or clamps. Allow to dry.
STEP 4
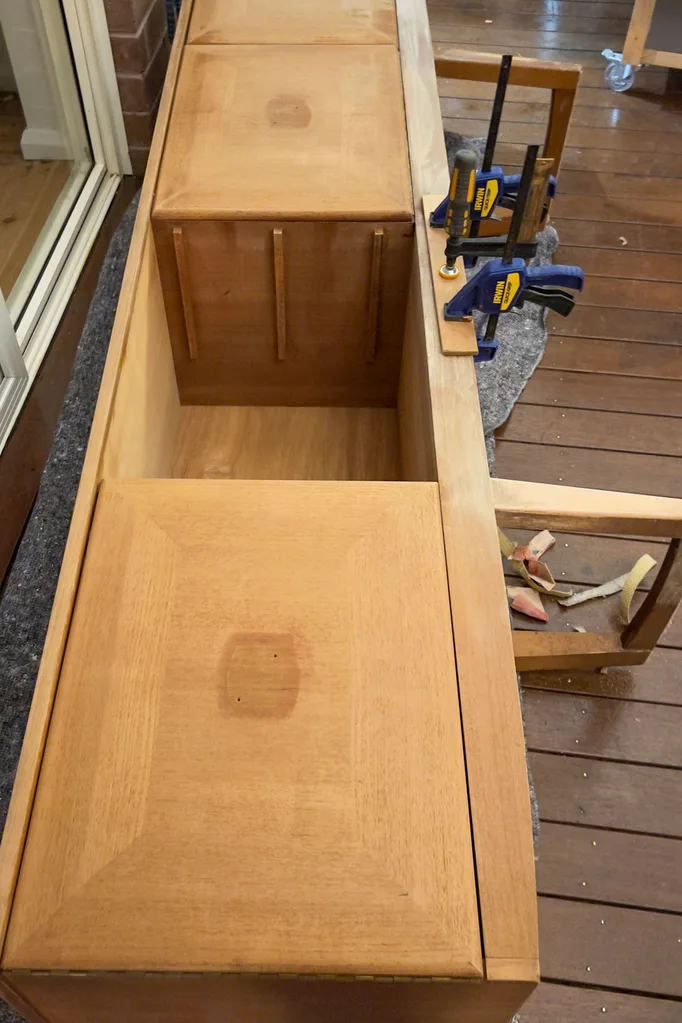
Assess surfaces and apply paint stripper to any surfaces with flaking finish with paintbrush. Use scraper and cloth to remove debris. Lightly hand-sand everything with 180-grit paper, including insides of cupboards and drawers.
STEP 5
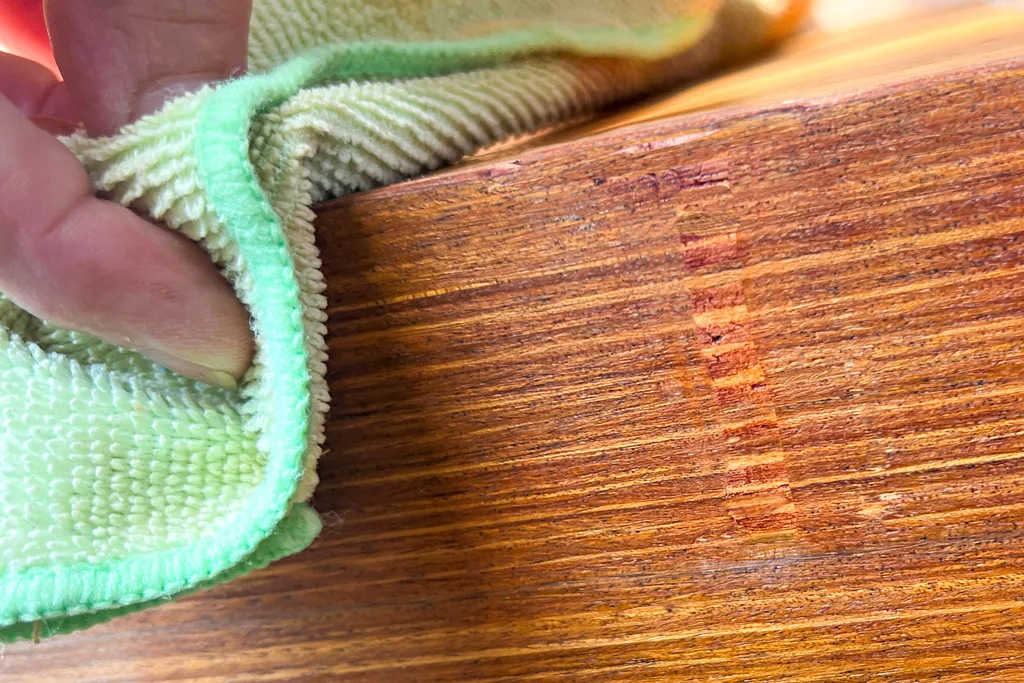
Wipe down with mineral spirits to remove residue, condition the wood and visually note what the overall finish will look like once oiled. Use marker pens on filled areas to match tones or grain patterns around patch. Build up layers for best results.
STEP 6
For contrasting detail, apply 2 coats gel stain to handles and legs with sponge applicator. Allow to dry after each coat.
STEP 7
Saturate all exterior veneer surfaces with liberal coat of Danish oil and cloth. Once fully absorbed in, wipe away excess oil with cloth. Allow to dry for 6 hours.
STEP 8
Apply a slurry coat for a smooth and natural sheen to your finish. To apply, saturate scouring sponge with Danish oil and scrub in circular motion on top, sides, door and drawer fronts. Wipe away excess across the grain so as not to remove the ‘slurry’ from the grain. Allow to dry overnight.
STEP 9
Denib surfaces with 2 passes of scouring sponge to smooth raised grain.
STEP 10
With painter’s tape, mask carcass to create a sharp line on finished areas
STEP 11
Pour wipe-on poly into a container, saturate a small square of cloth, then wring excess back into container. Apply 2 thin, even coats to carcass top, sides, carcass front, drawer fronts, doors, handles and legs. Denib before final coat. Remove tape.
STEP 12
Wax drawers and inside carcasses with cloth. Rub a candle along drawer runners to improve slide.
STEP 13
Reattach hardware, handles and doors. Measure and cut felt to fit drawer base, apply PVA to base with paintbrush, attach felt, then smooth flat.
STEP 14
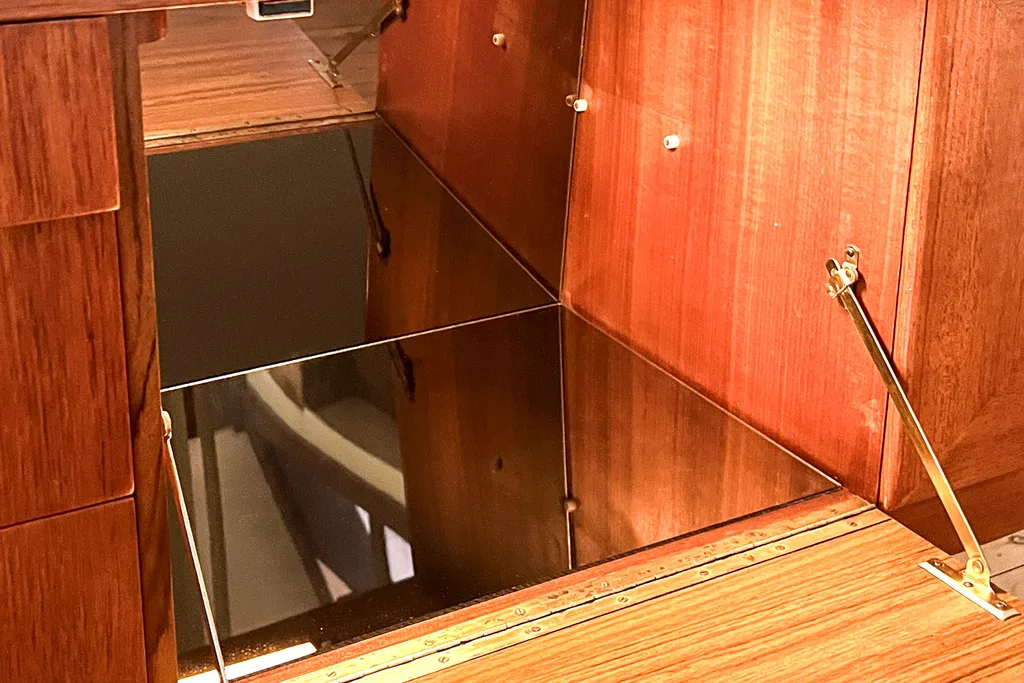
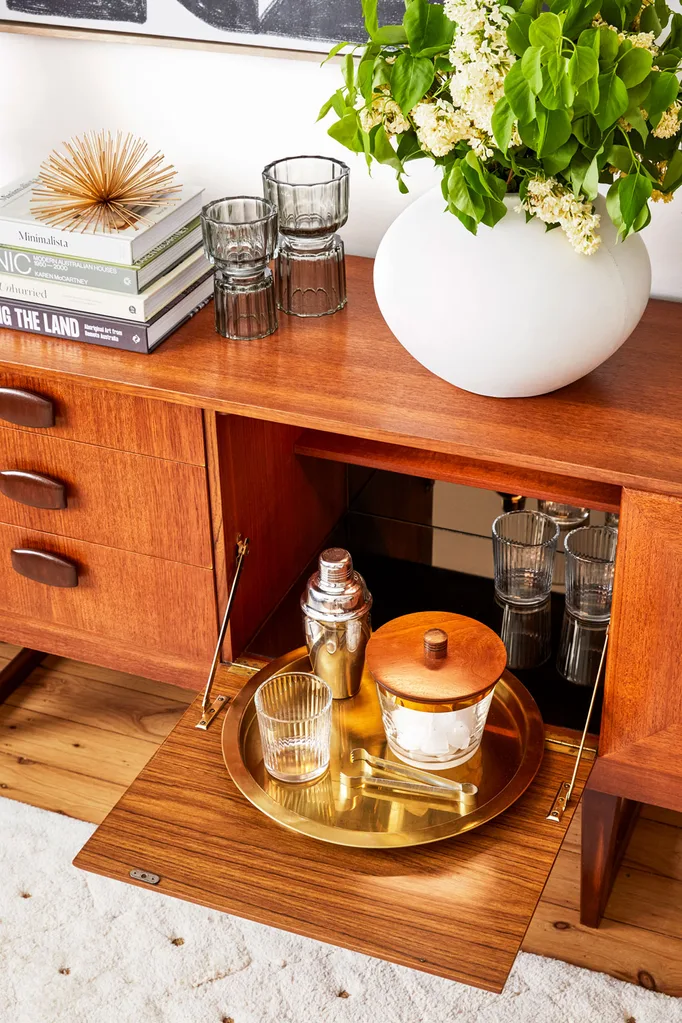
Apply double- sided tape to back of mirror panels; attach to base and back of drop-down bar. Install stick-on LED magnetic light to the underside of bar top.
What finish is used on mid-century furniture?
Mid-century furniture featured various finishes, with teak and walnut being popular choices. These finishes were often achieved using oil-based varnishes or lacquers, which provided a sleek and durable surface while enhancing the natural beauty of the wood grain.
This DIY uses a wipe-on polyurethane (poly) finishing, which is appropriate for mid-century furniture, particularly if you aim to preserve its original appearance and enhance its durability. Polyurethane finishes provide a protective layer that helps shield the wood from moisture, scratches, and other forms of wear and tear, which is especially important for frequently used furniture pieces.
How do you clean mid-century wood?
- Prepare the area: Clear the workspace and ensure good ventilation. Lay down protective material to catch any drips or spills.
- Gather materials: Krud Kutter or a mild, non-abrasive cleaner, scouring sponge, card scraper, damp cloth, wire wool, WD40, and dry cloth for polishing.
- Work panel by panel: Divide the furniture into manageable sections. Working on one panel at a time ensures thorough cleaning without missing any spots.
- Apply cleaner: Spray Krud Kutter or your chosen cleaner onto the surface of the wood. Ensure even coverage, but avoid oversaturating the wood.
- Scrub and remove debris: Using a scouring sponge, gently scrub the surface of the wood in circular motions. Pay attention to any stubborn stains or areas with built-up grime. Once loosened, use a card scraper to carefully scrape off debris, following the direction of the wood grain.
- Wipe down with a damp cloth: Dampen a cloth with water (not too wet) and wipe down the cleaned area to remove any remaining cleaner and dirt. Rinse the cloth frequently and repeat until it wipes clean. This step helps to ensure that no residue is left behind.
- Allow to dry: Once the wood is clean, let it air dry thoroughly before proceeding to the next step. This prevents moisture from being trapped in the wood, which can cause damage over time.
- Clean doors, drawers, and hardware: Repeat the cleaning process for any doors, drawers, handles, and internal carcasses of the furniture piece. Scrub with wire wool and WD40 for metal hardware to remove tarnish and restore shine. Polish dry with a clean cloth.
- Final polish: Once the entire piece is clean and dry, give it a final polish with a dry cloth to restore its natural lustre and shine.


