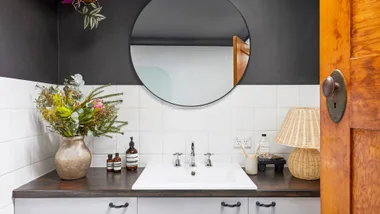
There’s nothing like giving a room a fresh new look and a coat of paint is the easiest way to do it. Even if you’ve never picked up a brush before, you can achieve spectacular results, just follow these simple steps.
All in the preparation
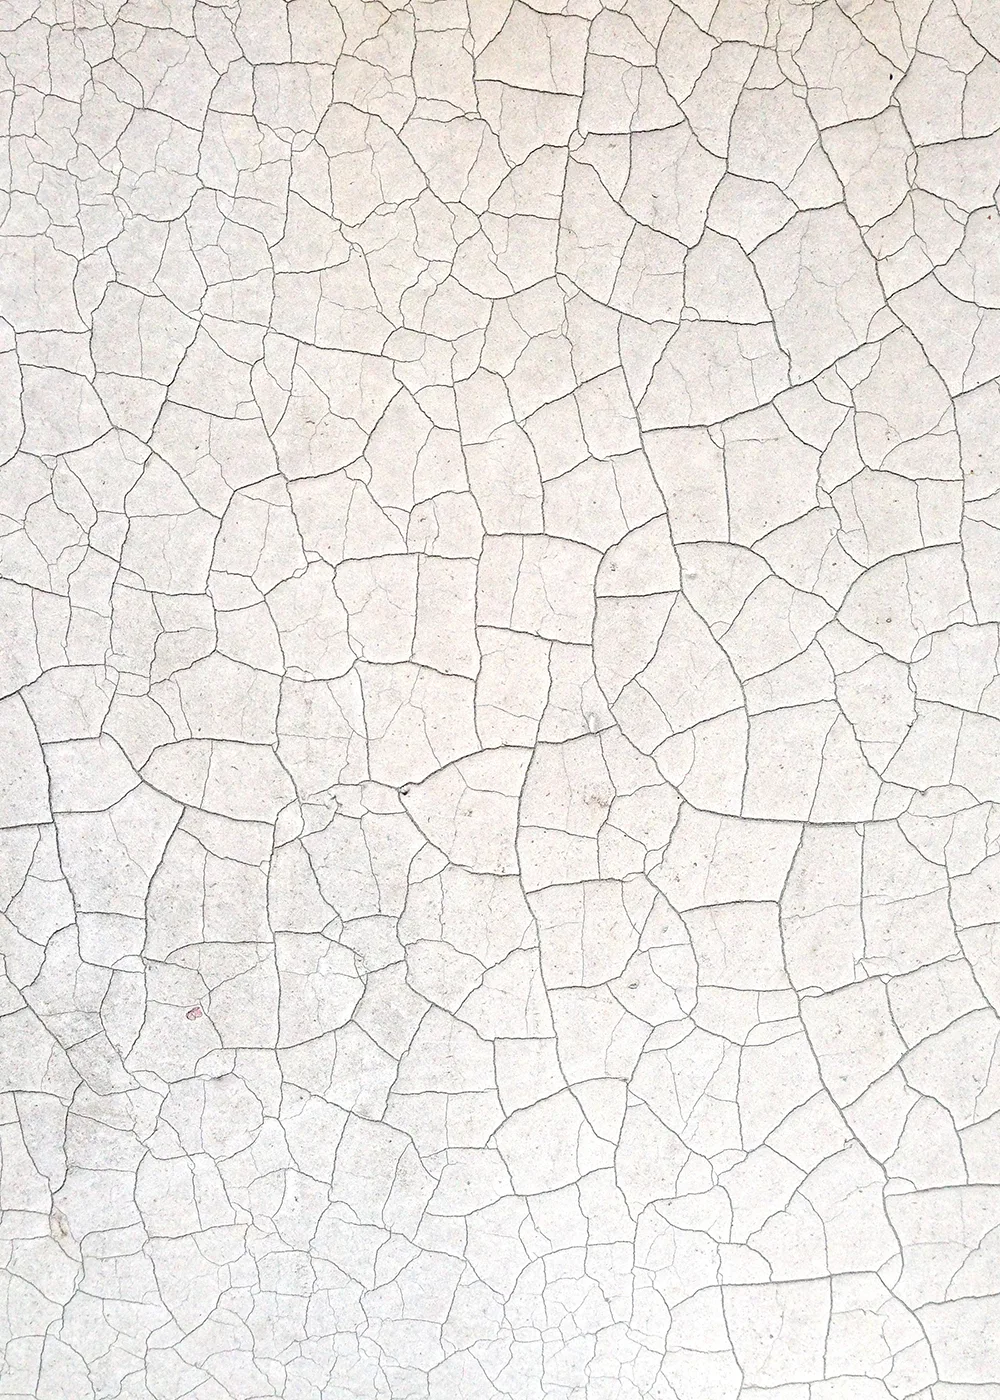
Paint is only as good as the surface it’s going onto so you need to take the time to prepare properly.
- Mix up sugar soap with water and use a sponge to wipe over the walls and ceiling to remove dirt and dust.
- Scrape off any loose or flaking paint and sand the edges where removed to blend the surfaces.
- Fill any cracks and holes in the wall using quick-setting filler. Slightly over-fill the hole or crack, leave it to dry then sand it flush with the wall.
- Fill any gaps between building elements such as skirtings and walls with acrylic gap filler.
- Timber should be given a light sand to slightly roughen the surface as they are usually painted in gloss or semi-gloss paints.
Pick your paint

There are different paints to suit different areas and applications around your home.
- Any bare materials or areas where you have patched holes or cracks will need to be done with an undercoat to seal the surface for following coats.
- Paint your ceilings with a flat ceiling paint. It doesn’t reflect any light so hides any minor imperfections.
- Walls are usually painted using low sheen paint, which has a little bit of shine to it. Matt paint, which has no shine at all, is the latest trend for feature walls and designer paintwork.
- Doors, timber windows and trim such as skirting and architraves should be painted using enamels in a gloss or semi-gloss finish. Enamel paints are more hard-wearing than acrylics while the shinier finish makes cleaning easier.
Grab your gear
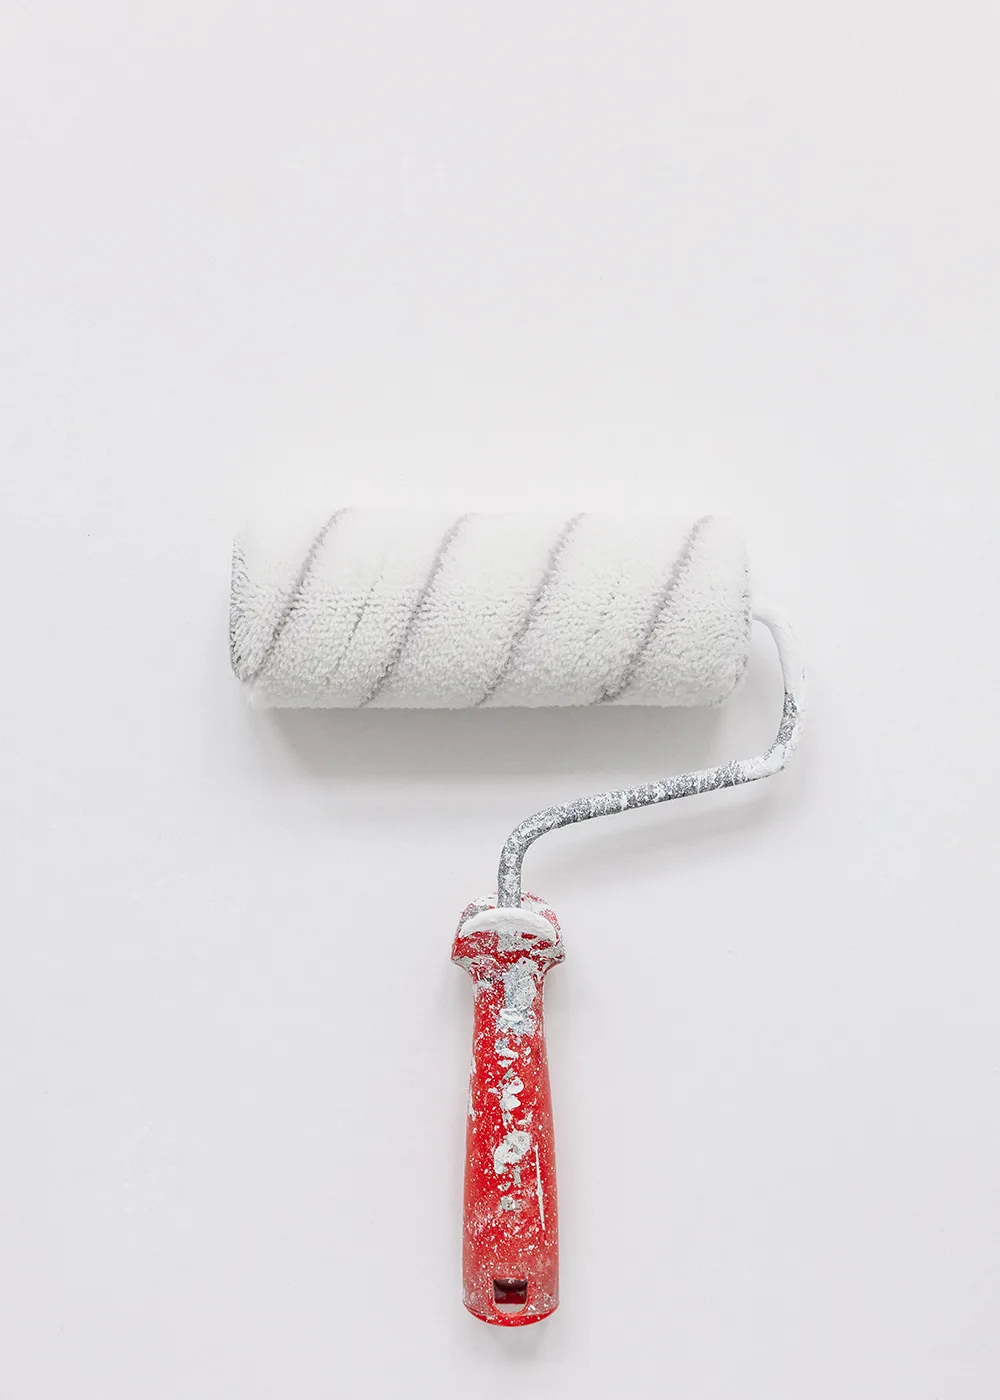
There are two basic pieces of equipment you’ll need to paint a room, brushes and rollers.
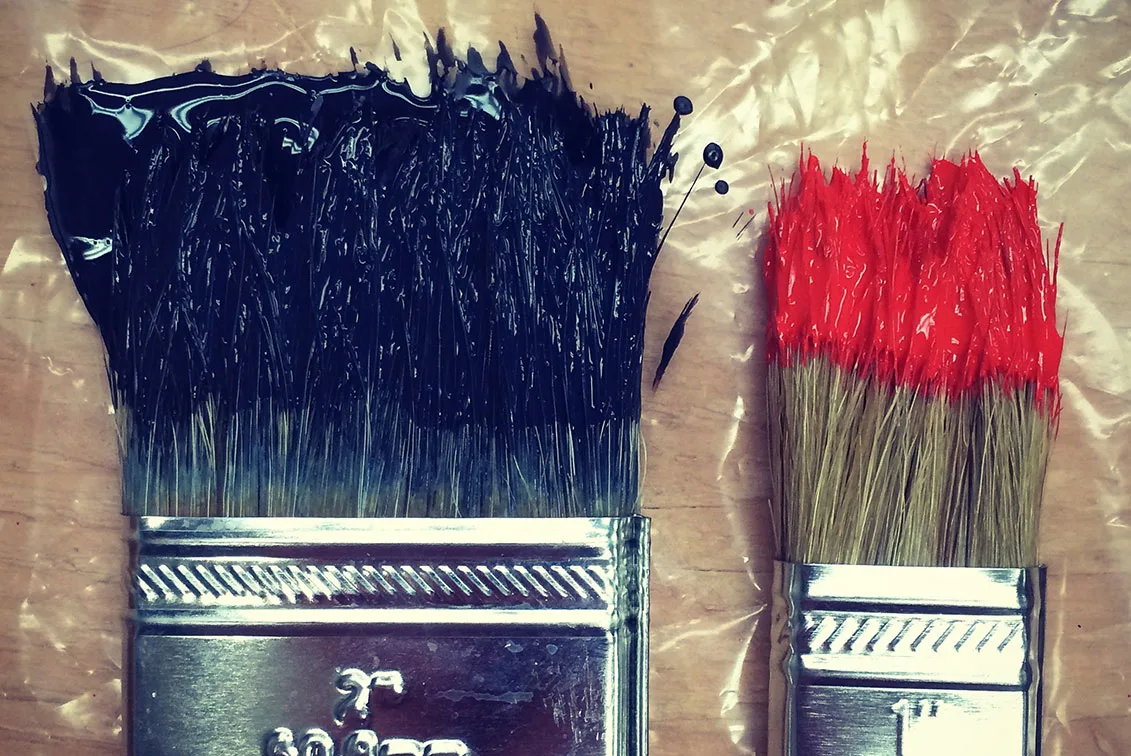
- Brushes are used on the timber trim and also to paint corners and edges of a room where the roller can’t reach. This process is called cutting in. There are special cutting in brushes that help you get a straight line on the edges of your paintwork.
- Rollers paint the flat surfaces of the walls and ceilings. Choose a roller to suit the gloss level of your paint and also the type of surface you are painting onto. You’ll also need a roller tray and extension pole to make painting large surfaces easier.
- Don’t forget to use drop sheets so you don’t get paint dripping where you don’t want it to.
Time to paint
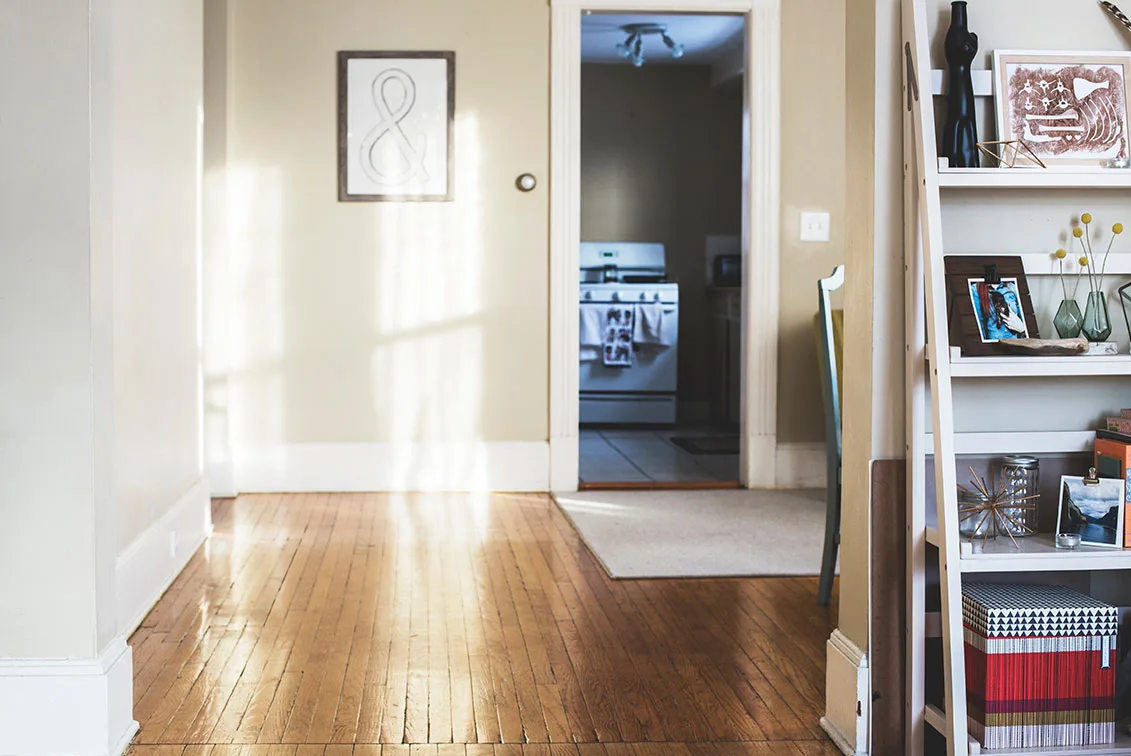
After all the hard work of preparation is done, it’s time for the fun part, the painting!
- Start painting the ceiling and work your way down. Cut in around the cornice and light fittings with a brush then use your roller on an extension pole for the rest.
- Once you have painted a section and the roller is out of paint, use it to make passes over the wet paint going in the same direction. Slightly overlap over the previous pass to remove any drips. This process is called laying off.
- With the ceiling done you can move onto the walls. To get a straight line when you’re cutting in to the ceiling and trim, stretch out masking tape first along the line. Try to paint a straight line as if the tape wasn’t there. With a bit of practice you’ll be able to get a straight line without using it. Roll the wall as you did the ceiling, laying off as you go.
- Finish the room with the timber trim, windows and doors. Sand lightly between finishing coats to remove brush strokes for a super smooth finish.
Clean up
Cleaning your paint brush and roller immediately after you’ve used them is the best way to care for your painting equipment.
- A 6 in 1 painter’s tool can be used to scrape paint from your roller back into paint tin. Reseal paint and store away for a rainy day.
- Use your garden hose to wash away remaining paint from tray and roller.
- Keep washing your brush in a bucket until the water runs clear. Don’t wash paint down the sink.
- Store your brushes vertically with the head facing up to avoid damaging the bristles.
