Credit: Kylie Gromadovski
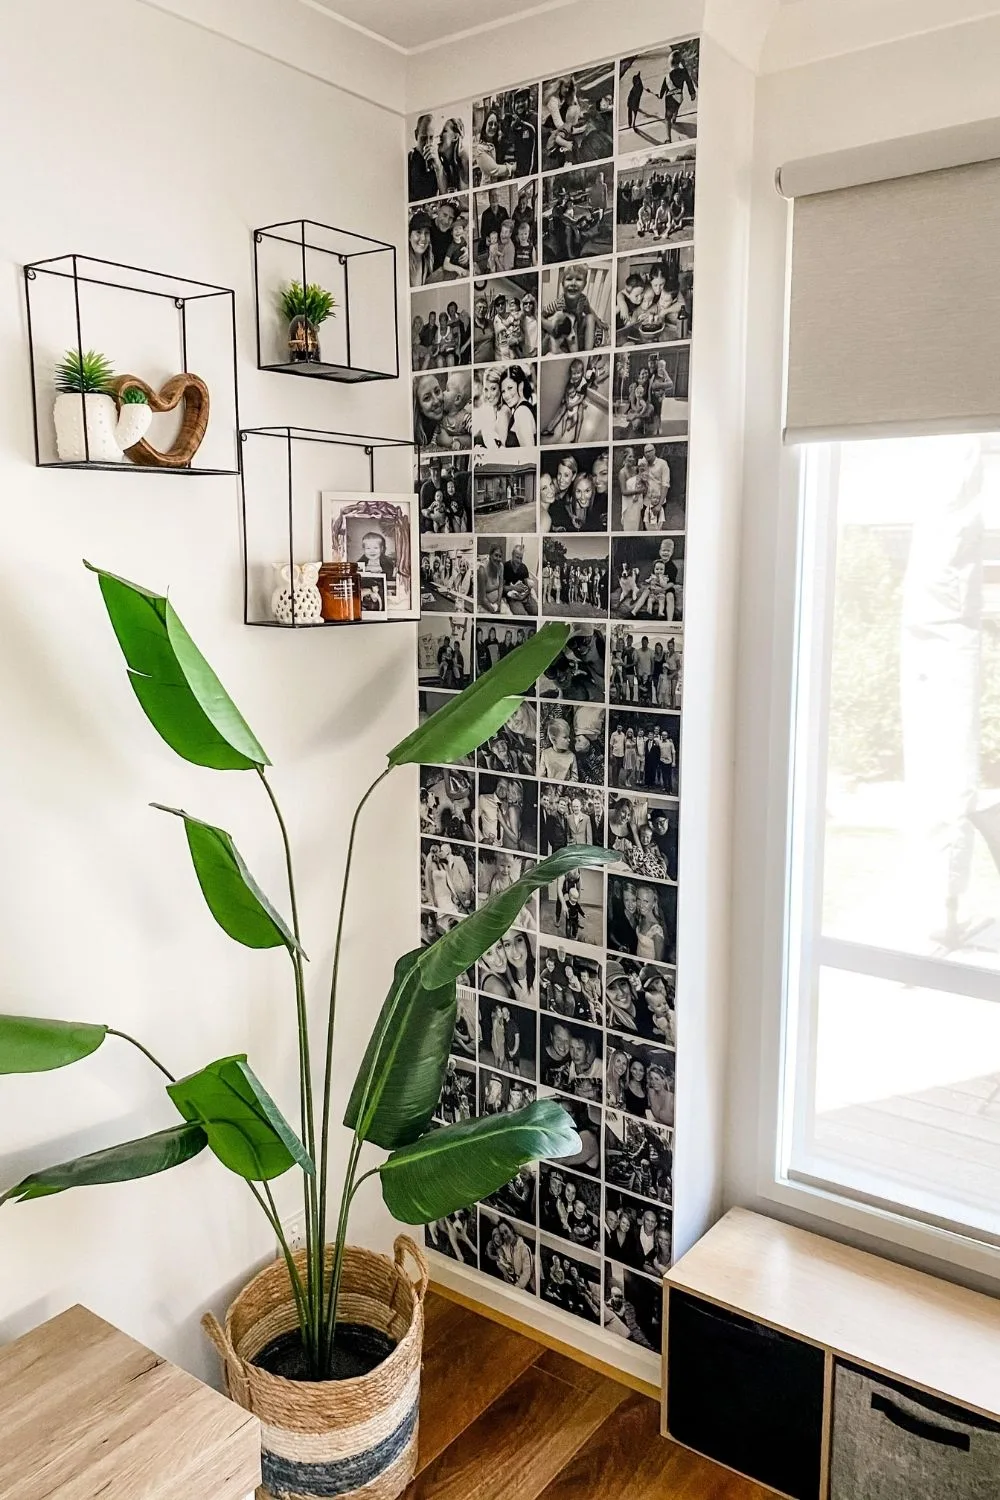
There is no such thing as too many photos lying around the home. After all, they hold all the great memories you’ve created with loved ones. But how can you ensure your space doesn’t look overly cluttered? That’s easy, turn your memories into wall art with this easy DIY photo wall.
Created by Melbourne mum, Kylie Gromadovski, she used smaller-sized, black and white images to decorate empty walls.
Kylie shared her creation on a Facebook group called Kmart Inspired Homes, saying they are her “favourite walls in the house!”
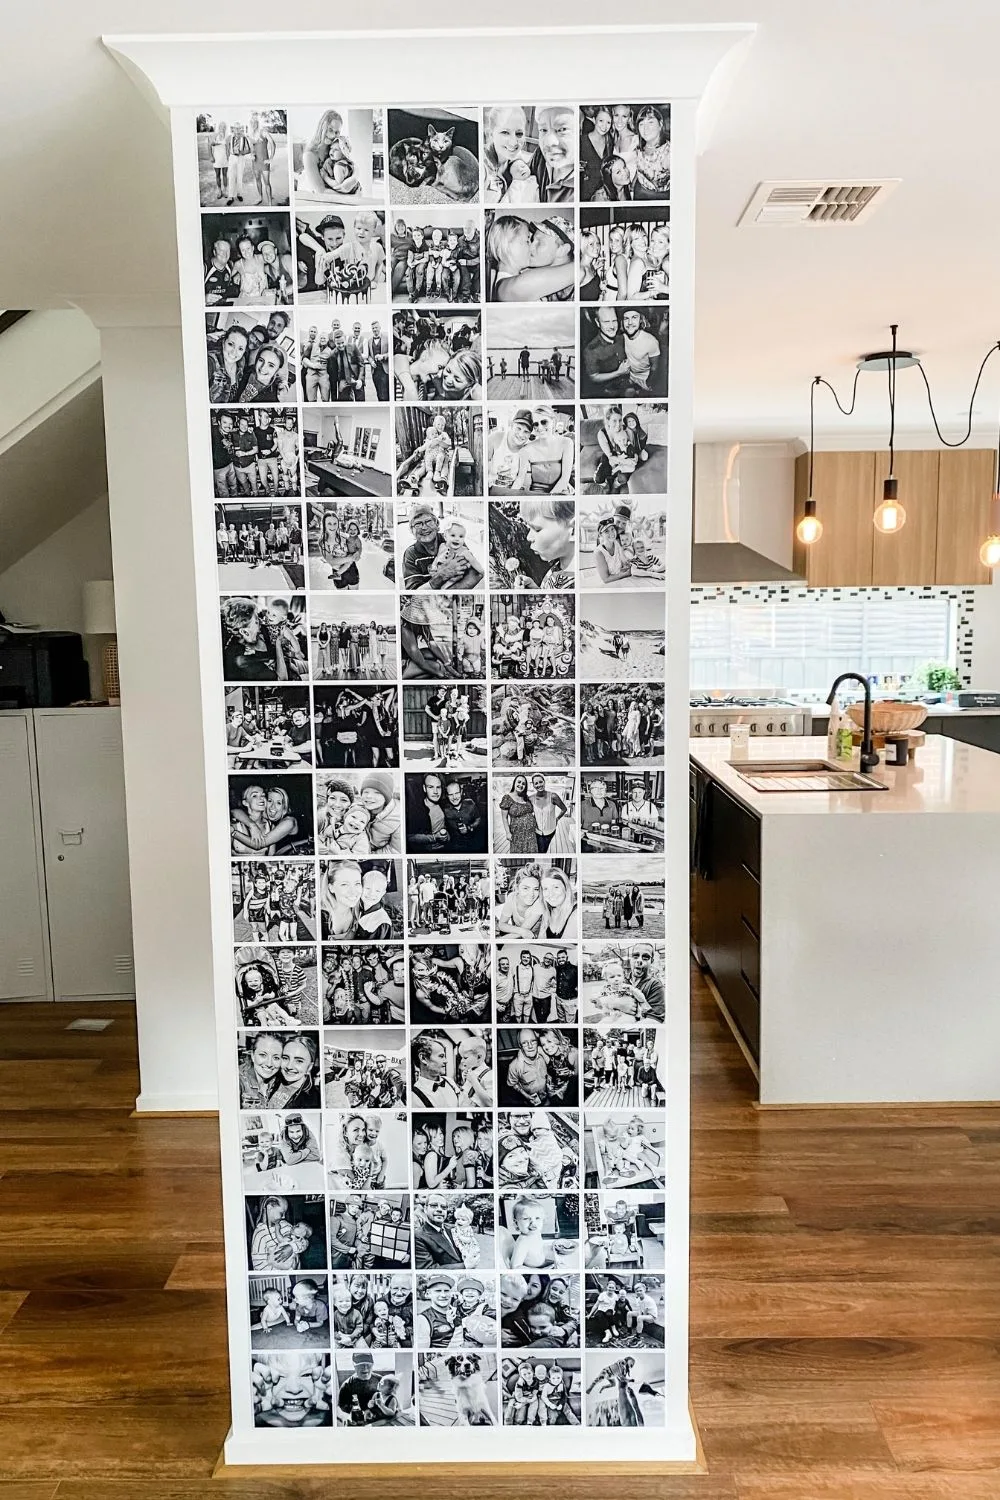
She loved them so much, she decided to make use of all the photos she couldn’t fit on the first wall by creating a second, and then a third photo wall.
The post received over 5,000 likes and over 500 people commented to share their amazement.
“That looks fantastic! A good talking point in your home when you have friends come over, well done,” one woman wrote.
“I’m so doing this, absolutely love it,” wrote another.
If you want to create a photo wall in your home, give this stunning DIY a go!
How to create a photo wall
Step 1
Start by measuring the height and width of your wall, then calculate the best print size for the space. Kylie opted for the 6” square prints which fit all three of her walls.


“I actually moved a couple from my older two walls to the newer one and they came off fine. It’s been easy to take individual prints off and update with new ones as I take new photos,” Kylie said.
Paint damage is no problem
Step 2
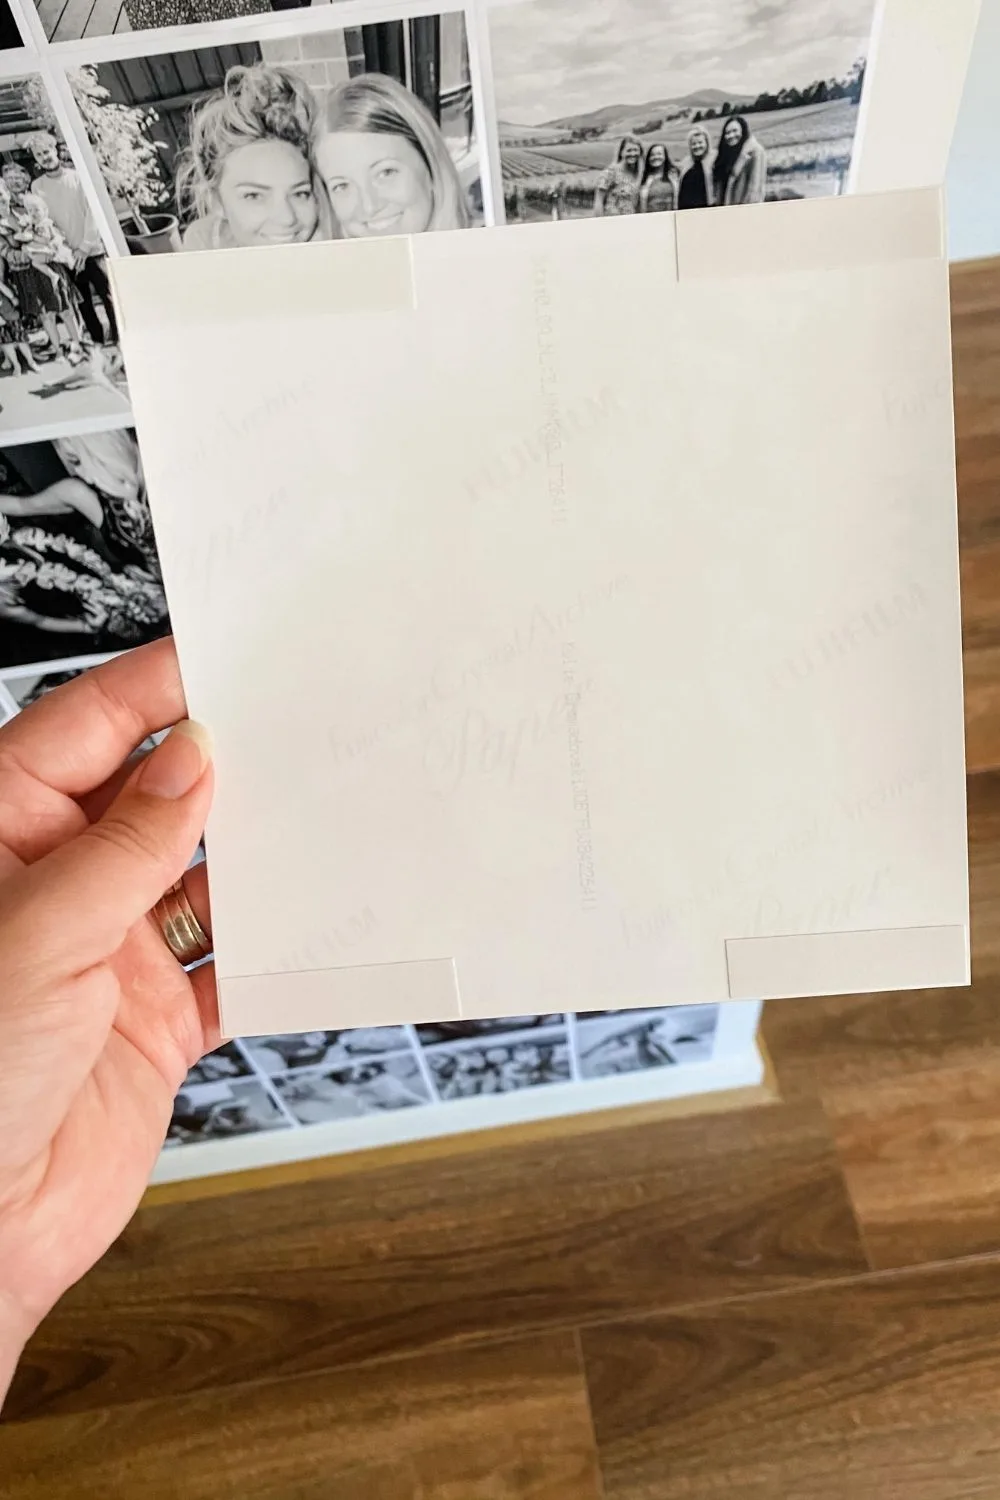
Print your images on photo paper. Kylie had hers printed at Harvey Norman, and chose a white border which she credits as the trick to making them look perfectly spaced. She also went for a matte print as she didn’t want a glossy look to the photos.

Step 3
Using an inch or so of double-sided tape in each corner, she began sticking them to the wall. Starting in the top left corner she filled in the first row before working her way down and across. To keep them clean, Kylie recommends giving them a wipe with a microfiber cloth now and then to keep dust at bay.
If you have a little one who is likely to rip the photos off, try putting the tape right in the corner to keep them nice and flat.
Kids-friendly tip!